 by
by Crochet handbags are stylish, functional, and a fantastic way to showcase your handmade creativity. For beginners, crocheting a handbag might seem challenging at first, but with the right materials, basic stitches, and clear step-by-step instructions, you can create a beautiful, practical bag that you’ll love using or gifting.
This tutorial will guide you through making a beginner-friendly crochet handbag, from choosing yarn and hooks to finishing touches.
🌟 Why Crochet a Handbag?
Crochet handbags are popular because they:
- Allow you to express creativity through colors, patterns, and textures
- Are practical for daily use, shopping, or gifting
- Can be customized in size, shape, and style
- Help beginners practice basic stitches and techniques in a small, rewarding project
- Offer a sense of accomplishment when finished
A handmade crochet handbag combines artistry and functionality in a way that store-bought bags cannot.
🧶 Materials Needed
Yarn
- Medium-weight cotton or acrylic yarn (worsted weight recommended)
- Cotton yarn is ideal for bags because it is durable and holds shape
- Choose a solid or multicolor yarn depending on your design preference
Crochet Hook
- 5 mm or 6 mm crochet hook (adjust depending on yarn)
Other Supplies
- Scissors
- Yarn needle for weaving in ends
- Stitch markers (optional)
- Optional: Fabric lining for extra durability
- Optional: Buttons, beads, or appliques for decoration
🪡 Basic Stitches Used
This handbag tutorial uses simple crochet stitches, perfect for beginners:
- Chain (ch)
- Slip stitch (sl st)
- Single crochet (sc)
- Half double crochet (hdc)
- Double crochet (dc)
Optional: Back loop only (BLO) stitches or textured stitches like shells or bobbles for decorative effects.
📏 Choosing the Size of Your Handbag
The size of your handbag can vary depending on your needs:
- Small handbag: 8–10 inches wide, 6–8 inches high
- Medium handbag: 10–12 inches wide, 8–10 inches high
- Large handbag: 12–15 inches wide, 10–12 inches high
Adjust your foundation chain and number of rows to match your desired size.
🧵 Step-by-Step Guide to Crochet a Beginner-Friendly Handbag
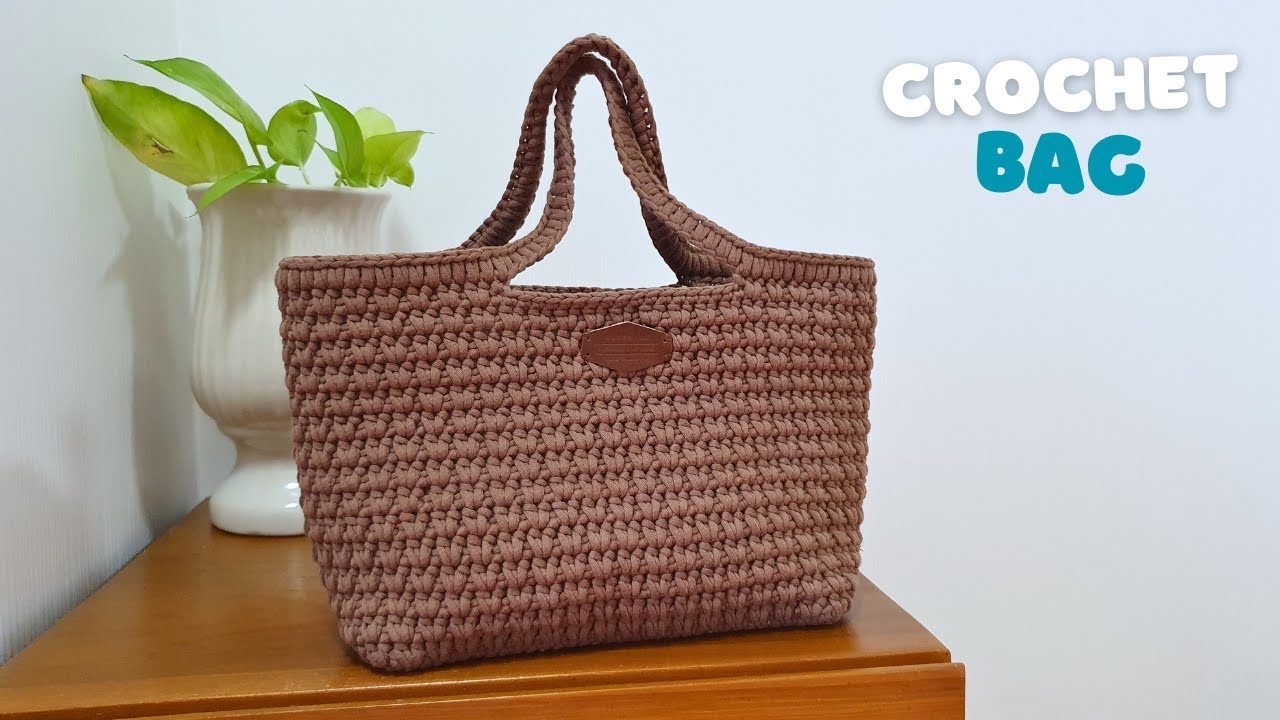
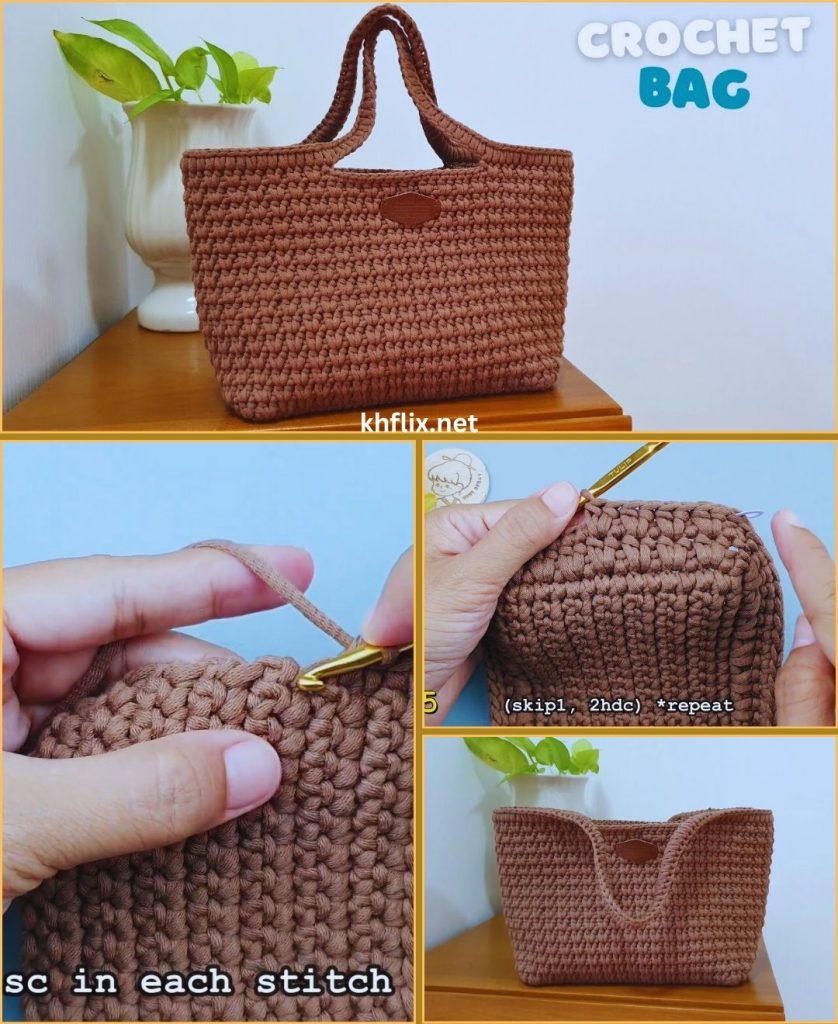
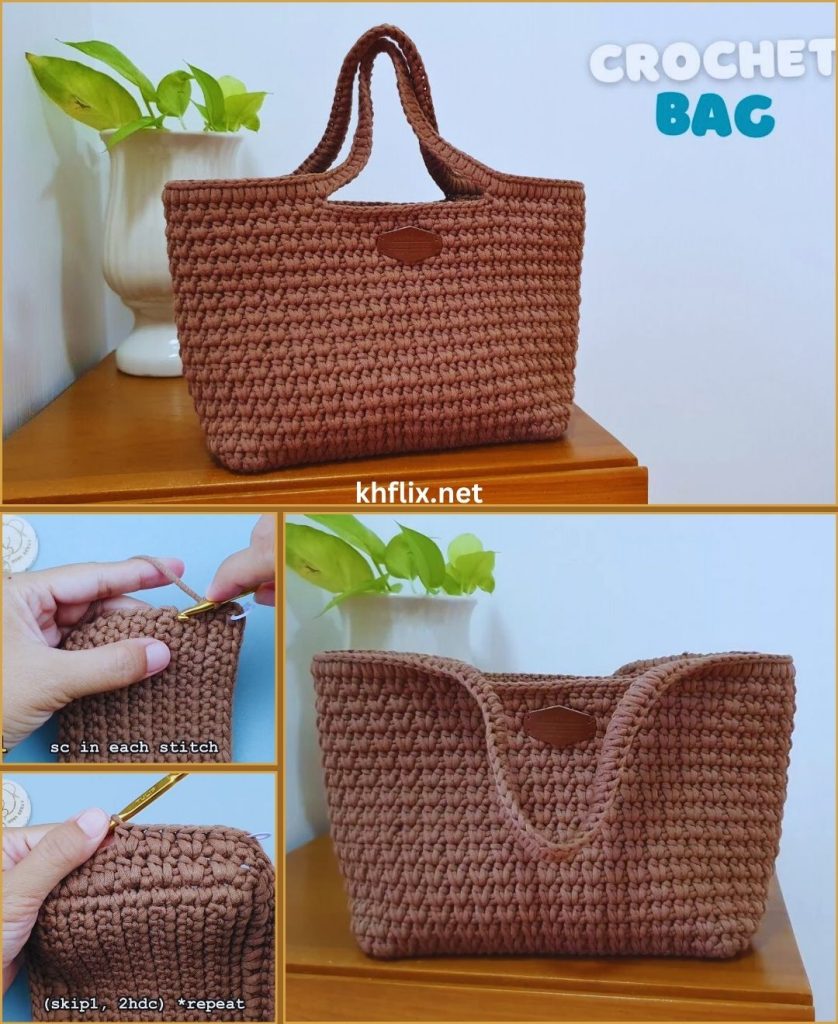
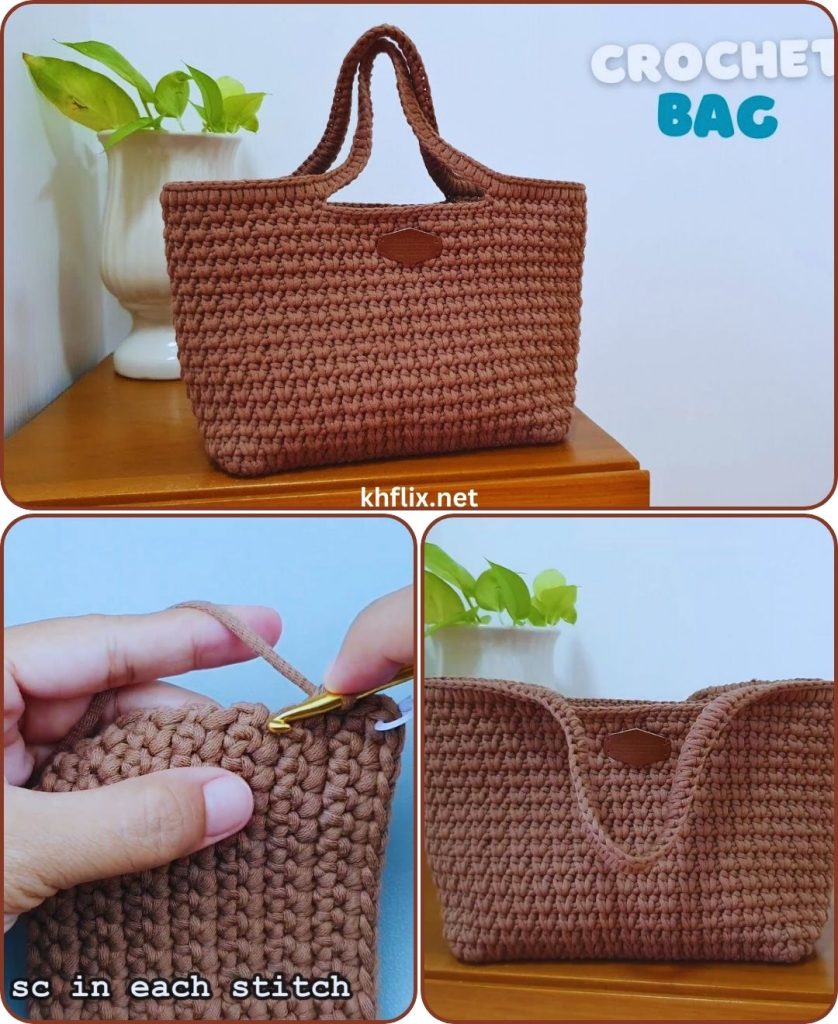
Step 1: Make the Base
- Start with a foundation chain to match the width of your bag.
- Work a row of single crochet or half double crochet across the chain.
- Continue working rows until the base reaches the desired depth (usually 3–5 inches).
- For extra sturdiness, you can work two strands of yarn together or use a tighter tension.
✨ Tip: Make the base rectangle slightly longer if you plan to add structured sides.
Step 2: Start the Body of the Bag
- After finishing the base, begin working rounds or rows for the body.
- For a simple bag:
- Continue with single crochet or half double crochet.
- For color variation, change yarn color every few rows.
- Work evenly until the bag reaches the desired height.
Step 3: Shape the Top
- Decide if you want a straight top or slightly tapered top.
- For a tapered top, decrease stitches evenly on each row.
- Straight tops require no decreases; just continue in the same stitch pattern.
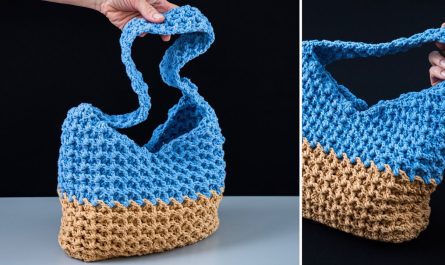
Step 4: Make the Handles
Handles can be added in two ways:
Option 1: Integrated Handles
- Leave a space in the top rows of the bag (skip stitches for handle opening).
- Crochet across the remaining stitches and continue the handle row.
Option 2: Separate Handles
- Chain desired length for shoulder or hand carry (usually 20–24 inches).
- Work rows of single or half double crochet on the chain.
- Attach handles securely to the bag with slip stitches or sewing.
- Reinforce attachment points with extra stitches for durability.
✨ Tip: Integrated handles usually give a cleaner look and are easier for beginners.
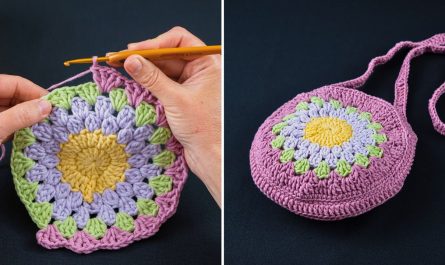
Step 5: Add Decorative Elements (Optional)
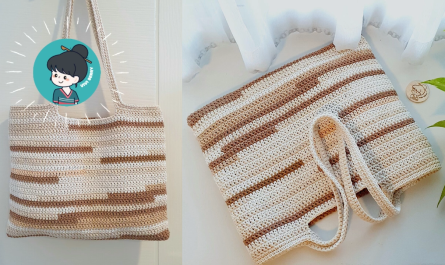
- Use different yarn colors to create stripes or color blocks.
- Add crochet flowers, bobbles, or textured stitches for a unique design.
- Attach buttons, beads, or small appliques for extra charm.
Decorative touches make your bag stand out and reflect your style.
Step 6: Finish and Weave in Ends
- Cut yarn and pull through the last loop to secure.
- Use a yarn needle to weave in all loose ends neatly.
- Optional: Block the bag lightly to shape it perfectly.
Step 7: Optional Lining
- For extra durability, sew a fabric lining inside the handbag.
- Lining prevents items from slipping through holes and gives professional finish.
🎨 Color & Pattern Ideas
- Solid color bag for a classic, everyday look
- Colorful stripes for a fun, vibrant handbag
- Ombre gradient for a stylish and modern effect
- Use textured stitches (BLO, shell, popcorn) for a decorative finish
- Mix and match colors for handles and body for a unique, personalized style
💡 Beginner Tips for Success
- Keep your tension even for a neat bag shape
- Count stitches carefully, especially when shaping the top and handles
- Use stitch markers to mark handle placement or pattern changes
- Take your time—crochet handbags are more manageable when done patiently
- Practice textured stitches on a swatch before adding to your bag
🧼 Care Instructions
- Most cotton yarn handbags are machine washable on gentle cycle
- Lay flat to dry to maintain shape
- Avoid harsh detergents to preserve yarn colors
- Optional: Fabric lining can be hand-washed separately
🌈 Skill Level
- Beginner-friendly
- Uses simple stitches with optional texture for decoration
- Perfect for learning working in rows and rounds, shaping, and handle creation
🎁 Why Crochet Handbags Make Great Gifts
- Handmade handbags are practical and stylish
- Perfect for birthdays, holidays, or special occasions
- Can be personalized in color and size
- Eco-friendly alternative to store-bought bags
✨ Final Thoughts
Crocheting a handbag step by step is a fun, creative, and rewarding project, even for beginners. With basic stitches, a little patience, and your choice of colors, you can make a beautiful, practical, and personalized crochet handbag.
This beginner-friendly tutorial allows you to build confidence, practice skills, and create a bag that’s both functional and stylish. 👜💖🧶
If you want, I can also create a visual diagram with row-by-row instructions for the handbag, showing handle placement and color changes, to make it even easier for beginners to follow.
Do you want me to create that diagram?