 by
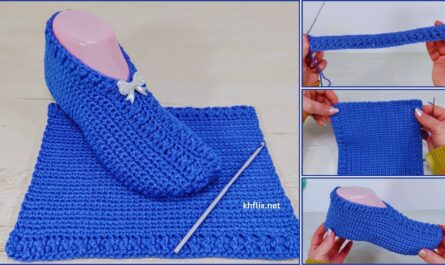
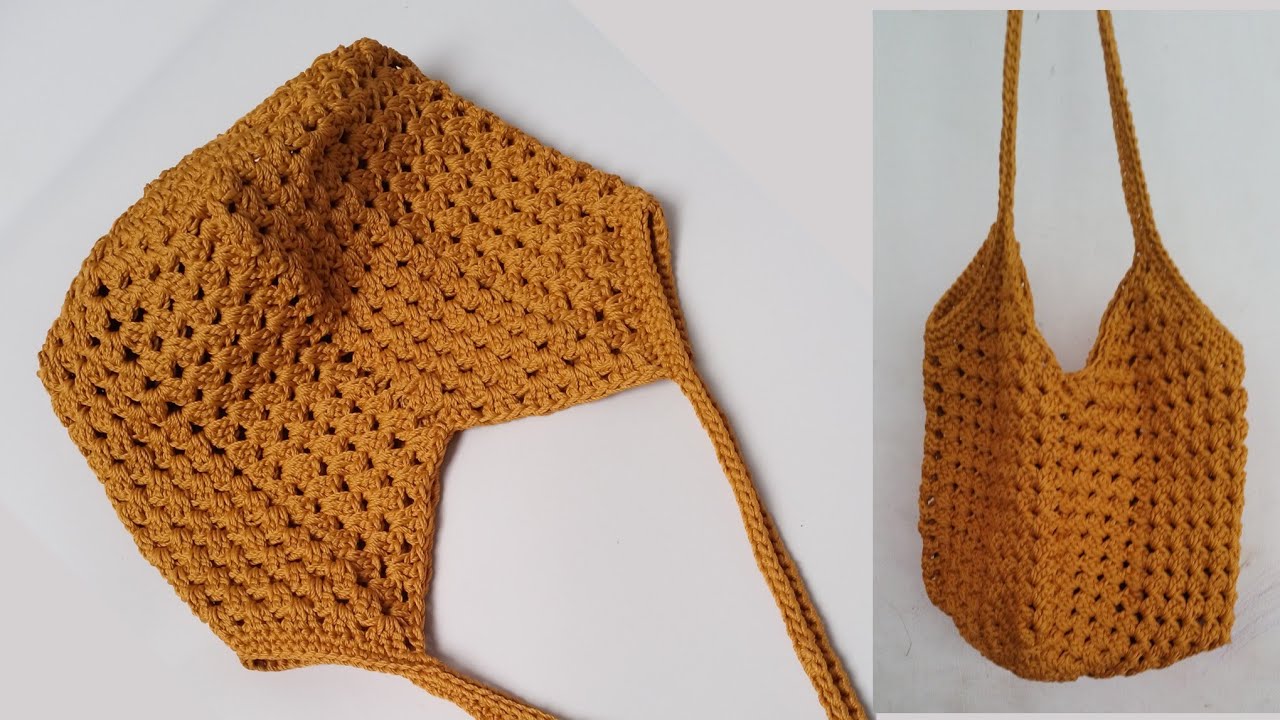
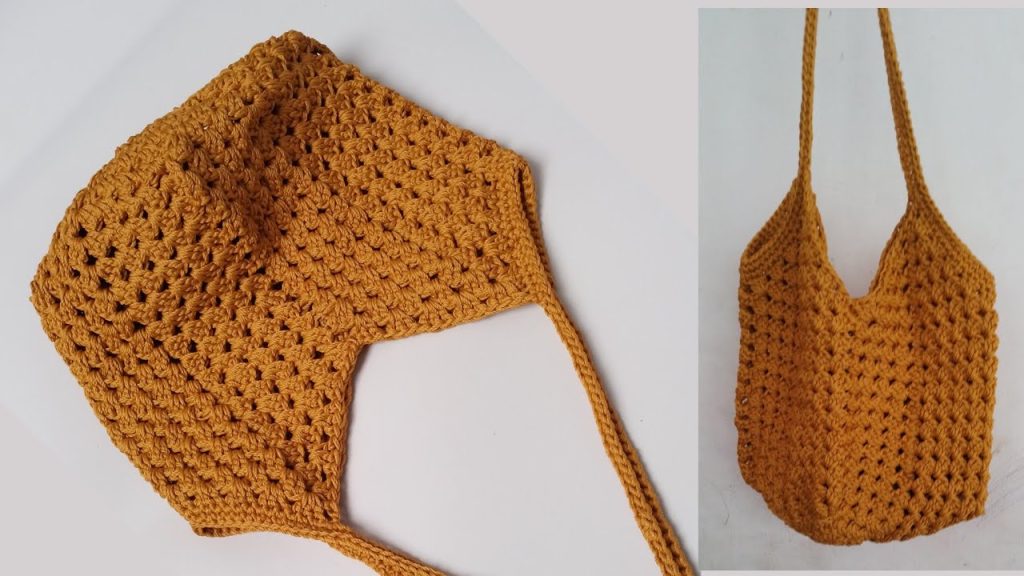
by Crocheting a tote bag is a fantastic project for anyone starting out with accessories. This tutorial is designed to be quick and easy, using simple stitches to create a sturdy and functional bag. You’ll create a classic, roomy tote that’s perfect for carrying groceries, books, or your latest project!
Skill Level: Beginner
This project is a great choice if you’re comfortable with:
- Chain (ch): The foundation of crochet.
- Slip Stitch (sl st): For joining stitches and rounds neatly.
- Single Crochet (sc): A dense, sturdy stitch, ideal for bag construction.
- Working in Rounds: Crocheting in continuous or joined circles.
- Increasing: Making your work wider for the bag’s base.
- Fastening Off: Securely ending your yarn.
- Weaving in Ends: The crucial final step for a polished and durable bag.
Finished Tote Bag Dimensions (Approximate):
Using worsted weight yarn (Medium #4) and the suggested hook, your finished tote bag will typically be:
- Base: 12 inches (30 cm) long by 4 inches (10 cm) wide (oval shape).
- Height: 12-14 inches (30-35 cm) (excluding handles).
- Handles: 20-24 inches (50-60 cm) tall loop (from bag edge to top of handle).
These dimensions are easy to adjust! Want a bigger bag? Start with a longer chain for the base. Taller? Add more rounds to the body.
Materials You’ll Need:
Gathering your supplies beforehand ensures a smooth and enjoyable crafting session!
- Yarn: Approximately 300-400 yards (275-365 meters) of Worsted Weight (Medium #4) Cotton or a sturdy cotton blend.
- Why cotton? Cotton yarn is highly recommended for bags because it’s strong, durable, holds its shape well, and has minimal stretch. This is crucial for a tote bag that will hold heavy items.
- Crochet Hook: Size I/5.5mm. This hook size works well with worsted weight yarn to create a dense, firm fabric that will allow your bag to stand up nicely on its own.
- Yarn Needle (Tapestry Needle): Essential for seamlessly weaving in all your loose yarn tails at the end of the project.
- Scissors: Any sharp pair for cutting your yarn.
- Stitch Marker (Optional but Recommended): Incredibly helpful for marking the first stitch of each round when working in a continuous spiral.
Let’s Crochet Your Easy Tote Bag!
We’ll build this bag from the bottom up in three main parts:
- The Oval Base: Creating a sturdy foundation.
- The Body: Working straight up to form the bag’s walls.
- The Handles: Adding comfortable, integrated handles.
Part 1: The Oval Base
The base of your bag needs to be sturdy and flat. We’ll achieve this by working single crochet stitches around a starting chain in continuous rounds. This technique avoids a visible seam and gives the bag great structure.
- Starting Chain:
- Make a slip knot.
- Chain (ch) 26. This determines the length of your bag’s base.
- Round 1 (Working Around the Chain):
- Work 2 single crochet (sc) stitches into the 2nd chain from your hook.
- Work 1 sc into each of the next 23 chains.
- In the last chain (the 26th chain from your hook), work 4 sc stitches. This turns the corner.
- Now, work back down the other side of your starting chain. Work 1 sc into each of the next 23 stitches.
- In the last stitch (the same chain where you placed your very first 2 sc), work 2 sc.
- You should now have a total of 54 sc stitches. Do NOT join with a slip stitch yet. You will work in a continuous spiral for the base. Use your stitch marker to mark the first stitch of the next round.
- Round 2 (Continuing the Oval Shape):
- Work 2 sc into the very first stitch of the round (the one with your stitch marker).
- Work 1 sc into the next stitch.
- Work 1 sc into each of the next 23 stitches.
- Work 2 sc into each of the next 3 stitches. (These are the increases on one of the rounded ends).
- Work 1 sc into the next stitch.
- Work 1 sc into each of the next 23 stitches.
- Work 2 sc into each of the next 2 stitches. (These are the increases on the other rounded end).
- You should now have 60 sc stitches. Continue in continuous rounds.
- Round 3 (Final Base Round):
- Work 2 sc into the first stitch.
- Work 1 sc into each of the next 24 stitches.
- Work 2 sc into each of the next 3 stitches.
- Work 1 sc into each of the next 24 stitches.
- Work 2 sc into each of the next 2 stitches.
- You should now have 66 sc stitches. Do not join yet. Remove your stitch marker.
- Slip stitch (sl st) into the next stitch to join, completing your oval base and preparing for the body.
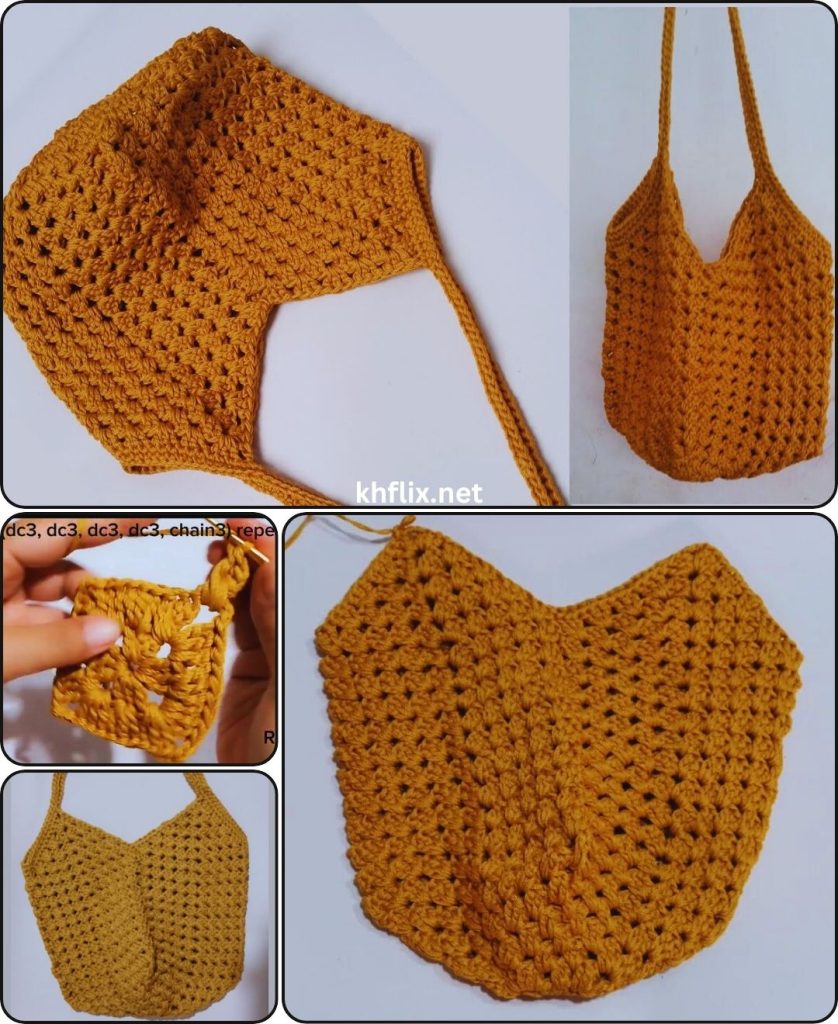
Part 2: The Body of the Tote Bag
Now, we’ll work straight up from the finished base to create the walls of your bag. We’ll use single crochet throughout and work in joined rounds to maintain a neat, vertical line.
- Round 4 (First Side Round – Defining the Edge):
- Chain 1 (ch 1 – this does NOT count as a stitch).
- Work 1 single crochet (sc) into the back loop only (BLO) of each stitch around the entire round. (66 sc)
- Why BLO? Working into the back loop creates a distinct ridge where the base transitions to the sides, which helps the bag stand up straight.
- Slip stitch (sl st) into the first sc of the round to join.
- Rounds Onwards (Body Height):
- Chain 1.
- Work 1 sc into both loops of each stitch around the round. (Your stitch count remains the same: 66 sc).
- Slip stitch (sl st) into the first sc of the round to join.
- Repeat this round until your tote bag reaches your desired height. This will be about 20-25 more rounds, for a total of 24-29 rounds for the body.
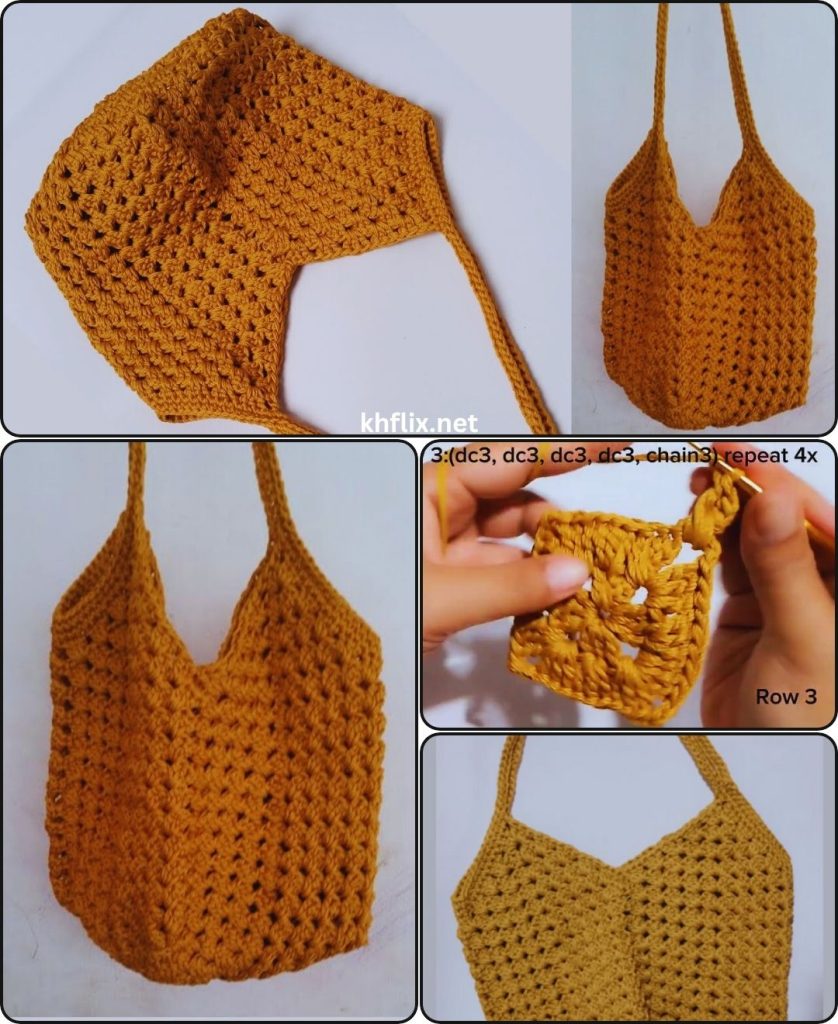
Part 3: The Handles
Now you’ll create comfortable, integrated handles that extend directly from the top of your bag. We’ll continue using single crochet for a sturdy and durable strap.
- Handle Placement Round:
- After your last body round, make sure you’ve joined with a slip stitch.
- Chain 1.
- Work 1 sc into the first 10 stitches.
- Chain 40 (ch 40 – this creates the length of your first handle. Adjust this number for a longer or shorter handle).
- Skip the next 13 stitches.
- Work 1 sc into the next 20 stitches.
- Chain 40.
- Skip the next 13 stitches.
- Work 1 sc into the next 10 stitches.
- Slip stitch (sl st) into the first sc of the round to join.
- Handle Strengthening Round:
- Chain 1.
- Work 1 sc into each sc stitch along the top edge of the bag.
- When you reach a chain-handle loop, work 1 sc into each of the 40 chains of the loop.
- Continue working sc stitches into the bag top and then around the second chain-40 handle loop.
- Slip stitch (sl st) into the first sc of the round to join.
- Fasten Off (FO), leaving a tail of about 6 inches (15 cm).
Final Finishing Touches
- Weave in All Ends:
- Thread your yarn tails onto your yarn needle.
- Weave each tail into existing stitches on the inside of your bag for at least 3-4 inches. Change direction to “lock” the tail in place and prevent unraveling.
- Trim any excess yarn close to the fabric.
- Blocking (Optional but Recommended):
- Gently mist the entire bag with cool water.
- Stuff the bag lightly with towels to help it hold its rectangular shape.
- Allow the bag to air dry completely in a well-ventilated area.
Congratulations! You’ve successfully crocheted an easy and sturdy tote bag. This is a fantastic accomplishment, and you now have a beautiful, handmade accessory. What will be the first thing you carry in your new tote?