 by
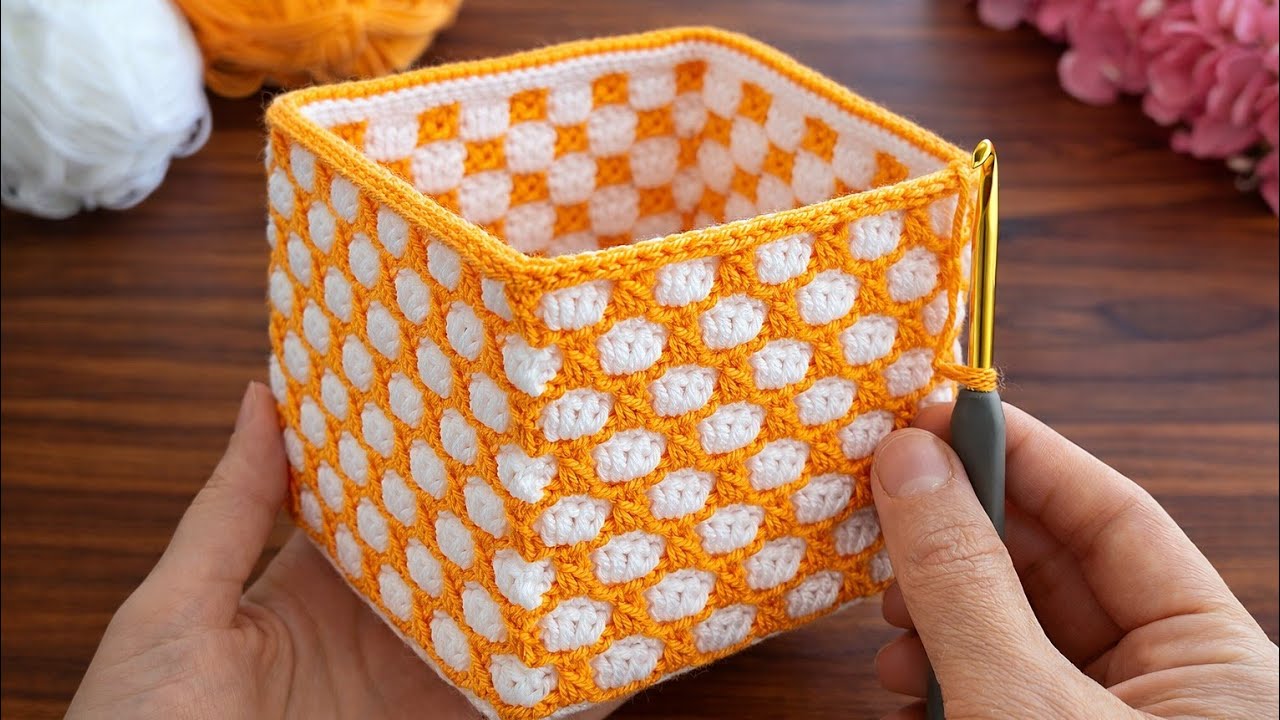
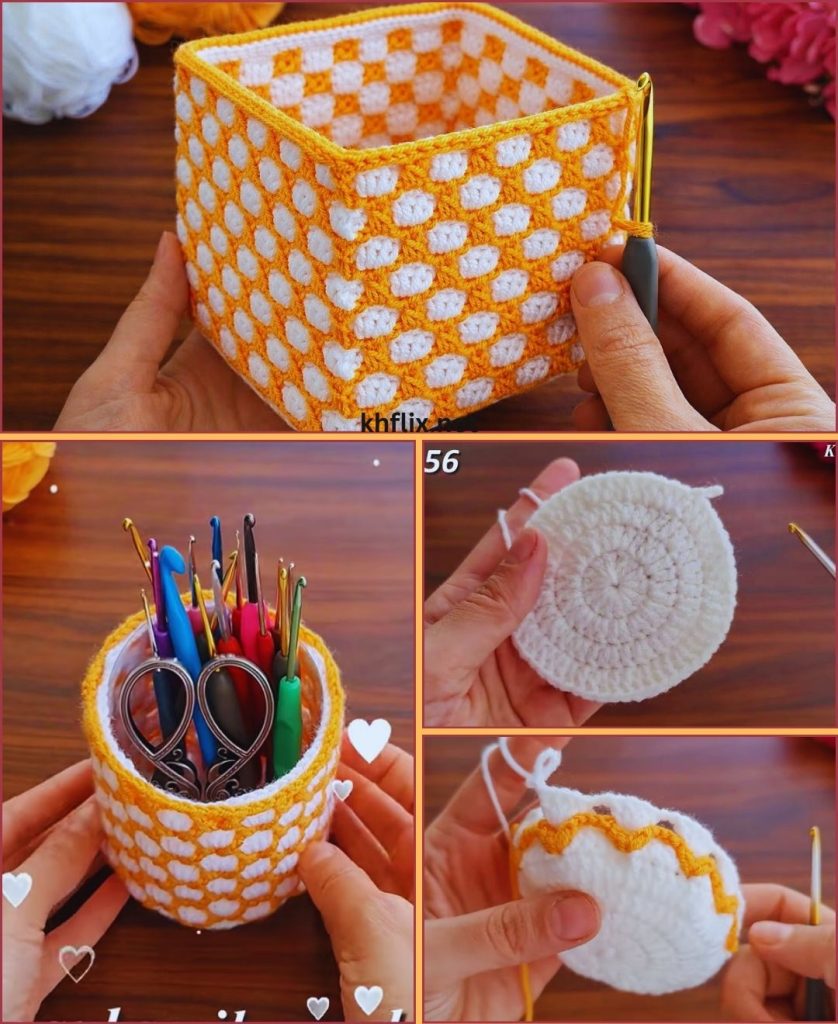
by A crocheted crochet-hook organizer, also known as a tool holder, is a practical and stylish accessory for any crocheter or crafter. Designed to keep hooks, scissors, stitch markers, and other small tools neatly arranged, this organizer is both functional and decorative. Many crocheters create these organizers to fit over jars, cans, or cups, giving structure and stability while adding a handmade touch to their workspace.
This comprehensive guide explains everything you need to know about crocheting a crochet-hook organizer—from choosing the right materials and stitches to construction techniques, customization ideas, and finishing tips.
Why Crochet a Hook Organizer?
Crocheting your own hook organizer offers many benefits:
- Organization: Keeps crochet hooks and tools upright and easy to find
- Customization: Match your favorite colors, yarns, and stitch patterns
- Eco-friendly: Reuse jars or containers instead of buying plastic organizers
- Skill-building: Great practice for working in the round and textured stitches
- Handmade charm: Adds warmth and personality to your craft space
- Gift-worthy: A thoughtful handmade gift for crocheters and crafters
Types of Crochet-Hook Organizers
Before starting, it helps to know the common styles:
- Jar Cover Organizer
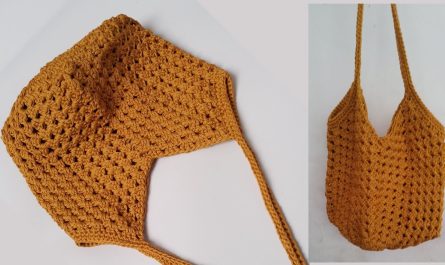
A crocheted sleeve that fits over a glass or plastic jar. This is the most popular and beginner-friendly option. - Standalone Crochet Basket
Crocheted thick and stiff enough to stand on its own without a jar. - Sectioned Tool Holder
Includes inner pockets or dividers for separating hooks by size.
This article focuses mainly on the jar-cover style organizer, as it is the easiest and most practical.
Materials and Supplies Needed
Yarn
- Cotton yarn (recommended): Strong, durable, and holds shape well
- Medium-weight yarn (Worsted / Category 4)
- Avoid very stretchy yarns, as they can lose structure over time
Crochet Hook
- 4.0 mm to 5.0 mm hook (adjust based on yarn thickness and stitch tension)
Additional Tools
- Empty glass jar, tin can, or plastic cup
- Scissors
- Yarn needle
- Stitch markers (optional)
- Measuring tape
Basic Crochet Skills Required
This project is suitable for beginners with basic knowledge of:
- Chain (ch)
- Slip stitch (sl st)
- Single crochet (sc)
- Half double crochet (hdc) or double crochet (dc)
- Working in the round
Step-by-Step Guide to Crocheting a Hook Organizer
Step 1: Measure the Jar or Container
Before starting, measure:
- Base diameter of the jar
- Height of the jar
This ensures your crochet cover fits snugly without slipping.
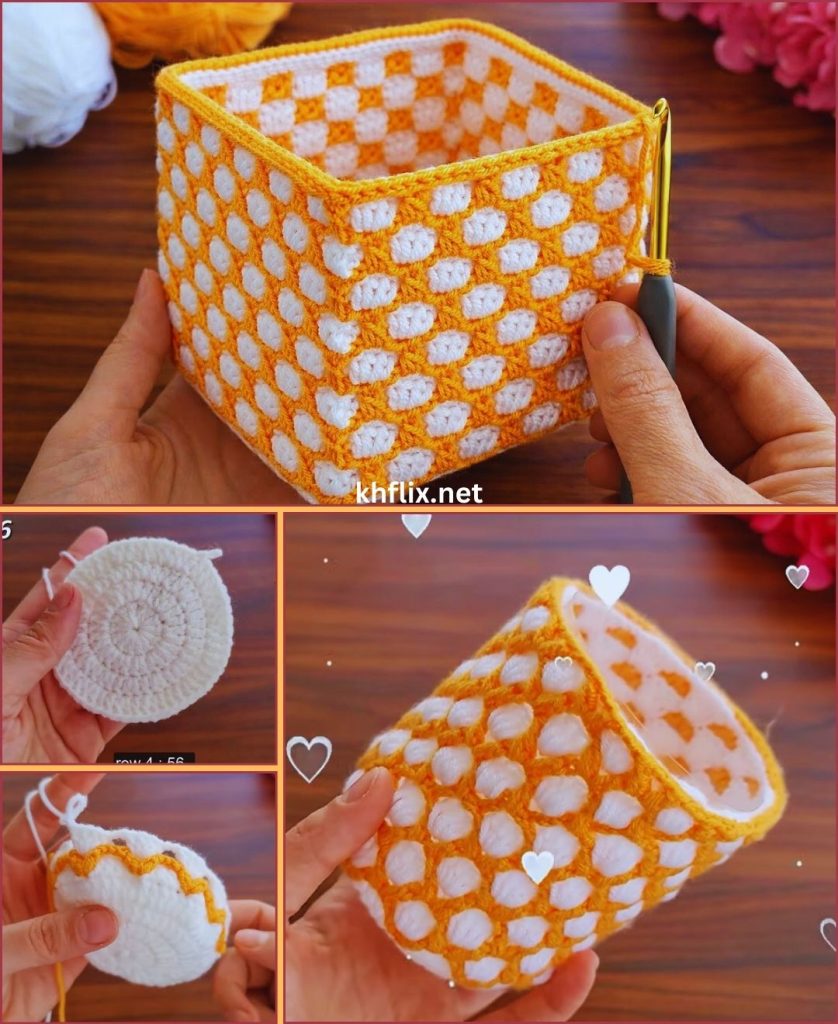
Step 2: Crochet the Base Circle
- Start with a magic ring or chain 4 and join with a slip stitch.
- Work 6–12 single crochet stitches into the ring (depending on yarn thickness).
- Increase evenly in each round to create a flat circle.
- Continue increasing until the circle matches the diameter of the jar base.
Tip: Place the jar on top of your circle to check the size.
Step 3: Build the Side Walls
- Once the base is the correct size, stop increasing.
- Crochet one round in the back loop only to create a sharp edge.
- Continue working even rounds up the sides.
- Use tight stitches (single crochet or textured stitches) to keep the fabric firm.
Common stitch options:
- Single crochet (sturdy and dense)
- Lemon peel stitch (adds texture)
- Basket weave or waffle stitch (decorative and strong)
Step 4: Adjust Height and Fit
- Continue crocheting until the cover reaches the jar’s height
- Test-fit frequently to ensure a snug but not tight fit
- If the cover is loose, switch to a smaller hook or tighten tension
Step 5: Create the Top Edge
Finish the organizer with a neat edge:
- Single crochet edging
- Reverse single crochet (crab stitch)
- Slip stitch round for a clean finish
Fasten off and weave in all loose ends securely.
Adding Extra Features (Optional)
Color Changes
- Add stripes or color blocks
- Use contrasting yarn for the top border
Textured Patterns
- Bobbles or puff stitches for decoration
- Raised stitches for grip and style
Labels or Decorations
- Crochet a small tag
- Add buttons, beads, or appliqués
Making the Organizer Stand Without a Jar
If you prefer not to use a jar:
- Use stiff cotton yarn
- Crochet with very tight tension
- Double the yarn strand
- Insert cardboard or plastic canvas in the base
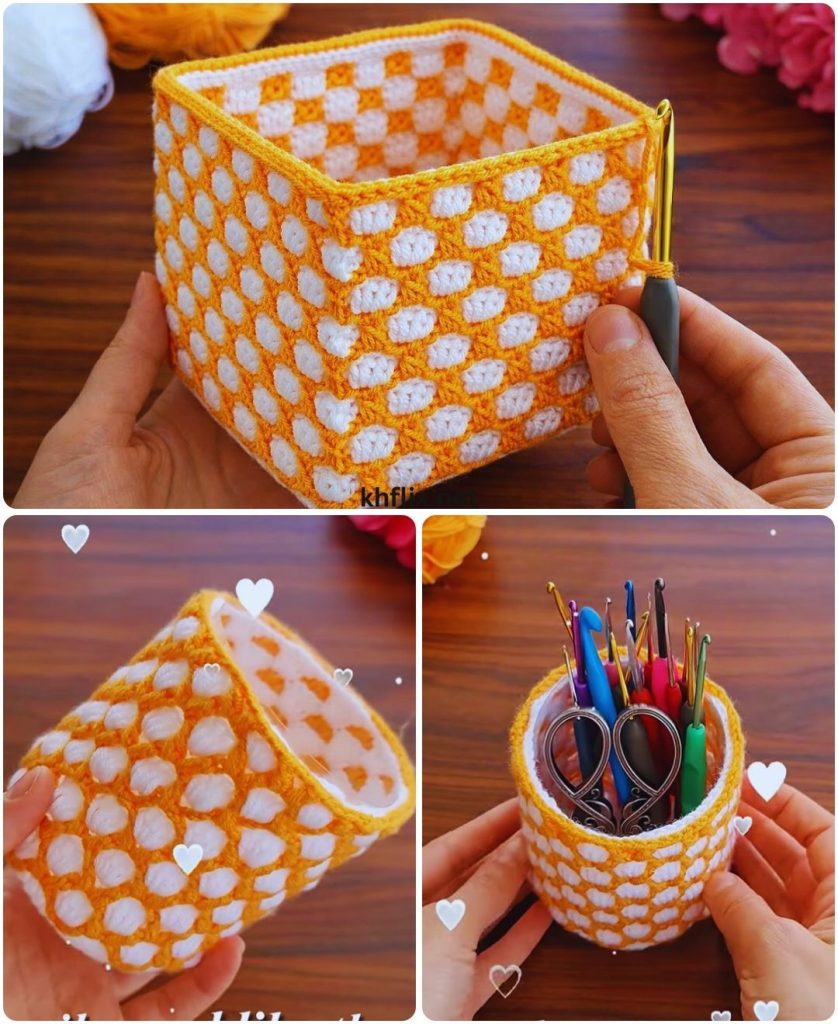
What Can You Store Inside?
This organizer is versatile and can hold:
- Crochet hooks (all sizes)
- Scissors
- Stitch markers
- Yarn needles
- Pens and pencils
- Makeup brushes or paintbrushes
Common Mistakes and How to Avoid Them
- Wavy base: Too many increases—remove stitches
- Bowl-shaped base: Too few increases—add stitches
- Loose fit: Switch to a smaller hook or tighter stitch
- Slouching sides: Use denser stitches or insert a jar
Care and Maintenance
- Hand wash gently in cold water
- Lay flat to dry
- Avoid hanging heavy tools if the yarn is soft
- Keep away from excessive moisture if using a metal jar
Final Thoughts
A crocheted crochet-hook organizer or tool holder is a perfect blend of creativity and practicality. It’s a quick project, ideal for using leftover yarn, and offers endless customization possibilities. Whether you’re organizing your crochet tools, decorating your workspace, or making a thoughtful handmade gift, this project is both satisfying and useful.
With basic stitches, a little patience, and your personal style, you can create a beautiful crochet organizer that keeps your tools tidy and always within reach.
Happy crocheting! 🧶✨