 by
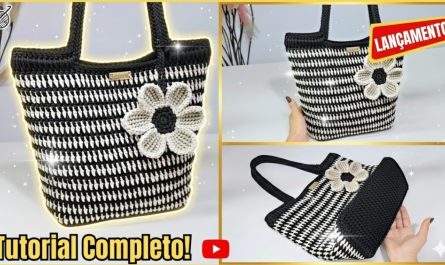
by Crocheting your own pencil case and hook organizer is a rewarding project that combines creativity, practicality, and skill-building. Whether you are a beginner looking to practice basic stitches or an experienced crocheter wanting a useful handmade accessory, this project is both functional and stylish. A crocheted pencil case can store pens, markers, and stationery, while a hook organizer keeps crochet hooks neatly arranged and easy to carry.
This detailed guide will walk you through everything you need to know—from materials and stitch choices to construction techniques and finishing touches.

Benefits of Crocheting Your Own Pencil Case & Hook Organizer
- Customization: Choose your favorite colors, textures, and sizes.
- Eco-friendly: Reusable and handmade, reducing plastic use.
- Skill development: Practice foundational and advanced crochet techniques.
- Perfect gift: A thoughtful handmade present for students, artists, and crafters.
- Organization: Keeps tools tidy and easy to access.
Materials and Tools Required
Before starting, gather the following supplies:
Yarn
- Medium-weight yarn (Category 4 / Worsted weight) works best
- Cotton yarn is ideal for durability and structure
- Acrylic yarn is also acceptable for a softer finish
Crochet Hook
- 4.0 mm to 5.0 mm crochet hook (adjust according to yarn label)
Additional Supplies
- Yarn needle (for weaving in ends)
- Scissors
- Stitch markers (optional)
- Button, zipper, or snap (optional closure)
- Measuring tape

Basic Crochet Stitches You Should Know
This project primarily uses simple stitches, making it beginner-friendly:
- Chain (ch) – Foundation of most crochet projects
- Single Crochet (sc) – Dense and sturdy, ideal for cases
- Half Double Crochet (hdc) – Slightly taller, adds flexibility
- Double Crochet (dc) – Creates a softer, textured fabric
- Slip Stitch (sl st) – Used for joining and edging
Part 1: Crocheting the Pencil Case
Step 1: Create the Foundation Chain
Start by chaining the desired width of your pencil case.
- For a standard case, chain 30–35 stitches
- Ensure the chain fits the length of your pencils or pens
Step 2: Crochet the Base
- Work single crochet stitches into each chain
- Turn your work at the end of each row
- Continue crocheting rows until the rectangle reaches the desired height (usually 10–12 cm)
Step 3: Fold and Shape
- Fold the rectangle in half lengthwise
- Use single crochet or slip stitches to join the sides
- Leave the top edge open
Step 4: Add Closure (Optional)
- Sew on a button and create a loop
- Attach a zipper using a yarn needle
- Add a snap or drawstring for a simple finish
Part 2: Crocheting the Hook Organizer
The hook organizer can be made as a roll-up pouch or a flat case with pockets.
Step 1: Base Panel
- Chain approximately 40–45 stitches
- Single crochet across rows until you reach about 20–25 cm in height
Step 2: Pocket Section
- Crochet a shorter rectangle for pockets
- Attach it to the lower half of the base panel
- Sew vertical lines to create individual hook slots
Step 3: Closure System
- Add a crocheted tie, button strap, or elastic loop
- For a roll-up organizer, attach ties on the sides
Stitch Tips for a Neat Finish
- Keep consistent tension for uniform stitches
- Use tight stitches for durability
- Count stitches regularly to maintain shape
- Block your finished piece if necessary
Customization Ideas
- Color changes: Add stripes or color blocks
- Texture: Use ribbing, bobbles, or waffle stitches
- Personalization: Crochet initials or small motifs
- Lining: Sew fabric lining inside for extra strength
Common Mistakes and How to Avoid Them
- Curling edges: Use a larger hook or looser tension
- Uneven sides: Count stitches every row
- Loose pockets: Reinforce seams with tight stitches
Care and Maintenance
- Hand wash in cold water
- Lay flat to dry
- Avoid excessive stretching
- Store hooks and pencils carefully to maintain shape
Final Thoughts
Crocheting a pencil case and hook organizer is a practical and enjoyable project that allows you to create something both beautiful and useful. It’s perfect for using leftover yarn, experimenting with stitches, and developing confidence in crochet construction. With patience and creativity, you can craft a personalized organizer that reflects your style and keeps your tools perfectly arranged.
Whether you keep it for yourself or gift it to a fellow crafter, this handmade accessory is sure to be cherished.
Happy crocheting! 🧶