 by
by Crocheting a tote bag is one of the most satisfying projects for beginners. With just basic stitches and a little time, you can make a functional, stylish, and personalized tote bag — perfect for carrying books, groceries, or daily essentials.
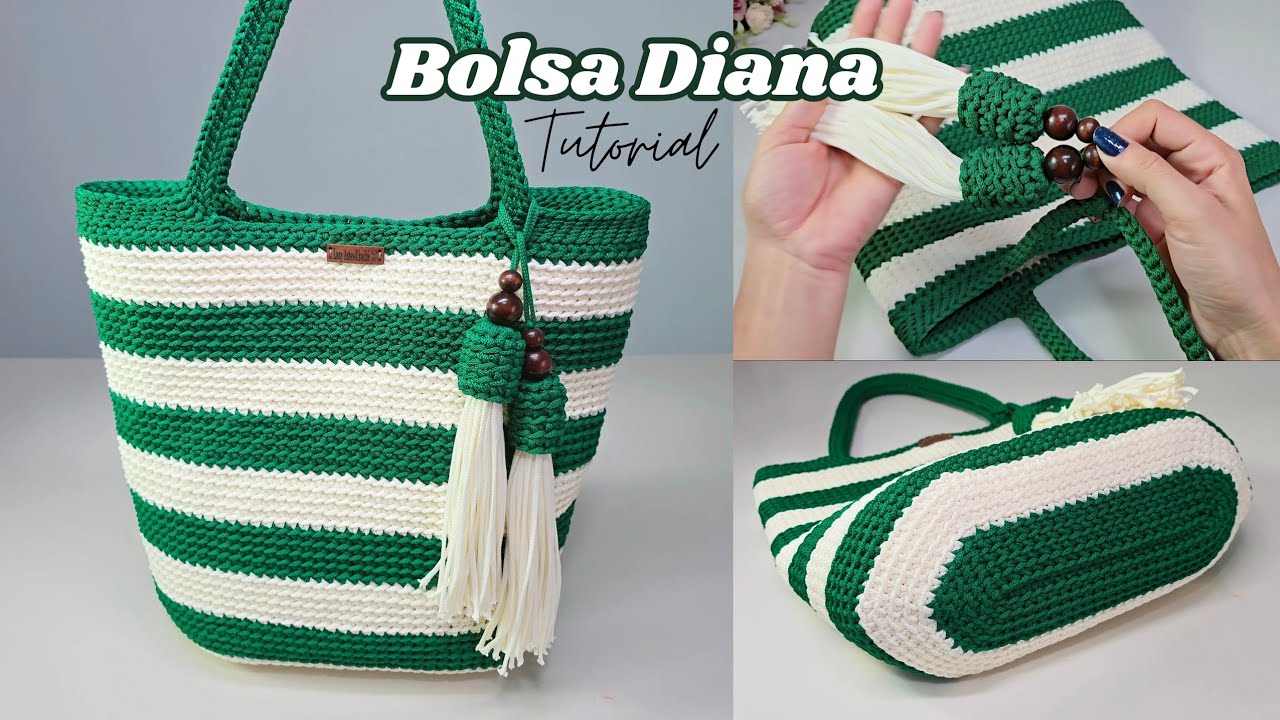
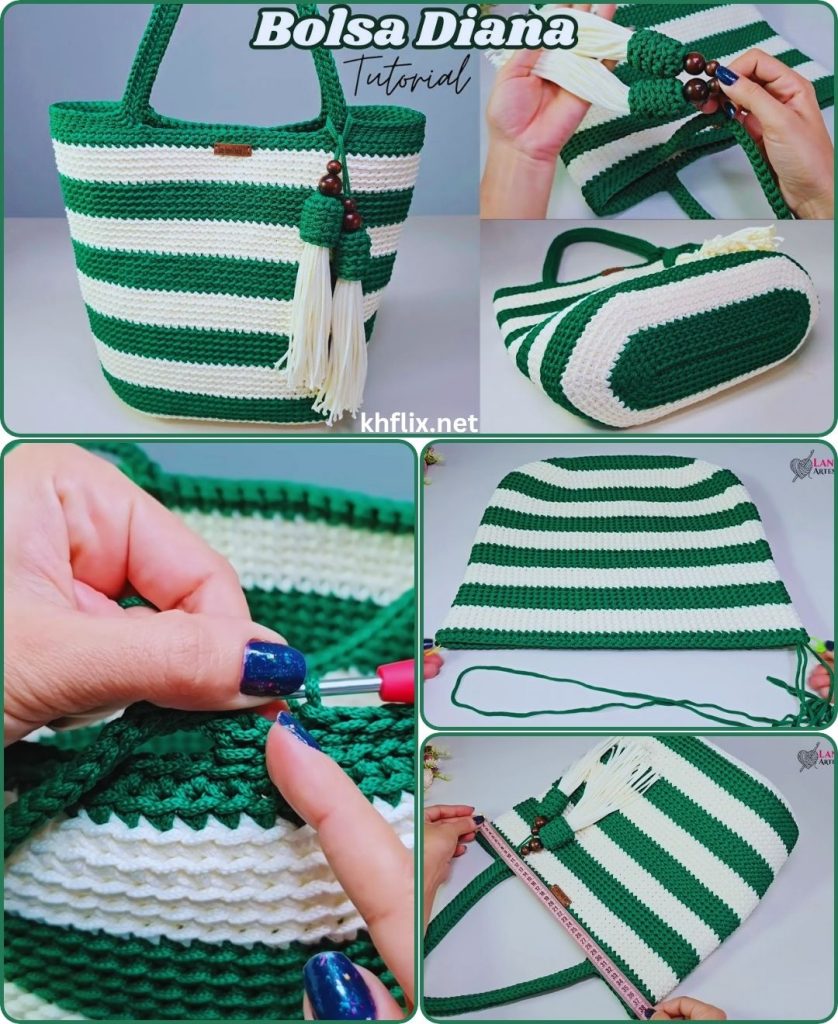
In this tutorial, we’ll create a modern two-color crochet tote bag using simple techniques. This is the perfect project if you’re new to crochet but want to make something useful and trendy.
Let’s dive into the step-by-step guide!
🧵 What You’ll Need
Here’s a list of materials and tools you’ll need to crochet your beginner-friendly two-tone tote bag.
✅ Tools & Supplies:
- Yarn (Two Colors):
- Color A (Main): 150g – Worsted weight (Category 4) cotton yarn
- Color B (Accent): 100g – Contrasting or complementary color
- Crochet Hook: Size 5.0mm (H/8) or recommended on yarn label
- Scissors
- Tapestry Needle
- Stitch Markers (optional but useful for keeping track of rounds)
- Measuring Tape
🧶 Recommended Yarn: Cotton yarn works best for bags as it is durable and holds shape well.
✂️ Basic Crochet Skills Required
This project is perfect for beginners and uses only a few basic stitches:
- Chain (ch)
- Single Crochet (sc)
- Slip Stitch (sl st)
- Half Double Crochet (hdc) (optional for variation)
- Changing Colors (you’ll learn this here too!)
If you don’t know all these yet — no worries. We’ll explain each stitch and process as we go.
👜 Tote Bag Construction Overview
We’ll create the tote bag in three parts:
- Base – worked flat as a rectangle.
- Body – worked in the round from the edge of the base.
- Handles – crocheted into the top edge.
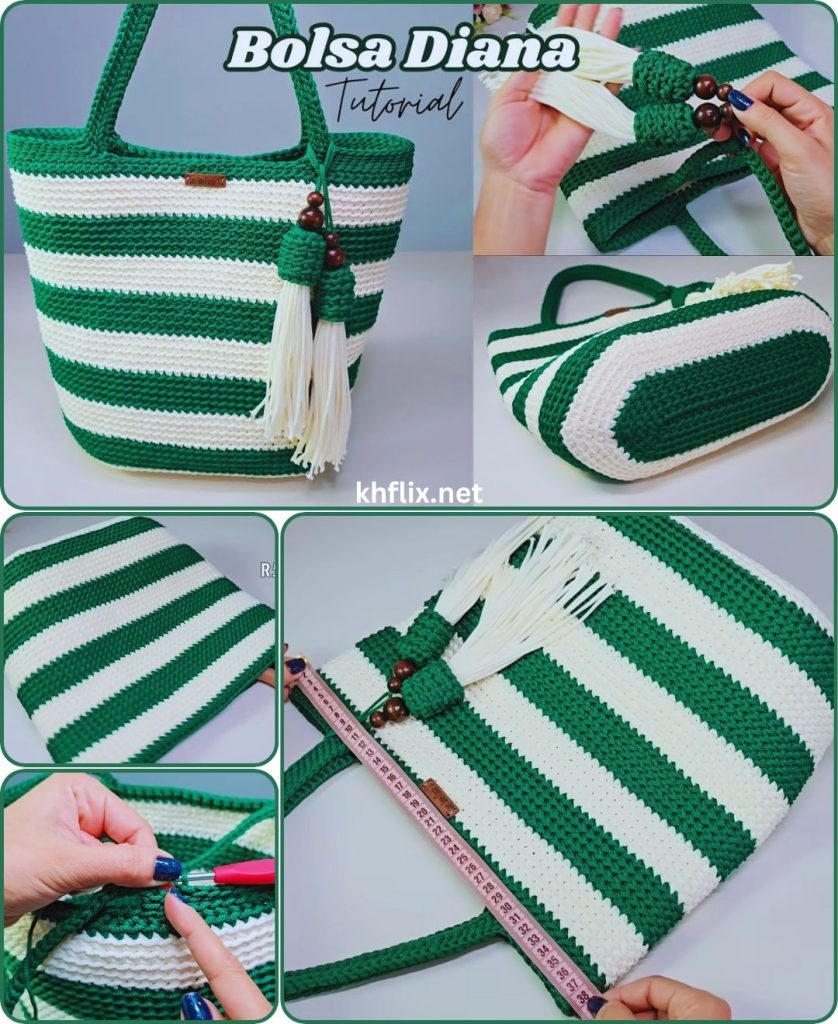
This bag will be approximately 14″ wide x 12″ tall with 20″ handles, but you can adjust it as desired.
🔶 PART 1: CROCHET THE BASE (Color A)
We start with a flat rectangular base in the main color.
Step 1: Foundation Chain
- Using Color A, ch 41 (this gives a base width of ~14 inches; adjust as needed).
Step 2: Row 1
- Sc in 2nd ch from hook and in each ch across (40 sc)
- Ch 1, turn
Step 3: Rows 2–10
- Sc in each stitch across
- Ch 1, turn
- Repeat until you have 10 rows total (adjust if you want a deeper base)
📝 Tip: Make sure your edges stay straight by counting your stitches every few rows.
At the end of Row 10, do not fasten off — we’ll now start working in continuous rounds around the rectangle.
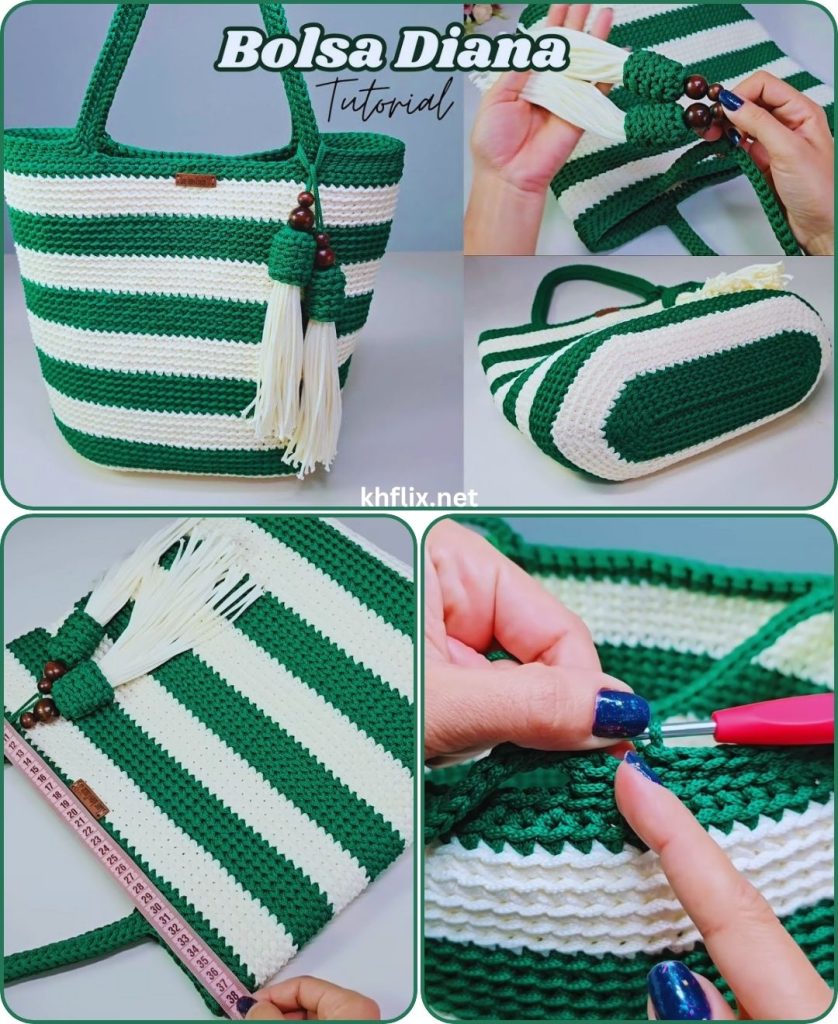
🔷 PART 2: CROCHET THE BODY (Working in Rounds)
We will now crochet around the base to build the bag body upwards.
Step 4: Round 1 – Turning the Base into a Round
- Continue with Color A.
- Sc evenly around all 4 sides of the rectangle:
- 40 stitches along the long edges (2 sides)
- 10 stitches along the short edges (2 sides)
- Place 2 sc in each corner to round the edges
- Sl st to first sc to join. (Total: 100 stitches approximately)
📌 Use a stitch marker to mark the first stitch of each round if you’re continuing in the round.
Step 5: Rounds 2–12 (Color A)
- Sc in each stitch around
- Join each round with a sl st to the first sc
- Ch 1 to begin the next round
Work about 10–12 rounds in Color A to build the lower portion of the bag.
🧶 PART 3: SWITCH TO SECOND COLOR (Color B)
Now we add a color change for the top portion of the bag to create a trendy, two-tone effect.
Step 6: Changing Colors
- In the last stitch of Round 12, start the final sc with Color A, but before finishing the stitch, pull through Color B to complete it.
- Drop Color A (don’t cut it if you want to use it for handles).
- Sl st with Color B to join, ch 1.
Step 7: Rounds 13–24 (Color B)
- Sc in each stitch around
- Join each round with sl st, ch 1 to continue
- Continue until your bag is about 12 inches tall total
📝 Adjust the number of rounds based on how tall you want your tote to be.
🪝 PART 4: CROCHET THE HANDLES
Let’s add simple crocheted handles using chains. Handles are worked as part of the final round.
Step 8: Position the Handles
- Try to place the handles evenly spaced from the side seams.
- Here’s a standard handle setup:
- Sc in next 10 stitches
- Ch 35 (for handle)
- Skip next 15 stitches
- Sc in next 20 stitches
- Ch 35
- Skip next 15 stitches
- Sc in remaining 10 stitches
Step 9: Final Round – Reinforce the Handles
- In the next round, sc in every stitch, and sc across the handle chains as well.
- This reinforces the handle and makes it stronger.
Step 10: Fasten Off
- Sl st to join, cut yarn and weave in all ends with tapestry needle.
🎀 Optional Add-Ons
Here are a few ideas to personalize your tote:
| Add-On | Description |
|---|---|
| Button or Snap Closure | Sew on a snap or magnetic button to keep the bag closed |
| Lining | Add a fabric lining for extra durability |
| Tassel or Pom-Pom | Add some fun flair to your handle |
| Embroidery | Use yarn or thread to stitch your name or a flower |
📏 Size Summary (Adjustable)
| Part | Approximate Size |
|---|---|
| Base | 14″ wide x 3″ deep |
| Height | 12″ |
| Handles | 20″ (10″ drop) |
You can scale this pattern up or down depending on your needs — just adjust your foundation chain and number of rows.
🧺 Care Tips for Crochet Tote Bags
- Washing: Hand wash in cold water; air dry flat.
- Storage: Lay flat or hang; avoid stretching.
- Maintenance: Trim loose yarn ends and reinforce seams if needed.
🥳 You Did It! Your Beginner Crochet Tote Bag is Complete!
You’ve now completed a stylish, two-color crochet tote bag from scratch! Whether you take it shopping, to the beach, or use it daily, your handmade bag is a unique and eco-friendly statement piece.
This is just the beginning — once you’ve made your first tote, you can explore more:
- Add pockets
- Try different textures (e.g., moss stitch, bobbles)
- Experiment with tapestry crochet for patterns
📌 Quick Pattern Recap (At a Glance)
| Section | Technique Used | Color Used |
|---|---|---|
| Base | Single Crochet Rows | Color A |
| Body | Single Crochet in Rounds | Color A/B |
| Handles | Chains + SC Reinforcement | Color B |
| Optional | Button, Lining, Tassels | Your Choice |