 by
by Absolutely! Here’s a long, detailed tutorial on how to make a beautiful crochet tote bag, with a step-by-step pattern, customization options, and practical advice. Whether you’re a confident beginner or an experienced crocheter, this project is ideal for combining function with style.
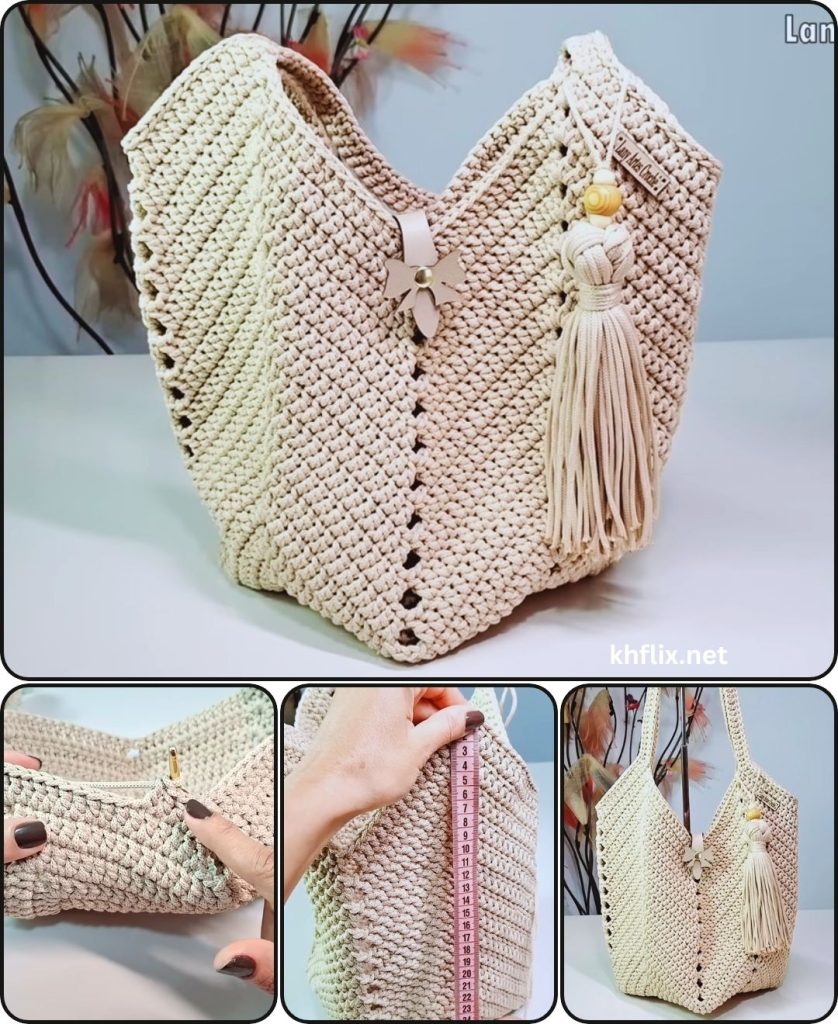
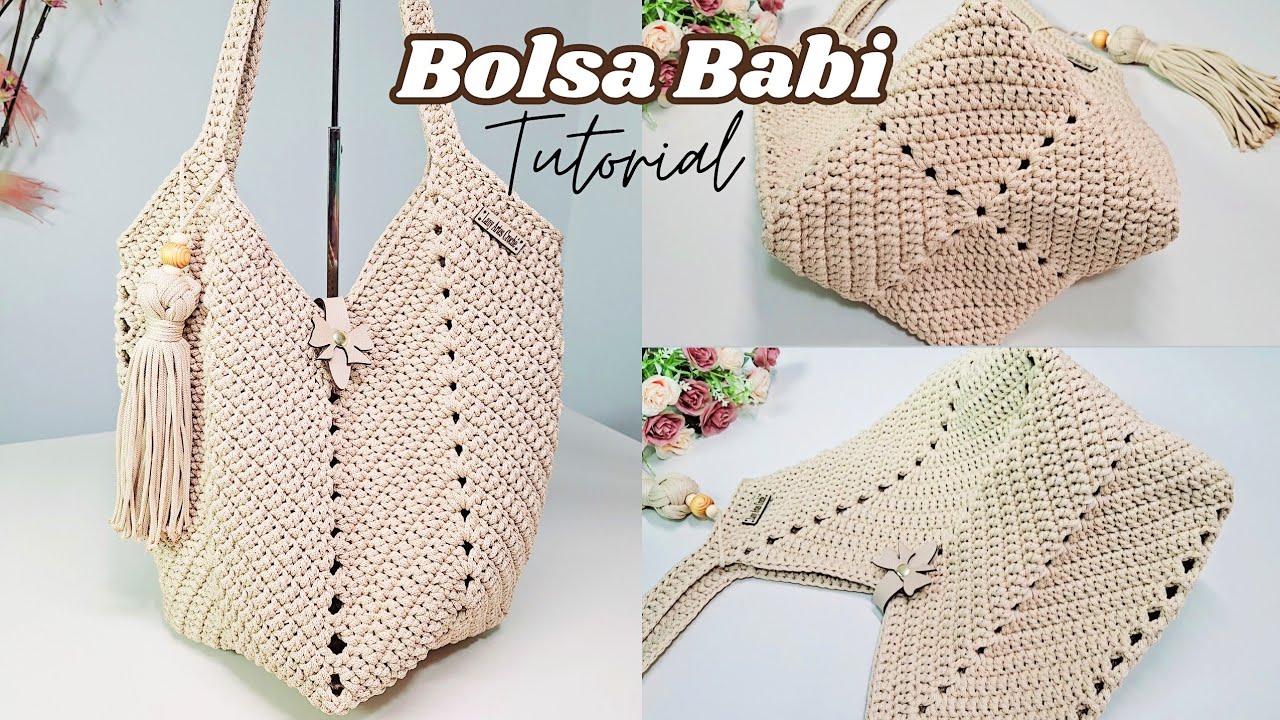
👜 How to Make a Beautiful Crochet Tote Bag | Step-by-Step Pattern (Full Tutorial)
🪡 Introduction
A crochet tote bag is a must-have for every crafter — it’s stylish, functional, eco-friendly, and completely customizable. Whether you’re heading to the market, the beach, or just running errands, a handmade tote bag will carry everything you need — with flair!
In this comprehensive guide, you’ll learn how to:
- Crochet a basic yet elegant tote bag
- Use strong, structured stitches that won’t stretch too much
- Add handles and a lining (optional)
- Customize the size, colors, and texture
🧶 Materials You’ll Need
| Item | Details |
|---|---|
| Yarn | Worsted weight (cotton or cotton-blend recommended) |
| Hook | 4.5 mm or 5.0 mm crochet hook |
| Scissors | For cutting yarn |
| Yarn needle | For weaving in ends |
| Stitch markers | Optional, for marking rounds or stitch counts |
| Optional extras | Fabric lining, magnetic snap/button, bag handles |
💡 Cotton yarn is best because it’s sturdy, washable, and has minimal stretch.
✨ Skill Level: Beginner to Intermediate
You should be comfortable with:
- Working in rounds and rows
- Basic stitches like chain, single crochet, and double crochet
- Reading simple pattern repeats
🔤 Stitches & Abbreviations Used
| Abbreviation | Stitch Name |
|---|---|
| ch | chain |
| sc | single crochet |
| hdc | half double crochet |
| dc | double crochet |
| sl st | slip stitch |
| st(s) | stitch(es) |
| BLO | back loop only |
🧵 Crochet Tote Bag Pattern (Step-by-Step)
🎯 Finished Dimensions
- Width: ~14 inches (36 cm)
- Height: ~12 inches (30 cm)
- Strap Length: 18–22 inches (adjustable)
- Easily resized to be smaller or larger

🔹 Step 1: Crochet the Bag Base (Oval Bottom)
We’ll begin by crocheting a flat oval base. This gives your tote a wide, structured bottom.
Rnd 1:
- Ch 25 (or desired width of the bag base)
- Sc in 2nd ch from hook and across to last ch (24 sc)
- In the last ch, 3 sc (turning around to work the other side)
- Sc across the other side of the chain (22 sc), 2 sc in last ch
- Sl st to first sc to join (total: 50 sc)
Rnd 2:
- Ch 1, sc in same st, sc in next 22 sts
- 2 sc in next 3 sts (the curve)
- Sc in next 22 sts
- 2 sc in next 2 sts
- Sl st to join (56 sc)
Rnd 3:
- Repeat increase pattern at ends:
- Sc around, adding 2 sc into each stitch at the curve
- Keep sides even (no increases)
- Sl st to join
👉 Continue until base reaches about 14 inches long.
🔹 Step 2: Build the Bag Body
We’ll now crochet upward in rounds to form the walls of the tote.
Rnd 1 (Foundation Wall):
- Ch 1, sc in BLO of each st around
- This helps the sides stand up cleanly
- Sl st to join
Rnds 2–30 (or desired height):
- Ch 2, dc in each stitch around
- Sl st to join
🧵 You can alternate between dc, sc, or hdc rows for texture.
For a lacy summer look, try dc, ch 1, skip 1 pattern on alternate rows.
🔹 Step 3: Add Color or Texture (Optional)
Option 1: Striped Tote
- Change yarn colors every 3–4 rows
- Carry yarn up the inside or fasten off each color
Option 2: Textured Stitch Pattern
Try these:
- Granite stitch (sc, ch 1, skip 1)
- Moss stitch
- Shell stitch (5 dc in one st, skip 2)
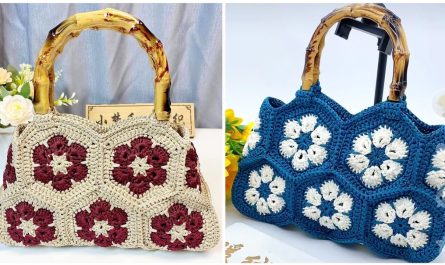
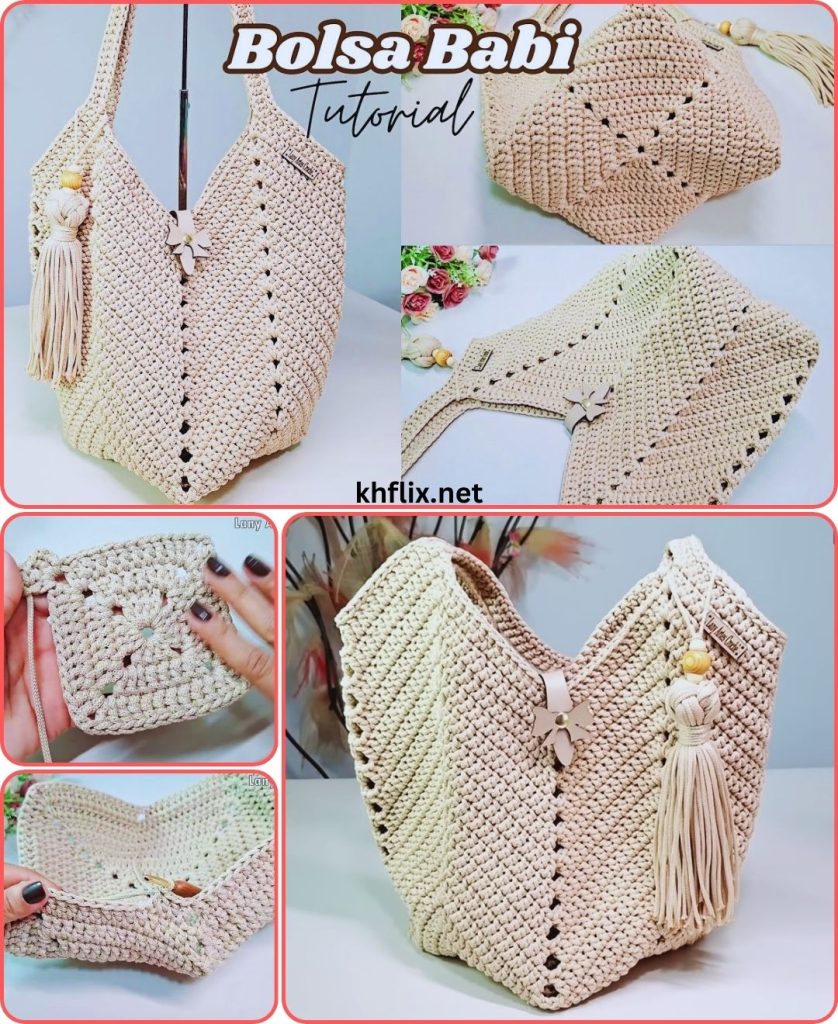
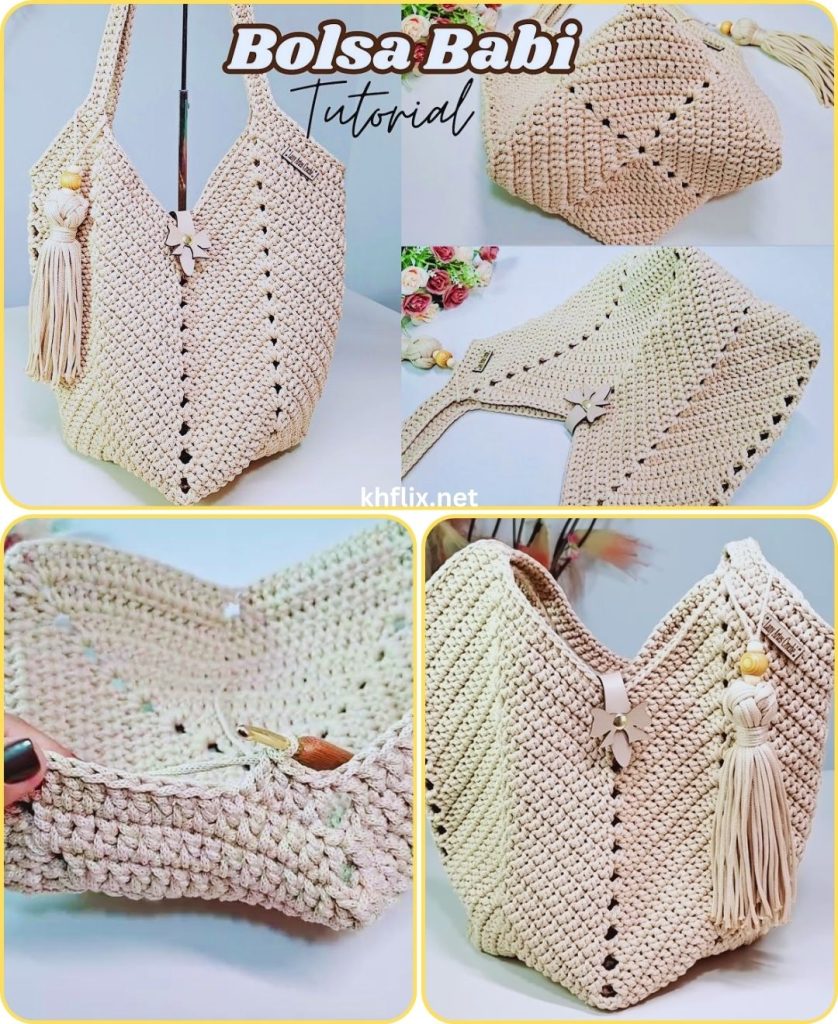
You can even make granny square panels and attach them!
🔹 Step 4: Create the Handles
You can crochet your own straps or attach pre-made ones.
Option 1: Built-in Crochet Straps
From the last round of the bag:
- Ch 1, sc in next 10 sts
- Ch 50 (for long strap) or 30 (for short)
- Skip 15–20 sts, sc in next 10
- Repeat for other side
- Next round: sc in each st and across chs
- Repeat 2–3 rows for strong straps
Option 2: Separate Strap (Stronger)
- Ch 80–100, turn
- Sc in each st for 4–6 rows to create a long strap
- Sew ends securely to inside edges of the bag with a yarn needle
🧵 For durability, double the strap or use a leather strap kit.
🔹 Step 5: Optional — Add a Fabric Lining
If you want to prevent stretching or hold small items better:
- Cut fabric to match bag shape + ½ inch seam allowance
- Sew sides and bottom to form a pouch
- Tuck inside bag and hand sew along the top edge with needle and thread or fabric glue
🪡 Add a zipper, magnetic snap, or button for closure.
🎨 Customization Ideas
| Element | Options |
|---|---|
| Color | Solid, striped, ombré, seasonal tones |
| Texture | Use bobbles, shells, puff stitches |
| Embellishments | Tassels, pom-poms, appliqués, beads |
| Bottom Shape | Try a round base instead of oval |
| Closure | Add flap, drawstring, or button |
| Strap Type | Short handles, crossbody, shoulder |
🧮 Size Adjustments
- To make a larger tote: Start with a longer base chain, and increase more rounds in the bottom
- To make it smaller: Reduce base chain and fewer height rounds
- For a mini handbag: Use thinner yarn and smaller hook
🧵 Pattern Summary (Quick Recap)
- Base – Oval using sc + increases
- Sides – dc or textured stitches in rounds
- Handles – Built-in or separate crochet straps
- Lining (optional) – Fabric pouch sewn inside
- Decorate – Add stripes, buttons, beads, flowers, etc.
🧺 Care Instructions
- Use washable yarn (cotton is best)
- Hand wash or machine wash on delicate
- Lay flat to dry
- Avoid stretching when wet
💬 FAQs
Q: Will the bag stretch too much?
A: If made with cotton yarn and dense stitches (like sc or hdc), stretch will be minimal. Adding a lining can prevent sagging.
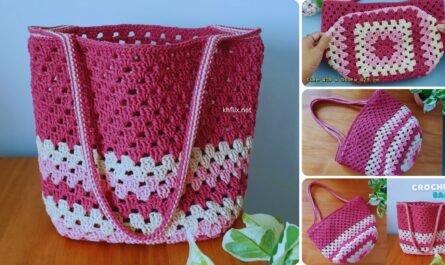
Q: Can I use granny squares instead?
A: Absolutely! Make 2–4 granny squares and stitch them together to form the bag body.
Q: Can I make this bag without a lining?
A: Yes. Just use tight stitches and avoid large gaps.
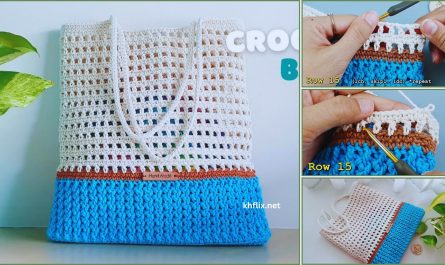
🌟 Bonus Variation: Summer Mesh Tote
Try using chain spaces and dc to make a breezy, market-style tote:
Rnd: Ch 4 (counts as dc + ch 1), *skip 1 st, dc in next, ch 1*
Repeat around. Sl st to join.
Repeat this pattern for the body of the tote. Perfect for beach trips or groceries!
🧶 Final Thoughts
Crocheting your own beautiful tote bag is one of the most satisfying and useful projects out there. With endless opportunities for color, texture, and customization, every tote bag becomes uniquely yours.
Whether you’re heading to the beach, a farmer’s market, or just want a handmade accessory, this pattern gives you the foundation to create a fashionable, durable, and personal bag that you’ll love using every day.