 by
by Crocheting your own bag is one of the most exciting and rewarding projects, especially if you are just starting your crochet journey. A super easy and beautiful crochet bag is not only practical but also stylish, eco-friendly, and completely customizable. The best part? You don’t need advanced skills or complicated patterns to create something that looks elegant and professional.
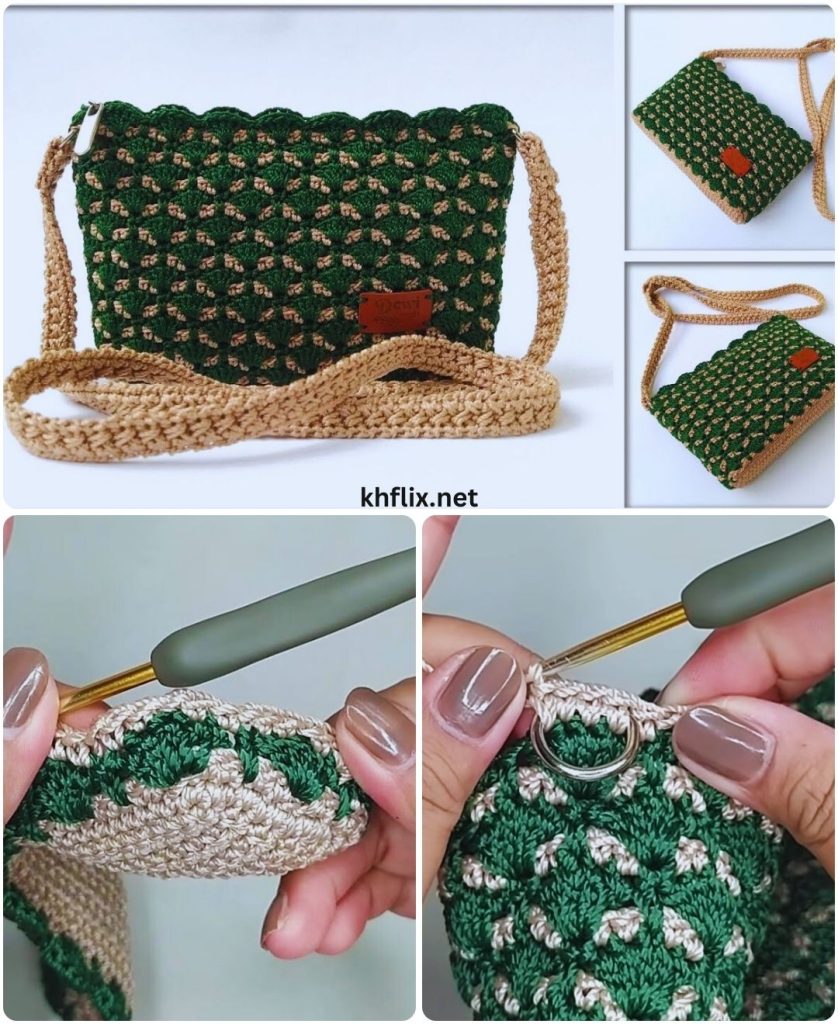
In this long, beginner-friendly article, you’ll learn how to crochet a beautiful bag step by step, including materials, stitches, construction, tips, and creative variations—all explained in simple and clear language.
Why Crochet a Bag as a Beginner?
A crochet bag is a perfect beginner project because:
✔ Uses basic stitches
✔ Easy to customize size and shape
✔ No strict sizing rules
✔ Quick and satisfying results
✔ Practical and reusable
✔ Great handmade gift idea
Once you complete one bag, you’ll feel confident to try many more designs.
Choosing the Right Materials
Best Yarn for Beginner Crochet Bags
Yarn choice is very important for a successful bag.
Recommended yarns:
- Cotton yarn (best choice – strong and low stretch)
- Cotton-blend yarn
- T-shirt yarn (for sturdy bags)
- Medium-weight yarn (worsted)
💡 Tip: Avoid very stretchy or fuzzy yarns when starting.
Crochet Hook Size
- Use the hook size recommended on your yarn label
- Common beginner sizes: 4 mm – 5.5 mm
- A slightly smaller hook creates tighter stitches and a stronger bag
Additional Supplies
- Scissors
- Yarn needle
- Stitch markers
- Measuring tape
- Optional: buttons, magnetic snap, zipper, lining fabric
Basic Crochet Stitches You Will Use
This super easy crochet bag tutorial uses only beginner stitches:
- Chain (CH)
- Single Crochet (SC)
- Half Double Crochet (HDC)
- Double Crochet (DC)
- Slip Stitch (SL ST)
You do not need to learn complex techniques.
Bag Style for Beginners
The easiest bag style for beginners is a simple tote bag:
- Rectangular or square base
- Straight sides
- Simple handles
This style is forgiving and very easy to adjust.

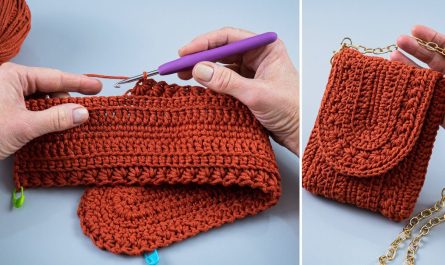
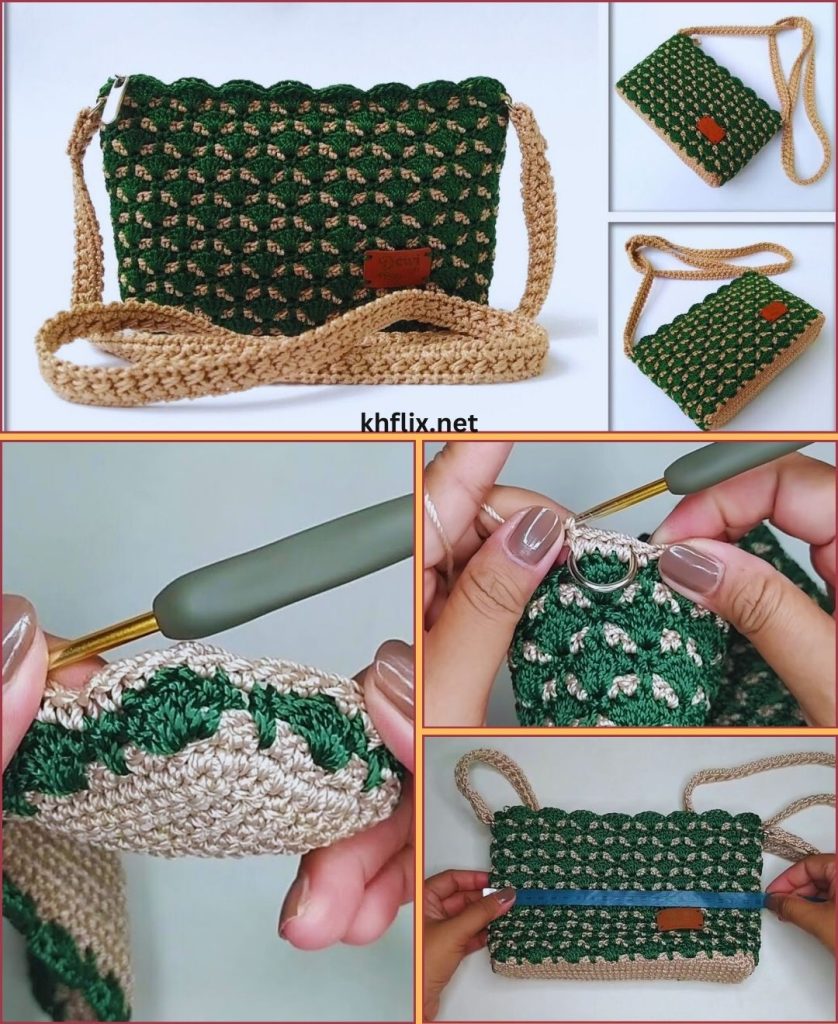
Step-by-Step: How to Crochet a Super Easy Beautiful Bag
Step 1: Crochet the Base
Option 1: Rectangular Base (Easiest)
- Chain the width of your bag (for example, 30 chains)
- Crochet single or half double crochet into each chain
- Turn your work and repeat
- Continue until the base reaches your desired length
This flat rectangle will be the bottom of your bag.
Step 2: Start the Bag Sides
- Do one round in the back loop only (BLO)
- This creates a sharp edge and helps the bag stand
- Continue crocheting around the base without increasing
Your bag will start to form its shape naturally.
Step 3: Crochet the Bag Body
- Crochet evenly using your chosen stitch
- Keep your tension consistent
- Continue until the bag reaches your preferred height
💡 Tip: Half double crochet creates a smooth and elegant texture.
Step 4: Shape the Bag (Optional)
- Keep stitches even for straight sides
- Add slight increases for a wider opening
- Add decreases for a tapered shape
Beginners should keep it simple and straight.
Step 5: Create the Handles
Handles are essential for both comfort and style.
Easy Crochet Handles
- Mark handle positions
- Chain the desired handle length
- Skip stitches and reattach with single crochet
- Crochet multiple rows over the handle chains to strengthen them
💡 Tip: Reinforce handles well to prevent stretching.
Step 6: Finish the Top Edge
- Crochet one or two rounds of single crochet
- Or add a decorative stitch like crab stitch
- Fasten off and weave in all loose ends
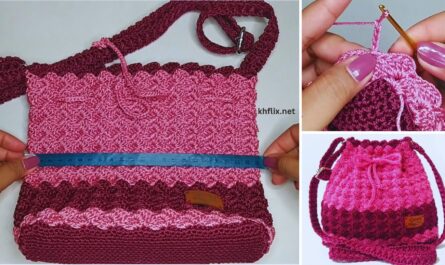
Optional Additions for a Beautiful Look
You can make your bag even more attractive by adding:
- Color stripes or color blocks
- Crochet flowers or appliqués
- Tassels or fringe
- Wooden or leather handles
- Buttons or magnetic closures
Adding a Lining (Optional but Recommended)
A fabric lining:
✔ Prevents stretching
✔ Keeps small items from falling out
✔ Gives a professional finish
A simple cotton lining can be hand-sewn or machine-sewn.
Beginner Tips for Success
✔ Use cotton yarn
✔ Crochet tightly for strength
✔ Count stitches regularly
✔ Reinforce stress points
✔ Practice on a small swatch first
Common Beginner Mistakes to Avoid
❌ Loose stitches
❌ Weak handles
❌ Stretchy yarn
❌ Skipping the BLO round
❌ Not weaving in ends securely
How to Care for Your Crochet Bag
- Hand wash gently
- Use mild detergent
- Lay flat to dry
- Avoid heavy loads for long periods
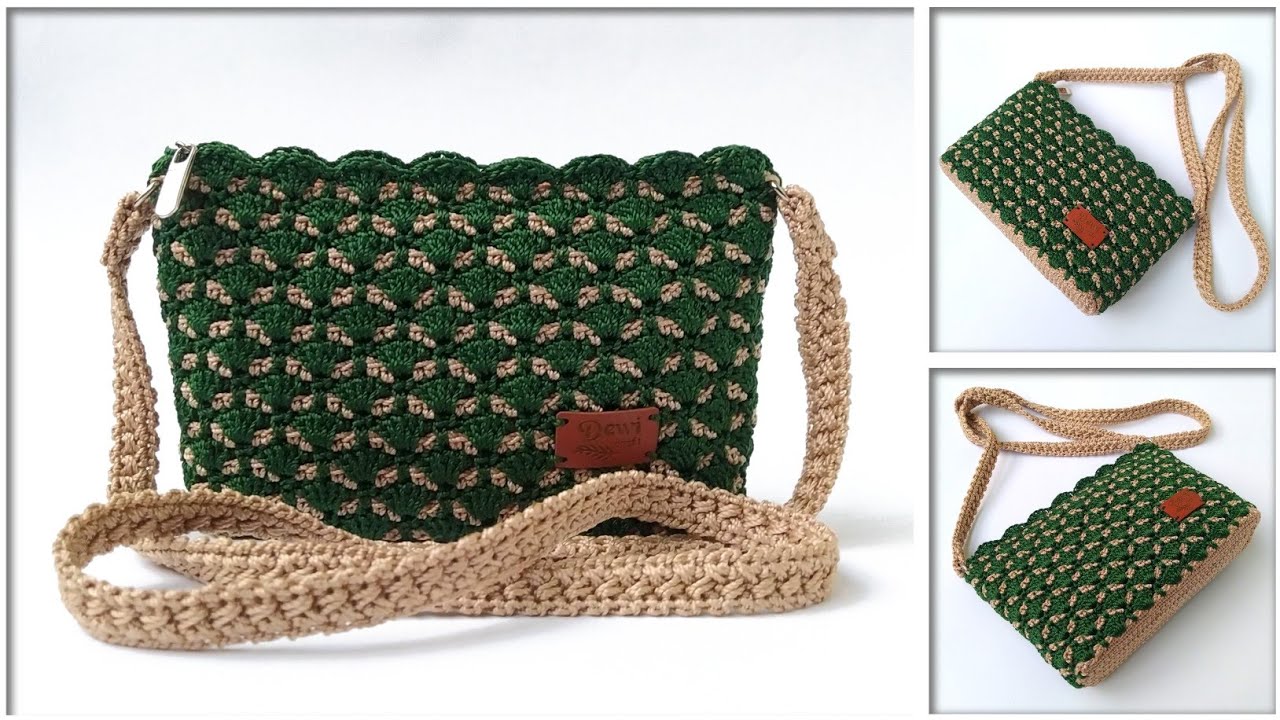
Why This Crochet Bag Is Beautiful and Easy
✔ Simple stitch pattern
✔ Clean shape
✔ Elegant texture
✔ Works in any color
✔ Suitable for daily use
Even with basic stitches, the final result looks stylish and handmade with care.
Final Thoughts
This super easy beautiful crochet bag tutorial for beginners proves that you don’t need complicated patterns to create something amazing. With the right yarn, simple stitches, and clear steps, you can crochet a bag that is functional, fashionable, and uniquely yours.
Whether you make it for yourself, as a gift, or even to sell, this beginner-friendly crochet bag is a project you’ll be proud to complete—and one you’ll want to make again and again.
Happy Crocheting 🧶✨