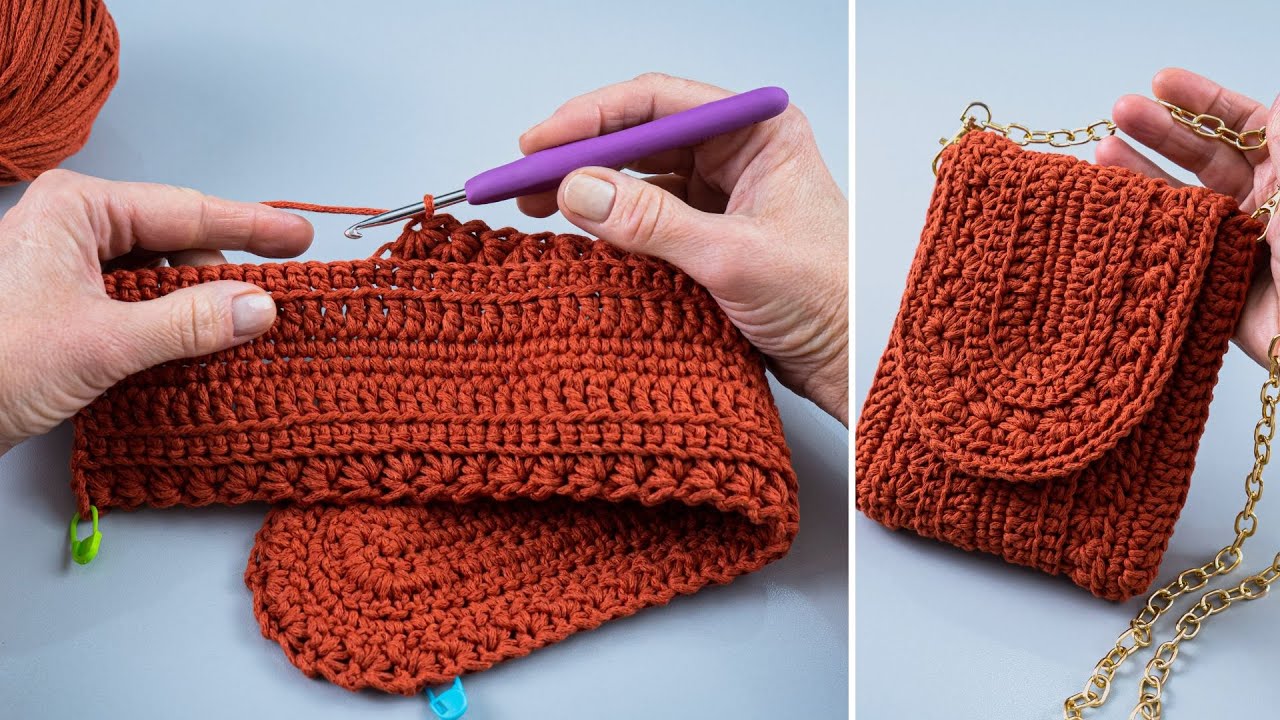
Let’s get you crocheting a super cute mini bag quickly and easily! This project is perfect for beginners and works up fast, making it a satisfying and practical make. You can use it for coins, earbuds, lip balm, or as a charming little gift.
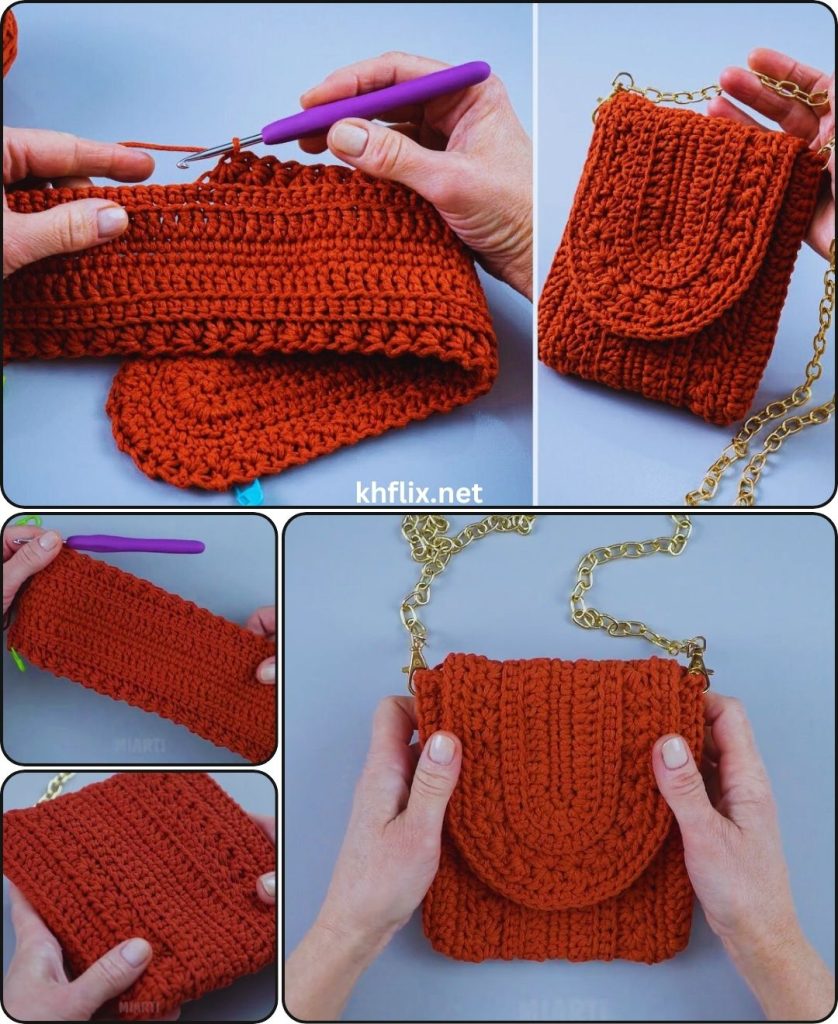
How to Crochet a Mini Bag Quickly and Easily: Beginner Tutorial!
This detailed guide will walk you through each step of creating a small, functional mini bag. We’ll start with a simple oval base, build up the sides, and then add a drawstring closure for quick and easy access.
Skill Level: Absolute Beginner Friendly!
This project is ideal if you’re ready to learn or practice:
- Chain (ch): The fundamental starting stitch.
- Slip Stitch (sl st): Used for joining stitches and rounds neatly.
- Single Crochet (sc): A compact, dense stitch, great for sturdy bags.
- Working in rounds: Crocheting in a circular motion to build height.
- Fastening off: The way to secure your yarn so your hard work doesn’t unravel.
- Weaving in ends: The essential final step for a clean, professional finish.
Finished Mini Bag Dimensions (Approximate):
Using worsted weight yarn and the suggested hook, your finished mini bag will typically be:
- Base: 3-4 inches (7.5-10 cm) wide by 1.5-2 inches (4-5 cm) deep (oval shape)
- Height: 4-5 inches (10-12.5 cm) (excluding the drawstring ties)
These dimensions are easily adjustable! Want a slightly bigger bag? Start with a longer chain for the base. For a taller bag, simply add more rounds to the body.
Materials You’ll Need:
Gathering your supplies before you begin ensures a smooth and enjoyable crocheting session!
- Yarn: A small amount (approx. 50-75 yards / 45-68 meters) of Worsted Weight (Medium #4) Cotton or Acrylic Yarn.
- Why Worsted Weight? It’s easy to work with and creates a sturdy fabric for the bag. Cotton is durable, while acrylic comes in a wide variety of colors. Choose any color you love!
- Crochet Hook: Size H/5.0mm. This hook size works well for worsted weight yarn, creating a dense enough fabric for a mini bag.
- Yarn Needle (Tapestry Needle): Essential for weaving in yarn tails and threading the drawstring.
- Scissors: Any sharp pair for cutting your yarn.
- Stitch Marker (Optional but Recommended): Very helpful for marking the beginning of each round, especially when you’re working the base in a continuous spiral.
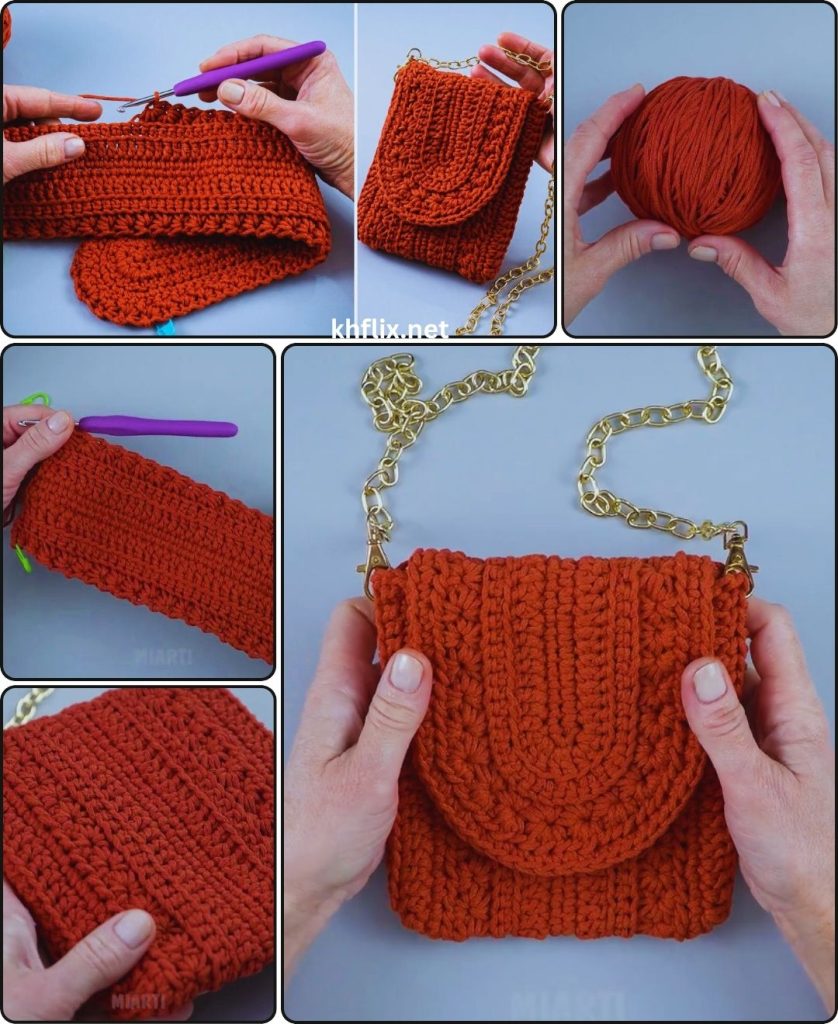
Let’s Crochet Your Mini Bag!
We’ll build this bag from the bottom up: creating an oval base, then building the sides, and finally adding the drawstring.
Part 1: The Oval Base
You’ll start by making a flat, sturdy oval shape. This is done by working single crochet stitches around a starting chain. We’ll work in continuous rounds for the base to avoid a visible seam.
- Starting Chain:
- Make a slip knot with your yarn.
- Chain (ch) 9. (This chain length determines the initial length of your bag’s base. For a wider base, chain more stitches; for a narrower one, chain fewer. An odd number of chains generally works well for this oval base method.)
- Round 1 (Working Around the Chain):
- Work 2 single crochet (sc) stitches into the 2nd chain from your hook.
- To make an
sc: Insert your hook into the designated chain, yarn over, pull up a loop (2 loops on hook), yarn over, pull through both loops on your hook.
- To make an
- (Optional: Place your stitch marker in the first sc you just made. This will be the first stitch of your round for easy tracking.)
- Work 1 sc into each of the next 6 chains.
- In the last chain (which is the 9th chain from your hook): Work 4 sc stitches into this single chain. This helps you smoothly turn the corner around the end of your chain.
- Now, you’ll work back down the other side of your starting chain, crocheting into the bottom loops (the unworked loops) of each chain.
- Work 1 sc into each of the next 6 stitches.
- In the last stitch (this will be the same chain where you placed your very first 2 sc): Work 2 sc stitches into this chain. This finishes turning the other corner and brings you back to where you started the round.
- You should now have a total of 20 sc stitches (2 + 6 + 4 + 6 + 2 = 20). Important: Do NOT join with a slip stitch yet. For the base, you’ll work in continuous rounds (like a spiral) to avoid a visible seam and create a sturdier foundation.
- Work 2 single crochet (sc) stitches into the 2nd chain from your hook.
- Round 2 (Continuing the Oval Shape):
- Work 2 sc into the very first stitch of the round (this is the stitch marked by your stitch marker).
- (If using, move your stitch marker to this new first sc of the round.)
- Work 1 sc into the next stitch.
- Work 1 sc into each of the next 6 stitches.
- Work 2 sc into each of the next 3 stitches. (These are the increases on one of the rounded ends).
- Work 1 sc into each of the next 6 stitches.
- Work 2 sc into each of the next 2 stitches. (These are the increases on the other rounded end).
- You should now have 26 sc stitches.
- Stop here! When you finish the last sc of this round, remove your stitch marker.
- Slip stitch (sl st) into the first sc of this round to join. This completes your oval base neatly and prepares you for working straight up the sides of the bag.
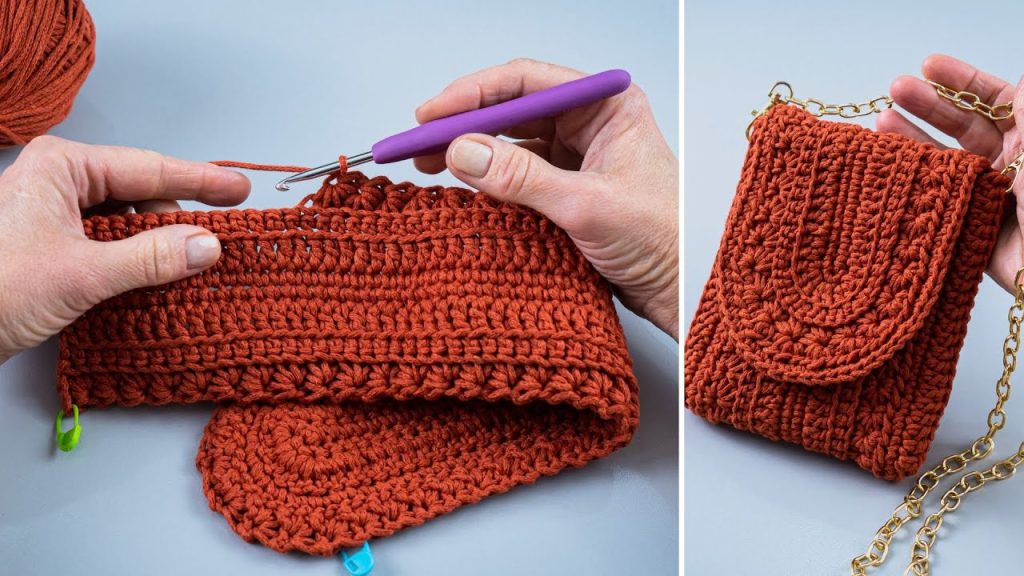
Part 2: Building the Body of the Mini Bag
Now, you’ll work straight up from the finished base to create the main walls of your mini bag. We’ll use a single crochet for the first body round to define a crisp edge, then continue with single crochet for the rest of the body for a very dense and sturdy fabric, perfect for a small bag. You’ll work in joined rounds to keep a neat, vertical seam.
- Round 3 (First Side Round – Defining the Edge):
- Chain 1 (ch 1 – this does NOT count as a stitch; it just gives height).
- Work 1 single crochet (sc) into the back loop only (BLO) of each stitch around the entire round. (26 sc)
- Why BLO? Working into the back loop creates a distinct, visible ridge on the outside of the bag. This ridge helps the bag’s sides stand up straight from the base, giving it a crisp, defined bottom, rather than a rounded one.
- Slip stitch (sl st) into the first sc of the round to join.
- Rounds Onwards (Body Height – Single Crochet):
- Chain 1 (ch 1 – does NOT count as a stitch).
- Work 1 sc into each stitch around the round. (Your stitch count remains the same as the previous round: 26 sc).
- Slip stitch (sl st) into the first sc of the round to join.
- Repeat this round (working 1 sc in each stitch around) until your mini bag reaches your desired height. For the approximate dimensions given, you’ll want to do about 12-15 more rounds (for a total of 15-18 rounds for the body, including Round 3).
- The height is entirely a personal preference. Hold it up as you go and see if you like the look and feel.
Part 3: Creating the Drawstring Opening
This section adds the top edge where your drawstring will pass through, allowing you to close your bag.
- Round (Drawstring Eyelets):
- Chain 2 (ch 2 – this counts as your first half double crochet (hdc) of the round).
- To make an
hdc: Yarn over, insert hook into stitch, yarn over, pull up a loop (3 loops on hook), yarn over, pull through all 3 loops on hook.
- To make an
- Work 1 hdc into the next stitch.
- *Chain 1 (ch 1).
- Skip the next stitch.
- Work 1 hdc into each of the next 2 stitches.*
- Repeat from * to * around the entire round. You should end with
ch 1, skip 1 stitch, hdc in last stitch. - Slip stitch (sl st) into the top of the beginning ch 2 to join. (You’ll have a series of hdc groups separated by chain-1 spaces, forming little holes for the drawstring.)
- Chain 2 (ch 2 – this counts as your first half double crochet (hdc) of the round).
- Round (Drawstring Edging):
- Chain 1 (ch 1 – does not count as a stitch).
- Work 1 sc into each hdc stitch and 1 sc into each chain-1 space around the entire round. This creates a neat, solid top edge for your bag. (Your stitch count should be back to 26 sc).
- Slip stitch (sl st) into the first sc of the round to join.
- Fasten off, leaving a 6-inch (15 cm) tail for weaving.
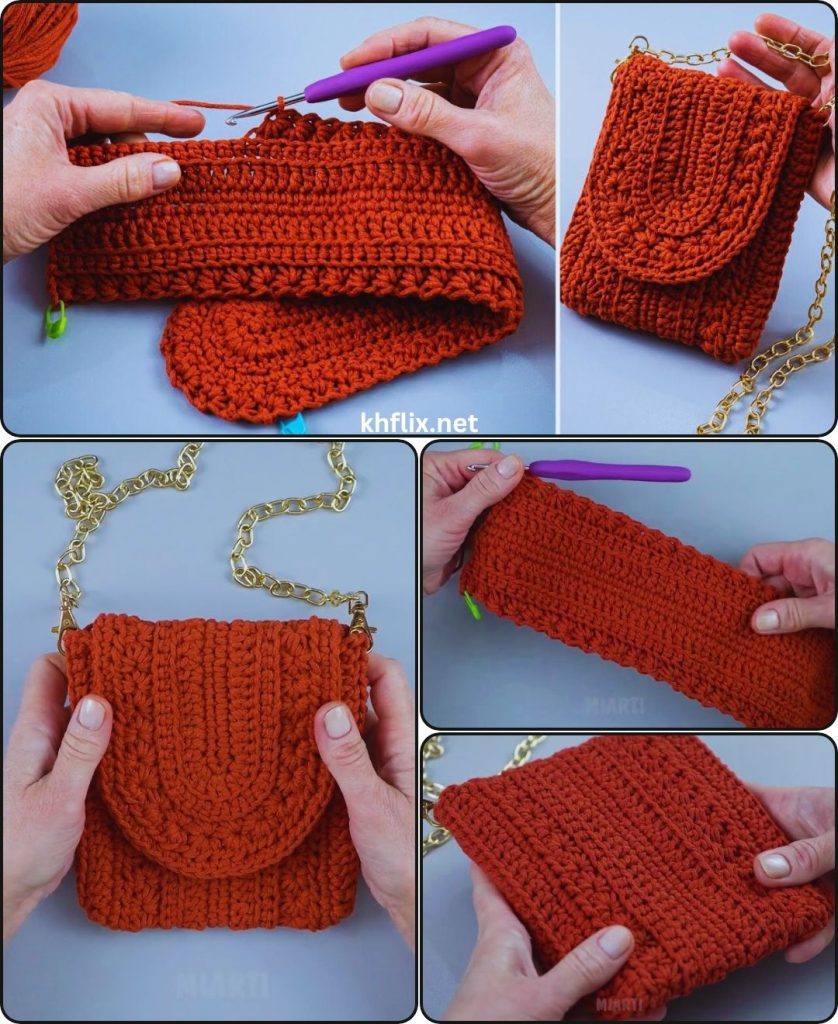
Part 4: Making and Adding the Drawstring
Now, you’ll create the simple chain cord that will close your mini bag.
- Make the Drawstring Cord:
- With your yarn, make a chain of approximately 60-70 stitches. (The length depends on how much of a “tail” you want on the drawstring. You can always chain more and trim later.)
- Fasten off the chain, leaving a 4-6 inch (10-15 cm) tail at each end.
- Thread the Drawstring:
- Thread one of the tails of your chain cord onto your yarn needle.
- Starting at the front or side of your mini bag, weave the needle in and out of the chain-1 spaces (the “eyelets”) you created in the drawstring opening round. Go all the way around the bag until you come out where you started.
- Ensure the two ends of your drawstring are coming out of adjacent chain-1 spaces on the same side of the bag.
- You can tie the two ends into a simple knot, a bow, or add beads to the ends for decoration.
Part 5: Final Finishing Touches
This stage is crucial for making your mini bag look polished, clean, and durable.
- Weave in All Ends (Meticulously!):
- You’ll have several yarn tails: one from your starting chain on the base, one from where you fastened off the body, and two from your drawstring cord.
- Thread each yarn tail onto your yarn needle.
- How to Weave Neatly: Insert the needle into existing stitches on the inside of your bag. Weave the tail into existing stitches for at least 2-3 inches (5-7.5 cm). To make it extra secure and prevent unraveling, subtly change direction (e.g., weave along a stitch, then turn and weave back through some of the same stitches diagonally or perpendicularly) to “lock” the tail in place.
- Once secured, trim any excess yarn close to the fabric, being careful not to cut any of your actual crocheted stitches.
- Gentle Shaping:
- Gently use your hands to push out the bottom of the bag and ensure it holds its oval shape. Pull the drawstring to cinch the top closed, then open it up.
Congratulations! You’ve successfully crocheted your very own Fast & Easy Mini Bag! This is a fantastic accomplishment for any beginner, and you now have a sturdy, handmade accessory that’s perfect for keeping small treasures.
What will you put in your new mini bag?

