 by
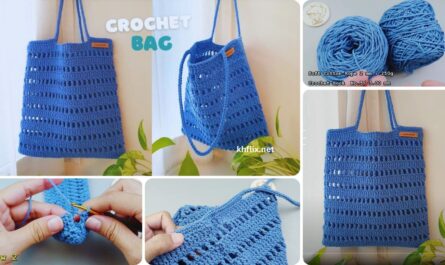
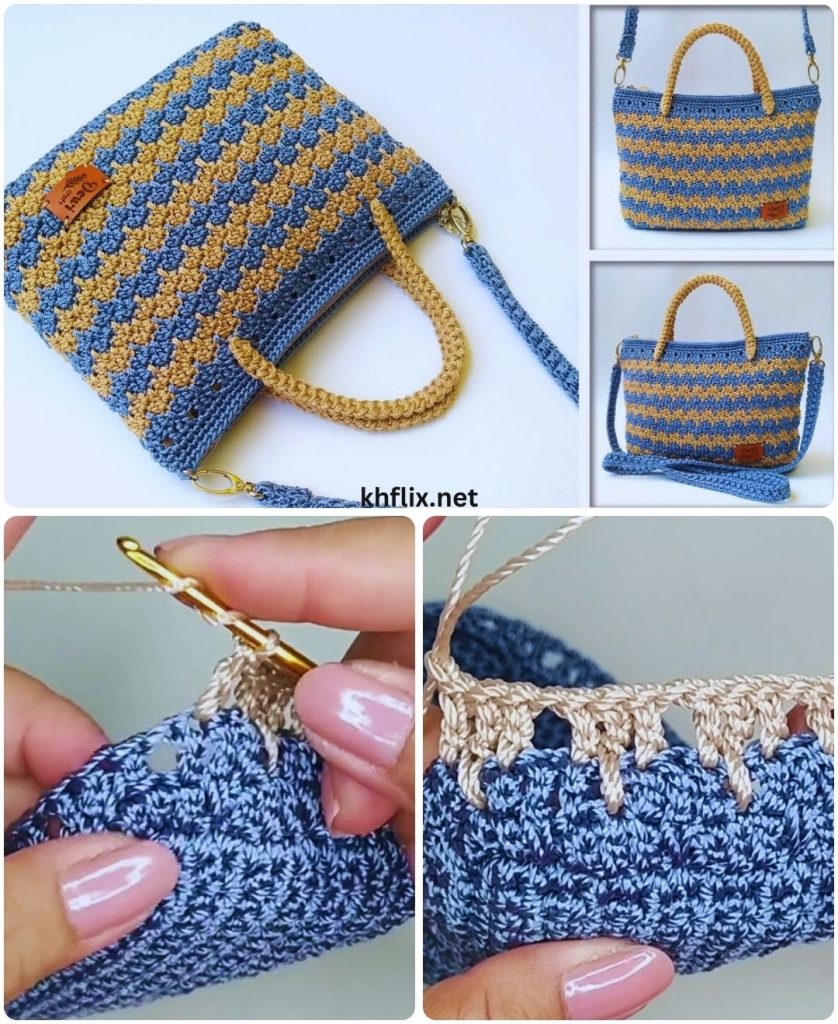
by Crocheting your own bag is one of the most satisfying beginner projects. It is practical, stylish, and helps you learn essential crochet skills while creating something you can actually use. A striped color crochet bag is especially perfect for beginners because it uses simple stitches, straight rows or rounds, and easy color changes that instantly make the bag look attractive and professional.
This detailed guide will walk you step by step through how to make a very easy striped crochet bag, even if you are just starting your crochet journey.

Why a Striped Crochet Bag Is Perfect for Beginners
A striped crochet bag is an ideal beginner project for several reasons:
- Uses basic crochet stitches only
- Color stripes hide small mistakes beautifully
- No complicated shaping is required
- Easy to customize size and colors
- Builds confidence quickly
- Great introduction to color changing
- Practical and reusable for daily use
Whether you want a market bag, casual tote, or small handbag, this striped design works wonderfully.
Choosing Materials
Yarn Selection
For beginners, choosing the right yarn makes a big difference.
Best yarn options:
- Cotton yarn (strong, durable, eco-friendly)
- Cotton-blend yarn (soft but sturdy)
- Medium-weight (worsted) yarn
Color choice for stripes:
- Two contrasting colors (simple and clean)
- Three or more colors for a playful look
- Neutral + bright accent color
- Pastel stripes for a soft style
Avoid very dark or fuzzy yarns if you are a beginner, as they make stitches harder to see.
Crochet Hook
- Use a 4.5 mm or 5.0 mm crochet hook
- A slightly larger hook helps keep stitches relaxed and even
Additional Supplies
- Scissors
- Yarn needle (for weaving in ends)
- Stitch marker (optional but helpful)
Basic Crochet Skills You Need
This beginner bag uses only simple stitches:
- Chain stitch (ch)
- Slip stitch (sl st)
- Single crochet (sc)
- Half double crochet (hdc)
- Working in rows or rounds
- Simple color changes
If you know these basics, you are ready to start.
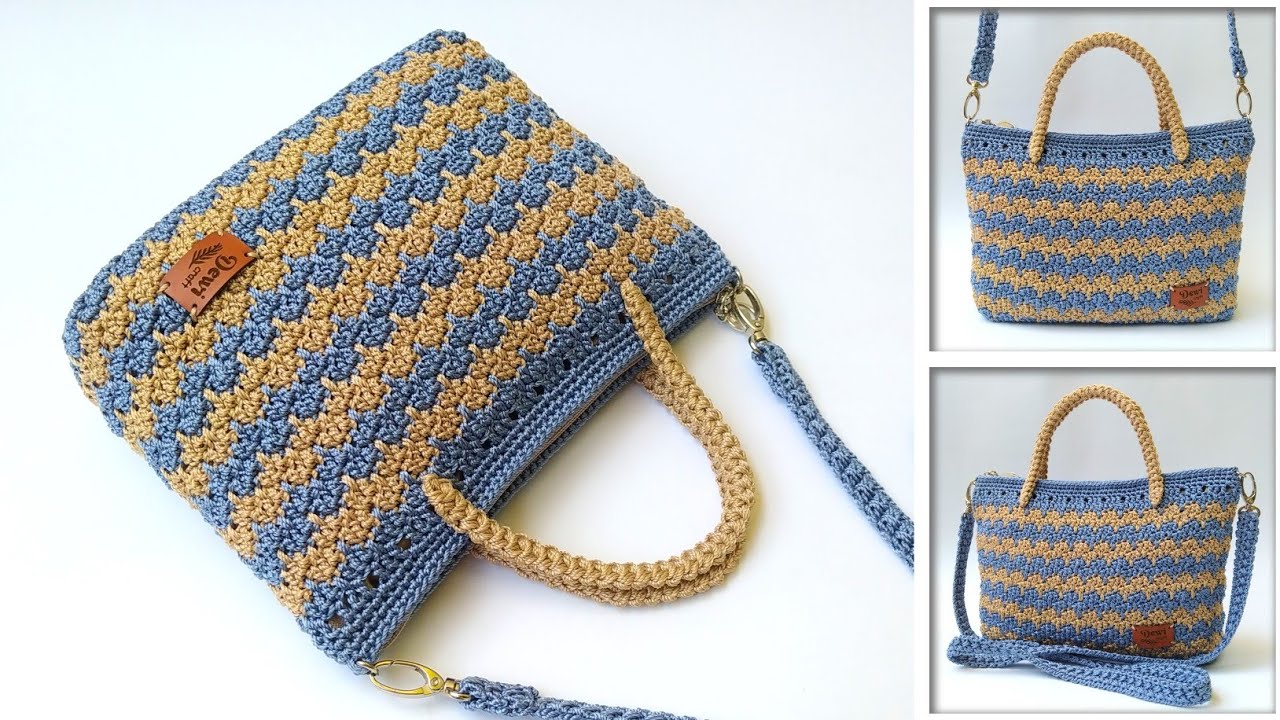
Bag Style Overview
This easy striped crochet bag is made in three simple parts:
- The bag base
- The bag body with stripes
- The handles
The bag is worked from the bottom up, making it easy to adjust size as you go.
STEP-BY-STEP INSTRUCTIONS
STEP 1: Making the Bag Base
- Start with your main color.
- Chain 26–30 stitches (this determines the width of the bag).
- Single crochet into the second chain from the hook.
- Continue single crochet across the chain.
- Chain 1 and turn.
- Repeat single crochet rows until the base looks like a rectangle (about 8–10 rows).
This flat rectangle forms the bottom of the bag.
STEP 2: Working Around the Base
- Do not fasten off.
- Single crochet evenly around the entire rectangle:
- Along the long sides
- Place 3 single crochets in each corner to turn smoothly
- Join with a slip stitch.
Now your work changes from rows to working in the round, forming the bag shape.
STEP 3: Crocheting the Bag Body
Round 1 (First Body Round)
- Chain 1.
- Work half double crochet into each stitch around.
- Join with a slip stitch.
Half double crochet is perfect for beginners because it works up fast and creates a strong fabric.
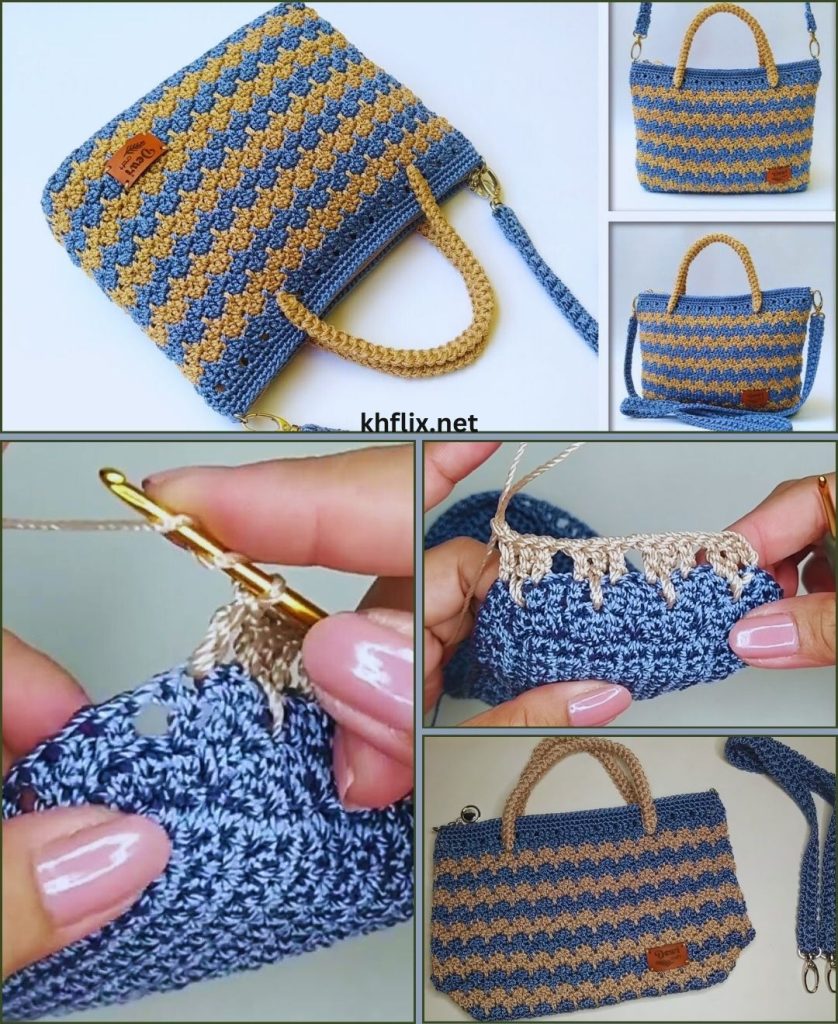
STEP 4: Adding Striped Colors
After 2–3 rounds of the first color:
- Finish the last stitch of the round with the new color.
- Drop the old color to the back.
- Continue crocheting with the new color.
- Crochet 2–4 rounds per color depending on how thick you want the stripes.
Repeat this process until the bag reaches your desired height (usually 10–12 inches).
Tip for clean stripes: Always change colors at the end of a round.
STEP 5: Keeping the Bag Straight
- Count stitches every few rounds
- Make sure you do not accidentally increase or decrease
- Use a stitch marker to mark the start of each round
Straight sides make the bag look neat and professional.
STEP 6: Creating the Bag Handles
Once the bag reaches the desired height:
- Crochet to the point where you want the first handle.
- Chain 10–15 stitches (depending on handle width).
- Skip the same number of stitches on the bag body.
- Continue half double crochet until the second handle position.
- Chain the same number again.
- Skip stitches and continue to the end of the round.
This creates two handle openings.
Strengthening the Handles
- In the next round, work single crochet into each stitch and each chain.
- Add 2–3 rounds of single crochet around the top.
This makes the handles strong and comfortable to use.
STEP 7: Finishing the Bag
- Slip stitch to close the final round.
- Fasten off yarn.
- Use a yarn needle to weave in all loose ends securely.
Optional: Add a final round of slip stitches for a clean edge.
Optional Add-Ons for Beginners
You can keep the bag simple or add small details:
- Sew on a fabric lining for extra strength
- Add a simple crochet flower or button
- Add tassels using leftover yarn
- Use thicker stripes for a bold look
All of these are beginner-friendly enhancements.
Size Customization Tips
- Wider bag: Start with a longer chain
- Taller bag: Add more rounds
- Short handles: Fewer chain stitches
- Long shoulder straps: More chain stitches
This flexibility makes the bag perfect for personal style.
Common Beginner Mistakes (and How to Avoid Them)
- Bag curling: Use a larger hook
- Uneven stripes: Change colors only at round ends
- Loose handles: Add extra reinforcement rounds
- Stiff fabric: Relax your tension
Mistakes are part of learning—don’t worry!
Why Beginners Love This Project
- Fast and rewarding
- Looks stylish with minimal effort
- Builds confidence
- Teaches color changes
- Creates a useful everyday item
This striped crochet bag is often one of the first projects beginners feel truly proud of.
Final Thoughts
Learning how to make a crochet bag very easy for beginners – striped color is a wonderful step in your crochet journey. With simple stitches, clear color changes, and a practical design, this project proves that beautiful crochet does not have to be complicated.
Take your time, enjoy the rhythm of the stitches, and have fun choosing your colors. Each stripe adds personality, and each stitch builds your skills. By the time you finish, you will not only have a handmade bag—but also the confidence to start your next crochet project.
Happy crocheting! 🧶✨