 by
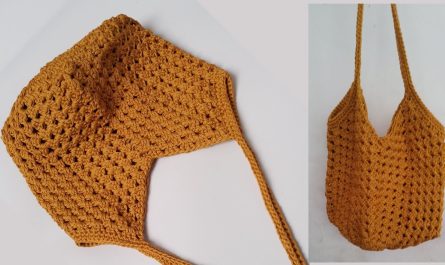
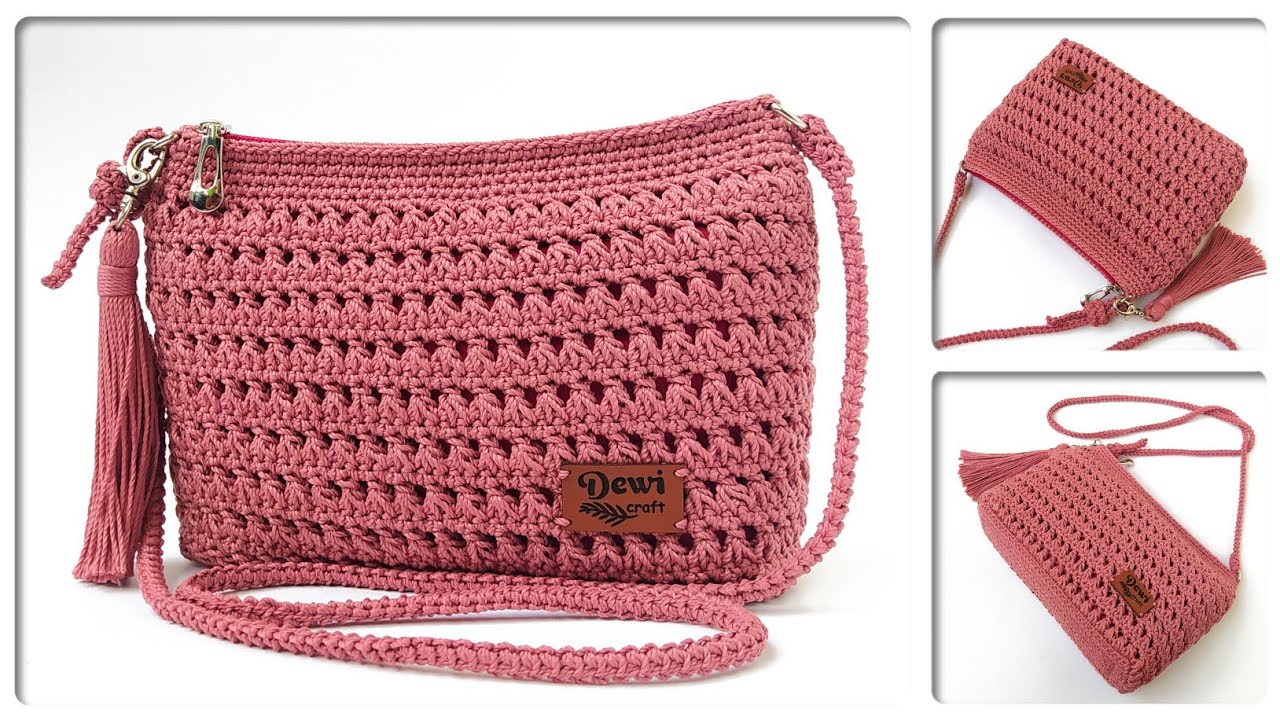
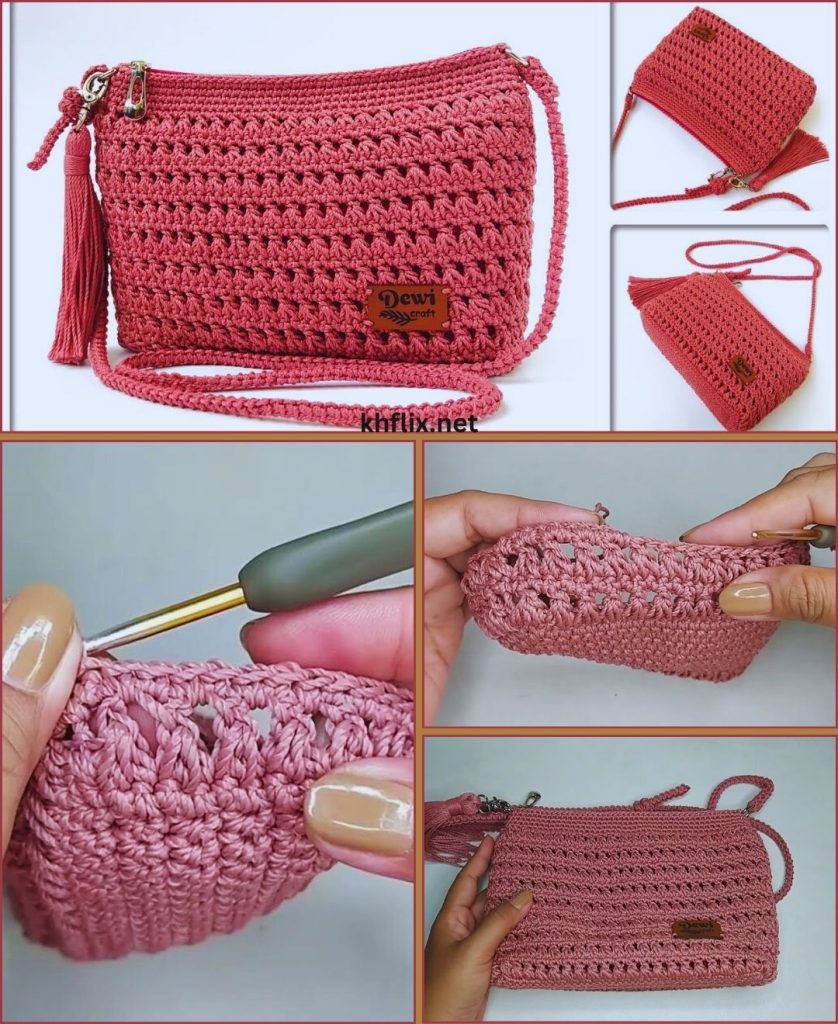
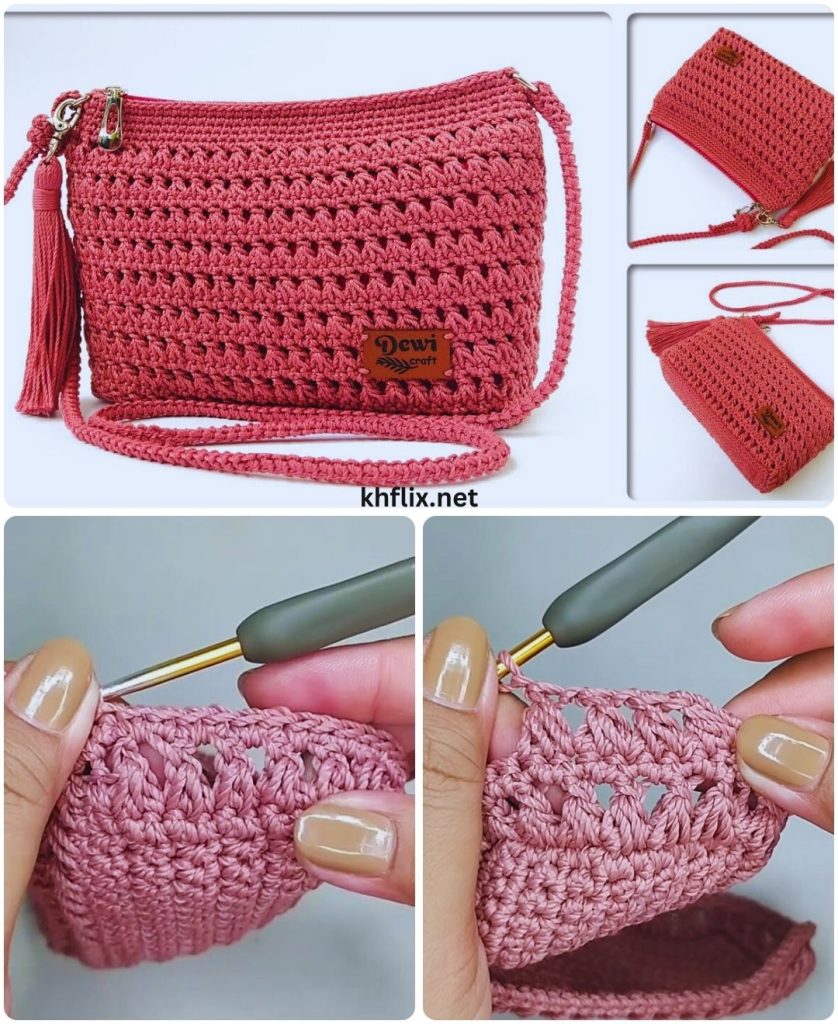
by Crochet bags are one of the most loved handmade accessories because they combine beauty, creativity, and practicality. A well-made crochet bag can be used every day, styled with different outfits, and even gifted as a meaningful handmade item. The bag shown in the image is a wonderful example of a textured crochet shoulder bag with a neat stitch pattern, structured shape, zipper closure, tassel detail, and long strap.
In this detailed guide, you will learn how to crochet a bag from start to finish, including choosing materials, creating the base, building the body, adding straps, and finishing with professional details.

Why Crochet Bags Are So Popular
Crochet bags are popular for many reasons:
- They are reusable and eco-friendly
- They can be customized in size, color, and design
- They require basic crochet skills
- They are durable when made with the right yarn
- They look stylish and handmade
- They suit beginners and experienced crocheters alike
Whether you want a crossbody bag, shoulder bag, clutch, or tote, crochet allows endless creativity.
Understanding the Bag Style
The bag in the image features:
- A rectangular structured shape
- A textured stitch pattern worked in rows
- Medium-thickness yarn for firmness
- A zipper closure for security
- A long crochet strap for shoulder or crossbody wear
- A tassel accent for decorative style
This type of bag is perfect for daily use and is suitable for beginners who want a polished result.
Materials Needed
Yarn Selection
Choosing the right yarn is essential for a strong bag.
Best yarn options:
- Cotton yarn (highly recommended)
- Cotton cord or macramé yarn
- Cotton-poly blend yarn
Cotton works best because it:
- Holds shape well
- Does not stretch excessively
- Is durable and washable
Medium-weight yarn creates a sturdy and elegant bag.
Crochet Hook
- Use a 4.0 mm – 5.0 mm crochet hook
- A smaller hook gives tighter stitches and better structure
Additional Supplies
- Scissors
- Yarn needle
- Zipper (same width as the bag)
- Metal rings or clips (optional)
- Tassel or yarn for tassel
- Fabric lining (optional but recommended)
Basic Crochet Skills Required
This crochet bag uses beginner-friendly skills:
- Chain stitch (ch)
- Slip stitch (sl st)
- Single crochet (sc)
- Half double crochet (hdc) or double crochet (dc)
- Working in rows
- Simple increases and decreases
- Sewing crochet pieces together
If you know these basics, you can crochet this bag confidently.
Bag Construction Overview
This type of crochet bag is made in four main parts:
- The bag panels (front and back)
- The side and bottom structure
- The strap
- The finishing details (zipper, tassel, lining)
Each part is simple and manageable.
STEP-BY-STEP: HOW TO CROCHET THE BAG
Step 1: Crocheting the Main Panels
- Start by chaining the width of the bag (for example, 30–35 chains).
- Work single crochet or textured stitch into the second chain from the hook.
- Continue across the row.
- Chain 1 and turn.
- Repeat rows until the panel reaches the desired height.
Make two identical panels (front and back).
The textured stitch pattern creates a beautiful woven look and adds strength.
Step 2: Joining the Panels
- Place the two panels together with the right sides facing out.
- Single crochet around the sides and bottom to join them.
- Keep the top edge open.
This forms the body of the bag.
Step 3: Creating the Bag Base (Optional)
For extra strength:
- Add an extra round of tight single crochet at the bottom
- This helps the bag keep its shape when filled
Step 4: Adding the Strap
Crochet Strap Method
- Chain a long length (depending on shoulder or crossbody style).
- Single crochet into each chain.
- Work 2–3 rows for thickness.
- Attach securely to both sides of the bag.
A strong strap is essential for daily use.
Step 5: Zipper Installation
- Choose a zipper that matches the bag width.
- Sew the zipper carefully along the top edge using a needle and thread.
- Ensure the zipper opens smoothly and evenly.
A zipper adds both function and a professional finish.
Step 6: Adding a Tassel
- Wrap yarn around your fingers multiple times.
- Tie tightly at the top.
- Cut the bottom loops.
- Attach the tassel to the zipper pull or bag side.
This small detail adds elegance and personality.
Optional: Adding Fabric Lining
A lining improves durability and appearance.
Benefits of lining:
- Prevents stretching
- Protects small items
- Makes the bag stronger
- Gives a polished look
Sew the lining by hand and attach it just under the zipper.
Finishing Touches
- Weave in all loose yarn ends neatly
- Check strap strength
- Adjust tassel length
- Lightly block the bag if needed
These steps make the bag look clean and professional.
Customization Ideas
You can easily personalize your crochet bag:
- Change colors or yarn texture
- Add buttons or labels
- Use metal chain straps
- Add pockets inside
- Adjust size for clutch or tote style
Every small change creates a unique bag.
Beginner Tips for Success
- Use tight stitches for structure
- Count stitches regularly
- Use stitch markers if needed
- Practice stitch pattern on a swatch first
- Don’t rush—neat work matters more than speed
Why Crochet Bags Are Worth Making
Crochet bags are:
- Stylish and handmade
- Eco-friendly alternatives to plastic bags
- Perfect gifts
- Relaxing to crochet
- Great skill-building projects
Each bag you make improves your confidence and creativity.
Final Thoughts
Learning how to crochet a bag is an exciting and rewarding experience. With simple stitches, careful construction, and thoughtful finishing details, you can create a beautiful crochet bag that looks professional and lasts for years. The style shown in the image proves that crochet bags can be both functional and fashionable.
Whether you are a beginner or an experienced crocheter, making a crochet bag allows you to express creativity while producing something truly useful. Take your time, enjoy the process, and be proud of every stitch you create.
Happy crocheting! 🧶✨