by
by Absolutely! Here’s a comprehensive tutorial on how to make a beautiful crochet handbag, perfect for beginners. This step-by-step guide covers everything from materials and basic stitches to customization ideas and finishing touches.
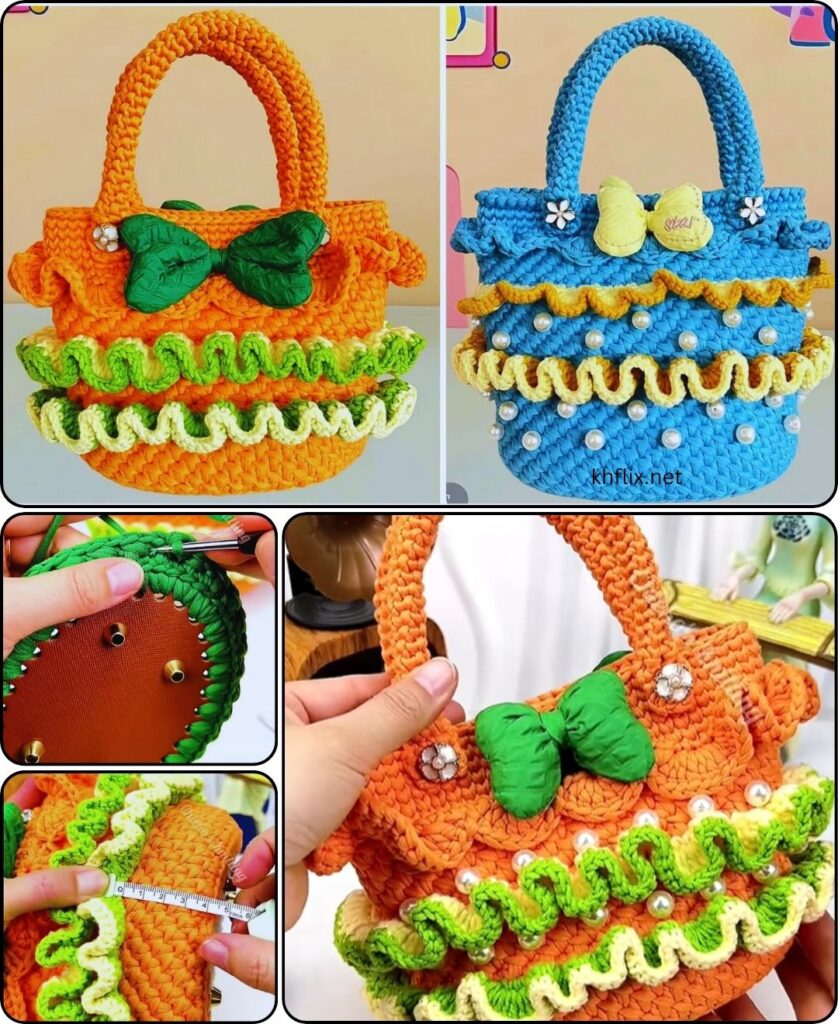
👜 How to Make a Beautiful Crochet Handbag – A Complete Tutorial for Beginners
Crocheting your own handbag is a rewarding project that lets you create something fashionable, functional, and entirely personalized. Whether you’re new to crochet or looking for your first big project, this beginner-friendly guide will walk you through the process of creating a beautiful crochet handbag from scratch.
🧶 What You’ll Need: Materials & Tools
Gather all your supplies before you begin. Here’s a list of what you’ll need:
📦 Materials:
- Yarn: Worsted weight or chunky cotton yarn is ideal (durable and holds shape well).
- Crochet Hook: Size H/8 (5.0 mm) or size appropriate for your yarn.
- Scissors
- Tapestry Needle: For weaving in ends.
- Stitch Markers: Optional but helpful.
- Bag Handles: Wooden, plastic, or crocheted handles.
- Lining Fabric (optional): For extra durability and to prevent stretching.
- Zipper, Button, or Magnetic Snap (optional): For closure.
✂️ Basic Crochet Stitches You’ll Need
If you’re just getting started, here are the stitches you need to know:
- Chain (ch)
- Slip Stitch (sl st)
- Single Crochet (sc)
- Double Crochet (dc)
- Half Double Crochet (hdc)
- Back Loop Only (BLO) – for added texture (optional)
These simple stitches are the foundation of most crochet patterns, including handbags.
👜 Project Overview: What Are We Making?
This tutorial will teach you how to make a classic rectangular crochet handbag with a simple texture and optional lining and handles. We’ll work the bag in two panels (front and back), seam the sides, and then add straps and closure.
🧵 Step-by-Step Crochet Handbag Pattern
🧩 Part 1: Create the Panels (Front & Back of the Bag)
You’ll be making two identical rectangles.
✅ Gauge:
Gauge isn’t critical, but your stitches should be tight enough that the bag holds its shape.
🧶 Instructions for One Panel:
- Foundation Row:
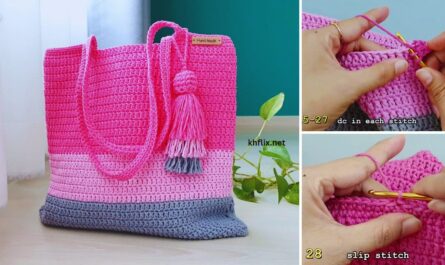
Ch 41 (this will give you a panel about 10–12 inches wide depending on tension) - Row 1:
Sc in second ch from hook, sc across. (40 sts). Ch 1, turn. - Row 2:
Sc in each st across. Ch 1, turn. - Repeat Row 2 until your panel measures about 10–12 inches tall. You can also alternate stitches like sc and dc in the same row to create texture:
- Row A: 1 sc, 1 dc repeat to end.
- Row B: sc in each stitch.
- Fasten off and weave in ends.
- Repeat to make the second panel.
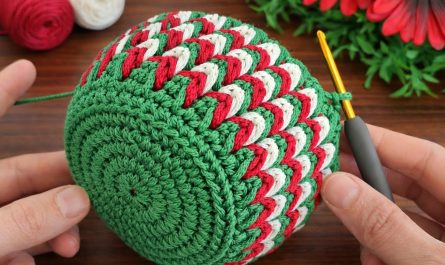
🎨 Optional: Use multiple colors for stripes or a color block design.
🧵 Part 2: Assembling the Bag
- Lay both panels flat, wrong sides facing each other.
- Seam the sides and bottom using a slip stitch or whip stitch with your tapestry needle or crochet hook.
- Leave the top open – this is where your items will go!
🪡 Part 3: Adding Handles
You have a few options for handles:
🪵 Option 1: Wooden/Plastic Handles
- You can sew or crochet around the handles and attach them to the top edge.
🧶 Option 2: Crochet Your Own Handles
- Ch 70 (or however long you want your strap).
- Row 1–3: Sc in each ch, ch 1, turn.
- Attach each end of the strap to the inside top edges using your hook or a needle.
🔐 Tip: Double the strap for strength or crochet a cord-style handle.
🧵 Part 4: Optional Lining and Closure
While optional, lining your bag improves strength and prevents stretching.
🧵 Adding Fabric Lining:
- Cut your fabric slightly larger than the interior dimensions.
- Fold edges and sew to prevent fraying.
- Hand sew or machine stitch the lining to the inside of your bag.
🧲 Adding a Closure:
- Zipper: Hand-stitch a zipper between the panels before fully seaming.
- Button: Crochet a loop on one side and sew a button on the other.
- Magnetic Snap: Use fabric glue or sew into the lining.
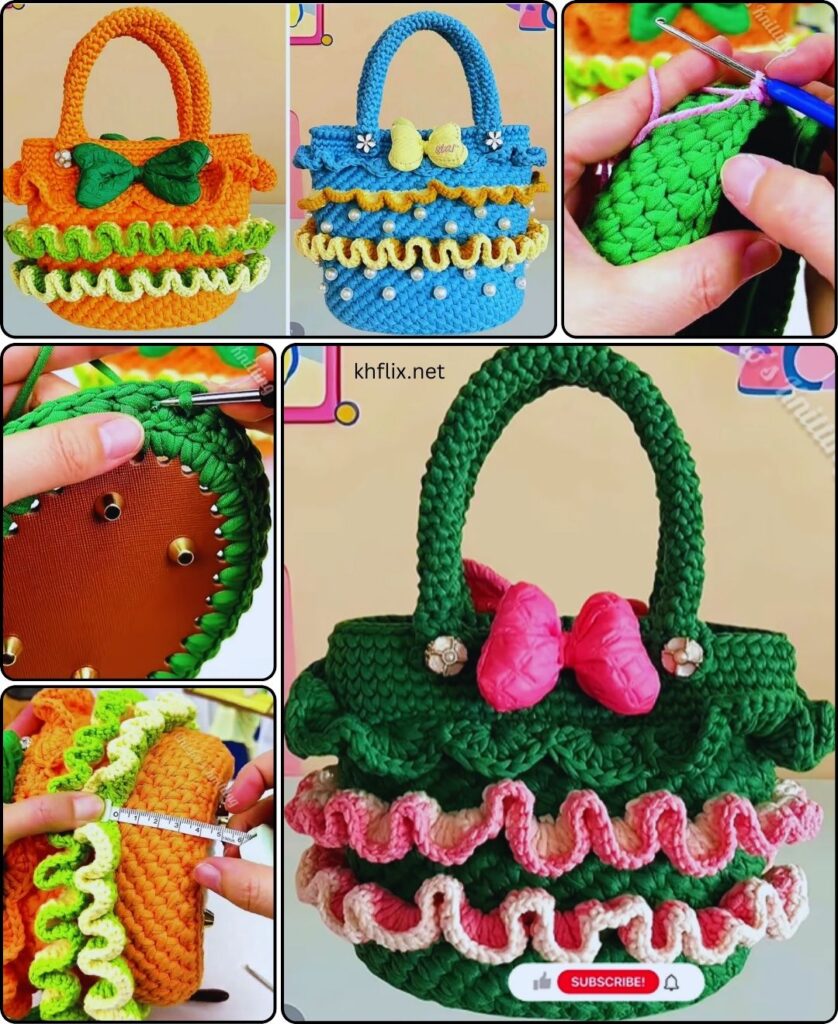
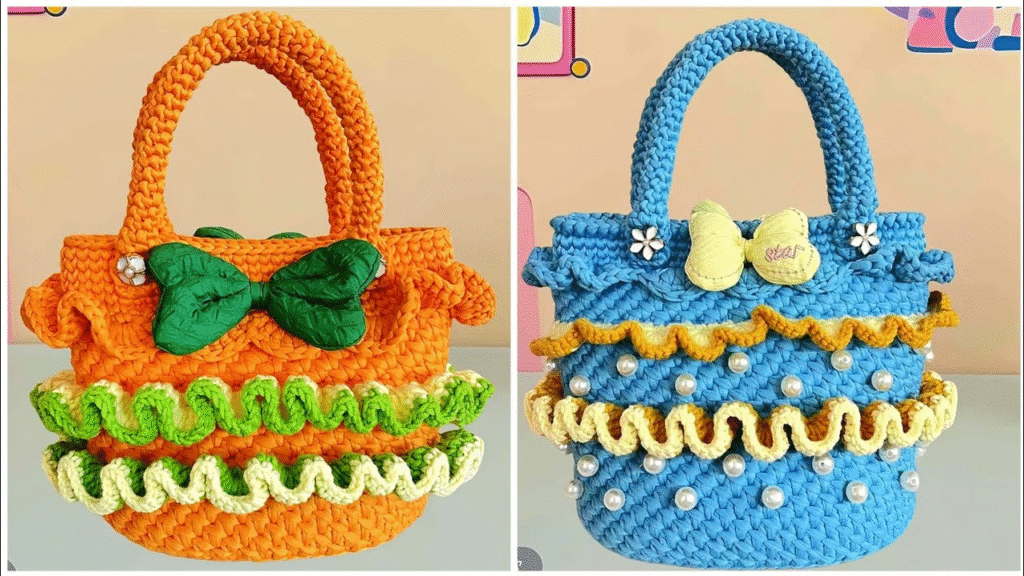
🖌️ Customization Ideas
Make your handbag one-of-a-kind:
- Appliqué: Add crochet flowers, hearts, or stars.
- Embroidery: Stitch initials or small patterns onto the bag.
- Color Changes: Use different colored yarn for a trendy color-blocked look.
- Fringe or Tassels: Attach to the sides or bottom for boho vibes.
- Pockets: Add small crocheted or sewn fabric pockets inside.
🧼 How to Care for Your Crochet Bag
Especially if it’s lined, handle your bag with care:
- Spot clean or hand wash only.
- Lay flat to dry.
- Avoid machine washing, especially if you used handles or closures that may be damaged.
🎓 Beginner Tips and Tricks
- Use a stitch marker to track rows or seam locations.
- Count stitches in each row to stay consistent.
- Choose sturdy yarn to maintain structure.
- Start simple — don’t overload the first bag with accessories.
✅ Crochet Handbag Pattern Summary
| Section | Technique/Details |
|---|---|
| Panels | 2 Rectangles – sc rows or textured stitch |
| Assembly | Seam sides and bottom |
| Handles | Crocheted or store-bought, sewn to top |
| Lining (optional) | Fabric cut to size, sewn to inside |
| Closure (optional) | Button, snap, or zipper |
🌟 Conclusion: You Made a Crochet Handbag!
Congratulations! You’ve completed your very own crochet handbag. With just a few basic stitches and some creativity, you’ve created a custom accessory that’s both beautiful and useful. Keep experimenting with different yarns, shapes, and decorations to evolve your style and technique.
You’re not just making a bag — you’re learning a lifelong skill and expressing your creativity stitch by stitch.
Finishing Touches
You’re almost done! Now let’s clean it up:
- Weave in all yarn ends securely using a yarn needle.
- Block your bag if needed (especially if it looks uneven).
- Add embellishments like tassels, appliqués, or a charm.
🎀 Extra Tips for Beginners
- Practice basic stitches first: sc, hdc, and double crochet (dc).
- Keep tension even for a neater result.
- Use light-colored yarn to see your stitches better.
- Watch tutorial videos if you’re a visual learner.
- Don’t worry if it’s not perfect – handmade means unique!
✨ Conclusion
Creating a beautiful crochet handbag is a fun and achievable project, even for beginners. With just a few materials, some basic stitches, and a little patience, you’ll have a stylish accessory that you made with your own hands. Whether you keep it for yourself or gift it to someone, it’s sure to be cherished.
So grab your hook and yarn, follow these steps, and enjoy the creative journey of crafting your very own crochet handbag!