 by
by Absolutely! Here’s a detailed, long-form tutorial on how to make a crochet sunshade hat designed especially for beginners. This article walks you through every step clearly, so even if you’re new to crochet, you’ll be able to follow along and create a stylish and functional sun hat.
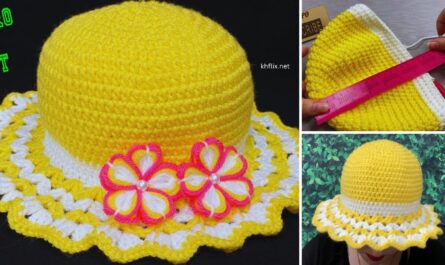
🌞 How to Make a Crochet Sunshade Hat – A Step-by-Step Tutorial for Beginners
Whether you’re enjoying a sunny afternoon outdoors or vacationing at the beach, a crochet sunshade hat is a stylish way to protect yourself from the sun while showcasing your crafting skills. If you’ve ever wanted to create your own sun hat but didn’t know where to start, this beginner-friendly guide is just for you!
🧵 What You’ll Need: Crochet Materials
Before you begin crocheting, make sure you have the right tools and materials. Here’s what you’ll need:
🧶 Materials:
- Yarn: 100% cotton yarn or a cotton blend is best because it’s breathable and holds shape. Choose a DK or worsted weight.
- Crochet Hook: Size H/8 (5.0 mm) or the hook size recommended on your yarn label.
- Scissors
- Tapestry Needle: For weaving in loose ends.
- Stitch Marker: Helpful to mark the beginning of rounds.
- Measuring Tape
- Optional: Craft wire or millinery wire for a structured brim.
✨ Crochet Stitches and Terms You Need to Know
This tutorial uses U.S. crochet terminology. If you’re new to crochet, here are the basic stitches you’ll need to know:
- Magic Ring (Magic Circle)
- Chain (ch)
- Slip Stitch (sl st)
- Single Crochet (sc)
- Double Crochet (dc)
- Increase (inc): Two stitches in one stitch.
Tip: Practice these stitches before starting the hat if you’re not familiar with them.
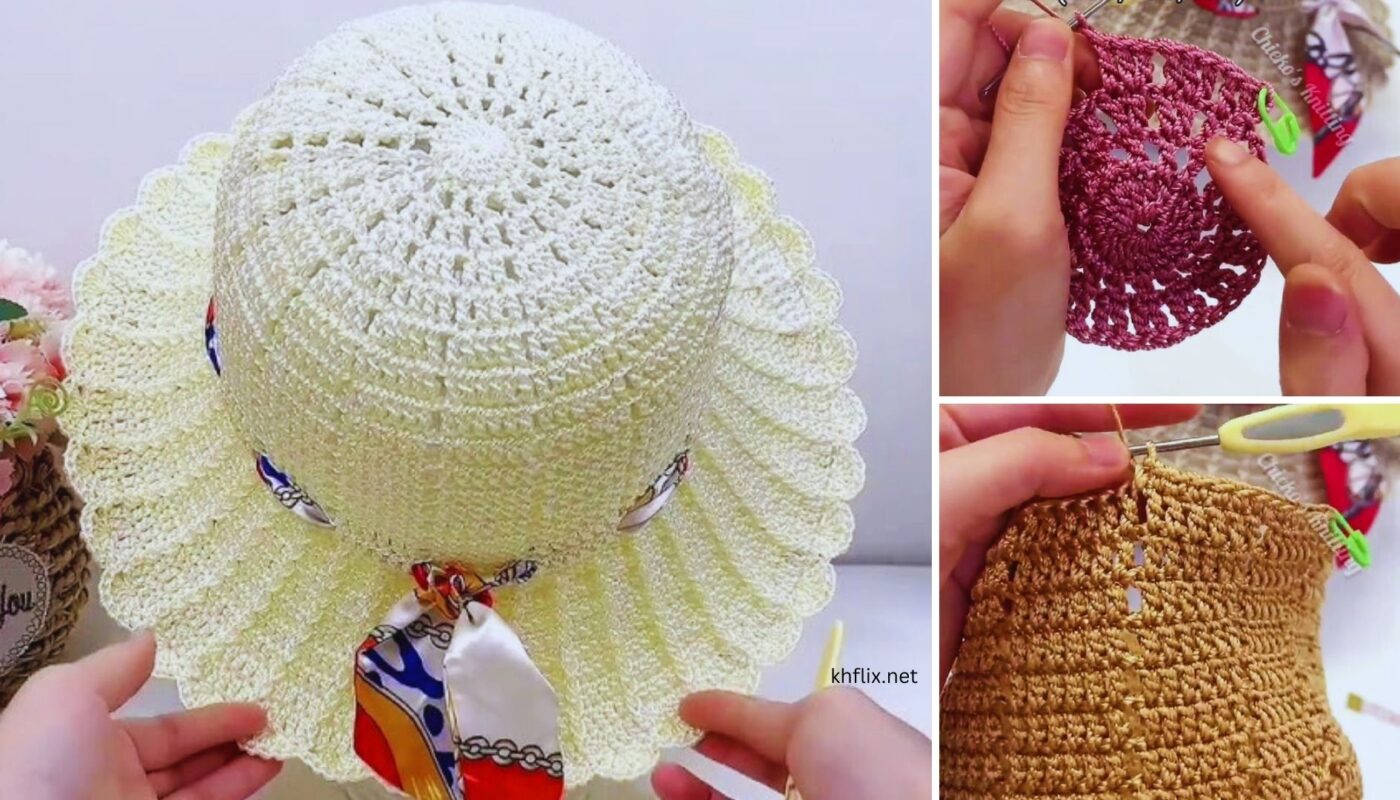
🎩 Design Overview: What Are We Making?
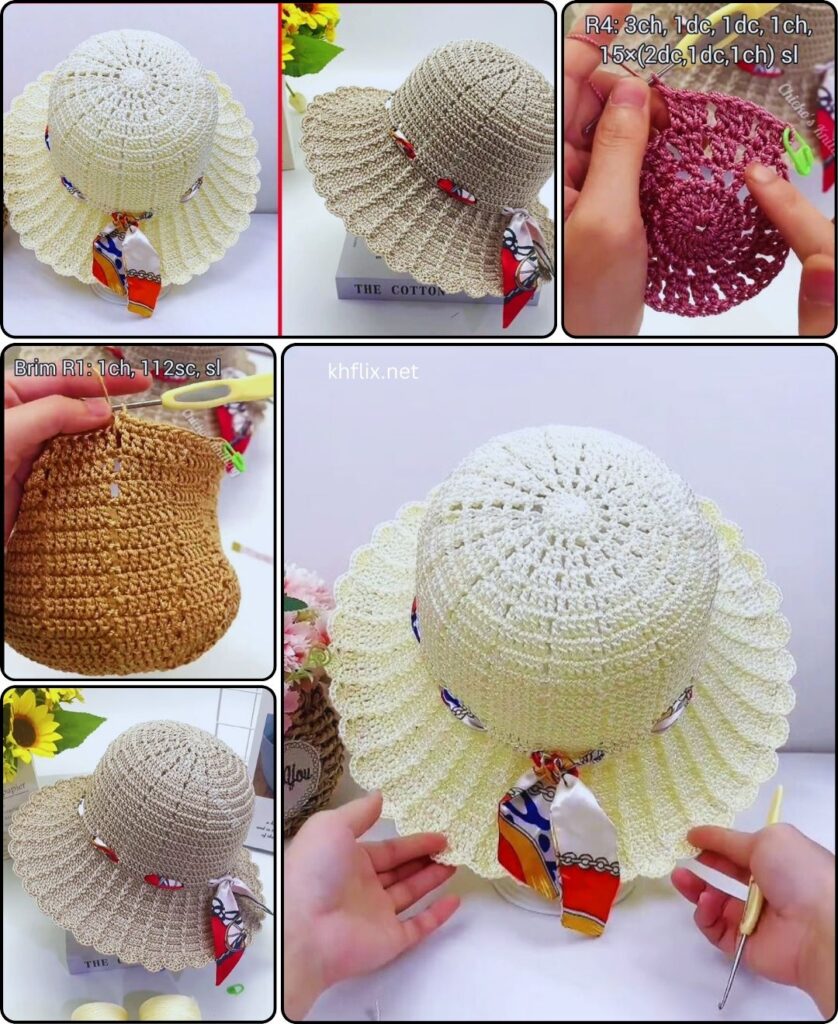
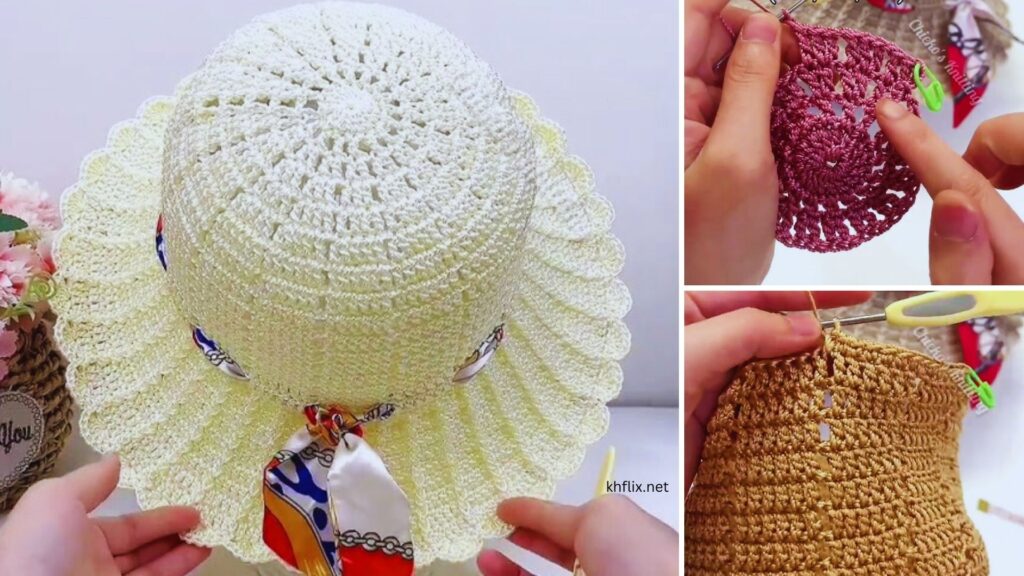
We’ll be making a wide-brimmed sunhat, worked in the round from the top of the crown downward to the brim. This hat style is classic and practical, with a wide brim that shields your face from sunlight. The brim can be soft and floppy or stiffened with wire.
📏 Size Guide
This pattern fits an average adult head (21–23 inches / 53–58 cm) in circumference. Adjustments are easy by adding or subtracting rounds in the crown or brim.
🧶 Step-by-Step Crochet Sunshade Hat Pattern
👒 Part 1: Crown of the Hat (Top of the Head)
Round 1:
Make a magic ring, ch 2 (counts as first dc), 11 dc into ring. Join with sl st. (12 dc)
Round 2:
Ch 2, 2 dc in each st around. Join. (24 dc)
Round 3:
Ch 2, 1 dc in next st, 2 dc in next st repeat around. Join. (36 dc)
Round 4:
Ch 2, 1 dc in next 2 sts, 2 dc in next st repeat around. Join. (48 dc)
Round 5:
Ch 2, 1 dc in next 3 sts, 2 dc in next st repeat around. Join. (60 dc)
Continue increasing each round like this (adding 1 more stitch between increases) until the flat circle measures 6.5 to 7 inches (16.5 to 18 cm) in diameter.
👑 Part 2: Sides of the Hat (Body)
Now we’ll stop increasing and start building the straight sides of the hat.
Round 1–8:
Ch 2, dc in each st around. Join with sl st. (No increases)
This section should measure about 4–5 inches (10–12 cm) tall. Try the hat on your head to check the fit. Adjust by adding or removing rounds.
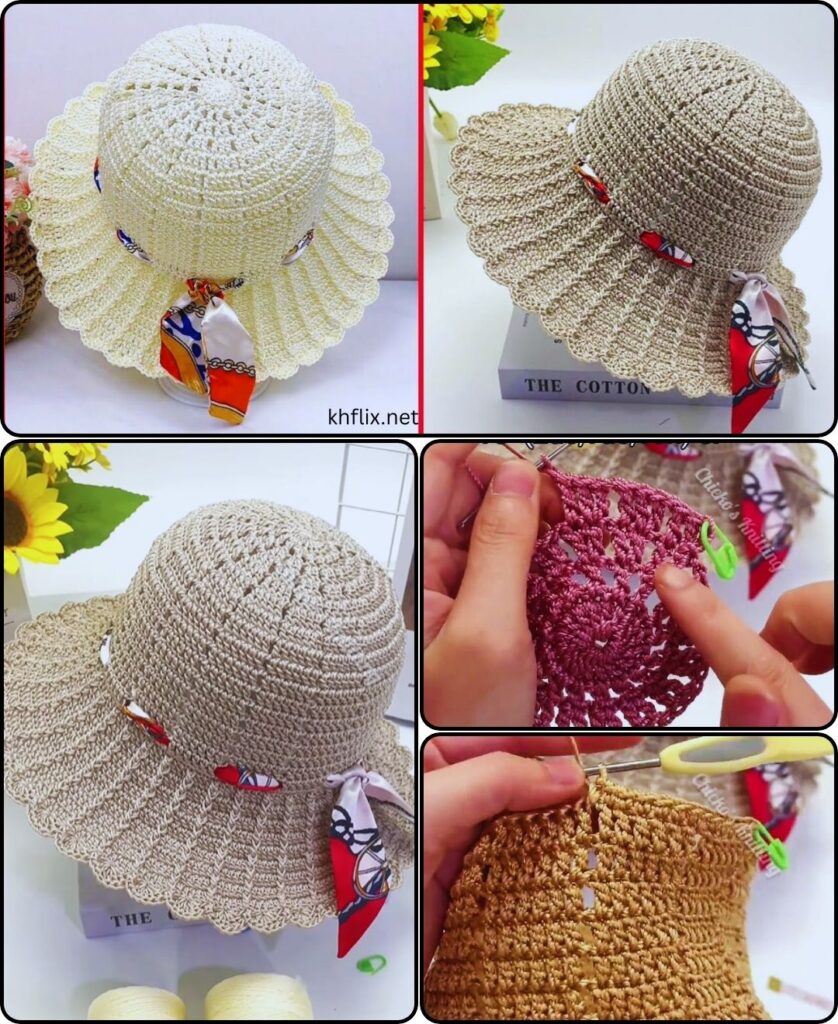
👒 Part 3: The Brim (Sunshade)
Now for the wide brim that makes your hat sun-friendly.
Brim Round 1:
Ch 2, 1 dc in next 4 sts, 2 dc in next st repeat around. Join. (Increase every 5th stitch)
Brim Round 2:
Ch 2, 1 dc in next 5 sts, 2 dc in next st repeat around. Join.
Brim Round 3:
Ch 2, 1 dc in next 6 sts, 2 dc in next st repeat around. Join.
Continue in this manner for about 5–8 rounds or until the brim is as wide as you like (4–6 inches is a good average).
Optional: Insert millinery wire in the final row by crocheting over it for a structured brim. This keeps the brim from flopping over your eyes.
🔧 Customizations and Adjustments
- Hat Too Loose? Try a smaller hook size or reduce a few stitches in the body.
- Hat Too Tight? Use a larger hook or add more increases in the crown.
- Want a Different Look?
- Use color-blocking or stripes.
- Add edging (picot, crab stitch) to the brim.
- Attach a ribbon or decorative band.
🧼 How to Care for Your Crochet Hat
Proper care helps maintain your hat’s shape and texture.
✅ Washing Instructions:
- Hand wash only in cool or lukewarm water with mild soap.
- Do not wring or twist the hat. Gently press water out.
- Reshape while damp and lay flat to dry.
- If using wire, avoid submerging; spot clean instead.
💡 Beginner Tips and Tricks
- Always count your stitches to avoid accidental increases or decreases.
- Use a stitch marker to mark the first stitch of every round.
- Don’t crochet too tightly—this helps with flexibility and comfort.
- Don’t worry if it’s not perfect! Handmade hats are one-of-a-kind.
🎉 Conclusion: You Made a Crochet Sunshade Hat!
Congratulations! You’ve just completed your first crochet sunshade hat. Whether you’re wearing it to the beach, gifting it to a friend, or making a batch for a summer craft fair, your new skill is both fun and functional. The more hats you make, the more you’ll learn about tension, shaping, and even colorwork.
Keep practicing, and soon you’ll be designing your own hat patterns or adding embellishments like flowers, appliqués, and lace borders.
🧵 Want to Keep Learning?
If you enjoyed this tutorial, you can continue your crochet journey by trying out:
- Crochet bucket hats
- Boho-style granny square sunhats
- Matching crochet bags or beach accessories