 by
by Absolutely! Here’s a long, detailed article on how to create a Colorful Crocheted Flower Table Runner—a stunning and vibrant decor piece perfect for adding charm and artistry to any table. This guide is written for intermediate-level crocheters, though adventurous beginners can follow along with patience.
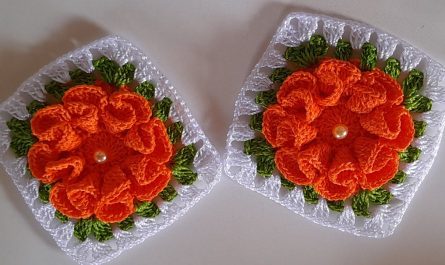
🌼 How to Make a Colorful Crocheted Flower Table Runner (Step-by-Step Pattern Guide)
A crocheted flower table runner is more than just a home accessory—it’s a handmade piece of art that reflects personality, tradition, and style. Whether you’re decorating for spring, summer, or a special event like a tea party or wedding, this bright and textured runner can elevate your space beautifully.
This tutorial guides you through creating individual colorful flowers and joining them to form a beautiful runner using simple crochet techniques.
🌸 Project Overview
- Project: Colorful Crocheted Flower Table Runner
- Skill Level: Beginner-Intermediate
- Construction: Modular (motif-based)
- Finished Size: Adjustable (based on number of motifs)
- Style: Floral, bohemian, cheerful
🧶 Materials You’ll Need
| Item | Description |
|---|---|
| Yarn | Cotton or cotton-blend DK/light worsted yarn in multiple bright colors (e.g., red, yellow, pink, orange, green, white, purple) |
| Hook Size | 3.5 mm to 4.0 mm (E–G) crochet hook |
| Tapestry Needle | For weaving in ends |
| Scissors | For trimming yarn |
| Blocking Supplies | Optional (pins, mat, spray bottle) |
💡 Cotton yarn is recommended for its crisp stitch definition and durability, especially on tabletops.
🌼 Basic Pattern Structure
This project is constructed by:
- Crocheting multiple flower motifs
- Joining them together using slip stitch or single crochet
- Optionally adding a border to complete the runner
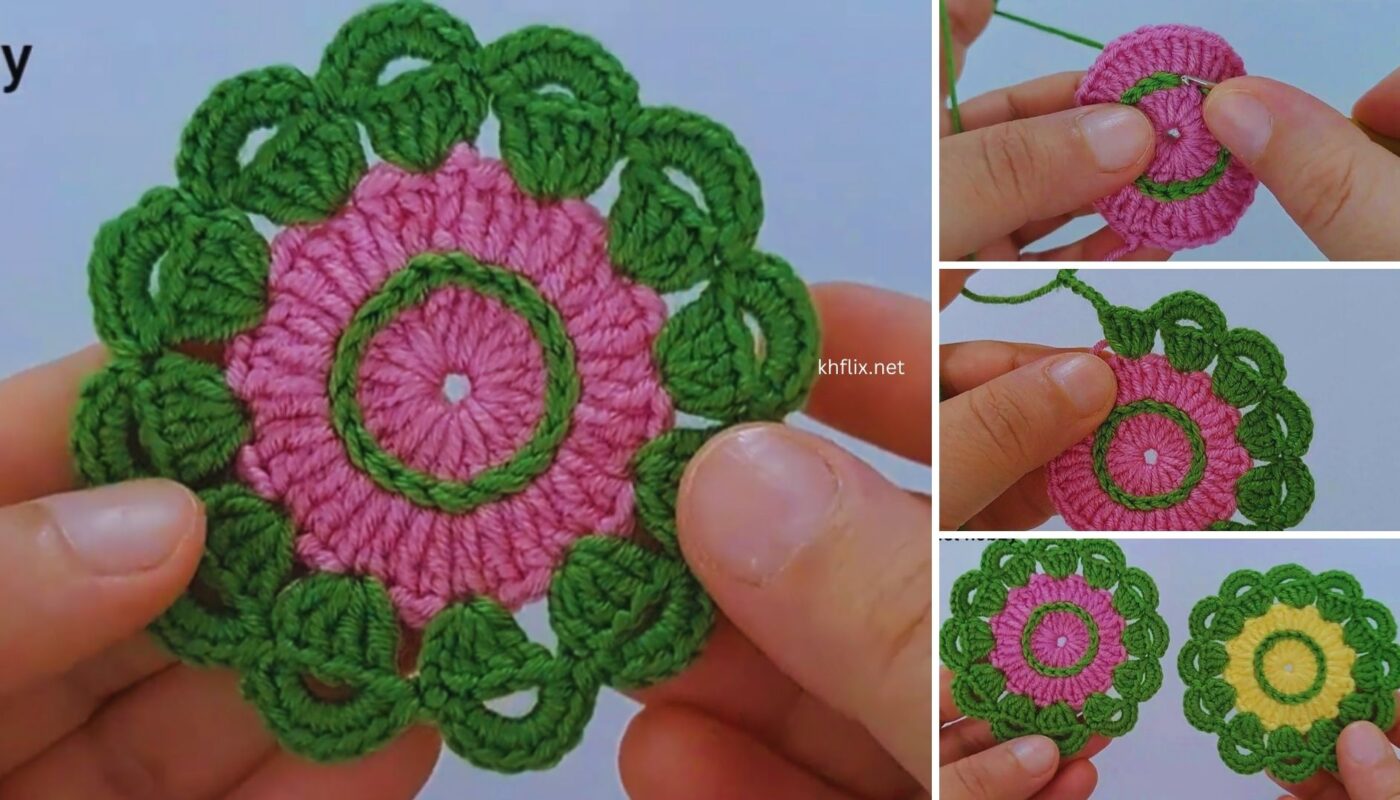
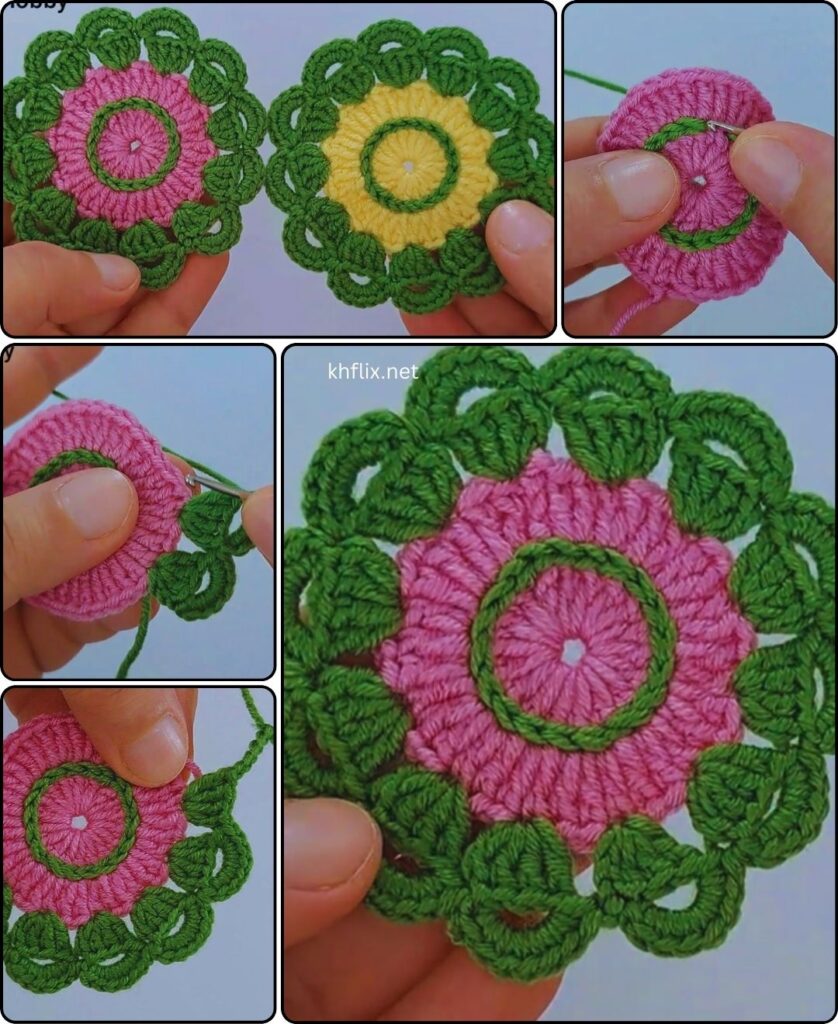
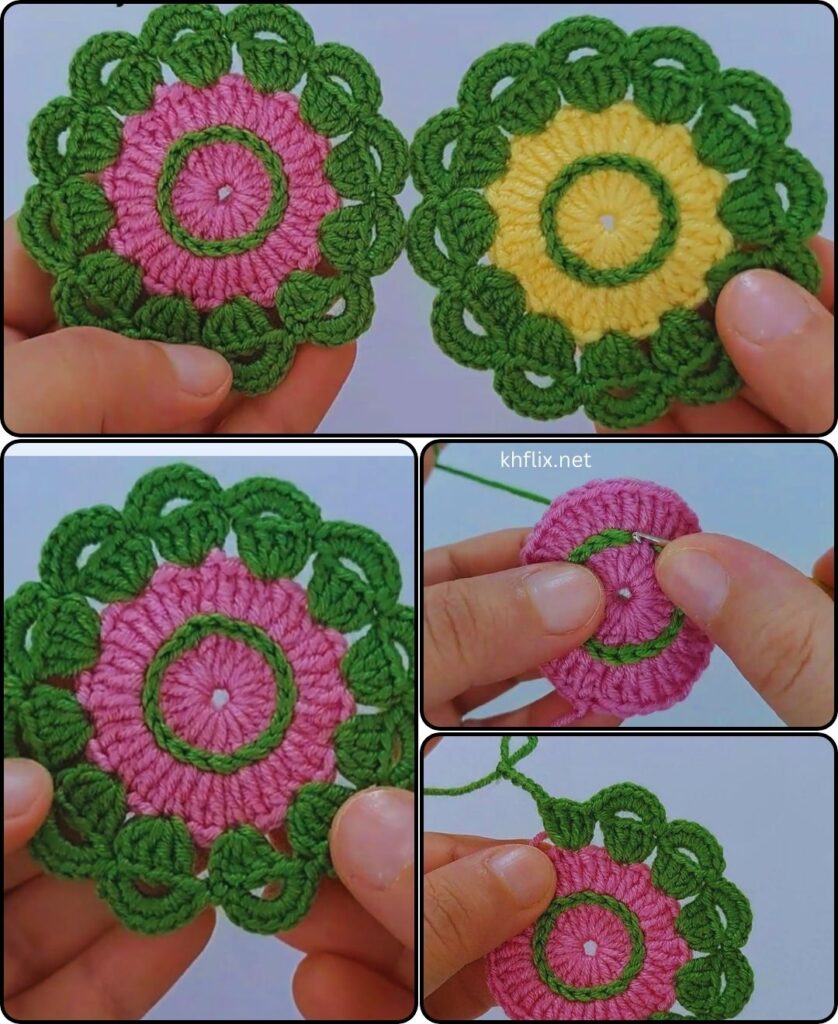
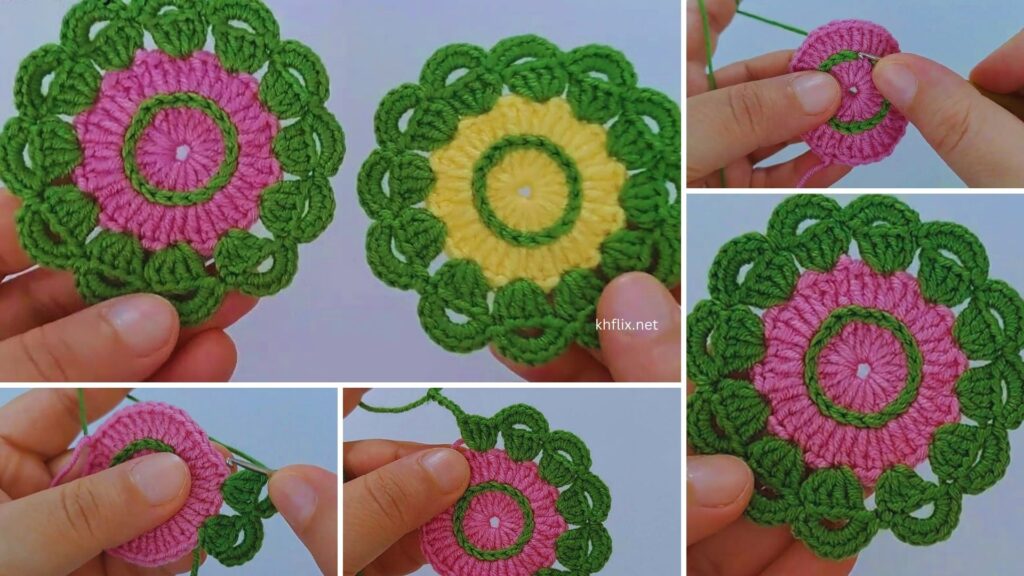
🌻 Flower Motif Pattern (Simple 5-Round Design)
You’ll make several of these motifs in different colors and join them.
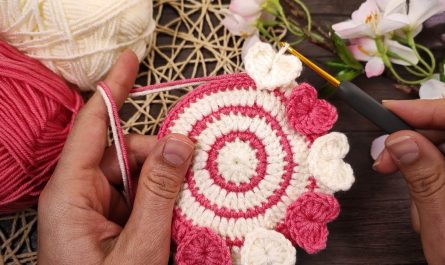
🌸 Round 1: Center Circle (Flower Core)
- With yellow (or color of your choice), make a magic ring
- CH 1, work 12 SC into the ring
- Pull tight and join with a SL ST to the first SC
- Fasten off
🌸 Round 2: Petals Base
- Join petal color (e.g., pink, red) in any SC
- (CH 2, DC in same stitch, CH 2, SL ST in next stitch)
- Repeat around to make 6 petals
- Join and fasten off
🌸 Round 3: Extend Petals
- Join same or different color in the top of a petal
- (SC, HDC, DC, HDC, SC) in each petal space
- This rounds out and fills the petals
- Repeat around, fasten off
Now you have a full flower!
🌿 Round 4: Add Leaves (Optional)
- Join green yarn in the space between two petals
- (CH 5, SC in next space) – repeat around to make small leaf arches
- Optional: Add (SC, DC, SC) inside each arch for leaf shaping
🧩 Round 5: Join-as-You-Go (JAYG Method)
- As you make the last round of new motifs, join them to previous motifs at 3 or 4 petal points using SL ST or SC
- This creates a flexible, seamless connection
Alternatively, complete all flowers and sew or crochet them together later.
📐 Layout Planning
You can plan your table runner to fit your table dimensions:
| Runner Type | Suggested Motif Layout |
|---|---|
| Short | 3 rows × 6 columns (18 flowers) |
| Long | 3 rows × 10 columns (30 flowers) |
| Narrow | 1 row of 12–15 flowers |
| Oval | Center motifs + edge motifs with leaf shapes |
Feel free to sketch your layout on paper first!
🪡 Joining the Flowers
You have a few joining options:
A. Slip Stitch Join:
- Place two motifs side by side.
- Use slip stitch through back loops only across the joining edge.
- Repeat until full width and length are joined.
B. Single Crochet Join:
- Slightly more visible and adds texture.
- Good for thicker, decorative joins.
C. Sewing with a Tapestry Needle:
- Use invisible whip stitch or mattress stitch.
✨ Optional Edging
Once your table runner is assembled, you can add a border to finish the edges.
Easy Scallop Border:
- SC evenly around the edge
- (Skip 1, 5 DC in next, skip 1, SC) – repeat for scalloped look
Picot Border:
- (SC, CH 3, SL ST in first CH, skip 1 stitch) – repeat
Choose a neutral color like white or cream, or one of your flower colors for a cohesive look.
🧼 Blocking the Runner
Blocking helps flatten and define the motifs.
Wet Blocking Steps:
- Lightly soak the runner in lukewarm water.
- Gently squeeze (don’t wring) and roll in a towel.
- Pin it flat to a blocking mat or clean surface, shaping flowers.
- Let air dry completely.
🎨 Color Planning Tips
- Use a color wheel for harmonious combos: complementary, analogous, or rainbow
- Alternate bright/dark petals for contrast
- Use the same center color for unity across motifs
- Try pastels for a soft spring-themed runner or jewel tones for a festive holiday feel
🕓 Time & Skill Estimate
| Task | Time Estimate |
|---|---|
| One Flower Motif | 10–15 minutes |
| Making 30 Motifs | ~6 hours |
| Joining & Edging | 2–3 hours |
| Total Time | ~8–10 hours |
📌 Summary of Steps
| Step | Description |
|---|---|
| 1. Flower Motif | Make with 4–5 rounds using color changes |
| 2. Make Multiple | Total depends on desired size |
| 3. Join Motifs | Join-as-you-go or assemble after |
| 4. Add Border | Optional: scalloped or picot |
| 5. Block It | Helps maintain shape |
💖 Final Thoughts
This colorful crocheted flower table runner is a delightful expression of creativity and craftsmanship. Each flower is a small project in itself, making it perfect for on-the-go crocheting or using up scrap yarn. Whether you’re gifting it, selling it, or brightening your own home, this project brings charm and handmade warmth to any setting.
It’s also highly customizable—once you’ve mastered the basic flower motif, you can create variations with different petal shapes, stitch patterns, or leaf borders to suit your theme or season.