 by
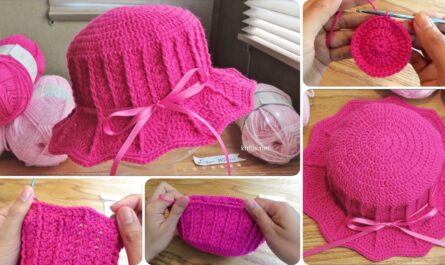
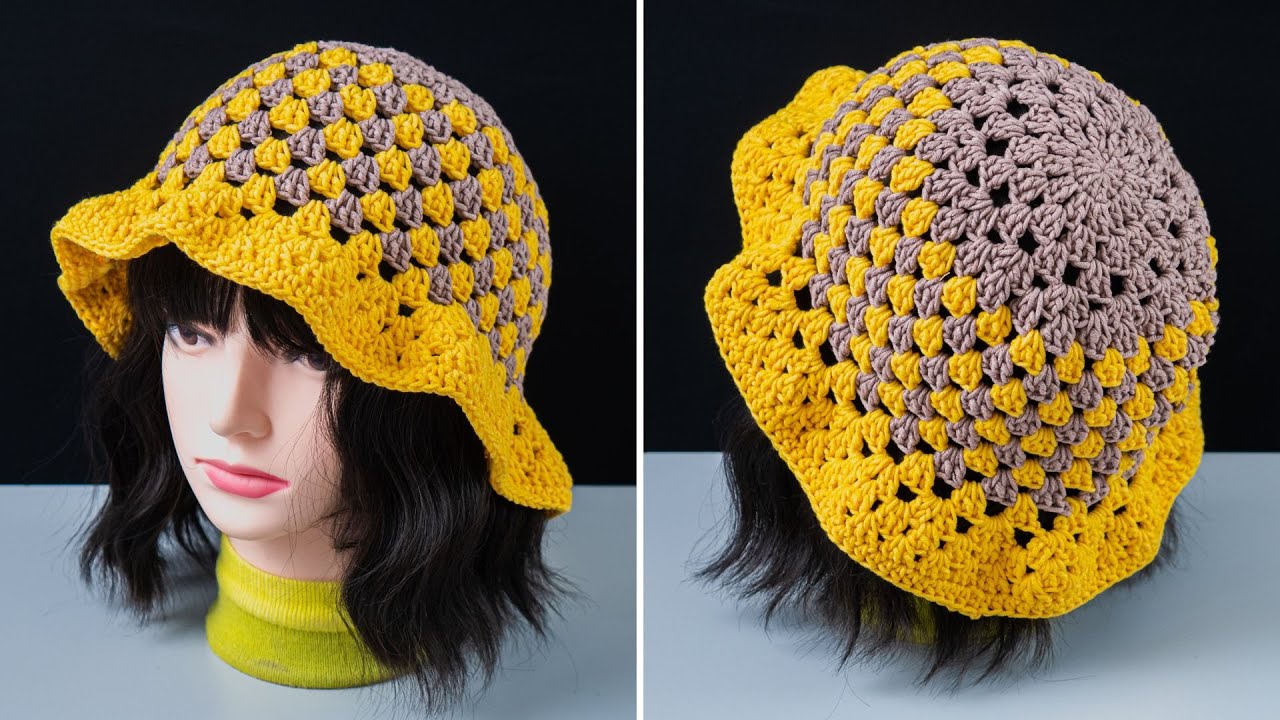
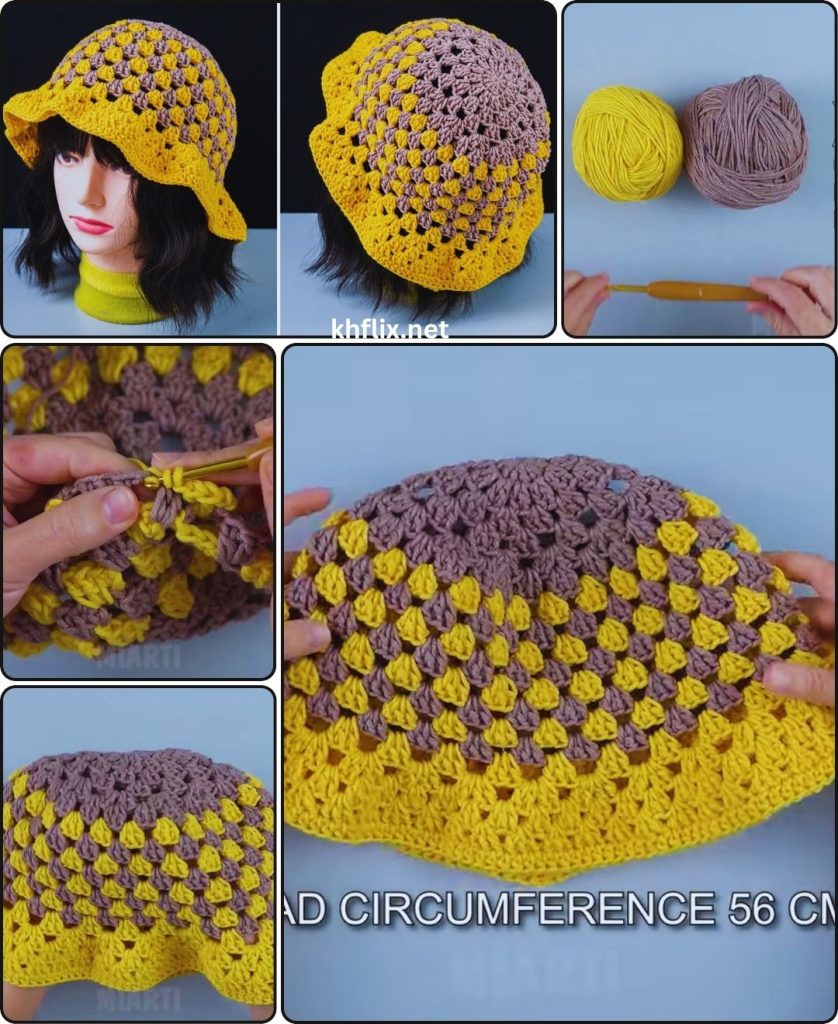
by Crocheting a bucket hat with granny squares is a fun and customizable project that combines two classic crochet elements into one trendy accessory! This tutorial will guide you through all the steps, from making the individual granny squares to joining them and adding a sturdy brim. It’s a great way to use up yarn scraps and create a truly unique hat.

Skill Level: Intermediate
This project is a great challenge if you’re comfortable with:
- Magic Ring (MR) / Adjustable Ring: For a neat, closed center.
- Chain (ch): The foundation of crochet.
- Slip Stitch (sl st): For joining stitches and rounds neatly.
- Double Crochet (dc): The main stitch for granny squares.
- Working in Rounds: Crocheting in joined circles.
- Joining Motifs: Connecting your granny squares together.
- Working a Brim: Creating a flat circle that then curves for the hat’s brim.
Finished Hat Dimensions (Approximate):
Using worsted weight yarn (Medium #4) and the suggested hook, your finished hat will fit an average adult head.
- Hat Circumference: 22-23 inches (56-58 cm)
- Hat Height: 6-7 inches (15-18 cm)
- Brim Width: 2-3 inches (5-7.5 cm)
Materials You’ll Need:
- Yarn: Approximately 150-200 yards (135-180 meters) of Worsted Weight (Medium #4) Yarn.
- Note: The beauty of this project is using yarn scraps! You will need enough yarn to make 5 large granny squares and enough of one color for the brim and joining. Cotton or cotton blend yarn is recommended for a hat that holds its shape.
- Crochet Hook: Size H/5.0mm.
- Yarn Needle (Tapestry Needle): For weaving in ends and sewing seams.
- Scissors: Any sharp pair for cutting your yarn.
- Stitch Markers (Optional): Helpful for marking corners and keeping your place.
Part 1: Making the Granny Squares
You will need to make 5 identical squares. The size of your squares is important because it will determine the size of your finished hat. A good size is about 4-5 inches (10-12 cm) per side.
For each square, follow these steps:
- Round 1 (Magic Ring):
- Create a Magic Ring (MR).
- Chain 3 (ch 3) (counts as your first dc).
- Work 2 double crochet (dc) stitches into the ring.
- Chain 2 (ch 2) (this creates your first corner space).
- *Work 3 dc into the ring. Chain 2 (ch 2).*
- Repeat from * to * two more times.
- Join with a slip stitch (sl st) to the top of the beginning ch 3. (4 clusters of 3 dc, 4 corner spaces)
- Round 2:
- Chain 3 (ch 3) (counts as your first dc).
- Work 2 dc into the same corner space.
- Chain 1 (ch 1) (this creates a side space).
- In the next corner space, work (3 dc, ch 2, 3 dc).
- Chain 1 (ch 1).
- In the next corner space, work (3 dc, ch 2, 3 dc).
- Chain 1 (ch 1).
- In the next corner space, work (3 dc, ch 2, 3 dc).
- Chain 1 (ch 1).
- In the first corner space (where you started), work 3 dc.
- Join with a sl st to the top of the beginning ch 3.
- Round 3:
- Chain 3 (ch 3).
- Work 2 dc into the same corner space.
- Chain 1 (ch 1).
- Work 3 dc into the next side space.
- Chain 1 (ch 1).
- In the next corner space, work (3 dc, ch 2, 3 dc).
- Chain 1 (ch 1).
- Continue this pattern: 3 dc into each side space and (3 dc, ch 2, 3 dc) into each corner space.
- Join with a sl st to the top of the beginning ch 3.
- Repeat Round 3 until your squares measure about 4.5 inches on each side. You will need 5 squares total.
Part 2: Assembling the Hat
Once you have your 5 squares, it’s time to join them together to form the hat’s crown and sides. We will join them by sewing the squares together with a yarn needle and a simple whip stitch or by using a crochet join.
- Arrange the Squares:
- Take four of your squares and arrange them in a long strip. These will form the sides of the hat.
- Take the fifth square and place it in the center of the four-square strip. This will be the top of the hat.
- Join the Squares:
- Using a yarn needle and a color of your choice (this can be a main color or a contrasting one), start sewing.
- Lay two squares next to each other, wrong sides facing.
- Insert your needle into the corner stitch of both squares and begin a whip stitch, sewing through both loops of each stitch. This creates a clean, durable seam.
- Continue sewing down the side until you reach the next corner.
- Repeat this process to join all four side squares to the top square.
- Finally, join the two ends of the four-square strip together to form a tube.
- Tip: If you prefer a crochet join, you can use a slip stitch or single crochet to connect the squares together.
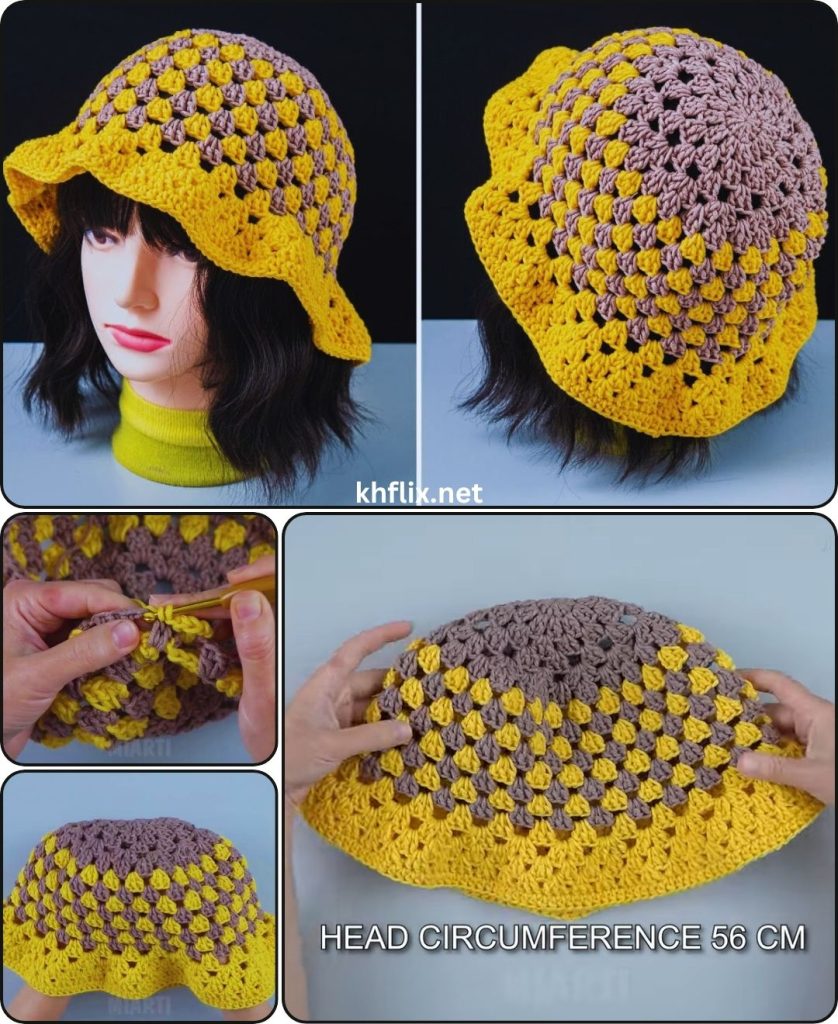
Part 3: Adding the Brim
The brim is the final element that gives the hat its classic bucket hat shape. We’ll work the brim in a continuous spiral for a seamless look.
- Set Up the First Brim Round:
- With your chosen brim color, join your yarn with a slip stitch to any stitch on the bottom edge of the hat.
- Chain 1 (ch 1).
- Work 1 single crochet (sc) into the back loop only (BLO) of each stitch around the entire bottom edge. This will create a nice, defined ridge.
- Do NOT join with a slip stitch. This round should have approximately 72-84 stitches, depending on the size of your squares. Use a stitch marker to mark the first stitch of the round.
- Increase Rounds (for the flare):
- Round 2 (Increase): *Work 2 sc into the next stitch. Work 1 sc into the next 5 stitches.* Repeat from * to * around.
- Round 3 (No Increase): Work 1 sc into each stitch around the entire round.
- Round 4 (Increase): *Work 2 sc into the next stitch. Work 1 sc into the next 6 stitches.* Repeat from * to * around.
- Round 5 (No Increase): Work 1 sc into each stitch around the entire round.
- Round 6 (Increase): *Work 2 sc into the next stitch. Work 1 sc into the next 7 stitches.* Repeat from * to * around.
- Note: Continue alternating between increase and non-increase rounds until the brim reaches your desired width. The brim should start to flare outward.
- Final Brim Round:
- When your brim is the perfect width, work one final round of single crochet.
- Join with a slip stitch to the first sc of the round.
- Fasten Off (FO), leaving a tail of about 6 inches (15 cm).
Part 4: Final Finishing Touches
- Weave in All Ends:
- Use your yarn needle to meticulously weave in all the yarn tails from your squares, the joining, and the brim. This is the most crucial step for a professional and durable finish.
- Weave the tails along existing stitches on the inside of the hat, changing direction to lock them in place.
- Blocking (Optional but Recommended):
- Gently mist the hat with cool water until it is damp.
- Place the hat over a bowl or a small balloon to help it hold its dome shape, and lay the brim flat to dry.
- Allow the hat to air dry completely and thoroughly.
Congratulations! You’ve successfully crocheted a unique and stylish Granny Square Bucket Hat! This project is a fantastic way to show off your creativity and make a one-of-a-kind accessory.