 by
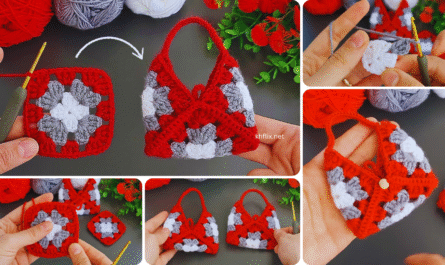
by Creating a crochet drawstring bag is a rewarding project, perfect for holding small items, acting as a gift pouch, or keeping your crochet notions organized. This tutorial will guide you through making a sturdy and beautiful drawstring bag with a subtle textured stitch for added appeal.
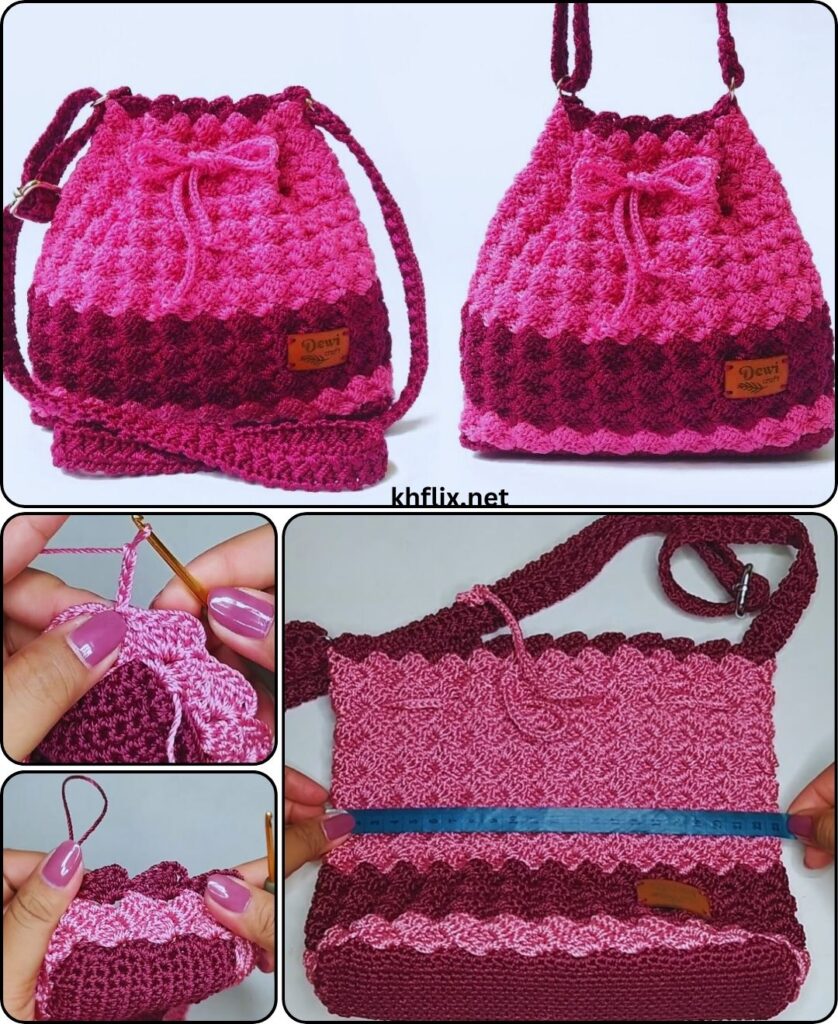
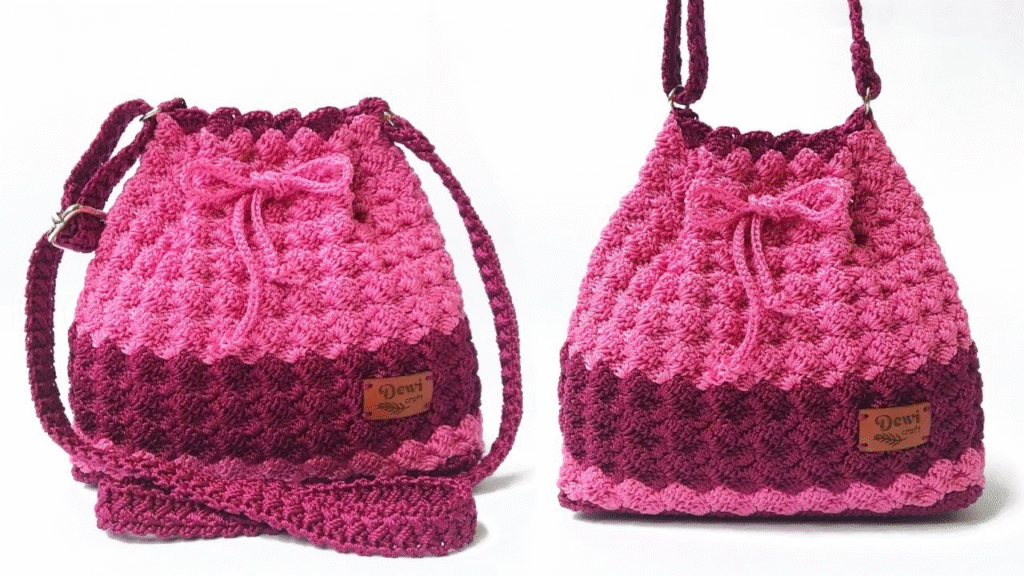
Pattern: How to Make a Crochet Drawstring Bag
Project Overview: This pattern creates a versatile, medium-sized drawstring bag, starting with an oval base and building up the sides using a textured stitch (hdc in the 3rd loop, also known as the camel stitch). The top features a simple casing for the drawstring.
Skill Level: Beginner to Intermediate (Requires knowledge of basic stitches, working in the round, and understanding how to work into the 3rd loop).
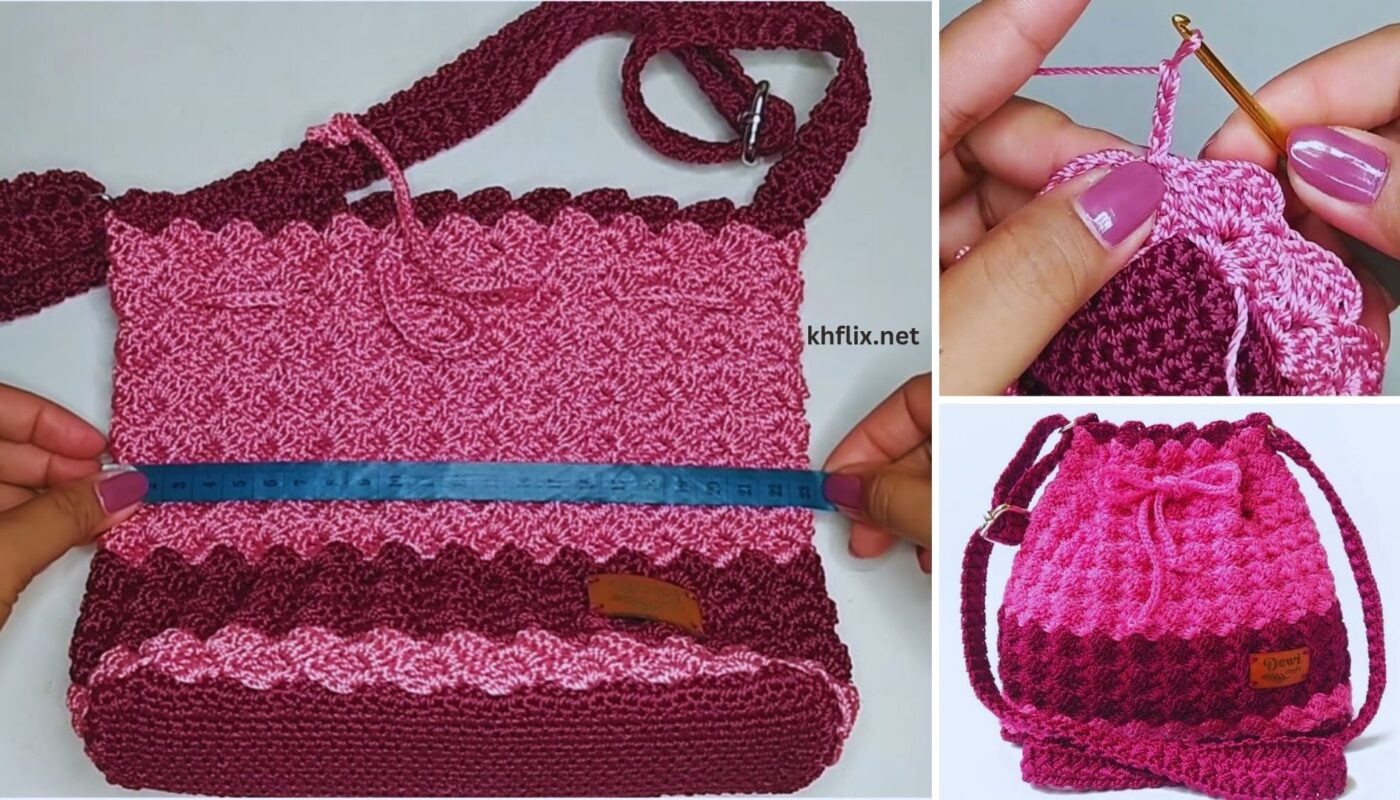
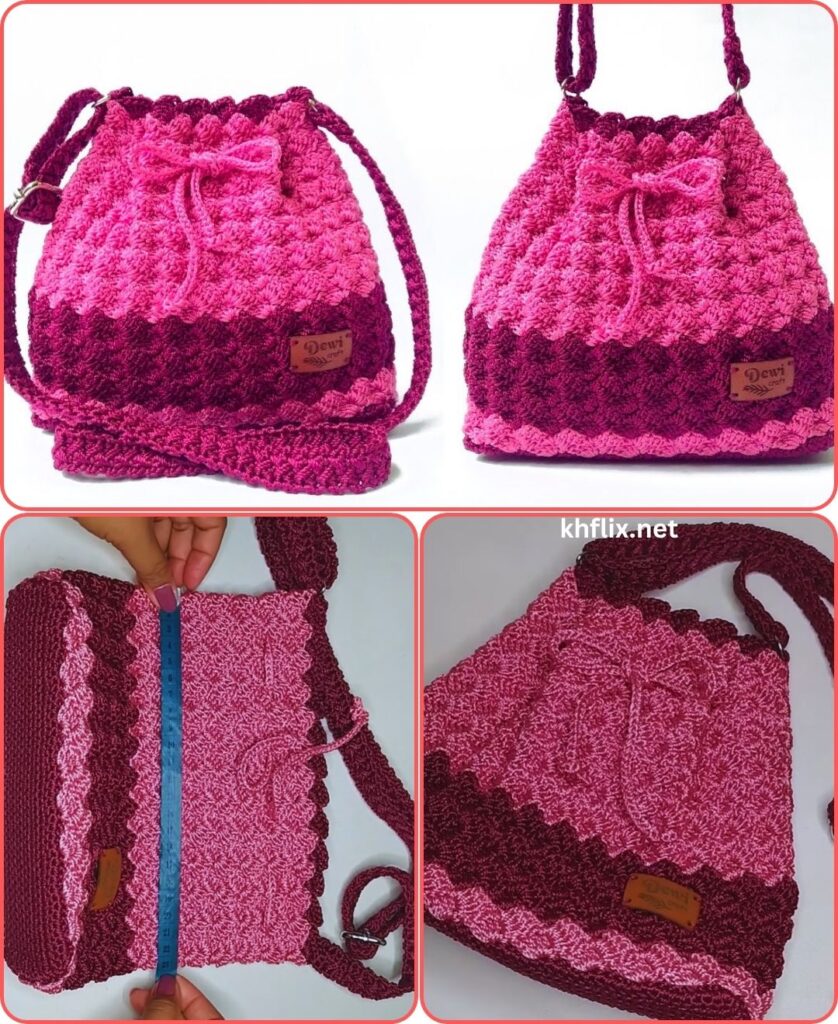
Finished Bag Dimensions (Approximate):
- Base: 6 inches (15 cm) long x 3 inches (7.5 cm) wide
- Height (Bag Body): 8 inches (20 cm)
- Size is adjustable; see notes below.
Materials You’ll Need:
- Yarn:
- Worsted Weight (Medium #4) Cotton or Cotton Blend Yarn: Approximately 150-200 yards (137-183 meters).
- Why Cotton/Blend? It’s durable, has good stitch definition, and less stretch, which is ideal for bags. Choose any color(s) you like!
- Crochet Hook:
- Size H/5.0mm (or a size that produces a dense, sturdy fabric with your chosen yarn).
- Yarn Needle (Tapestry Needle): For weaving in ends and threading the drawstring.
- Scissors
- Stitch Marker (Highly Recommended): To mark the beginning of rounds.
- Drawstring Material (Choose ONE):
- Matching or Contrasting Yarn: For a crocheted chain drawstring.
- Ribbon, Twine, or Cord: Approx. 20-24 inches (50-60 cm) long, suitable for threading.
Gauge (Important for Consistent Bag Size!)
With H/5.0mm hook and chosen yarn, working in half double crochet (hdc): 14 hdc = 4 inches (10 cm) wide 11 hdc rows = 4 inches (10 cm) high
Your fabric should be firm and dense to help the bag hold its shape.
Abbreviations Used:
- ch: chain
- sl st: slip stitch
- sc: single crochet
- hdc: half double crochet
- st(s): stitch(es)
- inc: increase (working 2 stitches into the same stitch)
- FLO: front loop only
- BLO: back loop only
- 3rd Loop (or camel stitch loop): The horizontal bar located on the back of a half double crochet stitch, just below the front and back loops.
- FO: fasten off
- MR: magic ring (not used in this pattern, but good to know)
Understanding Bag Construction & The 3rd Loop Hdc
- Bag Base: We start by creating a flat oval.
- Bag Body: The sides are built up from the base. The “hdc in the 3rd loop” stitch creates a lovely horizontal ridge on the front of the fabric, giving the bag a subtle textured stripe effect. Since we are working in continuous rounds, the “right side” (which is the outside of your bag) will always be facing you.
- Drawstring Casing: A simple series of stitches at the top creates the channel for the drawstring.
How to find and work into the 3rd Loop of an hdc stitch:
- Look at the top of a completed hdc stitch. You’ll see the regular “V” (front loop and back loop).
- Behind the back loop, there’s a horizontal bar. This is the 3rd loop.
- When working into the 3rd loop, insert your hook under this horizontal bar only.
Let’s Start Crocheting Your Drawstring Bag!
Part 1: The Bag Base (Main Color)
Work in continuous rounds (do NOT join with sl st at the end of each round) and use a stitch marker to mark the first stitch of each round.
- With H/5.0mm hook, ch 21. (Adjust chain length to change bag length).
- Round 1: Work 2 hdc in the 3rd ch from hook. (Counts as 2 hdc). Work 1 hdc in each of the next 18 ch. Work 4 hdc in the last ch. (This turns the corner). Now, working down the other side of the foundation chain, work 1 hdc in each of the next 18 ch. Work 2 hdc in the very last ch (same as first 2 hdc). (44 hdc).
- Place your stitch marker in the first hdc of the round.
- Round 2: Work 2 hdc in the first st. Hdc in the next st. Work 2 hdc in the next st. Hdc in each of the next 18 sts. Work 2 hdc in the next st. Hdc in the next st. Work 2 hdc in the next st. Hdc in the next st. Work 2 hdc in the next st. Hdc in each of the next 18 sts. Work 2 hdc in the next st. Hdc in the next st. (52 hdc).
- Round 3: Work 2 hdc in the first st. Hdc in each of the next 2 sts. Work 2 hdc in the next st. Hdc in each of the next 20 sts. Work 2 hdc in the next st. Hdc in each of the next 2 sts. Work 2 hdc in the next st. Hdc in each of the next 20 sts. Work 2 hdc in the next st. Hdc in each of the next 2 sts. (60 hdc).
- Your base should now be a sturdy oval, approx. 6 inches long and 3 inches wide.
Part 2: The Bag Body (Main Color, using 3rd Loop Hdc)
We will now build the sides of the bag. The first round here creates a sharp edge for the base.
- Round 4 (Creating the edge): Work 1 sc in the BLO (back loop only) of each st around. (60 sc).
- Working in the BLO creates a defined ridge, making the bag’s base stand out and helping the sides stand up straight. Remove your stitch marker and place it in the first sc of this round.
- Round 5 (Start textured body): Work 1 hdc in the 3rd loop of each st around. (60 hdc).
- Remove stitch marker and place it in the first hdc of this round.
- Repeat Round 5 for 15 more rounds (or until the bag body measures approximately 7.5-8 inches tall from the base edge). (Total of 16 rounds of 3rd loop hdc).
- You should see lovely horizontal ridges forming around the bag due to working in the 3rd loop.
Part 3: The Drawstring Casing (Main Color)
This section creates the channel for your drawstring.
- Round 21 (Casing Round 1): Work 1 sc in the BLO of each st around. (60 sc).
- This creates another subtle ridge and also ensures the drawstring casing is firm.
- Round 22 (Casing Round 2 – Holes for Drawstring): Ch 1. Work 1 hdc in the first st. Ch 1, sk 1 st, 1 hdc in the next 2 sts. Repeat from * to * around. End with 1 hdc in the last st (if needed, adjust to make the last hdc count as part of the last 2 hdc group).
- You should have approximately 20 hdc stitches and 20 ch-1 spaces. (The exact count doesn’t need to be perfect, as long as you have enough holes for the drawstring).
- Sl st to the top of the first hdc to join. (This is the first time we join a round in the body for a neat top edge).
- Round 23 (Casing Round 3): Ch 1. Work 1 sc in each hdc and 1 sc in each ch-1 sp around. Sl st to the first sc to join. (60 sc).
- FO, leaving a tail to weave in.
Part 4: The Drawstring (Matching or Contrasting Yarn)
Choose one method for your drawstring:
Option A: Crocheted Chain Drawstring (Recommended)
- With your chosen yarn (matching or contrasting) and H/5.0mm hook, ch 70-80. (Adjust length as desired; a bit longer is usually better).
- FO, leaving a tail on each end.
- Weave in the tails securely on the chain itself, or leave them long to create a knot at the end of the drawstring once threaded.
Option B: Ribbon, Twine, or Cord
- Cut your chosen material to approximately 20-24 inches (50-60 cm).
- If it’s a material that frays (like ribbon), you can lightly melt the ends with a lighter (carefully!) or use clear nail polish to seal them.
Part 5: Finishing & Assembly
- Weave in All Bag Ends: Use your yarn needle to neatly weave in all loose yarn tails from the bag body. Ensure they are secure so they don’t unravel.
- Thread the Drawstring:
- Thread one end of your chosen drawstring material onto your yarn needle (if using a needle).
- Starting at the center of the front of the bag, thread the drawstring in and out of the hdc stitches (or ch-1 spaces) of Round 22 (Casing Round 2). Go under one hdc/through one ch-1 sp, then over the next, creating the weaving effect.
- Continue all the way around the bag until both ends of the drawstring emerge from the same two adjacent holes at the starting point.
- Pull the drawstring to gather the top of the bag. Tie the ends in a simple knot, or add beads/tassels if desired.
Tips for Success & Customization:
- Yarn Choice: Cotton or cotton blends are highly recommended for their durability and minimal stretch. Wool can be used but might stretch more when filled.
- Tight Gauge: Aim for a dense fabric. A loose gauge will make the bag floppy and less durable.
- Sizing Up/Down:
- To change length of base: Adjust your starting chain (always an odd number if following this pattern’s increase scheme).
- To change width of base: Add or remove increasing rounds (maintaining the increase pattern for an oval).
- To change height: Add or remove rounds in Part 2 (Bag Body).
- Stitch Variations: Instead of hdc in the 3rd loop, you could use:
- Simple single crochet (sc) for a very dense, basic bag.
- Half double crochet (hdc) for a slightly softer fabric.
- A simple shell stitch or granny stitch for a lacier drawstring pouch.
- Color Blocking: Make the base one color, the body another, and the drawstring casing a third! Or alternate stripes every few rounds.
- Embellishments: Attach a small crocheted flower, a pom-pom, or beads to the ends of the drawstring for extra flair.
Enjoy creating your beautiful and functional crochet drawstring bag!