 by
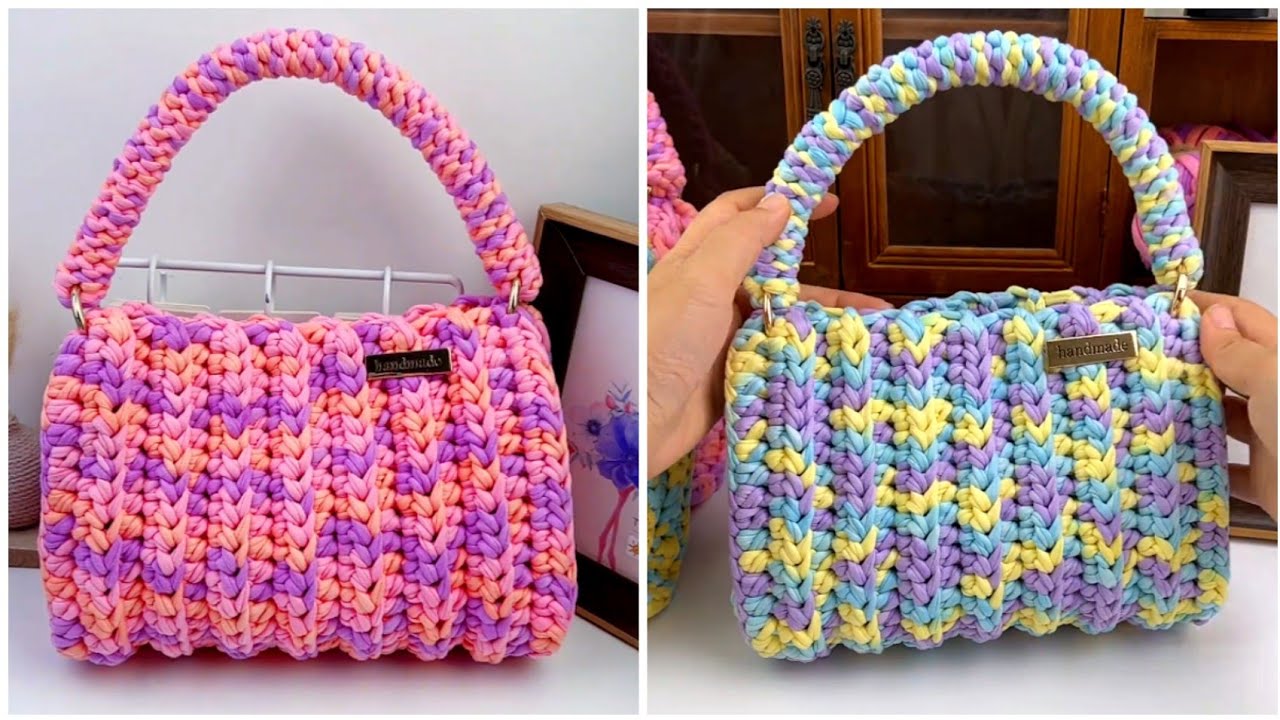
by Let’s crochet a vibrant and incredibly stylish multi-color striped tote bag! This tutorial will guide you through creating a durable and eye-catching accessory perfect for everyday use, market trips, or carrying your craft projects. The “multi-color striped style” is achieved by regularly changing yarn colors as you work in rounds, creating bold and playful horizontal bands around the bag.
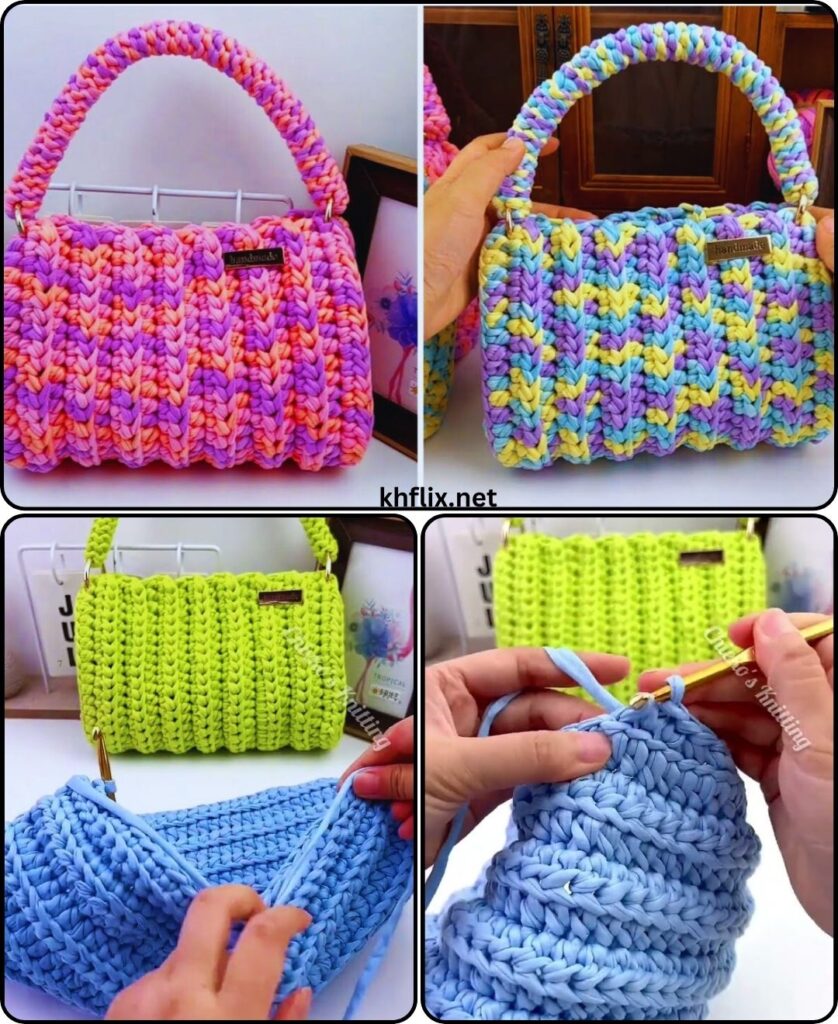
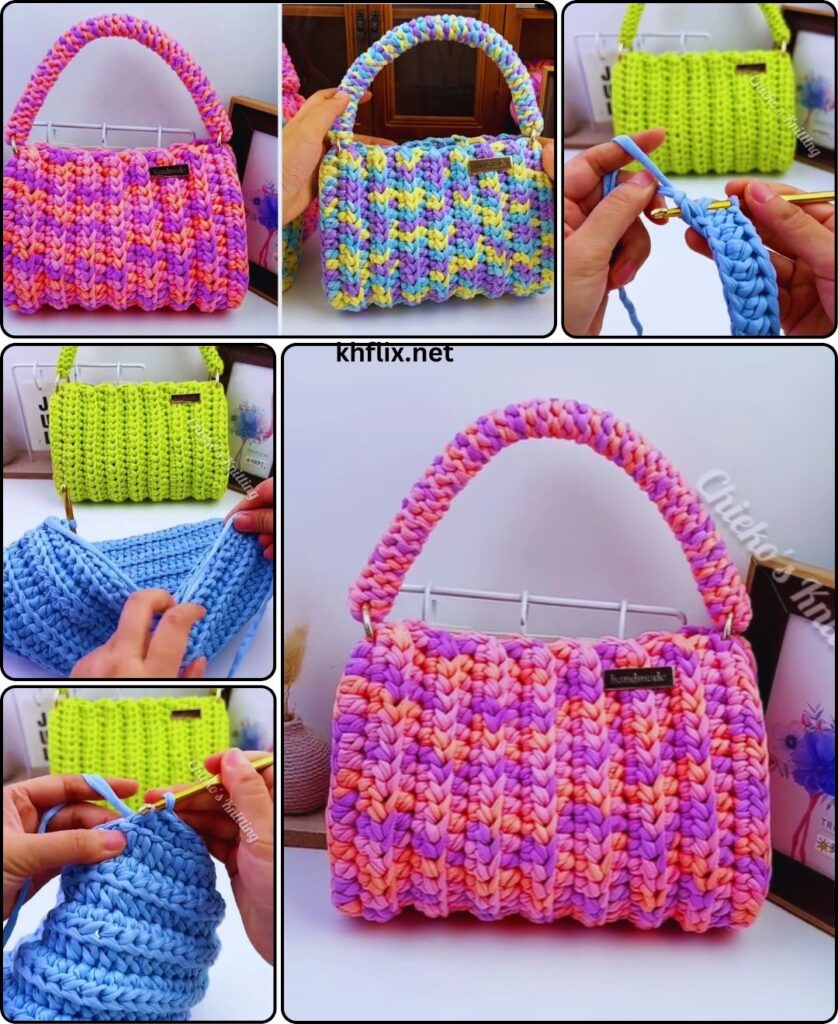
How to Crochet a Multi-Color Striped Tote Bag
This pattern is designed to be straightforward, making it a great project for anyone comfortable with basic crochet stitches and working in the round.
Skill Level: Easy to Intermediate
You’ll need to be comfortable with:
- Basic crochet stitches: chain, slip stitch, single crochet, half double crochet.
- Working in joined rounds.
- Creating a flat oval base.
- Working straight sides.
- Performing clean color changes (this is key for neat stripes!).
Finished Tote Bag Dimensions (Approximate):
- Width (flat): 12 inches (30.5 cm)
- Height (without handles): 14 inches (35.5 cm)
- Handle Drop: 10 inches (25 cm)
Materials You’ll Need:
- Yarn: Approximately 500-700 yards (450-640 meters) of Worsted Weight (Medium #4) Cotton or Cotton Blend Yarn. Cotton is highly recommended for tote bags because it’s durable, sturdy, and washable, and it holds its shape well.
- Colors: Choose 3-5 contrasting or complementary colors for your stripes. You’ll use these interchangeably.
- Color A (Base/Main Stripe): Approx. 200-250 yards.
- Color B, C, D (Accent Stripes): Approx. 100-150 yards each.
- Colors: Choose 3-5 contrasting or complementary colors for your stripes. You’ll use these interchangeably.
- Crochet Hook: Size H/5.0mm or the hook size that gives you a firm, dense fabric that won’t stretch much when the bag is filled. A tighter gauge generally works best for bags.
- Yarn Needle (Tapestry Needle): Essential for seamlessly weaving in all your loose ends.
- Scissors
- Stitch Markers (Recommended): Helpful for marking the beginning of rounds and the “corners” of your oval base.
Gauge (Crucial for Consistent Size!):
Maintaining a consistent gauge is vital for your tote bag to achieve the intended size and shape, ensuring it’s sturdy and well-proportioned.
- For the main body (single crochet stitches): 15 single crochet stitches and 16 rows = 4 inches (10 cm).
- Adjust your hook size if necessary to meet this gauge.
Abbreviations Used:
- ch: chain
- sl st: slip stitch
- sc: single crochet
- hdc: half double crochet
- st(s):: stitch(es)
- inc: increase (work 2 stitches into the same stitch)
- BLO: back loop only (working into the back loop of the stitch)
- FO: fasten off
- (): repeat instructions within parentheses a specified number of times.
- []: indicates the total number of stitches at the end of a round.
Understanding Tote Bag Construction:
Your tote bag will be built in a few key parts:
- Flat Oval Base: This creates a sturdy foundation, allowing your bag to sit flat.
- Bag Body: The main sides of the tote, worked straight up from the base with regular color changes to form bold stripes.
- Top Edging: This reinforces the bag’s opening, giving it a neat, finished look.
- Handles: Sturdy crocheted handles will be integrated directly into the top.
How to Make a Clean Color Change in Joined Rounds:
This method is key to creating crisp, neat stripes.
- Work the last stitch of the current round with the current color as normal, but stop when you have two loops left on your hook.
- Drop the current color.
- Pick up your new color, yarn over with the new color, and pull it through the remaining two loops on your hook to complete the stitch.
- Now, using the new color, slip stitch into the first stitch of the round to join.
- Always cut the old color yarn, leaving a 4-6 inch tail. These tails will be neatly woven in later. For a bag, it’s generally best not to carry yarn up the inside, as it can add bulk or potentially show through lighter-colored stitches.
Let’s Start Crocheting Your Multi-Color Striped Tote Bag!
Part 1: Base of the Tote (Using Color A)
We’ll begin by creating a sturdy, flat oval base for your bag using your main color, Color A.
- Chain 37.
- Round 1: Single crochet (sc) in the 2nd chain from your hook. Sc in the next 34 chains. Work 3 sc in the very last chain. (Now you’ll be working down the other side of your starting chain). Sc in the next 34 chains. Work 2 sc in the very last chain (this is the same chain as your first sc of the round). Slip stitch (sl st) to the first sc to join. [74 stitches]
- Tip: Place stitch markers in the middle stitch of the 3-sc group at each end of the oval. These will be your “corner” stitches where you’ll make increases in subsequent rounds to maintain the oval shape.
- Round 2: Chain 1 (does NOT count as a stitch). Sc in the same stitch as your join. Sc in the next 33 stitches. Work 3 sc in the marked stitch (your old corner). Sc in the next 34 stitches. Work 3 sc in the marked stitch (your other old corner). Sc in the last 2 stitches. Sl st to the first sc to join. [78 stitches]
- Remember to move your stitch markers to the middle stitch of each new 3-sc group.
- Round 3: Ch 1. Sc in the same stitch. Sc in the next 34 stitches. Work 3 sc in the marked stitch. Sc in the next 36 stitches. Work 3 sc in the marked stitch. Sc in the last 2 stitches. Sl st to the first sc to join. [82 stitches]
- Move stitch markers.
- Round 4: Ch 1. Sc in the same stitch. Sc in the next 35 stitches. Work 3 sc in the marked stitch. Sc in the next 38 stitches. Work 3 sc in the marked stitch. Sc in the last 2 stitches. Sl st to the first sc to join. [86 stitches]
- Move stitch markers.
- Round 5: Ch 1. Sc in the same stitch. Sc in the next 36 stitches. Work 3 sc in the marked stitch. Sc in the next 40 stitches. Work 3 sc in the marked stitch. Sc in the last 2 stitches. Sl st to the first sc to join. [90 stitches]
- Your base should now measure approximately 12 inches long and 4-5 inches wide.
- At the end of this round, perform a clean color change to Color B for the next round. Cut Color A, leaving a 6-inch tail for weaving.
Part 2: Body of the Tote (Striped)
Now, we’ll work straight up to form the walls of the tote, creating bold stripes. We’ll use single crochet for a dense, sturdy fabric. This pattern alternates colors every two rounds.
- Round 6 (Color B): Ch 1 (does NOT count as a stitch). Sc in the back loop only (BLO) of the same stitch as your join. Sc in the BLO of each stitch around. Sl st to the first sc to join. [90 stitches]
- This BLO round creates a defined edge for the base and helps the sides stand up straight.
- Round 7 (Color B): Ch 1. Sc in the same stitch as join. Sc in each stitch around (working through both loops). Sl st to the first sc to join. [90 stitches]
- At the end of this round, perform a clean color change to Color C. Cut Color B, leaving a 6-inch tail.
- Round 8 (Color C): Ch 1. Sc in the same stitch. Sc in each stitch around. Sl st to the first sc to join. [90 stitches]
- Round 9 (Color C): Ch 1. Sc in the same stitch. Sc in each stitch around. Sl st to the first sc to join. [90 stitches]
- At the end of this round, perform a clean color change to Color D. Cut Color C, leaving a 6-inch tail.
- Round 10 (Color D): Ch 1. Sc in the same stitch. Sc in each stitch around. Sl st to the first sc to join. [90 stitches]
- Round 11 (Color D): Ch 1. Sc in the same stitch. Sc in each stitch around. Sl st to the first sc to join. [90 stitches]
- At the end of this round, perform a clean color change to Color A. Cut Color D, leaving a 6-inch tail.
Continue Repeating Stripe Pattern:
- Repeat Rounds 6-11 (alternating two rounds of Color B, then two rounds of Color C, then two rounds of Color D, then two rounds of Color A) until your bag reaches approximately 13-13.5 inches (33-34 cm) tall from the base. This will be about 45 rounds after Round 6.
- Ensure your final stripe ends with Color A (or your preferred main color) for the last two rounds of the body, as this will lead seamlessly into the top edging.
- Do NOT cut your yarn after the final body round.
Part 3: Top Edging (Using Color A or Last Body Color)
This section creates a sturdy, finished rim for the opening of your tote bag.
- Round (Top Edging 1): With Color A (or the last color you used for the body), Ch 1. Half double crochet (hdc) in the same stitch. Hdc in each stitch around. Sl st to the first hdc to join. [90 hdc]
- Round (Top Edging 2): Ch 1. Hdc in the same stitch. Hdc in each stitch around. Sl st to the first hdc to join. [90 hdc]
- DO NOT CUT your yarn yet, as you’ll use it for the handles.

Part 4: Handles (Using Color A or Last Body Color)
You will make two identical handles, crocheted directly onto the top edge of your bag.
- Handle Placement Preparation:
- Lay your bag flat and ensure the side seams are aligned.
- Using stitch markers, mark the placement for your handles. For a bag with 90 stitches, a good placement could be:
- Starting from any side seam, count 15 stitches along the top edge, place a marker.
- From that marker, count 20 stitches, place another marker (this will be the first handle attachment section).
- Count the next 25 stitches, place a marker (this is the gap for the armhole).
- From that marker, count 20 stitches, place another marker (this is the second handle attachment section).
- The remaining 10 stitches should meet the first marker (the second armhole gap).
- Round (Handle Base):
- Ch 1. Sc in the same stitch as join and in the next 19 stitches (to the first marker). [20 sc]
- Chain 40 (this creates the length of your first handle strap – adjust chain length for desired handle drop).
- Skip the next 25 stitches along the bag’s top edge (this creates the opening for your arm/hand).
- Sc in the next 20 stitches (to the second marker). [20 sc]
- Chain 40 (for your second handle strap).
- Skip the last 25 stitches along the bag’s top edge.
- Sl st to the first sc of the round to join.
- Round (Handle Reinforcement 1):
- Ch 1. Sc in the same stitch and in the next 19 stitches (working along the top edge of the bag).
- Now, sc in each of the 40 chain stitches you just made (working along the top of your first handle chain).
- Sc in the next 20 stitches (working along the bag’s top edge).
- Sc in each of the 40 chain stitches for your second handle.
- Sl st to the first sc to join. [120 sc total – (20+40+20+40)]
- Round (Handle Reinforcement 2):
- Ch 1. Sc in the same stitch. Sc in each stitch around (working along the bag edge stitches and then around the handle loops).
- Sl st to the first sc to join. [120 sc]
- FO, leaving a long tail for final weaving.
Part 5: Finishing Your Tote Bag
- Weave in All Ends: This is the most crucial step for a professional-looking and durable bag. Methodically thread each yarn tail onto your yarn needle. Carefully weave them through several stitches on the inside of the bag, making them secure and invisible from the outside. Take your time with this step to prevent unraveling, especially with all the color changes.
- Shape: Gently shape your bag, ensuring the base is flat and the sides stand upright.
- Optional: Stiffen the Handles: If your crocheted handles feel too soft or floppy, you can line them with a piece of cotton webbing or carefully spray them with fabric stiffener and let them dry while stretched straight (you can pin them to a blocking mat).
- Optional: Add a Fabric Lining: For even greater durability, to prevent small items from potentially slipping through stitches, or to add pockets, consider sewing a fabric lining for your tote bag. This is typically done after all crocheting is complete.
Your beautiful and functional Multi-Color Striped Crochet Tote Bag is now complete! Enjoy using your fantastic handmade creation.