 by
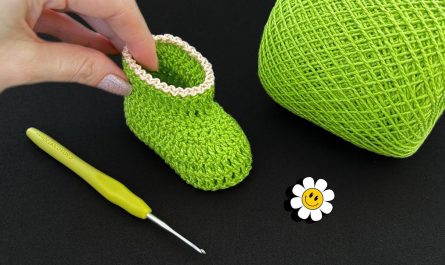
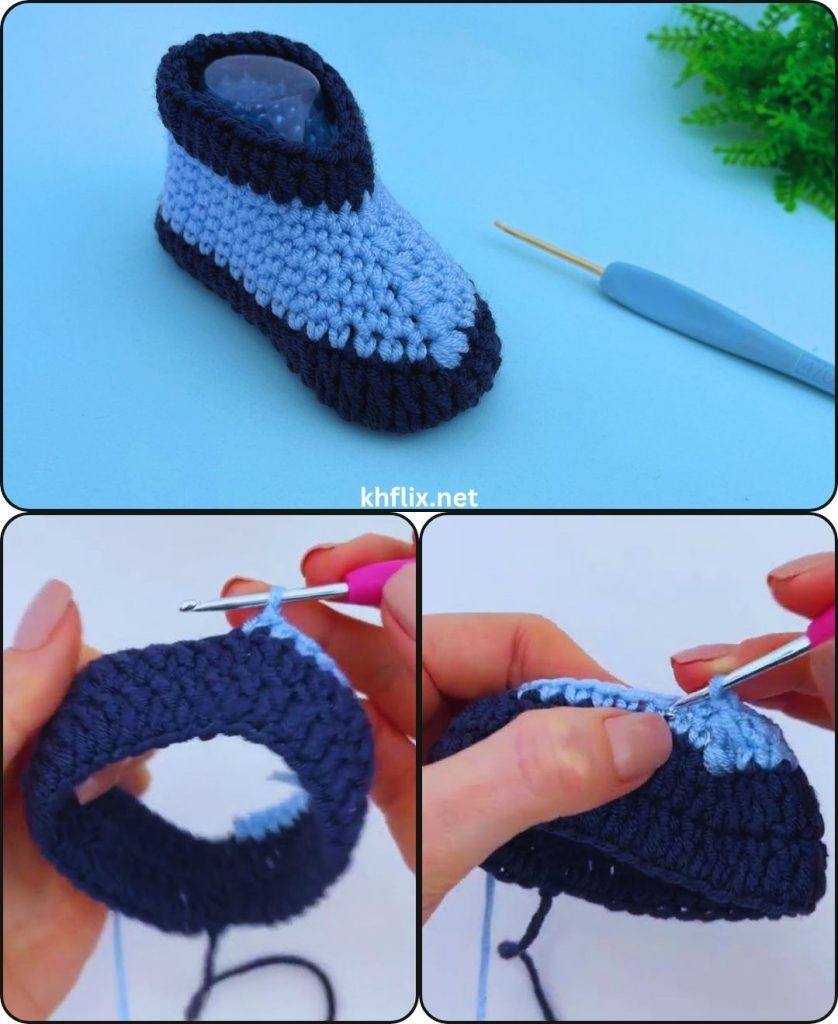
by Crocheting baby shoes with two decorative lines (stripes) is a beautiful way to make your project stand out. These lines can be simple color changes or textured rows that add style and depth to the shoe. This guide will walk you through everything—from materials to finishing touches—so you can create perfectly shaped baby shoes with clean, eye-catching two-line details.
🌸 1. What Does “Two Lines” Mean in Crochet?
“Two lines” usually refers to:
- 🎨 Two color stripes (e.g., white + blue lines)
- 🧵 Two textured rounds (like raised or ribbed stitches)
- 👟 Decorative bands around the shoe
👉 In this tutorial, we’ll focus on two color stripes for a clean and beginner-friendly look.
🧶 2. Materials You’ll Need
Prepare these before starting:
- Soft baby yarn:
- Main color (MC) – for the body
- Contrast color (CC) – for the two lines
- Crochet hook (3.0mm–4.0mm)
- Yarn needle
- Scissors
- Stitch marker (optional)
- Button or ribbon (optional)
👉 Tip: Choose soft, baby-safe yarn (cotton or acrylic blend).
📏 3. Size Guide
For this tutorial (0–6 months):
- Sole length: ~9–10 cm
- Starting chain: 10
👉 Adjust size by changing chain length.
🔧 4. Basic Stitches Required
- Chain (ch)
- Slip Stitch (sl st)
- Single Crochet (sc)
- Half Double Crochet (hdc)
- Double Crochet (dc)
- Decrease (sc2tog)
👣 5. Step-by-Step Instructions
🟡 Step 1: Make the Sole (Main Color)
- Chain 10
- Round 1:
- 2 sc in 2nd chain from hook
- 1 sc in next 7 stitches
- 5 sc in last stitch
- Continue on other side:
- 1 sc in next 7
- 3 sc in last stitch
- Join with slip stitch
✔ You now have an oval sole
🟠 Step 2: Increase the Sole
- Chain 1
- Increase (2 sc) at heel and toe
- Work 1 sc along sides
- Join with slip stitch
✔ Sole becomes wider and balanced
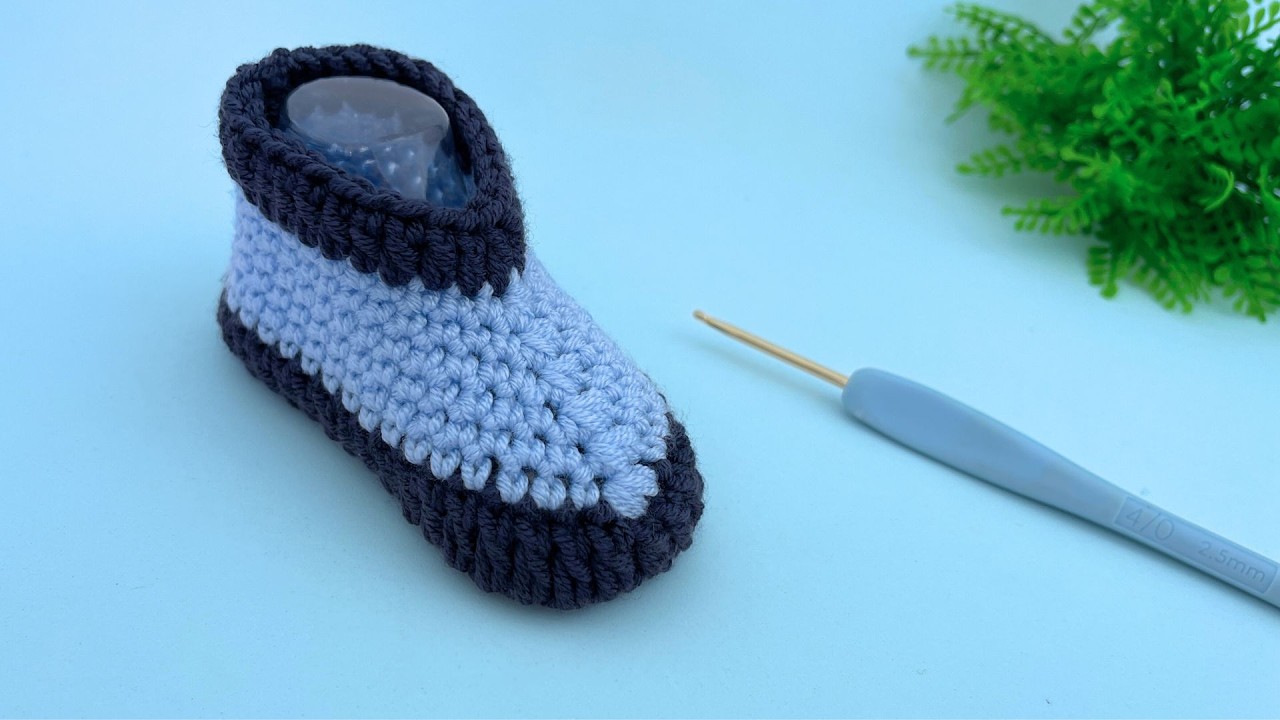
🔵 Step 3: Create the First Line (Stripe #1)
Now we introduce the first decorative line:
- Switch to contrast color (CC)
- Chain 1
- Work single crochet in back loops only (BLO) around
- Join with slip stitch
✔ This creates a raised stripe effect
👉 Tip: Pull yarn tightly when changing colors for clean lines
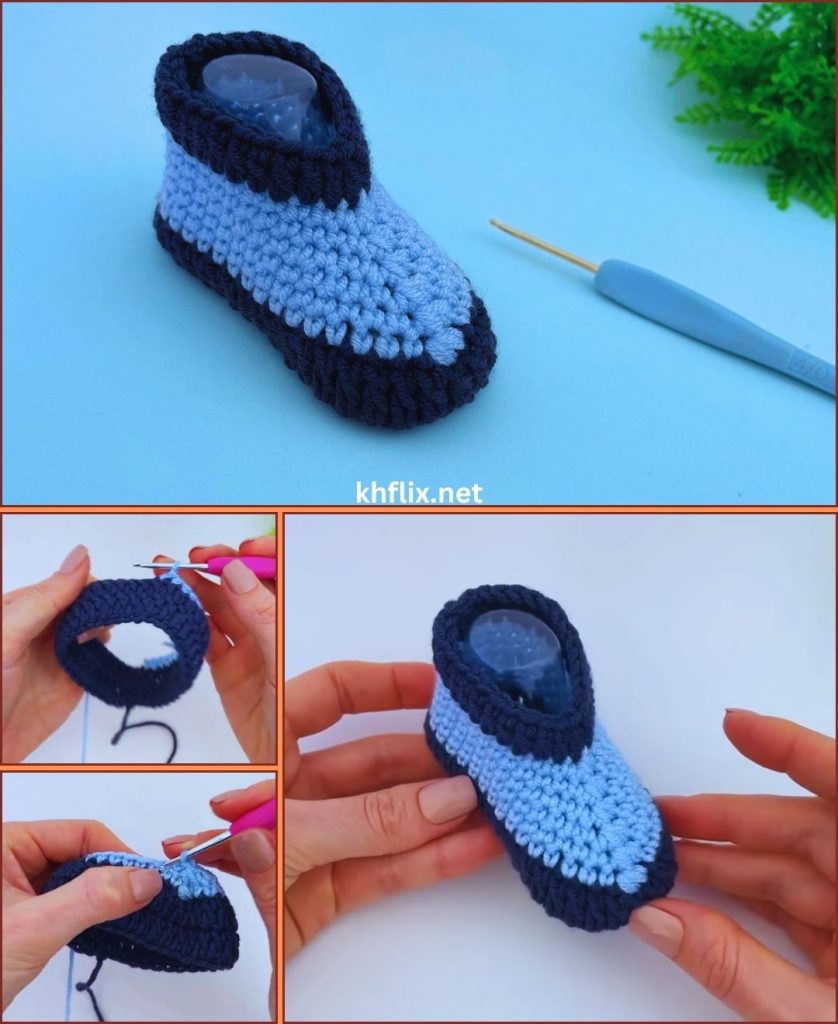
🟢 Step 4: Build the Shoe Body (Main Color)
- Switch back to main color
- Chain 1
- Work 1 sc in each stitch around
- Repeat for 1–2 rounds
✔ This builds the side walls
🟣 Step 5: Add the Second Line (Stripe #2)
- Switch again to contrast color (CC)
- Chain 1
- Work 1 sc around (or BLO for texture)
- Join with slip stitch
✔ Now you have two clean decorative lines
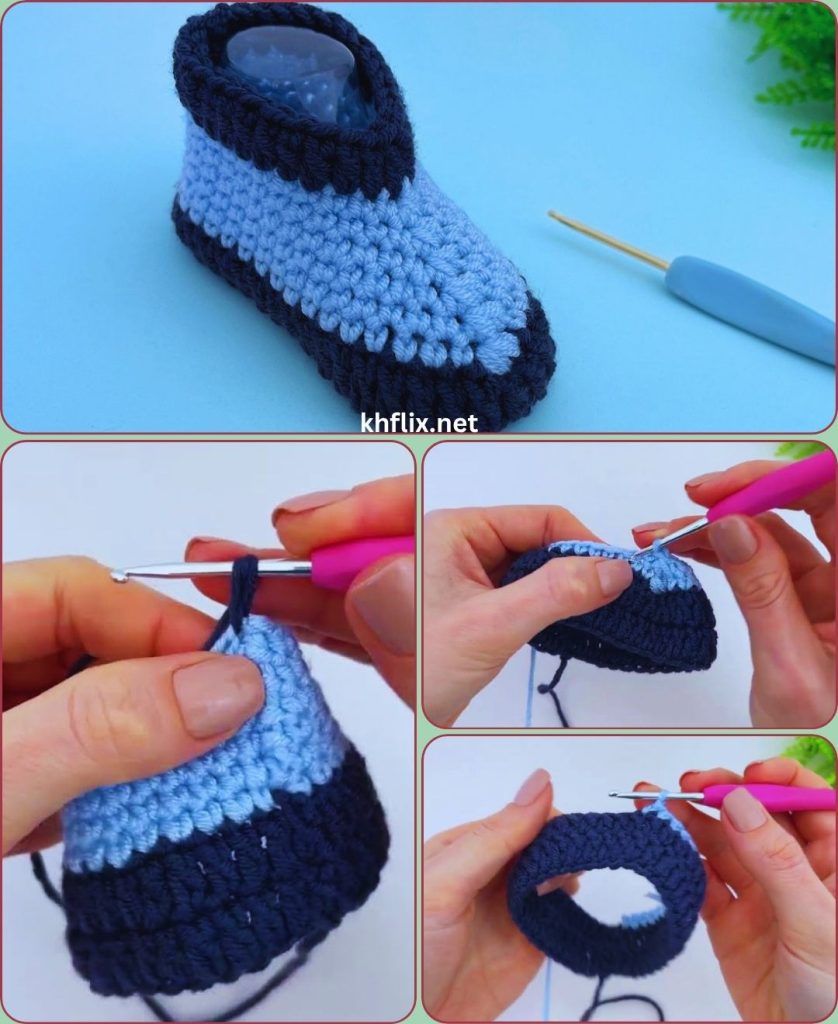
🔴 Step 6: Shape the Toe
- Switch back to main color
- Crochet to center front
- Start decreasing:
- sc2tog across front stitches
- Continue around
✔ Repeat for 2–3 rounds
👉 This creates a rounded, snug toe
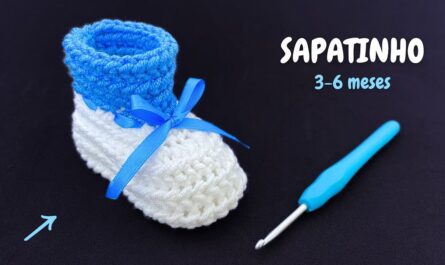
🟠 Step 7: Add Strap (Optional)
For a cute and secure fit:
- Attach yarn at side
- Chain 12–15
- Turn and sc back
- Attach to other side
✔ Add button or leave as slip-on
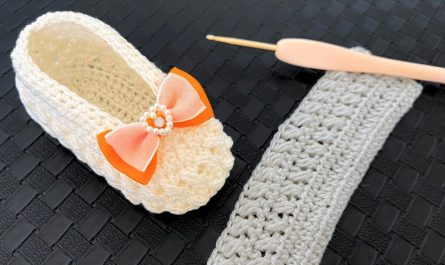
🔘 Step 8: Add Button or Decoration
- Sew a small button securely
- Optional decorations:
- 🎀 Bow
- 🌼 Flower
- ⭐ Star
👉 Make sure everything is tightly secured for baby safety
🌸 6. Finishing Touches
- Fasten off yarn
- Weave in all loose ends
- Adjust and shape the shoe gently
✔ Your two-line baby shoe is complete!
🎨 7. Color Combination Ideas
Try these stylish combos:
- ⚪ White + blue stripes
- 💗 Pink + gray lines
- 🖤 Black + white contrast
- 🌈 Bright rainbow accents
👉 Keep contrast strong so lines stand out clearly
💡 8. Tips for Perfect Two-Line Shoes
- Change colors at the same point each round
- Keep tension even for smooth stripes
- Use stitch markers to track rounds
- Carry yarn neatly to avoid messy inside
⚠️ 9. Common Mistakes & Fixes
❌ Uneven stripes
✔ Join rounds cleanly and align color changes
❌ Gaps between colors
✔ Pull yarn tightly when switching
❌ Shoe shape uneven
✔ Count stitches carefully each round
👶 10. Quick Pattern Summary
- Chain 10
- Round 1–2: sole increases
- Round 3: CC stripe (BLO)
- Round 4–5: MC body
- Round 6: CC stripe
- Round 7–8: toe decreases
- Add strap
✔ Done!
💛 Final Thoughts
Crocheting baby shoes with two decorative lines is a simple way to elevate your design. The contrast stripes add a professional, stylish look while still being easy enough for beginners to follow.
Once you master this technique, you can experiment with more colors, textures, and patterns to create truly unique baby footwear 👶🧶🌸