 by
by Crochet Small Bag Tutorial (Step-by-Step Guide)**
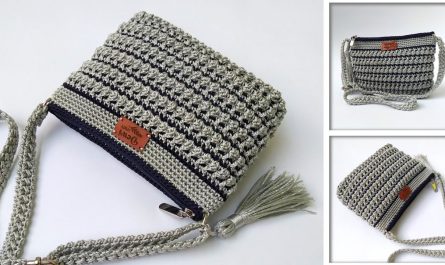
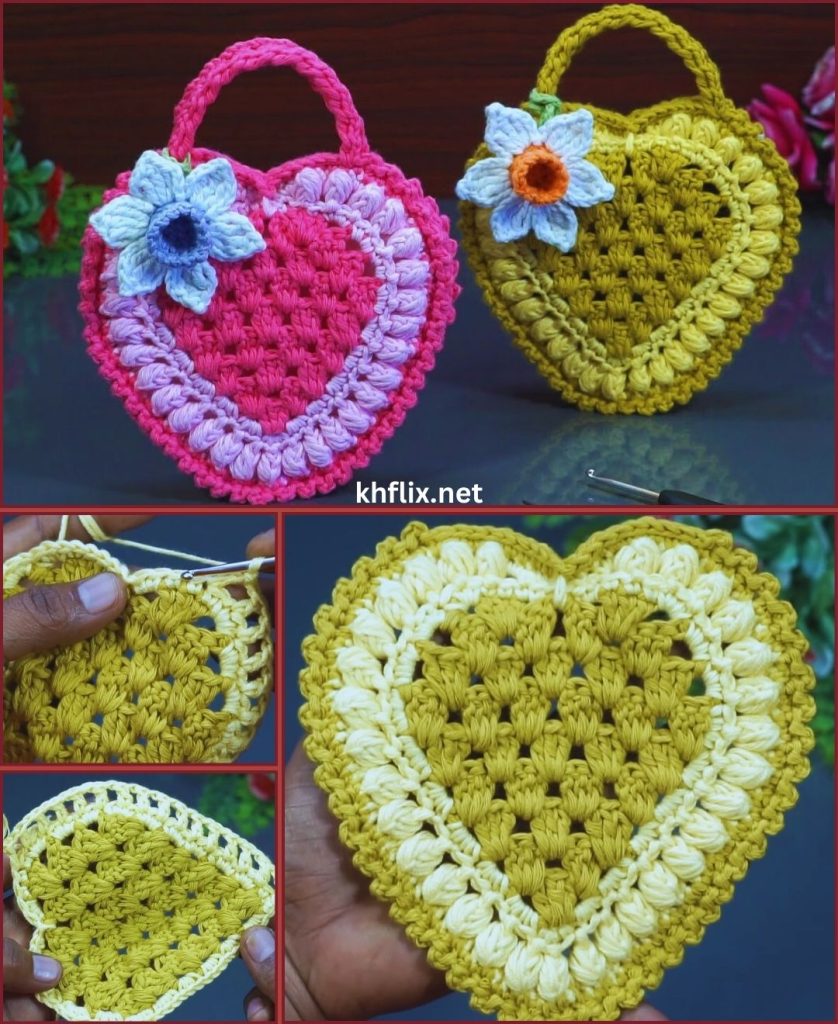
Crochet mini bags have become a must-have accessory for everyday life. Whether you’re heading out for a quick errand, going on a casual walk, meeting friends, or simply want a lightweight, stylish bag to carry your essentials, a crochet mini bag is the perfect choice. It’s compact, trendy, and surprisingly easy to make!
This tutorial covers everything from choosing materials to crocheting the base, shaping the body, adding straps, and finishing touches. Even complete beginners can follow along and create a cute, functional mini bag in just a few hours.
Let’s get started!

👜 Why Make a Crochet Mini Bag?
Crochet mini bags are popular because they are:
- ✔ Lightweight & compact – perfect for carrying phone, keys, money, lipstick
- ✔ Fashionable – complements any outfit, casual or dressy
- ✔ Beginner-friendly – uses simple stitches
- ✔ Quick to make – great for last-minute gifts
- ✔ Highly customizable – change colors, textures, straps, and size
- ✔ Perfect stash-buster – great way to use leftover yarn
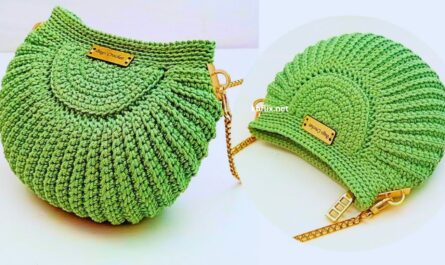
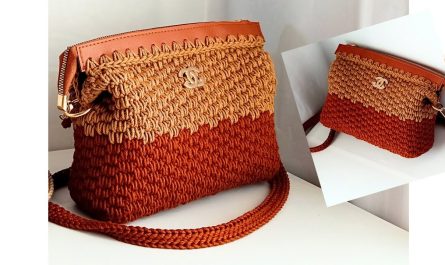
Whether you want a boho-style bag, a dainty crossbody, or a small hand pouch, this tutorial gives you the perfect foundation.
🧶 Materials Needed
Yarn
The best yarn for mini bags is:
- Cotton (most recommended)
- Cotton blends
- Acrylic for a soft feel
- Nylon for extra strength
Recommended yarn weight:
- Worsted weight (Medium 4)
- Or DK (Light 3) for a more delicate mini bag
Crochet Hook
- 3.5 mm – 5.0 mm depending on yarn thickness
Other Supplies
- Scissors
- Yarn needle
- Stitch markers
- Optional: magnetic snap, zipper, fabric lining
✨ Stitches Used
This beginner-friendly project uses simple stitches:
- CH – Chain
- SL ST – Slip Stitch
- SC – Single Crochet
- HDC – Half Double Crochet
- DC – Double Crochet
Optional decorative stitches:
- Puff stitch
- V-stitch
- Star stitch
Even if you only know SC and HDC, you can make this mini bag!
👜 Crochet Mini Bag – Step-by-Step Tutorial
This mini bag is made in 3 main steps:
- Base (flat oval or rectangle)
- Body (crocheted in the round)
- Strap (crossbody or shoulder-length)
Let’s begin!
🌼 Step 1: Crochet the Bag Base (Rectangle)
A rectangular base gives the mini bag structure.
Foundation
CH 16
(This is a medium-size mini bag. For a smaller one, CH 10–12.)
Row 1
- SC in 2nd CH from hook
- SC across (15 SC)
- 3 SC in the last stitch to round the corner
Continue Around the Chain
Crochet on the opposite side of the chain:
- SC across to the starting point
- 2 SC in the last stitch
SL ST to the first SC
You now have an oval-like rectangle.
🌼 Step 2: Building Up the Body (Crochet in the Round)
You will now work in continuous rounds around the base.
Round 1
SC in each stitch
No increases
This helps the bag turn upward.
Choose Your Bag Texture
You can pick the style you want:
Option A: Simple SC Body (Sturdy & Clean Look)
Work SC around for 12–18 rounds depending on bag height.
✔ Firm and durable structure
✔ Great for minimalists
Option B: HDC Body (Softer & More Flexible)
HDC around for 10–15 rounds.
✔ Slightly taller stitches
✔ Faster to crochet
Option C: Decorative Mini Bag (Pretty & Stylish)
Try:
V-Stitch
(DC, CH 1, DC in same stitch)
Repeat around.
Suzette Stitch
SC and DC in same stitch, skip 1
Repeat around.
Puff Stitch Rows
Adds a beautiful textured look.
These decorative patterns make your mini bag look boutique-quality.
🌼 Step 3: Shape the Bag Opening
Once your bag reaches the desired height:
Round (Top Edge)
SC evenly around the top
Repeat 2–3 rows for a firm rim
This step stabilizes the shape and prepares the bag for attaching the strap.
🌼 Step 4: Add the Strap
You can choose from 3 strap styles:
Option A: Crochet Crossbody Strap
- Attach yarn to side of bag
- CH 80–120 (depending on desired length)
- SL ST to opposite side
- SC or HDC across the chain to thicken the strap
- Fasten off and secure
✔ Strong
✔ Easy to adjust
✔ Perfect for everyday wear
Option B: Rope-Style Strap (Stylish & Strong)
Make a long chain (CH 100)
Then:
- SL ST back into each chain
or - Twist two strands together for a macrame effect
Option C: Purchased Strap (Leather or Metal Chain)
Attach with lobster clips or sew onto the rim.
✔ Instantly gives the mini bag a high-end look!
🌼 Step 5: Add a Closure
Mini bags look polished with closures.
Choose one of the following:
Magnetic Snap
Sew one half on front interior, one on back interior.
Button & Loop
- Crochet a CH loop
- Sew a wooden or decorative button on front
Zipper
Adds security for valuables.
🌼 Step 6: Finishing Touches
You’re almost done!
- Weave in all yarn ends
- Gently block your bag to smooth shape
- Optional: sew fabric lining inside
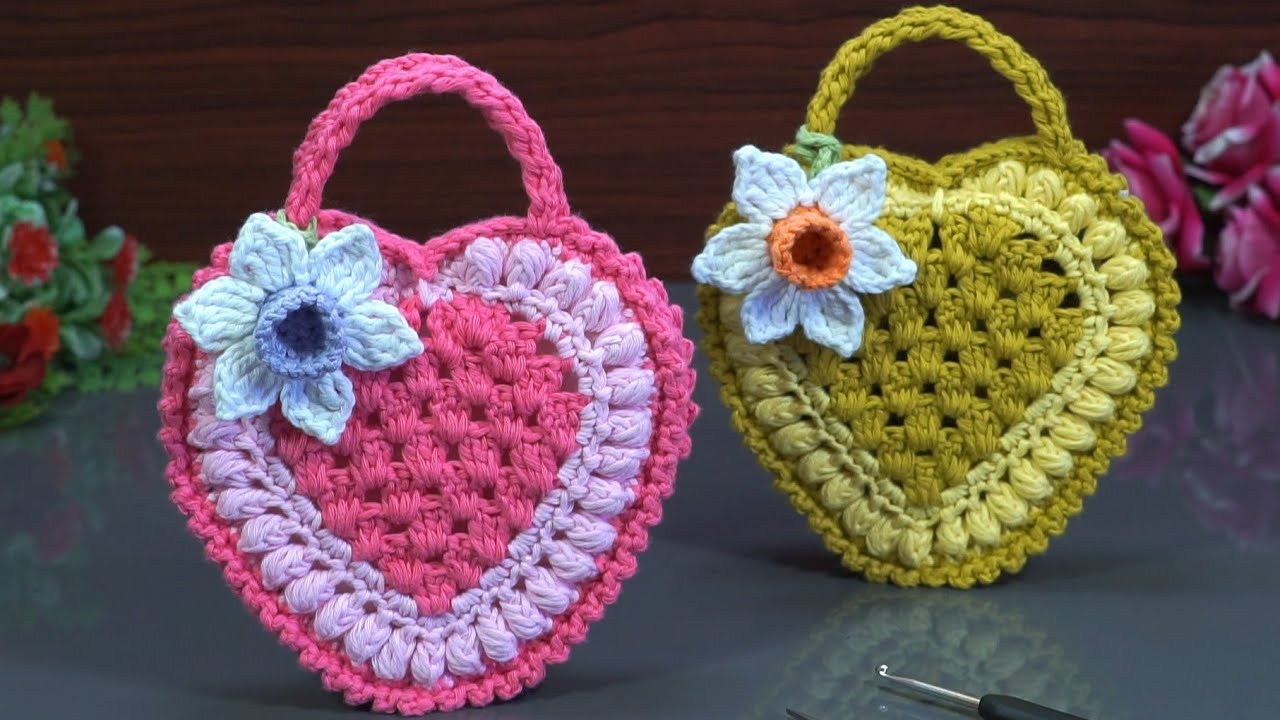
- Add tassels, charms, beads, or appliqués
Your mini bag is officially ready!
🌈 Customization Ideas
Make your mini bag unique!
Colors
- Stripes
- Ombre
- One color for body, another for strap
- Pastel mini bag
- Black for a chic evening look
- Neon colors for summer
Textures
- Bobble rows
- Lace-style mesh
- Ribbed HDC
Shapes
- Make a taller mini tote
- Make it wider for a small shoulder bag
- Add a flap to turn it into a mini purse
Extras
- Add inner pocket
- Sew on a tag or brand label
- Add pom-poms
📱 Perfect Uses for a Crochet Mini Bag
Mini bags are ideal for:
- Phone
- Cardholder
- Cash and coins
- Lip balm & compact
- Keys
- Earbuds
- Small notebook
- Sunglasses
- Walking or quick outings
- Minimalist everyday carry
- Gifts for friends and family
These bags are small but surprisingly roomy!
❓ Frequently Asked Questions
Q1: Is this beginner-friendly?
Absolutely! Even if you only know single crochet, you can make this bag.
Q2: How long does it take?
- Beginners: 3–4 hours
- Intermediate crafters: 1–2 hours
Q3: Does cotton yarn stretch?
Only slightly. It maintains shape very well.
Q4: Can I add lining?
Yes—lining makes the bag stronger and more polished.
Q5: How do I wash the bag?
Handwash gently and air dry flat.
🌟 Conclusion
Crocheting a mini bag is quick, fun, and incredibly satisfying. With simple stitches and endless customization options, you can create a stylish everyday accessory that fits your essentials perfectly.
Whether you prefer a minimal design, a textured pattern, or a colorful mini purse, this tutorial gives you the foundation to create your own unique bag.
If you want, I can also create:
✔ A printable PDF pattern
✔ A diagram/chart version
✔ A video tutorial script
✔ A mini backpack version
✔ A matching small wallet pattern
Just let me know!