by
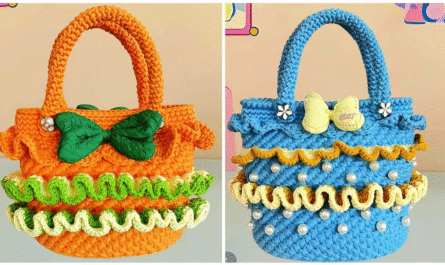
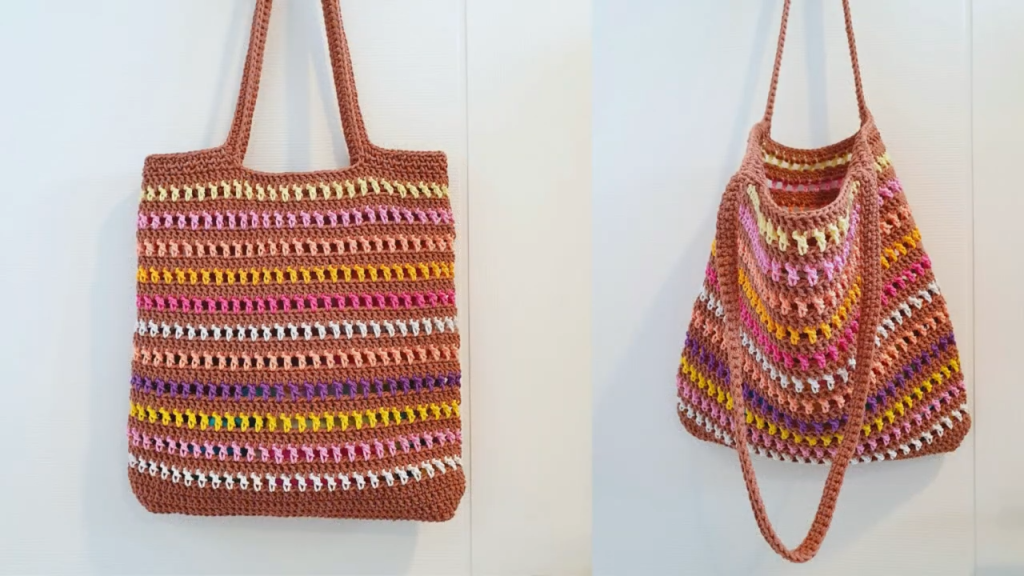
by A “hollow” tote bag, in the context of crochet, typically refers to a market bag, beach bag, or a mesh-style tote. These bags are characterized by their open, lacy, or “holey” stitch patterns, which make them lightweight, stretchy, and perfect for carrying items that don’t need to be kept secure, like groceries or beach towels. Creating one with scrap yarn is a fantastic idea, as the openwork design can beautifully showcase a variety of colors without the fabric becoming too heavy or bulky.
This detailed guide will focus on how to create a simple yet sturdy “hollow” or mesh-style tote bag using your scrap yarn stash.
A Comprehensive Guide to Crocheting a Hollow Tote Bag with Scrap Yarn
Part 1: The Beauty of a “Hollow” Tote
The allure of a crocheted hollow tote bag lies in its unique blend of function and style. The open, airy design is not only visually appealing but also incredibly practical for a variety of uses:
- Market Bag: The stretchy nature of the open stitches allows the bag to expand and hold a surprising amount of produce.
- Beach Bag: The “hollow” design allows sand to fall right through, and the bag dries quickly.
- Stash Buster: It’s the perfect project for using up small balls of yarn. The repetitive stitch pattern makes it easy to switch colors whenever you run out of a scrap, creating a mosaic of textures and shades.
Part 2: Essential Supplies
- Scrap Yarn: Gather all your yarn scraps, ideally in a similar weight. Cotton or cotton-blend yarns are highly recommended for this project due to their durability and minimal stretch. The last thing you want is a bag that sags to the floor when you fill it! Acrylic yarn can also work, but keep in mind it will be more prone to stretching.
- Crochet Hook: The hook size will be determined by your yarn’s weight. For a worsted weight (size 4) yarn, a 5.0mm (H-8) or 5.5mm (I-9) hook is a good starting point. You want your stitches to be loose enough to create the “hollow” effect, but not so loose that the fabric is flimsy.
- Scissors: For cutting yarn.
- Tapestry Needle: Essential for weaving in all those ends.
Part 3: Choosing a “Hollow” Stitch Pattern
There are many stitch patterns that create a lacy, hollow effect. Some of the most popular and beginner-friendly include:
- Granny Stitch: This is the same stitch used in granny squares, but worked in a continuous round. The clusters of double crochet stitches and chain spaces create a classic openwork design.
- Mesh Stitch: The simplest of all. This stitch is made by alternating a double crochet (or another tall stitch) with a chain stitch.
- Moss Stitch (or Linen Stitch): A more subtle openwork pattern that alternates single crochet and chain stitches, creating a beautiful woven texture.
For this tutorial, we will use a simple Mesh Stitch pattern, as it’s the fastest and most effective way to create a hollow bag.
Part 4: Step-by-Step Tutorial: The Mesh Tote Bag
This pattern is worked in rounds, starting from the base and working up. The key is to keep your stitches consistent to create an even, beautiful fabric.
Step 1: The Base of the Bag
The base is worked as a simple oval to provide a flat bottom for your bag.
- Start with your first color. Chain 26 (or any number for the desired length of your bag’s base).
- Row 1: Work 3 dc in the 4th chain from the hook (the 3 skipped chains count as a dc). Dc in each of the next 21 chains. Work 5 dc in the last chain. Now, working along the other side of the foundation chain, dc in each of the next 21 chains. Work 2 dc in the last chain. Join with a sl st to the top of the beginning ch-3. (This step can be adjusted to a different stitch if you prefer a single crochet base for more sturdiness, but the dc base is faster).
Step 2: The Body of the Bag (The Mesh)
This is where you’ll create the openwork design. We will work in continuous rounds, changing colors as you go.
- Round 1 (with your first color): Ch 3 (counts as your first dc). Ch 1, skip 1 stitch, dc in the next stitch. Repeat from * around the entire bag. Join with a sl st to the top of the beginning ch-3.
- Change Colors: Change your color at the end of the round by completing the final yarn over of the slip stitch with the new yarn. (Or you can cut the yarn and weave in the ends if you prefer).
- Round 2 (with your new color): Ch 3. Ch 1, dc in the next dc stitch. Repeat from * around. Join with a sl st to the top of the beginning ch-3.
Continue in this manner, alternating colors whenever you run out of yarn. The beauty of the mesh pattern is that it’s easy to see where your stitches go (into the previous dc stitch), making it a great project for mindful, repetitive crocheting. Continue for as many rounds as you need to achieve your desired bag height (e.g., 10-15 inches).
Step 3: Creating the Handles
The handles of a hollow tote need to be sturdy enough to handle the weight of the contents. A simple single crochet strap is a great choice.
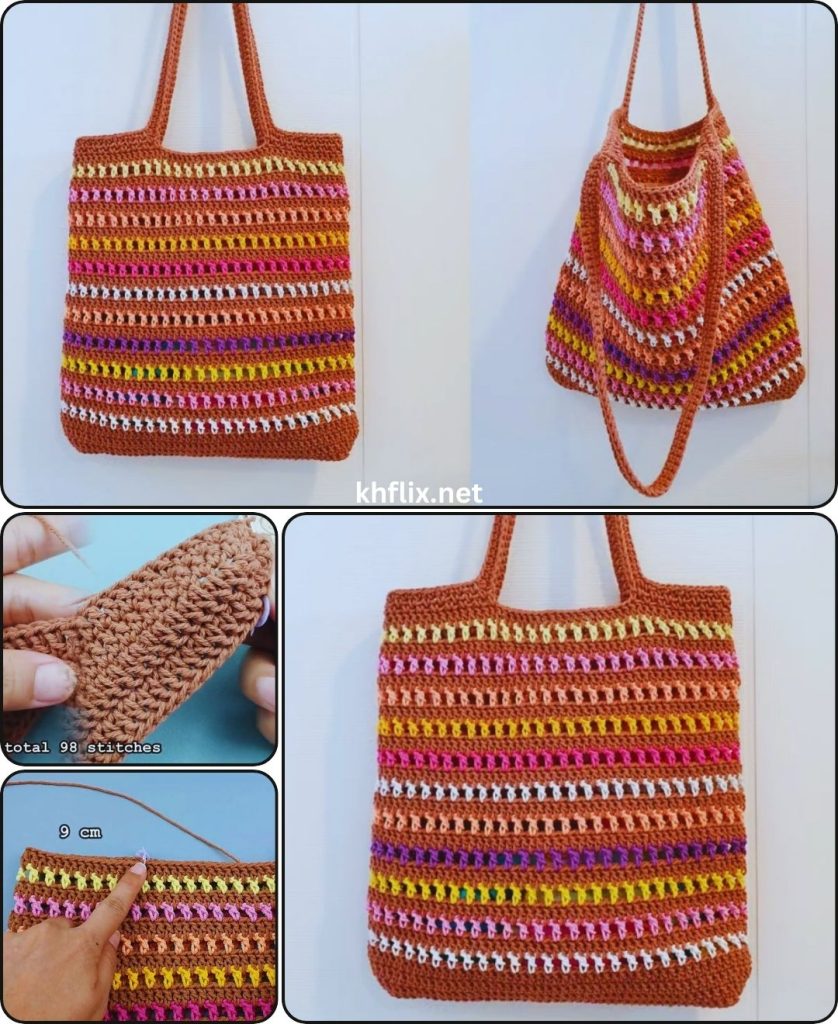
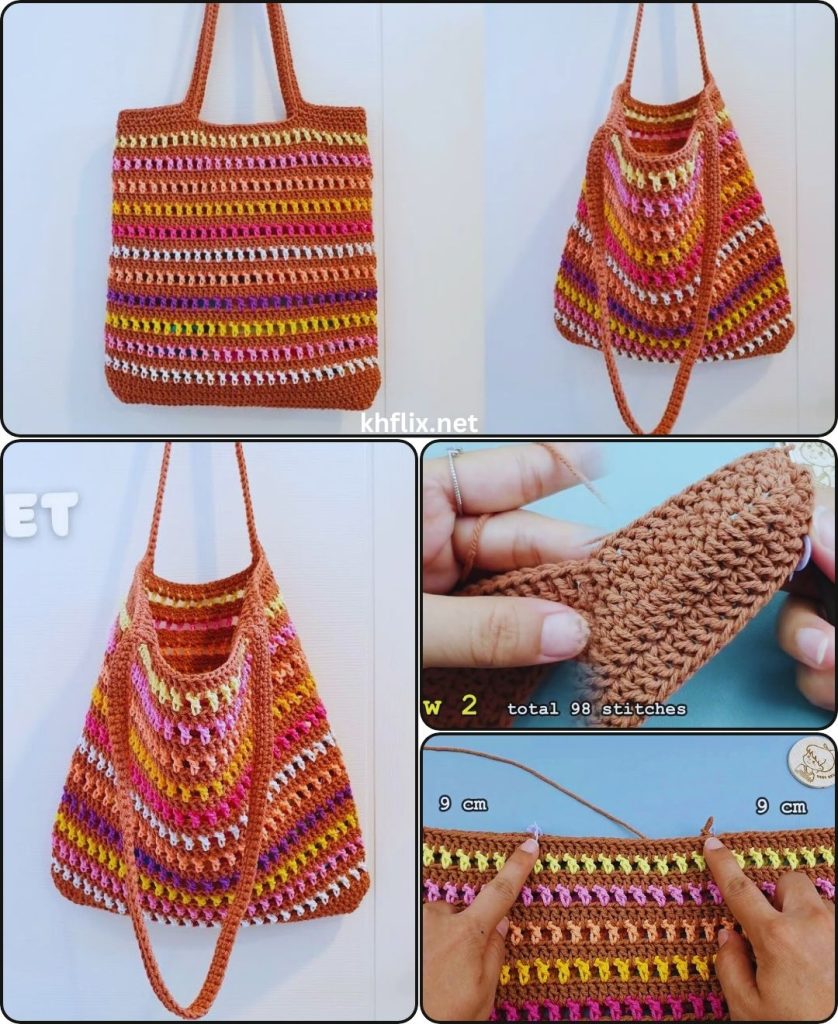
- Prepare for Handles: On the last round of the mesh body, work a round of single crochet stitches to create a solid top edge. This will provide a firm foundation for your handles.
- Mark Handle Placement: Lay your bag flat and mark the desired placement of your handles with stitch markers. A good rule of thumb is to place them about 4-6 inches apart, centered on the front and back of the bag.
- Create the First Handle: Sc in each stitch until you reach the first marker. Chain a number of stitches for your handle (e.g., ch 50-60 for a comfortable shoulder strap). Skip the stitches between the two markers and sc in the first marked stitch of the other side of the handle.
- Create the Second Handle: Continue sc across the front of the bag until you reach the next marker. Chain the same number of stitches as your first handle. Skip the stitches between the two markers and sc in the first marked stitch on the back of the bag.
- Strengthen the Handles: Work at least two to three rounds of single crochet around the entire top of the bag, working into each stitch of the bag body and into each chain of the handle. This reinforces the handles and creates a professional finish.
Step 4: Finishing Touches
- Weave in All Ends: This is the most time-consuming but crucial part of a scrap yarn project. Use your tapestry needle to carefully weave each yarn tail into the back of your stitches. Weave them in opposite directions to prevent them from coming loose.
- Blocking (Optional): If your bag seems a bit wonky or needs to even out, you can gently wet it, reshape it, and lay it flat to dry. This process, called blocking, can dramatically improve the final look of your bag.
By following these steps, you can turn your collection of small yarn scraps into a beautiful, functional, and eco-friendly hollow tote bag that you’ll be proud to use for shopping, a trip to the beach, or just as a stylish everyday carry-all.