 by
by Taking your crochet skills from two colors to three is a rewarding step that opens up a world of intricate and stunning designs. A three-color square can be the building block for a vibrant blanket, a unique cushion cover, or a beautiful scarf. While the basic principles of color changing remain the same, managing three different yarn strands requires a bit more planning and technique.
This detailed guide will walk you through the entire process, from understanding the core concepts to a step-by-step tutorial for a classic three-color granny square.
Part 1: The Basics of Three-Color Management
Before we start, it’s crucial to understand how to handle three different yarn strands effectively.
1. The Color Change: The fundamental rule of color changing remains the same: you always complete the final step of the last stitch of the round or row with the new color.
2. Managing the Inactive Yarn: With three colors, you have two inactive strands at any given time. There are two primary methods for managing them:
- Method 1: The “Carrying” or “Floating” Method: This is the most common method for projects like granny squares. Instead of cutting the yarn at the end of each round, you simply let the inactive yarn “float” or “carry” up the seam on the wrong side of your work.
- Pros: Saves you from weaving in dozens of ends.
- Cons: Can create a visible yarn “float” on the back if not done carefully. Can also slightly pull or distort the fabric if the tension is too tight.
- Method 2: The “Cutting” Method: For projects where a seamless back is essential, or for designs where colors don’t repeat often, you can cut the yarn at the end of each round, leaving a small tail, and weave in all the ends later.
- Pros: Creates a very clean, professional back side.
- Cons: Generates a lot of ends to weave in, which can be tedious.
For this tutorial, we will focus on the more efficient “carrying” method, as it’s perfect for a repeating pattern like a three-color granny square.
Part 2: Essential Supplies
- Three colors of yarn: Choose yarns of the same weight and fiber. For this project, a light, a medium, and a dark color can create a beautiful, layered effect.
- A crochet hook: Choose a hook size appropriate for your yarn.
- Scissors
- Tapestry needle: For weaving in the starting and ending tails.
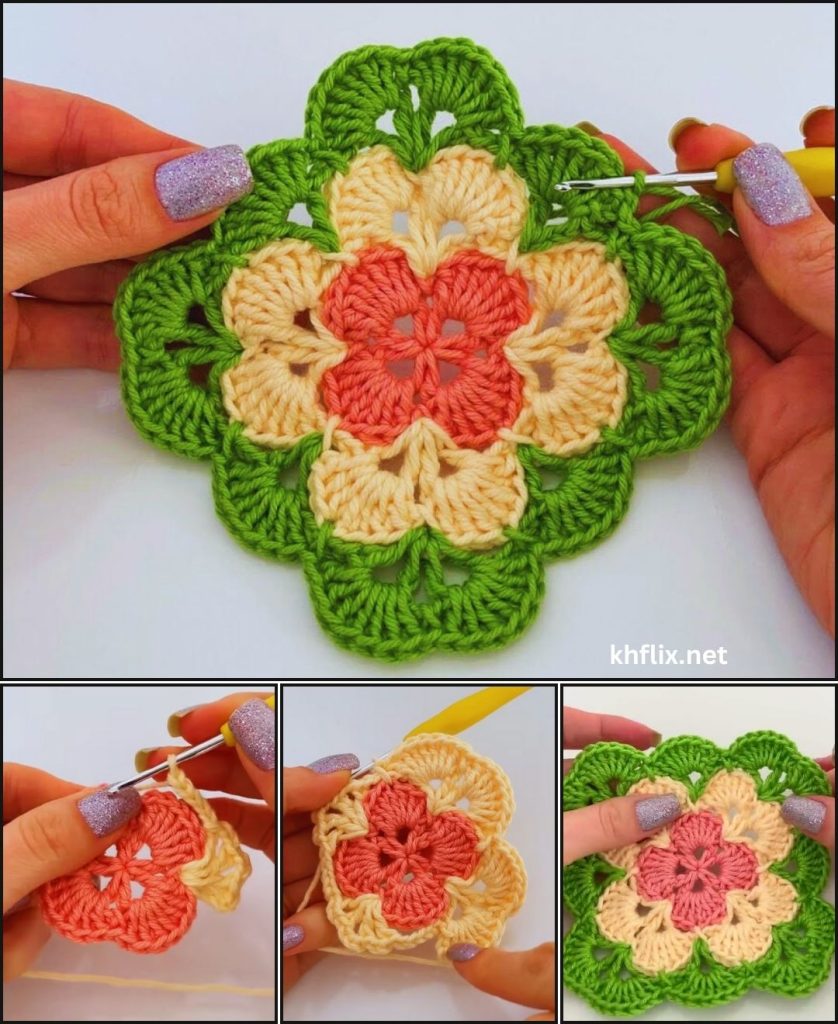
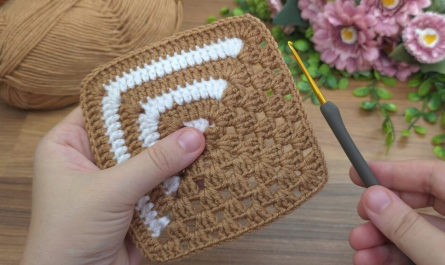
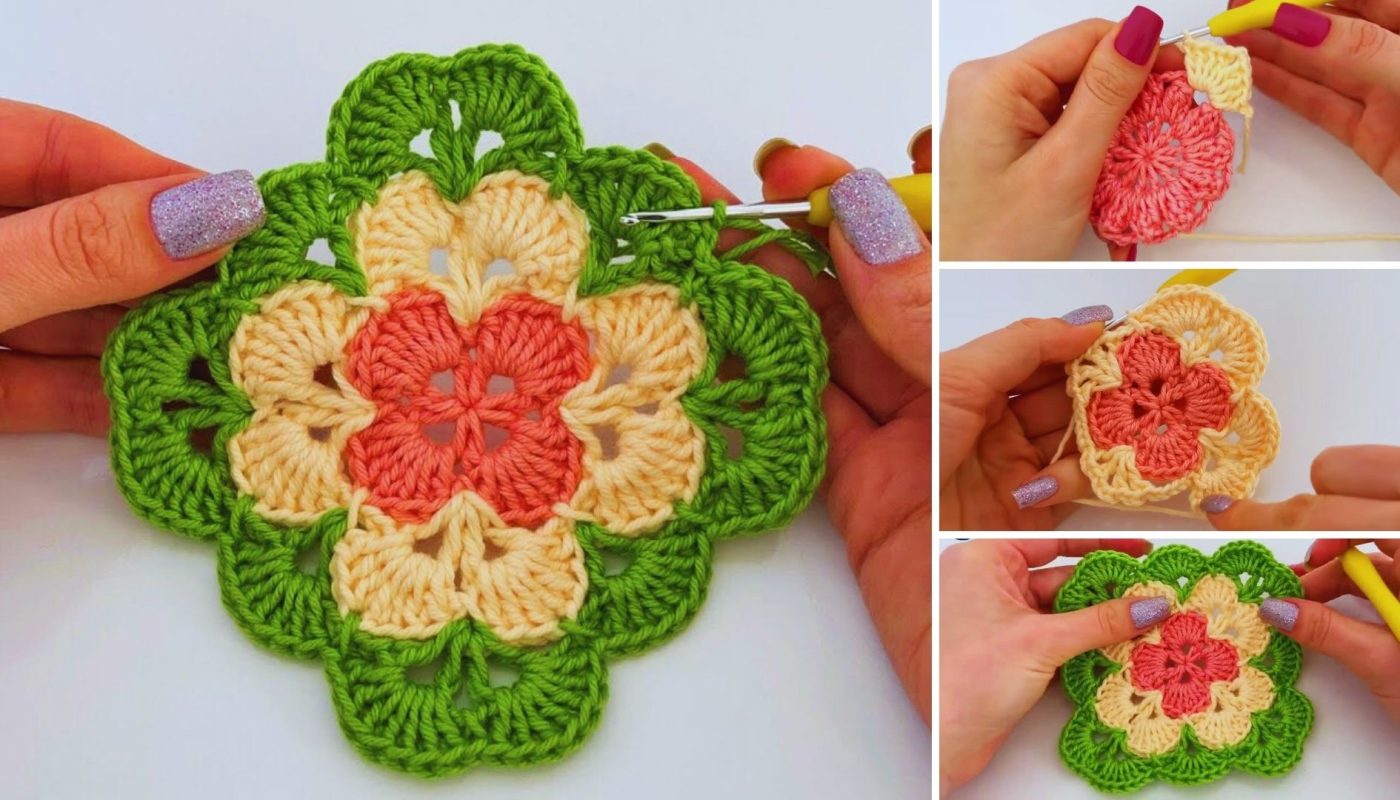
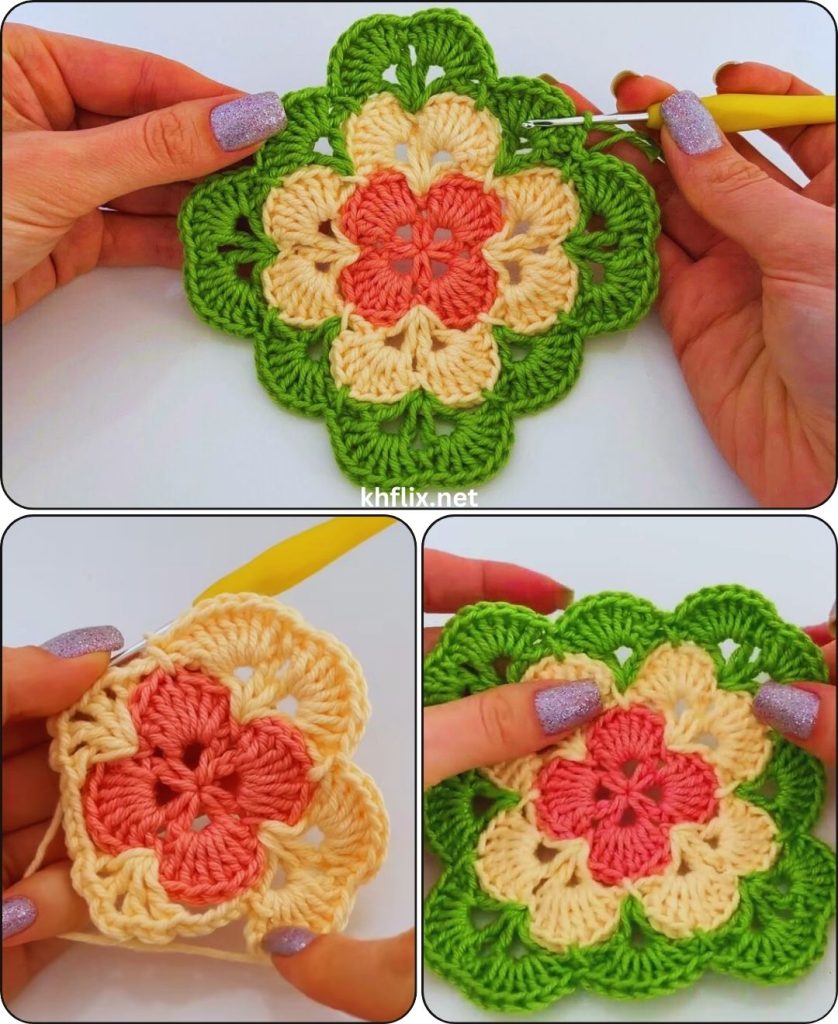
Part 3: A Step-by-Step Tutorial: The Three-Color Granny Square
The granny square is an ideal project for practicing this technique because the color changes happen at the end of each round, making the process easy to follow. We will use a repeating pattern of three colors.
Pattern Key:
- Ch: Chain
- Sl st: Slip stitch
- Dc: Double crochet
- Sp: Space
- CC: Change Color
Color A: The innermost color Color B: The middle color Color C: The outermost color
Round 1 (with Color A):
- Ch 4, sl st to the first ch to form a ring.
- Ch 3 (counts as your first dc), 2 dc into the ring.
- Ch 2, 3 dc into the ring. Repeat from * to * two more times.
- Ch 2. CC to Color B: Drop Color A, yarn over with Color B, and pull through the loop on your hook to complete the ch 2.
- Sl st to the top of the beginning ch-3.
You have now completed the first round. Let Color A hang on the back side of your work. You will pick it up again in Round 4.
Round 2 (with Color B):
- Sl st into the first ch-2 corner sp.
- Ch 3 (counts as your first dc). Work 2 dc in the same corner sp.
- Ch 2, 3 dc in the same corner sp. This creates your first corner.
- Ch 1, (3 dc, ch 2, 3 dc) in the next ch-2 sp (the corner). Repeat from * to * two more times.
- Ch 1. CC to Color C: Drop Color B, yarn over with Color C, and pull through the loop on your hook to complete the ch 1.
- Sl st to the top of the beginning ch-3.
Now, let Color B hang on the back. You’ll pick it up again in Round 5.
Round 3 (with Color C):
- Sl st into the first ch-1 sp (the side sp).
- Ch 3 (counts as your first dc). Work 2 dc in the same sp.
- Ch 1, (3 dc, ch 2, 3 dc) in the next ch-2 sp (the corner). Ch 1, 3 dc in the next ch-1 sp (the side sp). Repeat from * to * two more times.
- Ch 1, (3 dc, ch 2, 3 dc) in the last corner sp. Ch 1. CC to Color A: Drop Color C, yarn over with Color A, and pull through the loop on your hook.
- Sl st to the top of the beginning ch-3.
Let Color C hang. It’s time to pick up Color A, which has been waiting for two rounds.
Round 4 (with Color A):
This round is where you need to be mindful of pulling up the yarn. Gently pull Color A up from where it was left.
- Sl st into the first ch-1 sp (the side sp).
- Ch 3 (counts as your first dc). Work 2 dc in the same sp.
- Ch 1, 3 dc in the next ch-1 sp (the side sp). Ch 1, (3 dc, ch 2, 3 dc) in the next ch-2 sp (the corner). Repeat from * to * two more times.
- Ch 1, 3 dc in the next ch-1 sp (the side sp). Ch 1, (3 dc, ch 2, 3 dc) in the last corner sp. Ch 1. CC to Color B: Drop Color A, yarn over with Color B, and pull through the loop on your hook.
- Sl st to the top of the beginning ch-3.
You have now completed the first cycle of your three colors (A, B, and C) and are ready to start the next cycle (A, B, C) again. Continue this pattern of alternating colors with each round and continuing to add a side cluster of 3 dc in each side space.

Part 4: Tips for a Professional Finish
- Manage Yarn Tension: When carrying the inactive yarn up the seam, be careful not to pull it too tight, as this will cause the fabric to pucker. Conversely, leaving it too loose can create a sloppy-looking seam. A gentle, even tension is key.
- Invisible Join: For a truly professional finish, consider using the invisible join at the end of each round instead of a slip stitch. This creates a much cleaner, less noticeable seam, which is a big advantage when you’re managing multiple colors.
- How to: After the last stitch of the round, cut the yarn, leaving a 6-inch tail. Thread the tail onto your tapestry needle. Skip the first stitch of the round and insert the needle under both loops of the second stitch. Pull the yarn through, then re-insert the needle into the back loop of the last stitch of the round. Pull taut to create a fake “stitch.”
- Weaving in Ends: You will have at least a starting tail and an ending tail to weave in. Weave them in securely on the back of your work for at least 2 inches in two different directions to prevent unraveling.
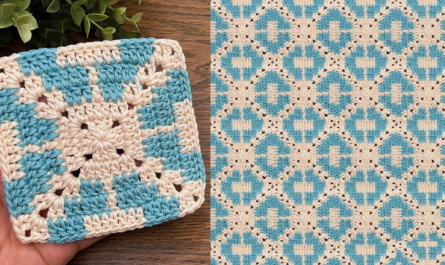
Part 5: Three-Color Square Variations
Once you’ve mastered the basic three-color granny square, you can explore other stitch patterns and designs.
- Solid-Color Borders: Try making the center of your square in one or two colors, then adding a solid-color border in the third color.
- Stripes or Stripes and Solids: You can create more complex patterns by alternating two colors for a few rounds, then using the third color for a round, or by working solid-color rounds in a single stitch like the half-double crochet (hdc).
- The Moss Stitch Square: The moss stitch (alternating sc and ch 1) is a fantastic stitch for a multi-color square. The small color changes create a beautiful, textured, woven look.
By following this guide, you can successfully create stunning three-color crochet squares. Practice makes perfect, and with each square, you’ll become more comfortable managing your colors and creating beautiful, intricate designs.