 by
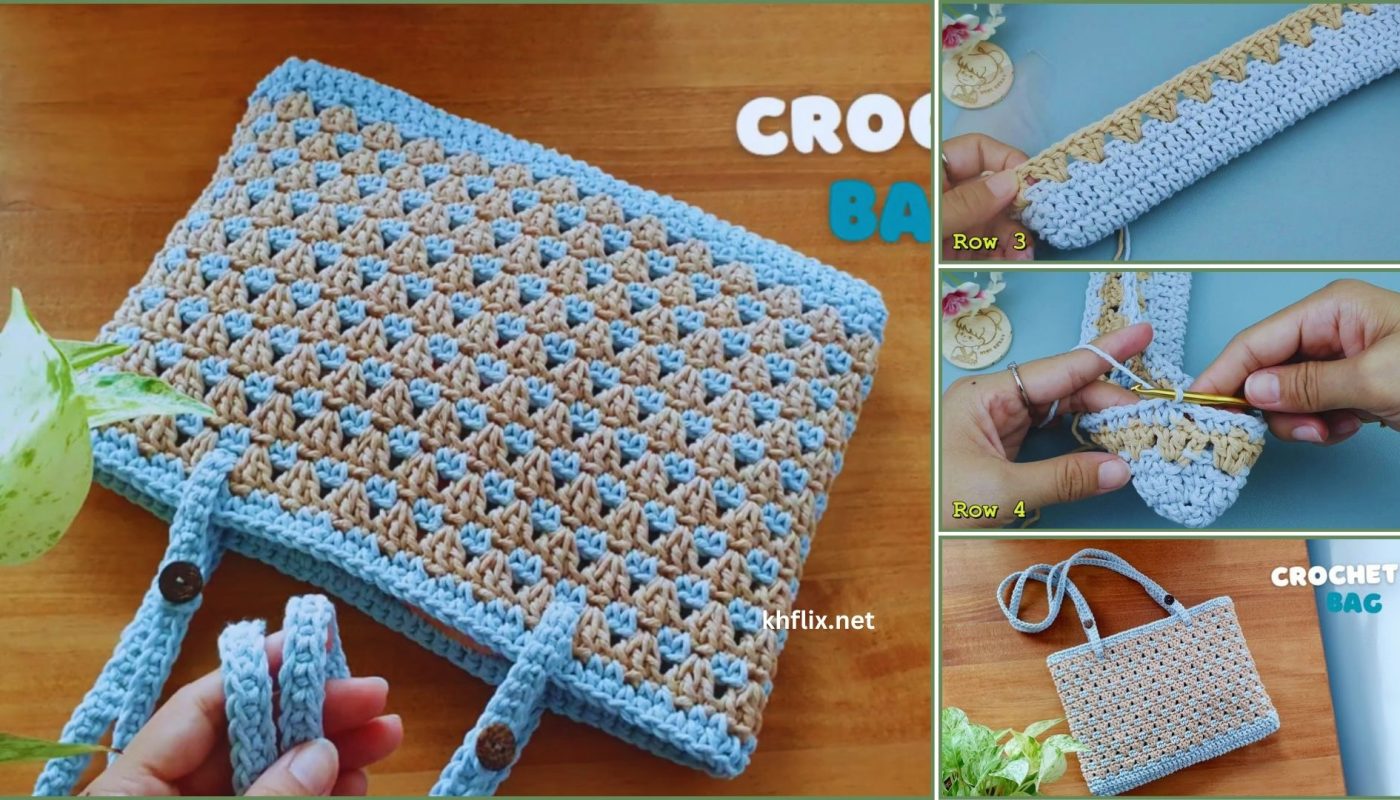
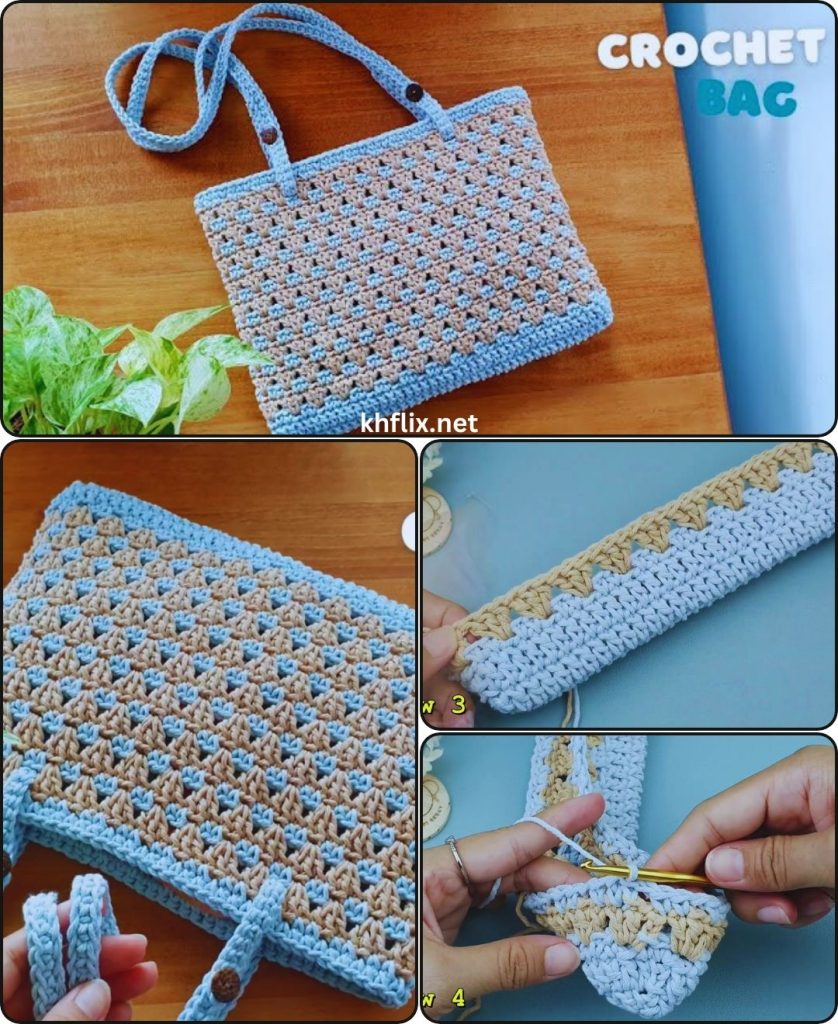
by Crocheting a tote bag is a rewarding project that results in a versatile and durable accessory you can use for groceries, books, or a day out. This step-by-step tutorial is perfect for confident beginners ready to create their first bag. We’ll use a simple, sturdy stitch that works up quickly and creates a beautiful texture, ensuring your finished tote is both stylish and functional.
Skill Level: Confident Beginner
This pattern is a great challenge if you’re comfortable with:
- Chain (ch): The foundation of crochet.
- Single Crochet (sc): The main stitch for this pattern.
- Slip Stitch (sl st): For joining rounds neatly.
- Working in Rounds: Crocheting in a continuous circle.
- Fastening Off: Securely ending your yarn.
- Weaving in Ends: The crucial final step for a professional finish.
Finished Bag Dimensions (Approximate):
Using the recommended yarn and hook, your finished tote will be a great size for a market bag or everyday essentials.
- Base: 12 inches (30 cm) long x 5 inches (12.5 cm) wide.
- Height: 12 inches (30 cm).
Materials You’ll Need:
- Yarn: Approximately 400-500 yards (365-457 meters) of Worsted Weight (Medium #4) Cotton Yarn. Cotton is highly recommended because it’s strong, durable, and won’t stretch out under weight.
- Crochet Hook: Size H/5.0mm. This hook size pairs well with worsted weight yarn to create a solid fabric.
- Yarn Needle (Tapestry Needle): Essential for weaving in ends.
- Scissors: Any sharp pair for cutting your yarn.
- Stitch Marker: To mark the beginning of each round.
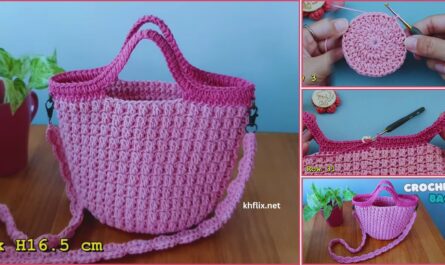
Part 1: Crocheting the Base of the Bag
We’ll start by making a flat, oval-shaped base that will give your tote a solid foundation and help it stand on its own.
- Foundation Chain:
- Chain 41.
- Work 1 single crochet (sc) into the second chain from the hook and into each of the next 39 chains.
- In the last chain, work 3 sc.
- Continue to crochet on the opposite side of the foundation chain. Work 1 sc into each of the next 39 stitches.
- In the last chain, work 2 sc.
- Join with a slip stitch (sl st) to the first sc of the round. You should have 84 stitches.
- Continue the Oval Base:
- Round 2: Chain 1. Work 2 sc into the first stitch. Work 1 sc into the next 39 stitches. Work 2 sc into each of the next 3 stitches. Work 1 sc into the next 39 stitches. Work 2 sc into each of the last 2 stitches. Join with a sl st.
- Round 3: Chain 1. Work 1 sc into each stitch around, making sure your base is laying flat. If it’s starting to curl, you may need to add a few more increases on the ends. Join with a sl st.
- Fasten off if you want to switch colors.
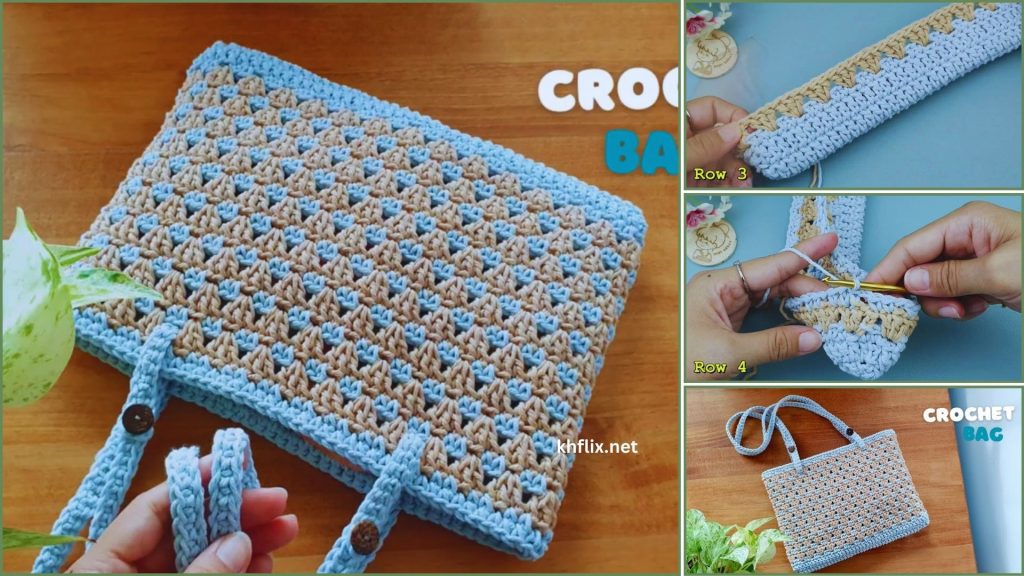
Part 2: Crocheting the Body of the Bag
Now we’ll move from a flat oval to working the walls of the bag. We’ll use the single crochet stitch worked in a continuous round to create a tight, durable fabric.
- Transition Round:
- Chain 1. Work 1 sc into the back loop only (BLO) of each stitch around the entire oval. This creates a neat ridge that separates the base from the body of the bag and helps it stand up straight.
- Join with a sl st to the first sc.
- Crochet the Body:
- Round 2 and beyond: Chain 1. Work 1 sc into each stitch around. Continue in this manner, working 1 sc into each stitch in every round.
- Use a stitch marker to mark the beginning of each round. This will ensure you don’t get lost and that your rows are straight.
- Repeat this round until the bag reaches your desired height (about 12 inches).
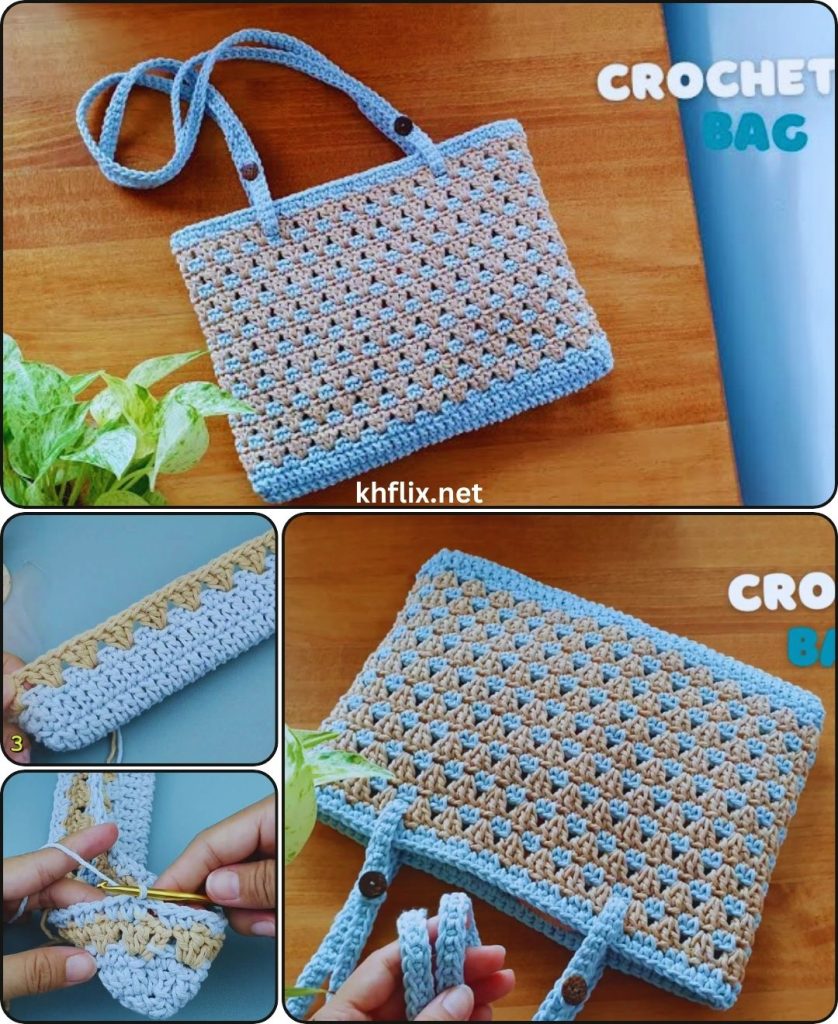
Part 3: Adding the Handles
We’ll create two sturdy handles that are crocheted directly onto the bag.
- Set Up the First Handle:
- Place your bag flat. Use stitch markers to mark the center of the front and back of the bag.
- Count 10 stitches to the right and 10 stitches to the left of the center markers. Place a stitch marker at each of these points. These will be the attachment points for your handles.
- Crochet the Handles:
- Chain 1. Work 1 sc into each stitch until you reach the first stitch marker.
- Chain 50 (or to your desired length).
- Skip the stitches between the first two markers and sc into the next marked stitch.
- Work 1 sc into each stitch until you reach your third stitch marker.
- Chain 50.
- Skip the stitches between the last two markers and sc into the final marked stitch.
- Continue
scto the end of the round. - Join with a sl st.
- Strengthen the Handles:
- Round 2 of Handles: Chain 1. Work 1 sc into each stitch around, working sc into each chain of the handles. This will give the handles a strong, finished look.
- Work one or two more rounds of
scto make the handles even sturdier.
Part 4: Final Finishing Touches
- Fasten Off:
- Cut your yarn, leaving a tail of about 6 inches (15 cm).
- Pull the tail through the loop on your hook and gently pull to secure the last stitch.
- Weave in All Ends:
- Use your yarn needle to meticulously weave in all the yarn tails. Weave them into the stitches on the inside of the bag, changing direction to lock them in place. This is the most crucial step for a professional and durable finish.
Congratulations! You’ve successfully crocheted a beautiful and functional tote bag. What will you use yours for?