by
by ✨Ideas 1
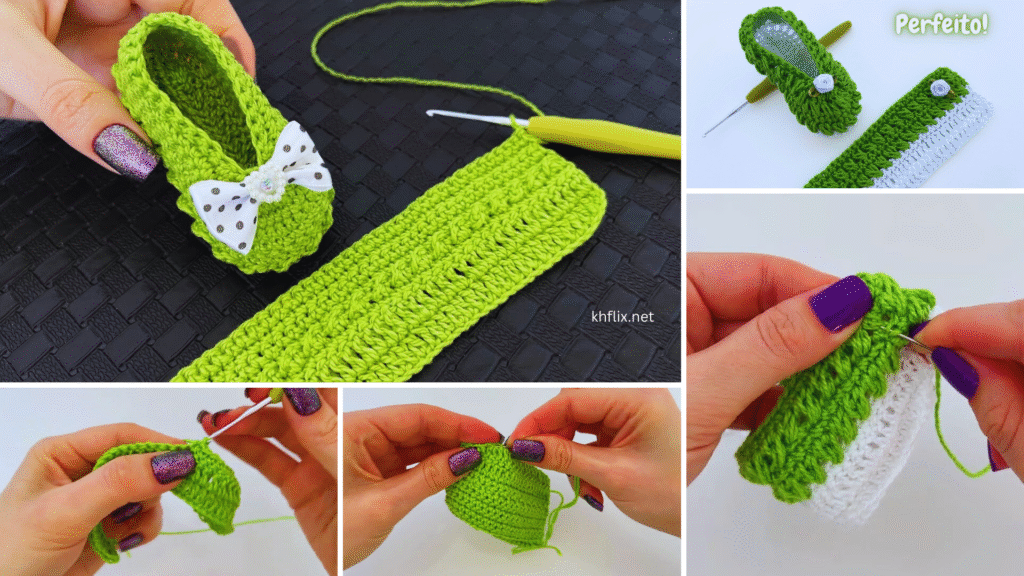
Absolutely! Here’s a detailed, step-by-step tutorial on how to make beautiful green baby shoes using crochet, perfect for beginners or intermediate crocheters. These baby booties are adorable, customizable, and make wonderful handmade gifts for newborns and baby showers!
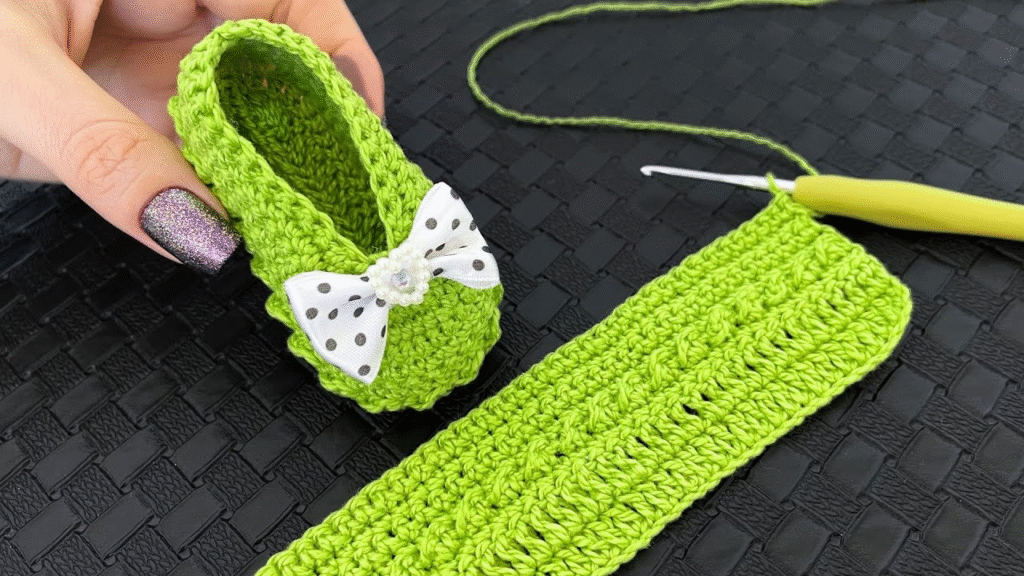
🧶 How to Make Beautiful Baby Shoes Crochet in Green – Step-by-Step Tutorial
Crocheting baby shoes is a joyful project — quick, satisfying, and oh-so-cute! In this guide, we’ll create a pair of adorable baby booties in green color, ideal for babies aged 0–6 months. You’ll learn how to crochet the sole, upper, and finishing details to give your shoes a professional and charming look.
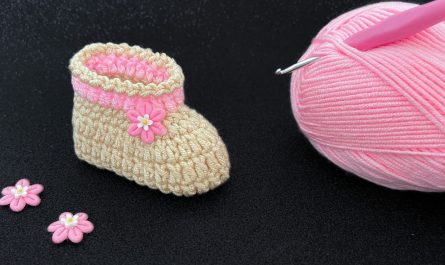
🌿 Why Make Baby Shoes in Green?
- Green symbolizes growth, freshness, and new beginnings.
- It’s a gender-neutral color, suitable for boys or girls.
- Works beautifully with nature-inspired themes (mint, sage, forest green).
🧵 Materials You’ll Need
Yarn:
- Lightweight (DK or #3 baby yarn) or soft cotton yarn
- Color: Green (mint, sage, olive, or bright grass green)
Crochet Hook:
- 3.5 mm – 4.0 mm (adjust according to yarn label)
Other Tools:
- Yarn needle (for sewing ends)
- Stitch marker (optional)
- Scissors
- Buttons, ribbons, or bows (optional for embellishment)
📏 Finished Size
- 0–6 months: Foot length approx. 3.5 – 4 inches (9–10 cm)
You can adjust the size by using different hook sizes or adding more stitches.
🧶 Stitches & Techniques Used
- Chain (ch)
- Slip stitch (sl st)
- Single crochet (sc)
- Half double crochet (hdc)
- Double crochet (dc)
- Increase (2 stitches in same stitch)
- Decrease (sc2tog)
👣 PART 1: Crochet the Sole (Make 2)
Foundation Chain: Ch 11
Round 1:
- 2 hdc in 2nd ch from hook
- 1 hdc in next 7 ch
- 5 hdc in last ch
- Continue on the other side of the chain: 1 hdc in next 7 ch
- 3 hdc in first ch
- Join with sl st (Total: 24 stitches)
Round 2:
- Ch 1, 2 hdc in first stitch
- 1 hdc in next 9 stitches
- 2 hdc in next 5 stitches (around toe curve)
- 1 hdc in next 9 stitches
- 2 hdc in last 3 stitches
- Join with sl st (Total: 33 stitches)
Round 3 (optional for larger sole):
- Repeat increasing around toe and heel curves. End with about 40–42 stitches.
🟩 You now have a beautiful green sole!
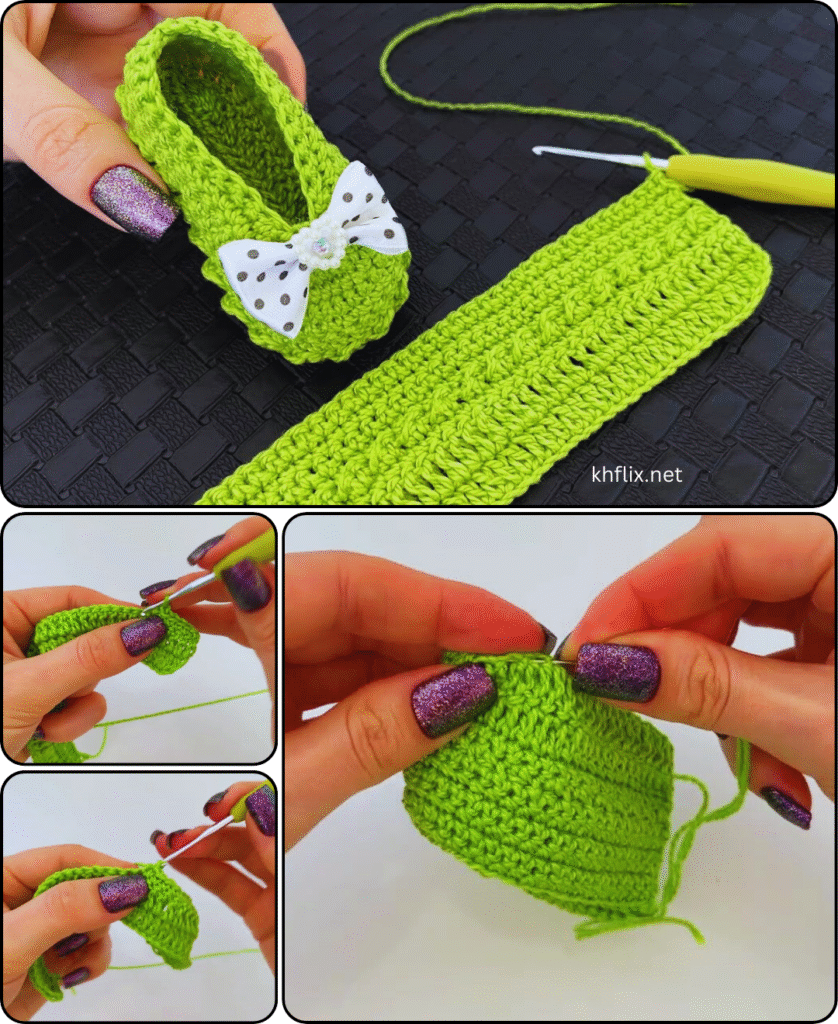
🥿 PART 2: Upper Body of the Shoe
Round 4 (Working in Back Loop Only):
- Ch 1, sc in each stitch around in the back loops only
- Join with sl st. This creates a sharp edge where the sole meets the upper.
Round 5–6:
- Ch 1, sc in each stitch around. Sl st to join.
- You now have a clean base for shaping the shoe’s front.
🧢 PART 3: Shaping the Toe
Round 7:
- Sc in next 10 stitches (sides)
- Sc2tog (decrease) 7 times across the toe
- Sc in remaining 9 stitches
- Join with sl st
Round 8:
- Sc in next 10 stitches
- Sc2tog 3 times (toe)
- Sc in remaining 10 stitches
- Join
This narrows the toe to give a snug fit.

🔄 PART 4: Top Strap or Finishing Edge
You can finish your baby shoe in several ways:
Option 1: Simple Slip-Stitch Border
- Ch 1, sl st around the shoe edge for a neat finish.
Option 2: Add a Buttoned Strap
- Ch 1, sc in 3–4 stitches near the side of the shoe (start on one side).
- Ch 10 (or enough to reach across the shoe), turn.
- Sc in each ch back, sl st to the other side.
- Fasten off and sew a button across the strap (don’t forget to add a buttonhole loop).
Option 3: Mary Jane Style
- After shaping the toe, create a small ankle strap by chaining 12 and attaching with sl st on the other side of the ankle.
🎨 Embellishments (Optional)
- Add small flower appliques, bows, or pom-poms.
- Stitch a tiny leaf or butterfly in a contrast color.
- Sew on buttons shaped like stars, bears, or hearts.
🧼 Finishing Touches
- Weave in all loose ends with your yarn needle.
- Shape the shoes by hand.
- (Optional) Lightly steam with a garment steamer to soften and set the shape.
💡 Tips for Success
- Try the shoe on a baby doll or foot form to check size before making the second.
- Use soft baby-friendly yarn for comfort.
- Keep your tension even for consistent shaping.
- Practice the sole separately if needed before starting the pair.
📷 Sharing & Storing
- Store your baby shoes in a cotton pouch or box with tissue paper.
- They make wonderful keepsakes, baby shower gifts, or photo props.
🧺 Care Instructions
- Hand wash gently in cold water with mild soap.
- Lay flat to dry.
- Avoid machine washing if you use delicate embellishments like buttons or appliques.
🌸 Final Thoughts
Crocheting beautiful baby shoes is one of the most rewarding projects for any yarn lover. These green baby booties are not only functional but also filled with charm and love. Whether you’re making them as a gift or a keepsake, they will surely bring smiles to little feet and big hearts 💚.
✨Ideas 2
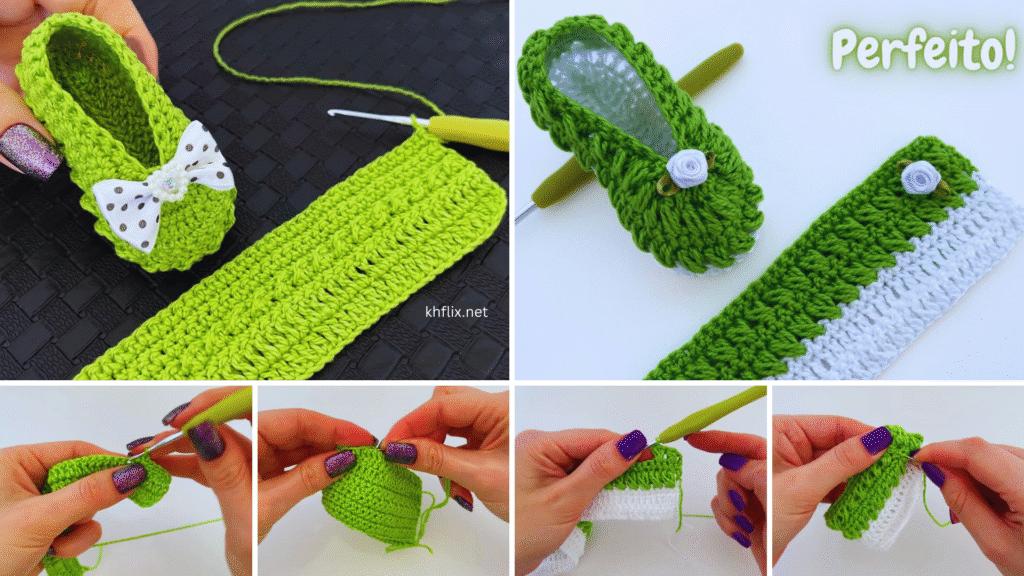
Certainly! Here’s a detailed, beginner-friendly guide on How to Make Beautiful Baby Shoes Crochet in Green and White Colors. This tutorial includes everything from materials to step-by-step instructions and finishing tips for a stylish, comfortable, and adorable pair of baby booties. 🧶👶
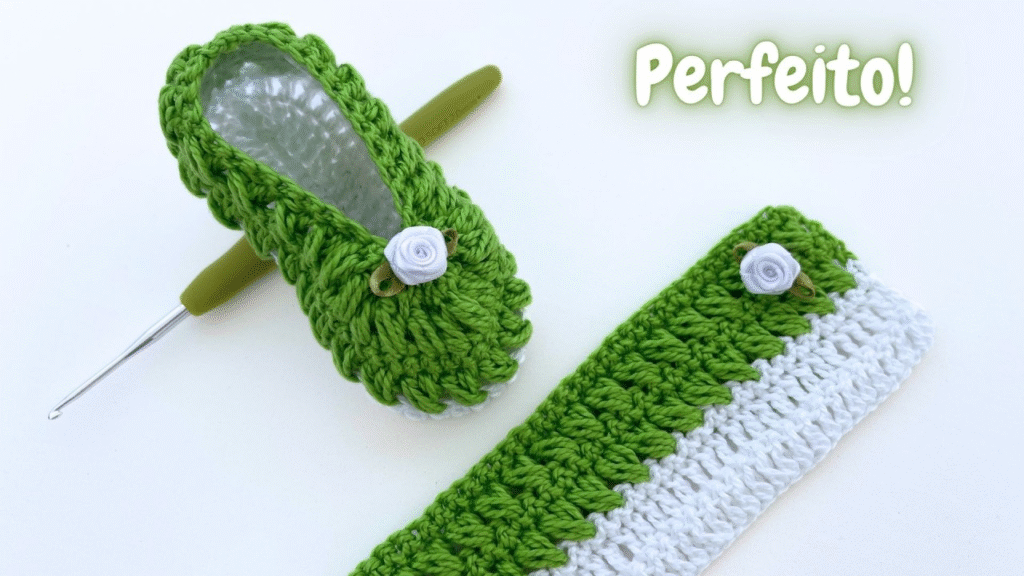
🧵 How to Make Beautiful Baby Shoes Crochet in Green and White – Step-by-Step Tutorial
Crocheting baby shoes is one of the most cherished and joyful crochet projects. These green and white crochet baby booties are simple yet elegant, combining two fresh and classic colors to create a beautiful look for any baby. They’re perfect for everyday wear, gifts, christenings, or baby showers.
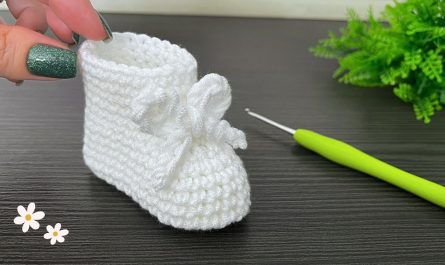
🌿 Color Theme: Green & White
- Green: Symbolizes freshness, life, and peace — perfect for a calming look.
- White: Pure, soft, and elegant — great for contrast and detailing.
This combination looks stunning, especially for gender-neutral or nature-inspired baby themes.
🧺 Materials You’ll Need
| Item | Details |
|---|---|
| Yarn | Soft cotton or acrylic baby yarn (DK weight or light worsted #3) |
| Colors | Light Green (main body), White (sole & trim) |
| Hook | 3.0 mm – 3.5 mm crochet hook |
| Other Tools | Scissors, tapestry needle, stitch markers (optional), small buttons or bows (optional) |
📐 Size Guide
This pattern is for babies aged 0–6 months, approximately 3.5–4 inches (9–10 cm) in foot length.
For larger sizes:
- Use a bigger hook
- Use thicker yarn
- Add stitches and rows evenly
🧶 Stitches & Techniques Used (US Terms)
- Chain (ch)
- Slip stitch (sl st)
- Single crochet (sc)
- Half double crochet (hdc)
- Double crochet (dc)
- Increase (2 stitches in one stitch)
- Decrease (sc2tog)
👣 Part 1: Crochet the Sole (White Yarn)
Foundation Chain: Ch 11
Round 1:
- 2 hdc in 2nd ch from hook
- 1 hdc in next 8 ch
- 5 hdc in last ch
- Continue on the other side of the chain: 1 hdc in next 8 ch
- 3 hdc in the first chain where you started
- Join with sl st (Total: 26 stitches)
Round 2:
- Ch 1
- 2 hdc in first stitch
- 1 hdc in next 9 stitches
- 2 hdc in next 5 stitches (around the toe curve)
- 1 hdc in next 9 stitches
- 2 hdc in last 2 stitches
- Join with sl st (Total: 36 stitches)
Round 3 (Optional, for longer sole):
- Continue increasing evenly around the curves if a longer sole is needed.
🟢 The sole is now finished in white!
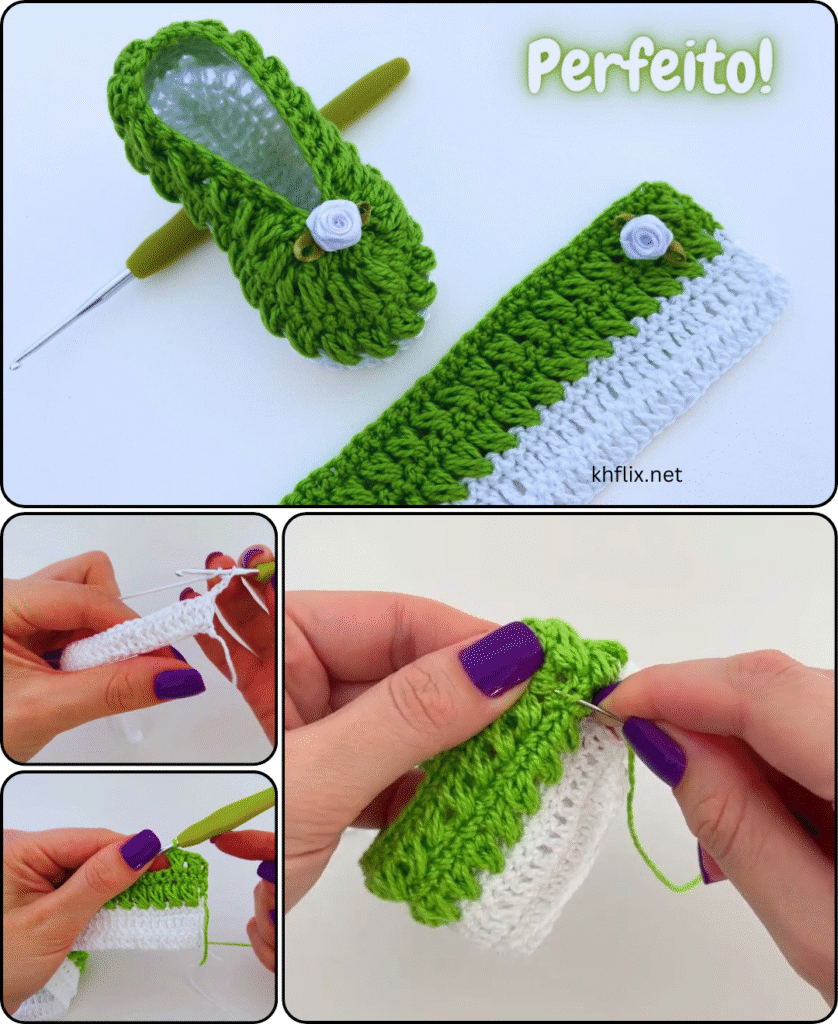
🥿 Part 2: Create the Shoe Sides (Switch to Green Yarn)
Round 4 (Back Loops Only):
- Join green yarn in any stitch.
- Ch 1, sc in each stitch in the back loop only around.
- Join with sl st. This helps form the edge that separates the sole from the upper body.
Round 5:
- Ch 1, sc in each stitch around. Join.
Round 6:
- Repeat as in Round 5 to build height.
🧢 Part 3: Shape the Toe (Still in Green)
Round 7:
- Sc in next 12 stitches (side)
- Sc2tog 6 times (front toe area)
- Sc in remaining stitches
- Join with sl st
Round 8:
- Sc in next 12 stitches
- Sc2tog 3 times
- Sc in remaining stitches
- Join
This forms the toe shape and fits snugly around the baby’s foot.
🎀 Part 4: Decorative Edge & Strap (Switch to White Yarn)
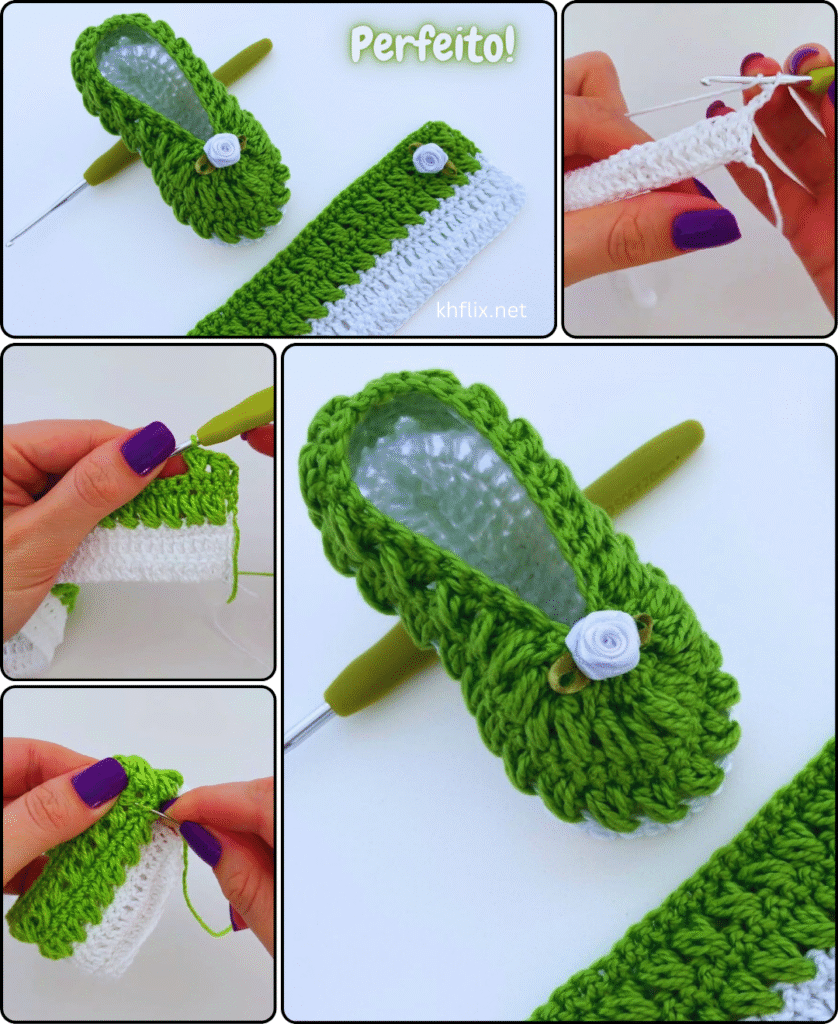
Option A: Add a Decorative Edging
- Join white yarn at the back of the shoe.
- Work sl st or sc evenly around the opening.
- For a fancy look: use shell stitch or picot edging.
Option B: Add a Mary Jane Strap
- After finishing the shoe body, join white yarn at one side near the ankle.
- Ch 12 (or adjust length), skip 2 chains, sc back across strap.
- Attach to the opposite side with sl st.
- Sew a button on the opposite side to fasten.
🧸 Part 5: Add Optional Details
- Buttons: Tiny heart, bear, or flower buttons.
- Ribbons: Tie a small satin ribbon bow across the front.
- Appliques: Small crocheted flowers or stars in white or a third color.
🧼 Final Finishing
- Weave in all yarn ends neatly with a tapestry needle.
- Shape the shoes gently by hand or lightly steam block them.
- Make the second shoe the same way.
💡 Tips for Success
- Keep your tension consistent so both shoes are the same size.
- Always count stitches in each round to stay on track.
- Use soft, washable yarn for baby comfort and easy care.
- If gifting, pair with a matching green & white hat or sweater!
🧺 Care Instructions
- Hand wash or machine wash on gentle cycle in cold water
- Lay flat to dry
- Avoid high heat or harsh detergents
🎁 Great For:
- Baby showers
- Newborn photography
- Holiday gifts
- Handmade market stalls
🌼 Final Thoughts
These beautiful green and white crochet baby shoes are simple, sweet, and practical. With just a few basic stitches, you can create a professional-looking pair of baby booties that are both stylish and meaningful. Handmade with love, they’re sure to become treasured keepsakes. 💚🤍