 by
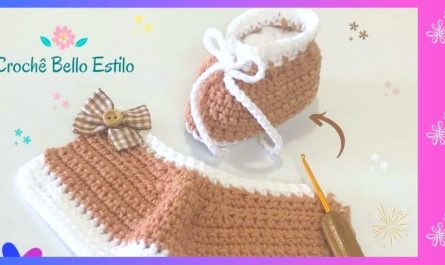
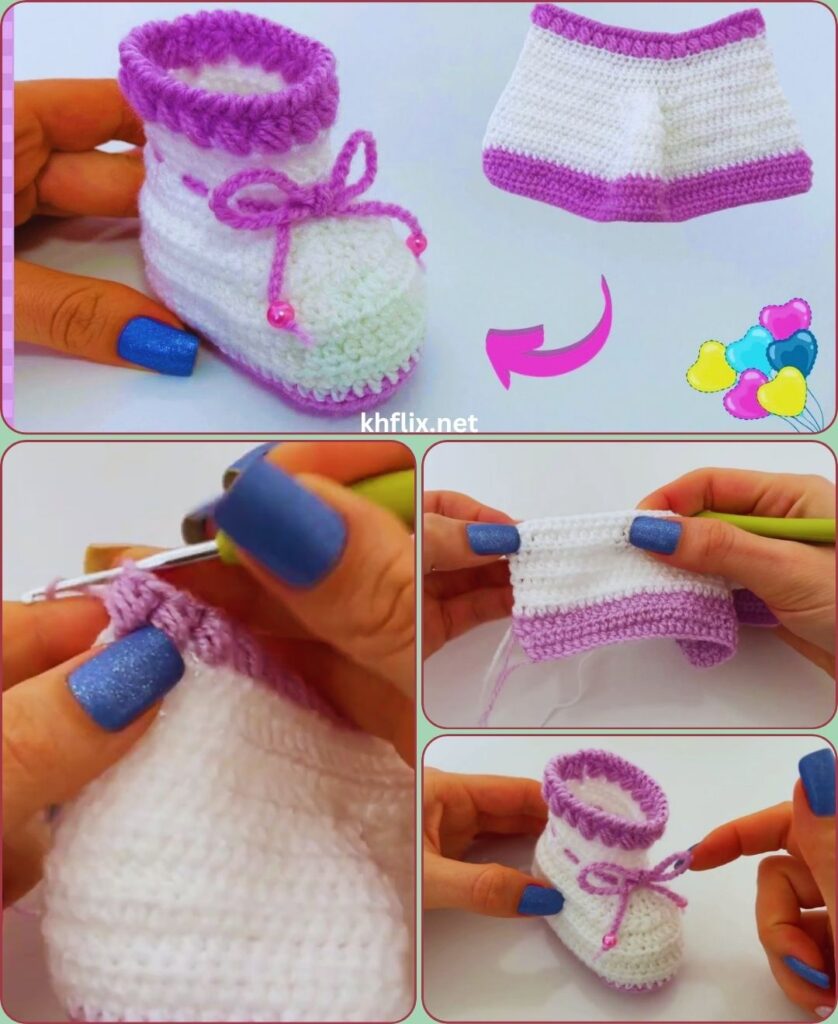
by Crocheting baby shoes is one of the most enjoyable and rewarding projects for beginners. Because baby shoes are small, they work up quickly and allow you to practice essential crochet techniques without spending days on a single project. Handmade crochet shoes are soft, lightweight, and comfortable, making them perfect for newborns, infants, and baby shower gifts.
This easy step-by-step tutorial will guide you through the process of making a simple crochet baby shoe using basic stitches. Whether you are learning crochet for the first time or looking for a relaxing project, this guide will help you create a beautiful pair of baby shoes with confidence.
👶 Why Crochet Baby Shoes?
Crochet baby shoes are a favorite project among beginners because they are practical, adorable, and quick to complete.
Benefits of Crochet Baby Shoes
- 👶 Soft and comfortable for tiny feet
- 🧶 Beginner-friendly project
- ⏱ Finished in just a few hours
- 🎁 Perfect handmade gift for newborns
- 📸 Beautiful accessory for baby photos
- 💖 Excellent way to improve crochet skills
- 💼 Popular item for handmade businesses
Their small size also makes them a great way to use leftover yarn from larger projects.
🧶 Materials You’ll Need
Before starting, gather all of your materials.
Yarn
Choose soft baby-safe yarn, such as:
- Baby acrylic yarn
- Soft cotton yarn
- Cotton-acrylic blend
You can use a single color for a classic design or combine two colors for extra style.
Popular colors include:
- White
- Pink
- Blue
- Yellow
- Beige
- Mint Green
- Gray
- Red
🪝 Crochet Hook
Recommended hook sizes:
- 3.5 mm
- 4.0 mm
Always match your hook size to the yarn you are using.
✂️ Additional Tools
You will also need:
- Yarn needle
- Sharp scissors
- Stitch marker (optional)
- Measuring tape
🧵 Basic Crochet Stitches
This pattern uses only beginner-friendly stitches.
You’ll need:
- Chain (ch)
- Slip Stitch (sl st)
- Single Crochet (sc)
- Half Double Crochet (hdc)
- Double Crochet (dc)
- Single Crochet Two Together (sc2tog)
These stitches create a soft, flexible fabric that is perfect for babies.
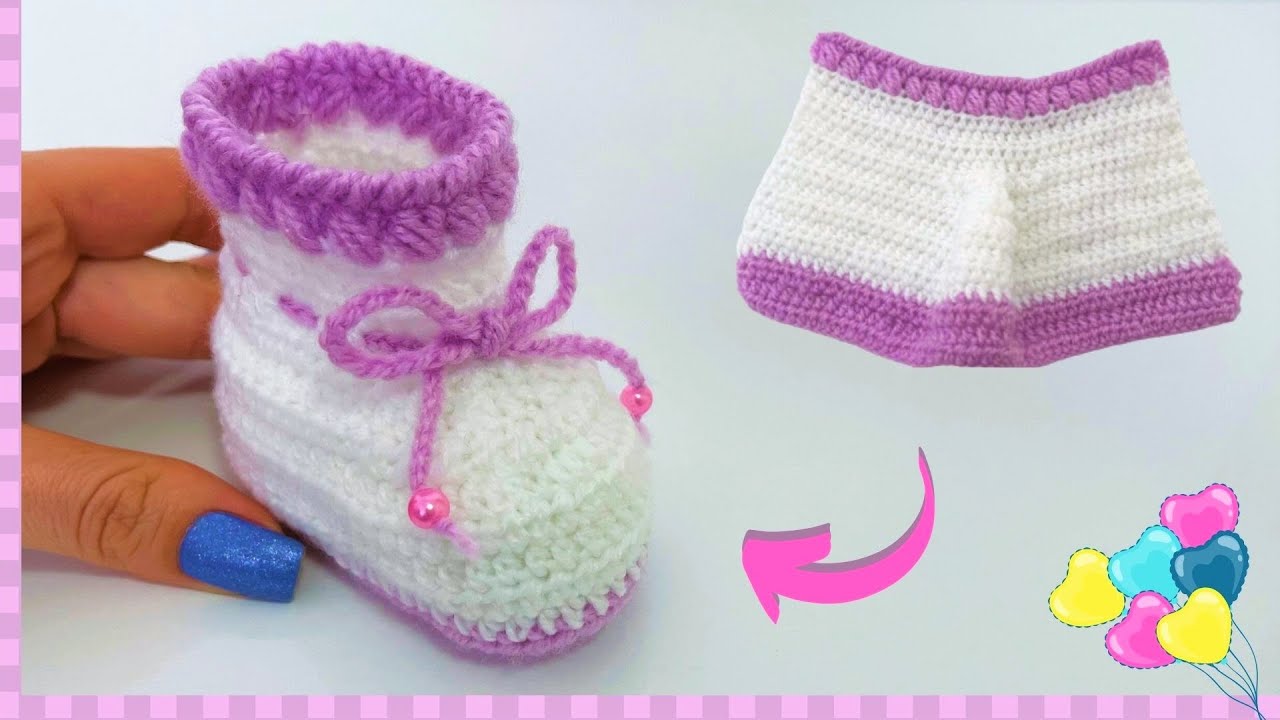
👣 Step 1: Crochet the Sole
The sole forms the base of the shoe.
Instructions
- Chain 11 stitches.
- Work two single crochet into the second chain from the hook.
- Crochet one single crochet across the remaining chains.
- Place five single crochet into the last chain.
- Continue crocheting along the opposite side of the chain.
- Join with a slip stitch.
The finished sole should have a smooth oval shape.
👟 Step 2: Strengthen the Sole
Crochet another round around the sole.
- Chain one.
- Crochet evenly around.
- Increase only at the toe and heel.
- Join with a slip stitch.
This gives the shoe a sturdy but comfortable foundation.
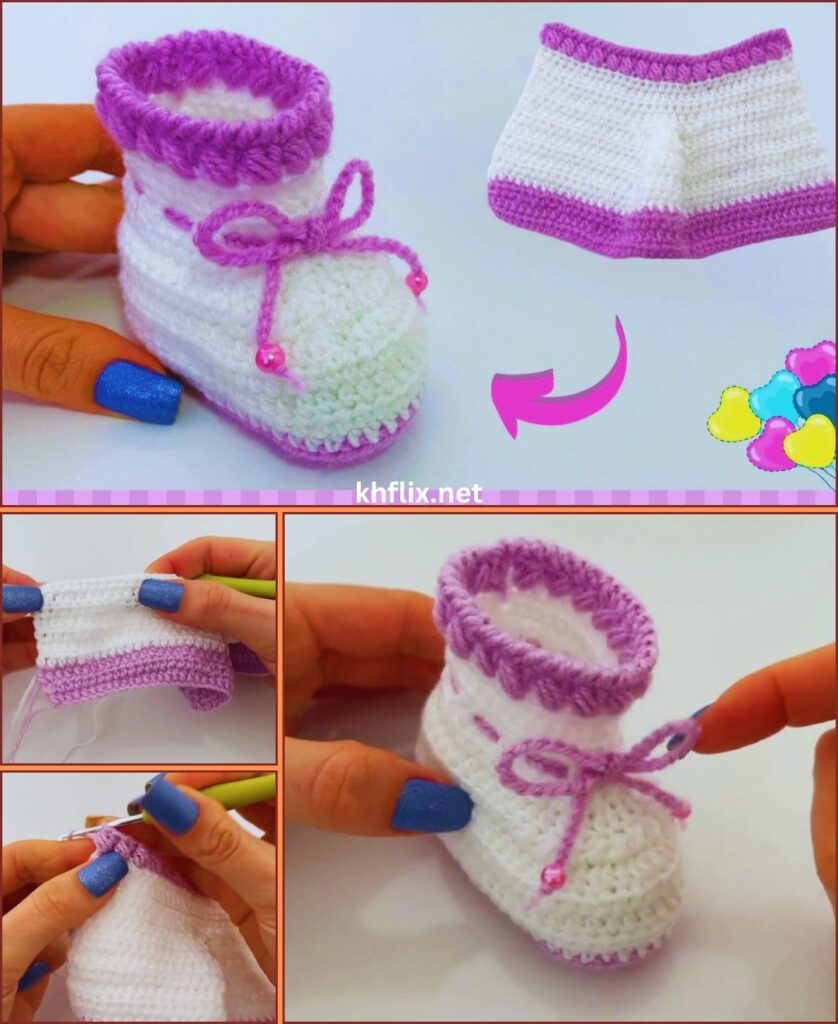
🧱 Step 3: Build the Side Walls
To shape the shoe, crochet one complete round using:
Single Crochet in the Back Loops Only
This technique creates:
- A decorative ridge
- Strong side walls
- A clean transition from the sole to the upper section
Your crochet will now begin to resemble a real baby shoe.
👶 Step 4: Crochet the Upper Section
Continue using your chosen yarn color.
- Crochet one single crochet into every stitch.
- Repeat for two or three rounds.
- Keep your stitch tension consistent.
The upper section should become soft, smooth, and evenly shaped.
🔻 Step 5: Shape the Toe
The toe shaping gives the shoe its finished appearance.
Instructions
- Find the center front of the shoe.
- Crochet single crochet two together (sc2tog) across the toe area.
- Continue crocheting around the remaining stitches.
- Repeat another decrease round if necessary.
This creates a comfortable rounded toe for the baby’s foot.
🌸 Step 6: Finish the Top Edge
Complete the opening with a neat border.
Choose one of these options:
Simple Finish
Crochet one round of single crochet.
Decorative Finish
Alternate slip stitches and chain stitches for a delicate textured edge.
Both options create a clean and polished appearance.
🎀 Step 7: Add a Strap (Optional)
A strap helps keep the shoe secure on baby’s foot.
Instructions
- Attach yarn to one side.
- Chain 12–15 stitches.
- Crochet back across the chain.
- Attach the strap to the opposite side.
Finish the strap with:
- A small button
- Crochet flower
- Tiny bow
🌼 Step 8: Decorate Your Baby Shoes
Personalize your shoes with simple decorations.
Ideas include:
- Crochet flowers
- Small bows
- Tiny hearts
- Stars
- Lace edging
- Decorative buttons
- Colorful trim
Keep all decorations lightweight and securely attached.
🧵 Step 9: Finish Your Shoes
Complete your project by:
- Cutting the yarn.
- Pulling the yarn through the final loop.
- Weaving in all loose ends.
- Trimming excess yarn.
- Gently shaping both shoes.
Place the shoes together to check that they match in size and shape.
💡 Helpful Tips for Beginners
For the best results:
- Use soft baby yarn.
- Keep your stitch tension even.
- Count stitches after every round.
- Crochet both shoes together to keep them identical.
- Use stitch markers if needed.
- Work slowly during the toe shaping.
Patience produces beautiful handmade crochet shoes.

⚠️ Common Mistakes to Avoid
Shoes Become Different Sizes
Always count your stitches.
Sole Starts Curling
Your stitches may be too tight.
Try using a larger crochet hook.
Toe Looks Too Narrow
Decrease gradually over two rounds instead of one.
Loose Shoes
Use a slightly smaller hook or reduce a few stitches.
🌈 Beautiful Color Ideas
Try these lovely color combinations:
- 🤍 White + Blue
- 💗 Pink + White
- ❤️ Red + White
- 💛 Yellow + Cream
- 💚 Mint + White
- 🤎 Beige + Brown
- 🩶 Gray + White
- 💙 Navy + White
Simple color combinations make even basic patterns look elegant.
🧼 Caring for Crochet Baby Shoes
To keep your handmade baby shoes looking beautiful:
- Hand wash with mild detergent.
- Use cool or lukewarm water.
- Do not twist or wring the fabric.
- Lay flat to dry.
- Store in a clean, dry place.
Proper care helps maintain the softness, shape, and beauty of your crochet work.
👶 Final Thoughts
Learning how to make an easy step-by-step crochet shoe for baby is an excellent way to build your crochet skills while creating something practical and heartwarming. This beginner-friendly project introduces you to essential techniques such as crocheting in rounds, shaping the toe, creating smooth edges, and finishing your work neatly.
As your confidence grows, you can personalize your baby shoes with different colors, decorative trims, flowers, bows, or straps to create your own unique designs. Every pair you make will improve your technique and become a treasured handmade keepsake filled with care and creativity.
Whether you’re crocheting for your own baby, preparing a thoughtful handmade gift, or expanding your handmade business, these easy crochet baby shoes are a timeless project that combines comfort, beauty, and the joy of creating something by hand.
Happy crocheting, and may every stitch bring warmth, love, and smiles to little feet! 🧶👶💕