 by
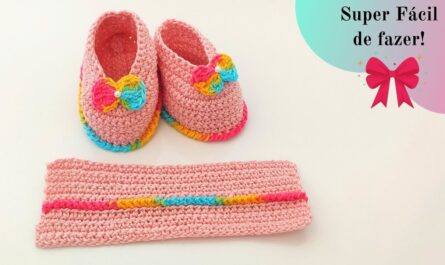
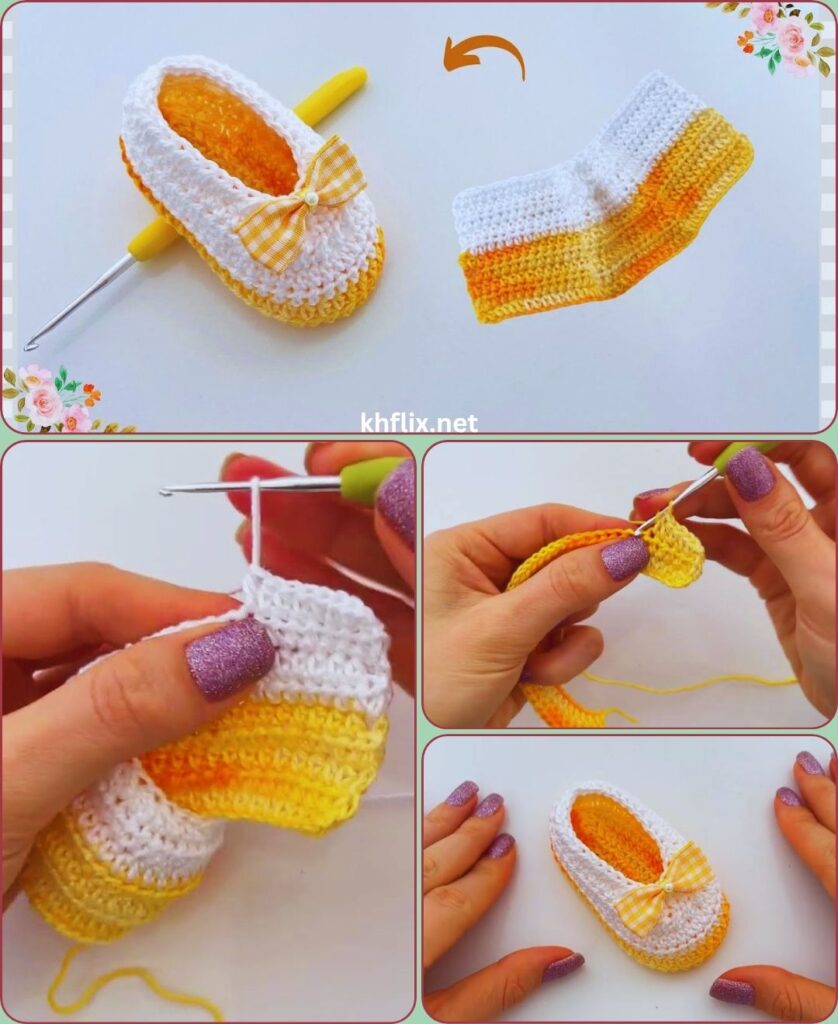
by Crochet baby shoes are one of the most delightful handmade projects you can create. They are soft, lightweight, and comfortable for tiny feet while adding a charming handmade touch to any baby’s wardrobe. Whether you’re making them as a thoughtful baby shower gift, for your own little one, or to sell at craft fairs or online, crochet baby shoes are always a favorite among crocheters.
The best part is that you don’t need to be an expert to make them. With a few basic crochet stitches, the right materials, and a little patience, you can create beautiful baby shoes that look professional and fit comfortably.
This complete step-by-step guide explains everything you need to know, from choosing the best yarn to finishing your project with decorative details.
Why Crochet Baby Shoes?
Handmade crochet baby shoes are much more than tiny footwear—they’re keepsakes made with love. Unlike store-bought shoes, they can be customized in size, color, and design to suit every baby.
Some of the benefits include:
- Soft and gentle for delicate baby skin
- Flexible and lightweight for comfort
- Easy and inexpensive to make
- Perfect gifts for newborns and baby showers
- Great beginner crochet project
- Endless opportunities for creativity
- Ideal for using leftover yarn
Because they work up quickly, crochet baby shoes are perfect for weekend projects or last-minute gifts.
Materials You’ll Need
Before starting your project, gather all your supplies.
Yarn
Choose a soft baby-friendly yarn such as:
- Baby acrylic
- Cotton yarn
- Cotton-blend yarn
Avoid rough fibers that may irritate sensitive skin.
Crochet Hook
A 3.5 mm crochet hook is commonly used, although you can adjust the size depending on your yarn and desired shoe size.
Additional Supplies
- Yarn needle
- Sharp scissors
- Stitch markers (optional)
- Measuring tape
- Decorative buttons, bows, or flowers (optional)
Using quality materials will make your finished shoes softer, stronger, and more comfortable.
Basic Crochet Stitches
This project uses beginner-friendly stitches, including:
- Chain (ch)
- Slip Stitch (sl st)
- Single Crochet (sc)
- Half Double Crochet (hdc)
- Double Crochet (dc)
- Single Crochet Two Together (sc2tog)
If you’re familiar with these stitches, you’ll find this project enjoyable and easy to follow.
Step 1: Crochet the Sole
The sole is the foundation of the shoe.
Begin by creating a foundation chain suitable for your desired baby size. A chain of 10 stitches usually fits newborn babies.
Round One
- Work two single crochet stitches into the second chain from the hook.
- Crochet one single crochet across each chain.
- At the last chain, place several stitches into the same stitch to create the rounded toe.
- Continue working along the opposite side of the foundation chain.
- Join with a slip stitch.
Your work should now form a neat oval.
Step 2: Expand the Sole
The second round widens the shoe for a comfortable fit.
- Chain one.
- Increase stitches evenly around the toe and heel.
- Crochet evenly across both sides.
- Join with a slip stitch.
Count your stitches carefully to ensure both shoes will be identical.
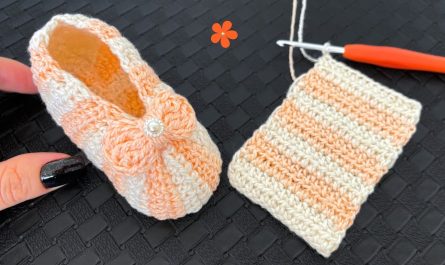
Step 3: Create the Side Walls
To transform the flat sole into a shoe, crochet one complete round using back loop only single crochet stitches.
This creates a raised ridge around the edge while allowing the shoe walls to stand upright.
This small detail gives your crochet shoes a polished, store-quality appearance.
Step 4: Build the Shoe Body
Continue crocheting one single crochet into every stitch around.
Repeat this process for two or three rounds depending on the height you prefer.
Keep your tension consistent to create smooth, even sides.
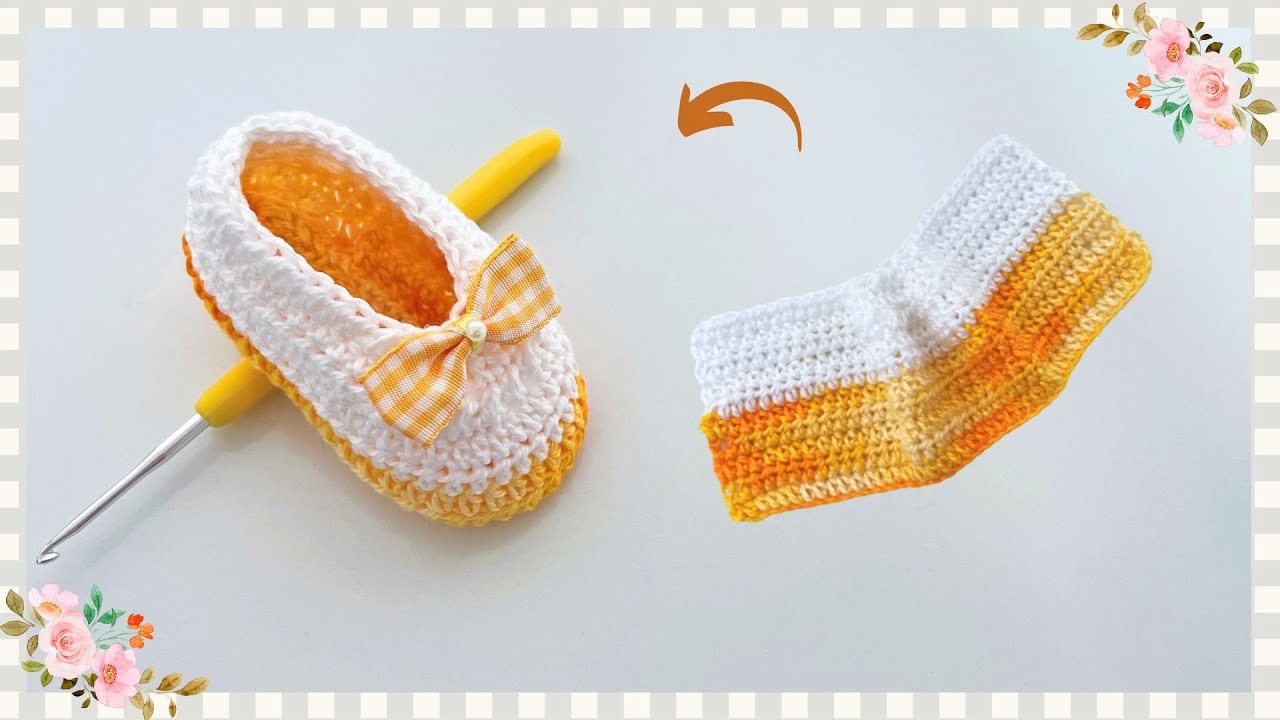
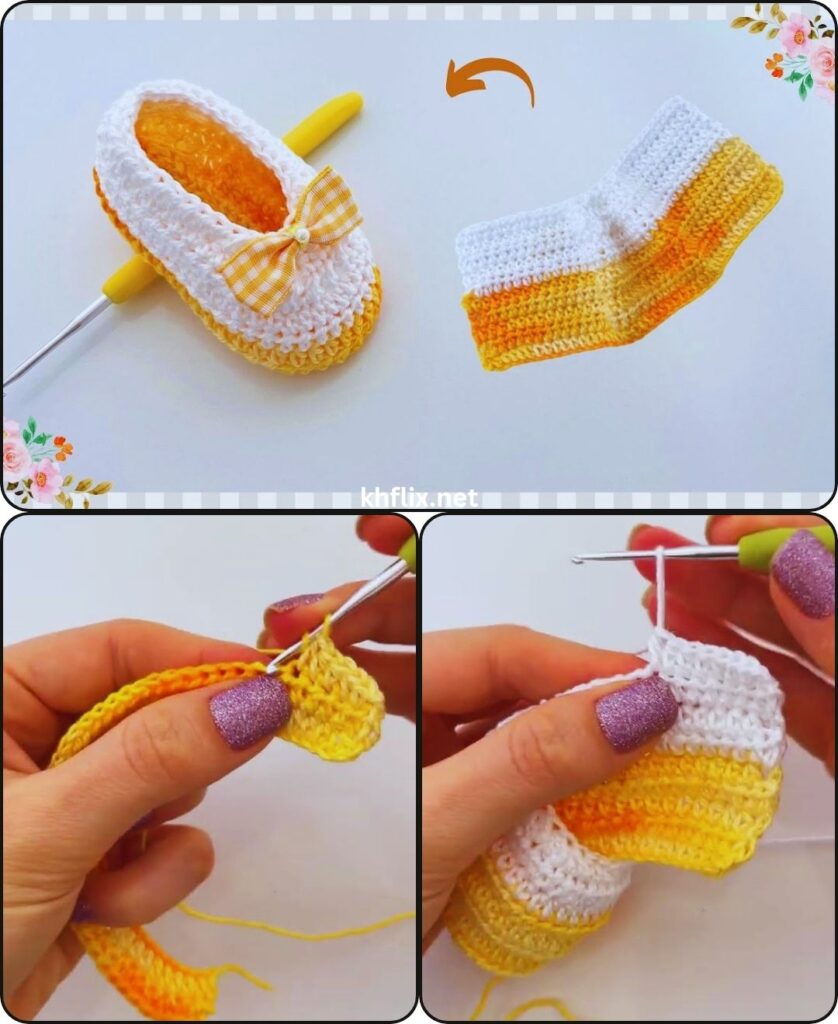
Step 5: Shape the Front Toe
The toe shaping gives the baby shoe its recognizable form.
Locate the center front of the shoe.
As you reach this area:
- Crochet two stitches together repeatedly.
- Continue normal stitches around the remainder of the shoe.
- Repeat another decrease round if needed.
The gradual decreases produce a rounded, comfortable toe that fits naturally.
Step 6: Crochet the Upper Section
Once the toe is complete, continue building the upper part of the shoe.
Several design options are available:
Classic Slip-On
Continue crocheting evenly around the opening.
Fold-Over Cuff
Add extra rounds and fold the top downward for a cozy winter style.
High-Top Baby Shoe
Crochet additional rounds upward to create ankle support and a sneaker-inspired design.
Choose the style that best suits your project.
Step 7: Add a Strap (Optional)
A strap helps keep the shoes securely on the baby’s feet.
Attach yarn near one side of the shoe opening.
- Chain approximately 12–15 stitches.
- Turn your work.
- Crochet one single crochet into each chain.
- Attach the strap to the opposite side.
Sew on a decorative button to complete the closure.
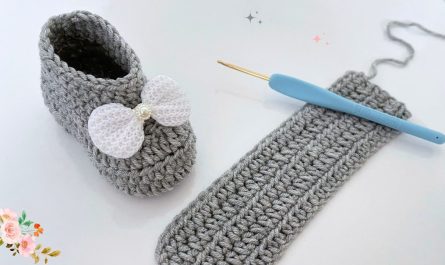
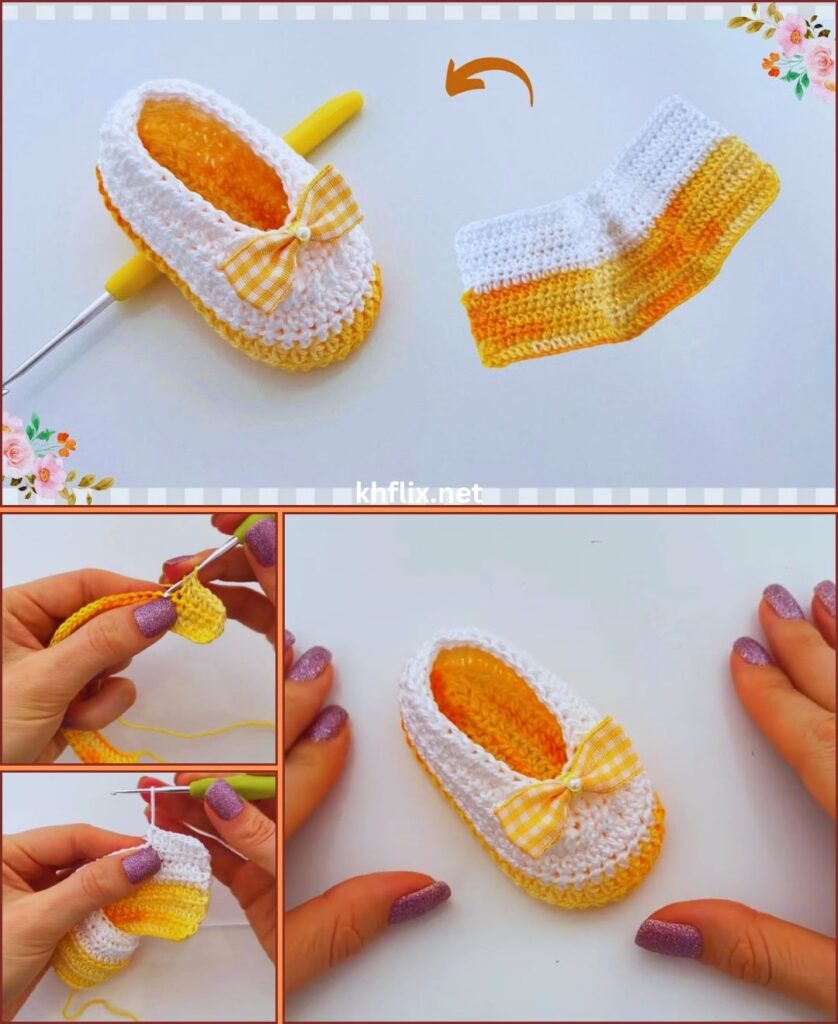
Step 8: Decorate Your Baby Shoes
This is where you can personalize your project.
Popular embellishments include:
- Crochet flowers
- Satin bows
- Tiny stars
- Heart appliqués
- Animal ears
- Lace edging
- Colorful borders
- Small pom-poms
- Embroidered initials
Decorations should always be sewn on securely if the shoes will be worn by babies.
Step 9: Finish the Shoes
Once both shoes are finished:
- Cut the yarn.
- Pull the tail through the final loop.
- Weave in every loose end with a yarn needle.
- Trim excess yarn.
- Shape the shoes gently with your hands.
Compare both shoes to ensure they match perfectly in size and appearance.
Helpful Tips for Beginners
Following these tips will improve your results:
- Use soft, baby-safe yarn.
- Count your stitches every round.
- Maintain even tension.
- Use stitch markers to track rounds.
- Crochet both shoes at the same time for consistency.
- Practice changing colors neatly.
- Check measurements frequently.
Small details make a big difference in the finished appearance.
Common Mistakes and How to Fix Them
Shoes Are Different Sizes
Always count stitches and compare both shoes after every round.
Sole Is Curling
Your stitches may be too tight. Use a larger hook or relax your tension.
Toe Looks Too Sharp
Decrease gradually across several rounds instead of all at once.
Shoes Slip Off Easily
Add a strap or crochet a taller cuff around the ankle.
Uneven Shoe Walls
Focus on maintaining consistent stitch tension throughout the project.
Beautiful Color Combinations
Experiment with different colors to create unique designs.
Some popular combinations include:
- White and baby pink
- Sky blue and white
- Cream and beige
- Mint green and ivory
- Lavender and gray
- Peach and cream
- Navy blue and white
- Sage green and tan
- Yellow and white
- Rainbow pastel stripes
Using contrasting colors for the sole, cuff, or trim creates an elegant handmade look.
Caring for Crochet Baby Shoes
Proper care keeps your handmade shoes looking their best.
- Wash gently by hand using mild detergent.
- Rinse thoroughly with cool water.
- Press out excess water without twisting.
- Lay flat on a towel to dry.
- Store in a clean, dry place away from direct sunlight.
These simple steps help preserve the softness and shape of your crochet shoes.
Final Thoughts
Learning how to make crochet shoes for babies is a fun and rewarding experience. From creating the sole and shaping the toe to adding decorative details, each step allows you to build your crochet skills while making something truly special. These tiny shoes are not only practical but also meaningful handmade gifts that parents will treasure for years.
As you gain confidence, you can experiment with different stitch patterns, color combinations, decorative cuffs, and creative embellishments to design your own unique styles. With practice and patience, you’ll soon be creating beautiful crochet baby shoes that are perfect for everyday wear, special occasions, thoughtful gifts, or even your own handmade business.
Happy crocheting, and enjoy every stitch of your beautiful baby shoe project!