 by
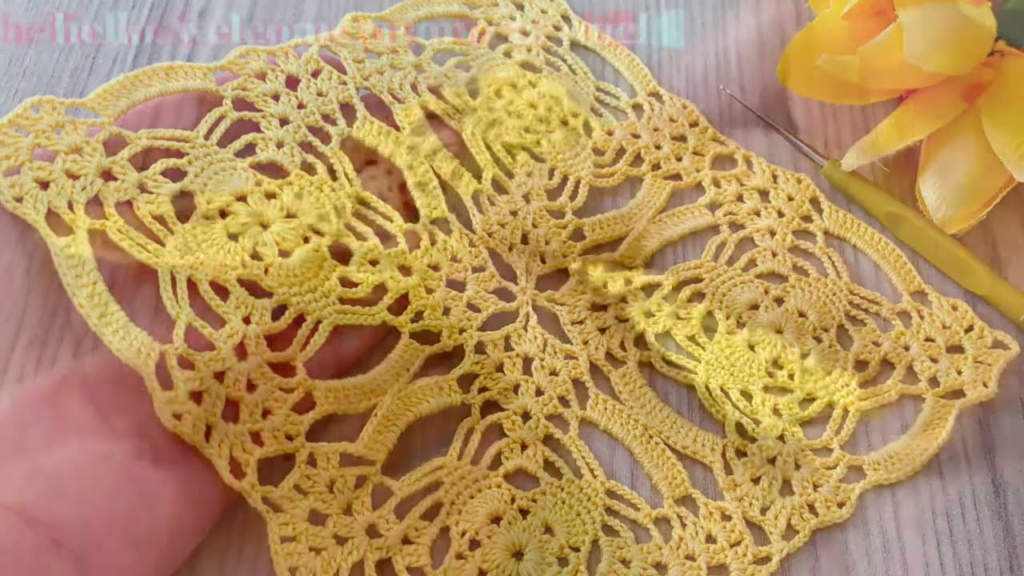
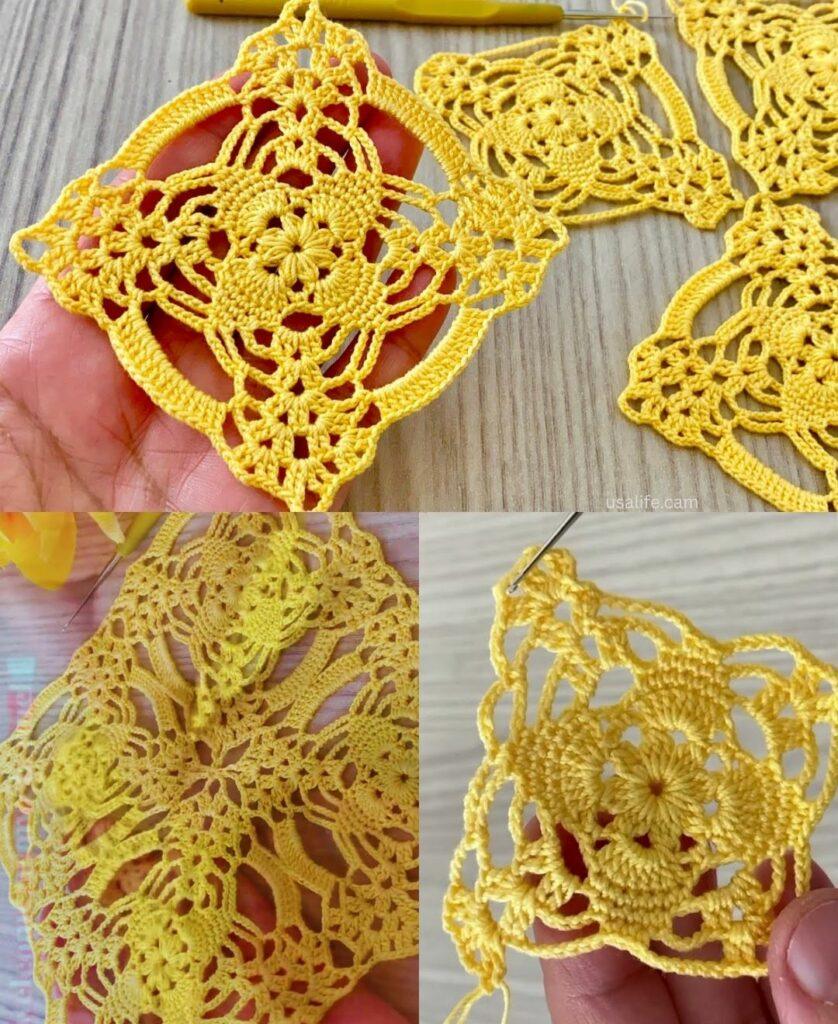
by Crocheting a square motif is a foundational skill that serves as the building block for countless projects, from classic blankets and table runners to modern blouses and shawls. The secret to a perfect square lies in maintaining your tension and defining your corners clearly.

Here is a detailed guide to creating a versatile, solid-style square motif that works for almost any project.
🧶 The Square Motif Toolkit
- Yarn: A smooth, light-to-medium weight yarn (like DK or Worsted weight cotton) is best for practicing. Cotton provides the best stitch definition.
- Hook: Use the size recommended on your yarn label, or go down one half-size for a tighter, more professional “boutique” look.
- Stitch Key (US Terms):
- ch: Chain
- sl st: Slip Stitch
- dc: Double Crochet
- Corner:
(2 dc, ch 2, 2 dc)in the same space.
🛠 The Step-by-Step Construction
Round 1: The Core
- Start:
ch 4. Insert your hook into the first chain andsl stto form a small ring. - The Base:
ch 3(this counts as your firstdc). Work 2 dc into the center of the ring. - Corner 1:
ch 2. - The Pattern: Work a cluster of 3 dc into the ring, then
ch 2. Repeat this process until you have 4 clusters of 3 stitches each. - Join:
sl stto the top of your initialch 3.
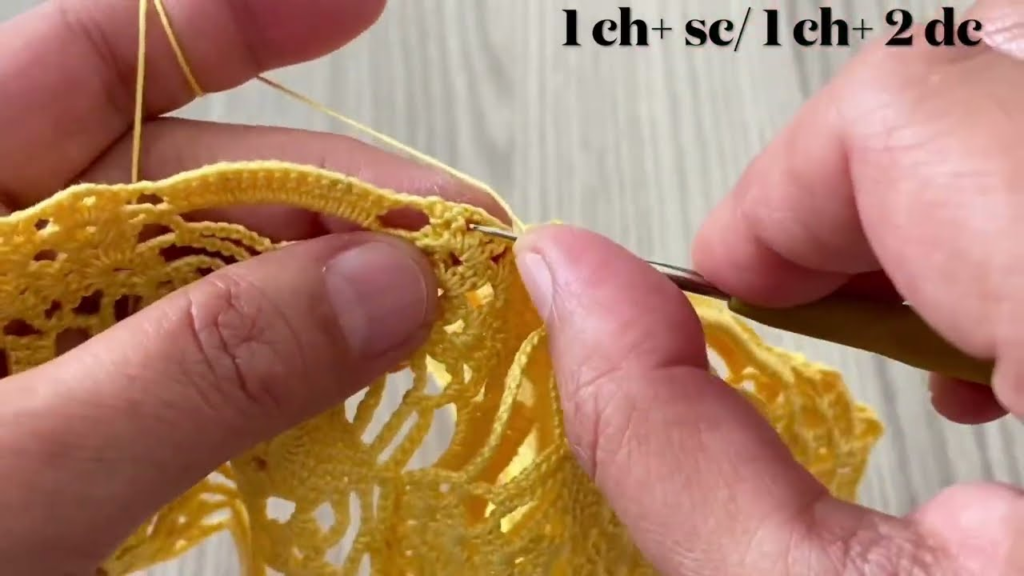
Round 2: Growing the Square
- Travel:
sl stacross the next 2 stitches and into the nearest cornerch-2space. - Corner:
ch 3(counts asdc),2 dc,ch 2,3 dc(all in that corner space). - The Transition:
ch 1. - The Pattern: Move to the next corner space and work
(3 dc, ch 2, 3 dc). Repeat this in all four corners, remembering toch 1between each corner cluster. - Join:
sl stto the top of your initialch 3.
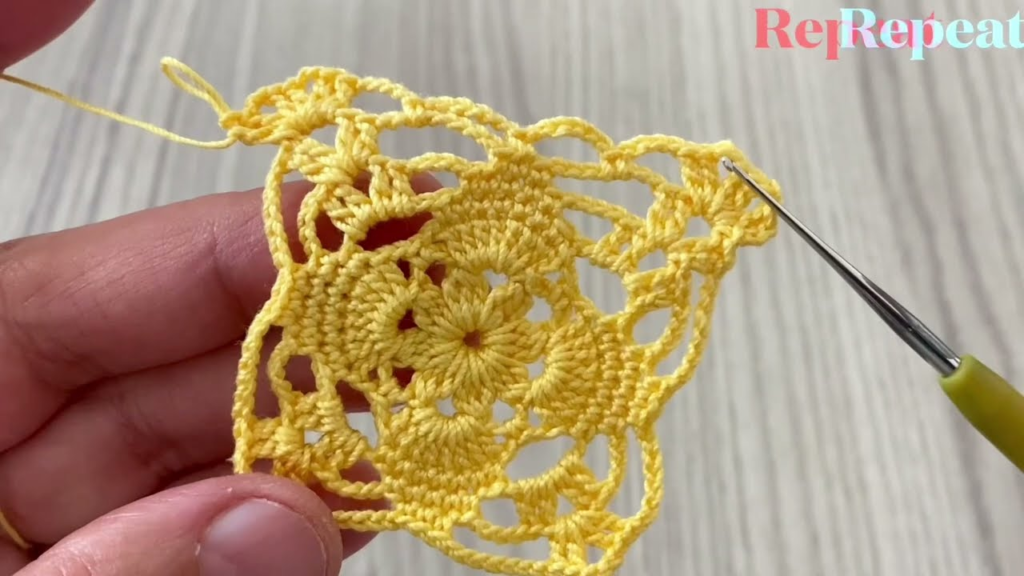
Round 3: Building the Solid Frame
- Travel:
sl stto the nearest corner. - Corner:
ch 3,2 dc,ch 2,3 dc(in corner). - The Side:
ch 1. Work a cluster of 3 dc into the side space (the gap created by thech 1from the previous round).ch 1. - The Pattern: Continue working
(3 dc, ch 2, 3 dc)in every corner and3 dcin the side gaps, withch 1between all clusters. - Join:
sl stto the top of the initialch 3.
📐 Expert Tips for a Perfect Square
1. The “Turning” Secret
If your square starts to twist or look like a spiral as it grows, turn your work over after every round. By working back and forth, you keep your stitches perfectly vertical, which eliminates the “skewed” appearance common in beginner projects.
2. Mastering the Corners
If your square is “cupping” (looking like a bowl), you likely need more chains in your corners. If it is “ruffling” (wavy edges), you have too many stitches on the sides. A standard corner is (3 dc, ch 2, 3 dc); if it feels too tight, try ch 3 in the corners instead of ch 2.
3. Blocking: The Final Polish
A motif will almost always look a bit “wobbly” until it is blocked.
- Pin: Stretch your finished square onto a flat surface (like a clean towel or foam board), pinning down each of the four corners to make them sharp.
- Steam: Lightly hover a handheld steamer over the square (do not let the iron touch the yarn).
- Set: Leave the pins in place until the square is 100% dry. This “locks” the fibers into a perfect square shape, making it much easier to join them together later.
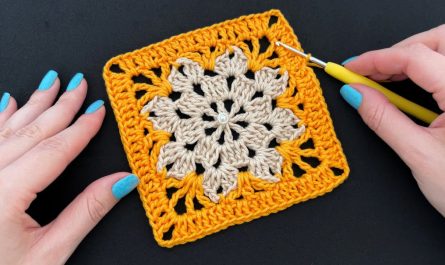
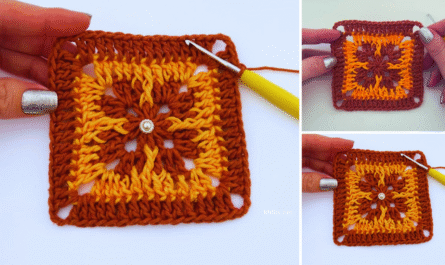
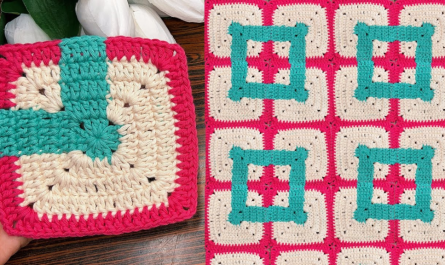
💡 Creative Idea: The “Color-Frame” Technique
To make your squares stand out, try using a different color for each round:
- Round 1: Bright color (The heart).
- Round 2: A neutral color (The transition).
- Round 3: A dark or bold color (The frame).
By using a consistent “frame” color for the final round of every square in your project, you create a cohesive, professional look that unites all your motifs, no matter how many colors you use in the center.
Would you like me to help you map out how many of these squares you would need to create a specific project, such as a table runner or a blouse?