 by
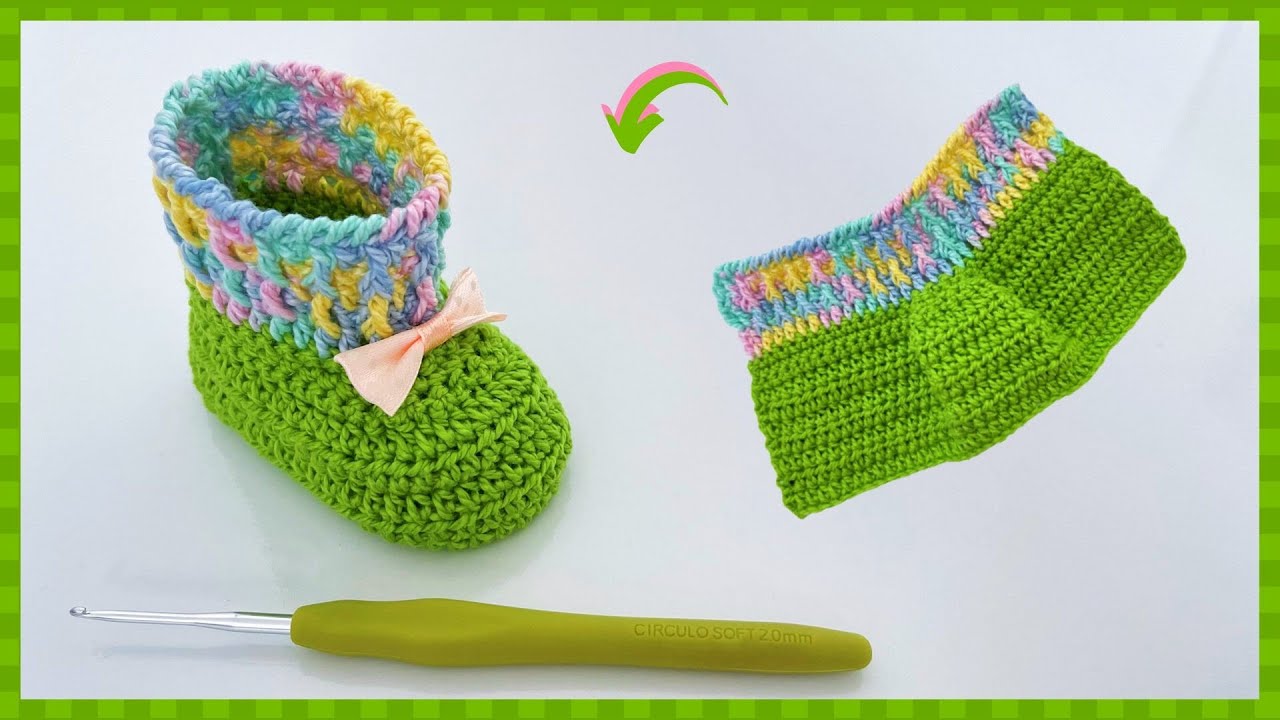
by Crochet baby shoes are always adorable, but when you use a fresh green color, they become even more special. Green represents nature, calmness, freshness, and growth—perfect symbolism for a newborn baby. This tutorial will guide you step by step on how to make a beautiful green crochet baby shoe, even if you are a complete beginner.
The design is simple, soft, and comfortable, but still stylish enough to look like a handmade boutique item. You don’t need advanced skills—just basic stitches, patience, and a little creativity.
👶 Why Green Crochet Baby Shoes Are So Beautiful
Green is not the most common baby shoe color, which makes it unique and eye-catching.
💚 Benefits of Green Baby Shoes
- 🌿 Fresh and natural appearance
- 👶 Suitable for baby boys and girls
- 📸 Beautiful for newborn photography
- 🎁 Unique handmade gift idea
- 🧶 Looks elegant in simple designs
- 💚 Symbol of growth and happiness
Light green, mint green, or olive green all create different moods—from soft baby tones to stylish modern looks.
🧶 Materials You Will Need
This is a low-cost, beginner-friendly project.
🧵 Yarn
Choose soft baby-safe yarn:
- Baby acrylic yarn (budget-friendly)
- Cotton yarn (soft and breathable)
- Cotton blend yarn (durable and smooth)
🎨 Main Color
- 💚 Green (mint, light green, or olive green)
🤍 Optional Accent Colors
- White (very popular combination)
- Beige
- Cream
- Brown
- Yellow
🪝 Crochet Hook
- 3.5 mm or 4.0 mm hook
✂️ Extra Tools
- Yarn needle
- Scissors
- Stitch marker (optional)
- Measuring tape
🧵 Basic Crochet Stitches Used
This project uses simple beginner stitches:
- Chain (ch)
- Slip stitch (sl st)
- Single crochet (sc)
- Half double crochet (hdc)
- Double crochet (dc)
- Single crochet decrease (sc2tog)
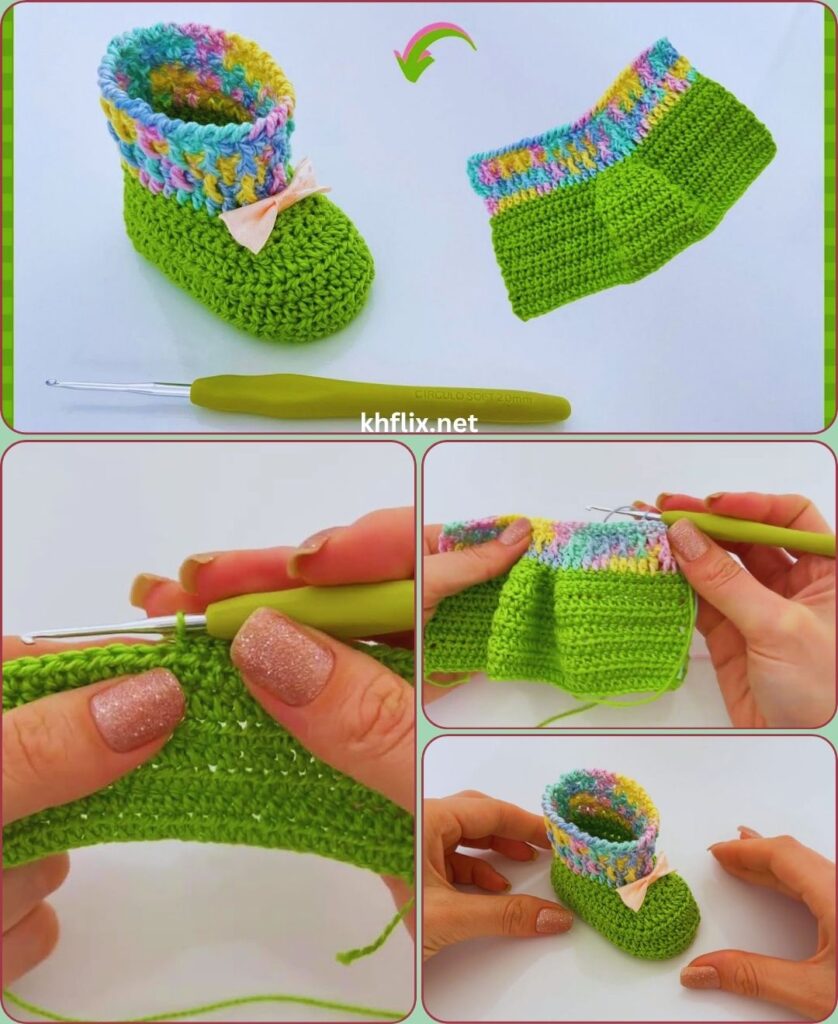
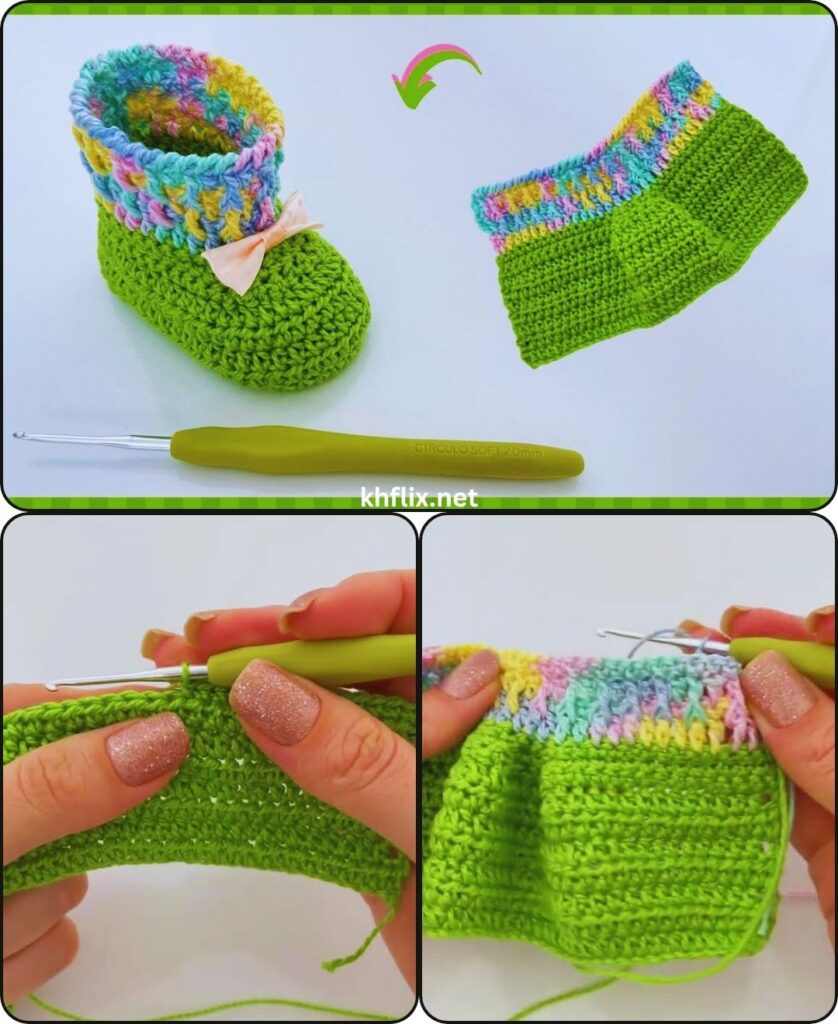
👣 Step 1: Make the Baby Shoe Sole
The sole is the base of your shoe.
Instructions:
- Chain 11 stitches
- Work 2 single crochet in second chain from hook
- Single crochet across the chain
- Add 5 single crochet in last chain (for rounding toe)
- Continue on opposite side
- Join with slip stitch
✔ You now have a soft oval shape.
💡 Tip for Better Look
For a more beautiful finish, you can:
- Use two shades of green for the sole
- Or add a white border round after finishing
👟 Step 2: Strengthen the Sole
This step makes the shoe more durable.
- Chain 1
- Work single crochet around the sole
- Increase only at toe and heel curves
- Join with slip stitch
✔ This makes the base firm but still soft for babies.
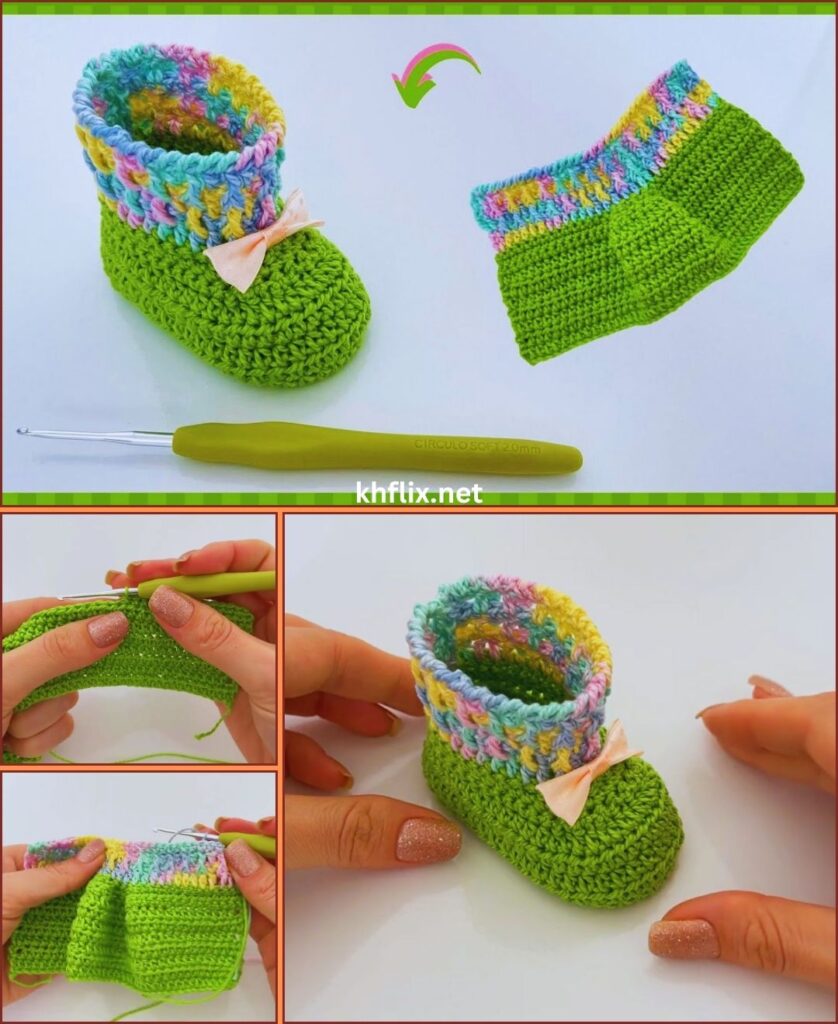
🧱 Step 3: Build the Shoe Walls
Now we start shaping the shoe.
Technique:
Work 1 round of single crochet in back loops only (BLO)
This creates:
- A raised decorative edge
- Strong structure
- Clear separation between sole and upper part
✔ This step gives a professional look.
👶 Step 4: Crochet the Shoe Body (Green Beauty Layer)
Now continue with your green yarn.
- Work 2–3 rounds of single crochet
- No increases or decreases
- Keep stitches even and soft
✔ This forms the main body of the baby shoe.
💚 Style Tip
To make it more beautiful:
- Alternate light green and dark green rows
- Or add a white stripe in the middle
🔻 Step 5: Shape the Toe
This creates the baby shoe form.
Steps:
- Find center front
- Use single crochet decrease (sc2tog)
- Work decreases across toe area
- Continue around normally
- Repeat once if needed
✔ The shoe now looks naturally rounded.
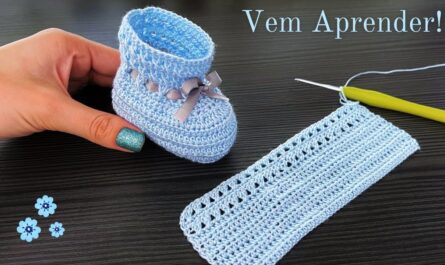
🌸 Step 6: Add a Beautiful Top Edge
Now we finish the opening.
Option 1: Simple Edge
- One round single crochet
Option 2: Decorative Edge
- Shell stitch (dc group pattern)
- Or picot edge for lace effect
✔ This makes the shoe look elegant and finished.
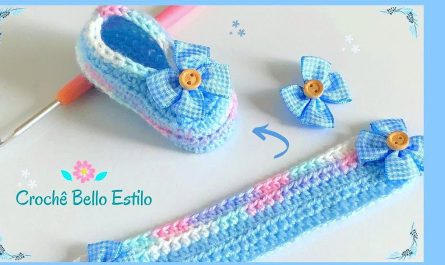
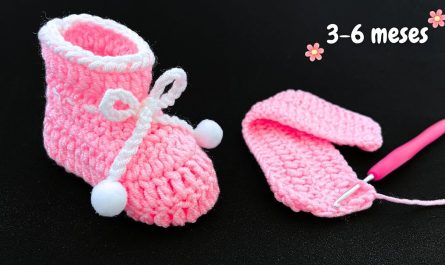
🎀 Step 7: Add Strap or Decoration
You can keep it simple or stylish.
👟 Strap Option
- Chain 12–15 stitches
- Attach on opposite side
- Add small button
🌿 Decorative Ideas for Green Shoes
- Tiny white flower 🌸
- Leaf-shaped applique 🍃
- Small bow 🎀
- Button in wooden style 🤎
🌈 Step 8: Make It More Beautiful (Design Ideas)
Green shoes can be styled in many ways:
💚 Popular Designs:
- Mint green + white lace
- Olive green rustic style
- Green + beige natural look
- Striped green baby sneaker style
- Green with flower decoration
✔ Each style creates a different personality.
🧵 Step 9: Finishing Touch
Complete your baby shoe:
- Cut yarn carefully
- Pull through final loop
- Weave in all loose ends
- Shape shoe with hands
- Make sure both shoes match
✔ Now your baby shoes are ready.
💡 Beginner Tips for Best Results
- Keep stitch tension even
- Count stitches every round
- Use soft yarn for comfort
- Crochet both shoes together step by step
- Don’t rush toe shaping
⚠️ Common Mistakes to Avoid
❌ Shoes not same size
✔ Always count stitches carefully
❌ Shoe becomes too tight
✔ Use larger hook or looser tension
❌ Toe shape uneven
✔ Do decreases gradually
❌ Decoration falling off
✔ Sew tightly, not loosely
🌿 Color Combination Ideas for Green Shoes
- 💚 Green + White (clean and classic)
- 💚 Green + Beige (natural style)
- 💚 Green + Yellow (bright and playful)
- 💚 Green + Brown (earth tone style)
- 💚 Mint + Cream (soft baby look)
🧼 Care Instructions
To keep your handmade shoes beautiful:
- Hand wash gently
- Use mild soap
- Do not twist
- Dry flat on towel
- Store in clean dry place
👶 Final Thoughts
Learning how to make a beautiful green crochet baby shoe is a wonderful beginner project that combines simplicity, creativity, and elegance. With just basic stitches and soft green yarn, you can create a unique handmade item that feels fresh, natural, and full of life.
Green baby shoes stand out because they are different from traditional pastel colors, giving your crochet work a modern and artistic touch. As you improve, you can experiment with stripes, lace edges, flowers, and different shades of green to create your own signature design.
Whether for your baby, a gift, or a handmade business, these green crochet baby shoes are always a beautiful and meaningful creation.
Happy crocheting, and enjoy every stitch as you bring your green baby shoe to life! 💚🧶👶