 by
by Easy Lace Motif for Beginners — Complete Step-by-Step Guide
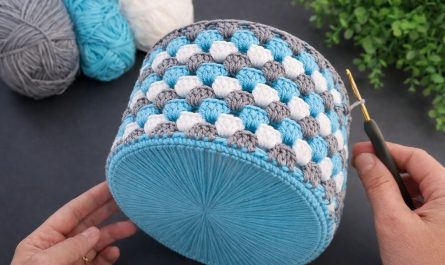
Crochet doilies are timeless lace pieces used for decoration, table settings, coasters, wall art, or even as motifs for larger projects like tablecloths or bags.
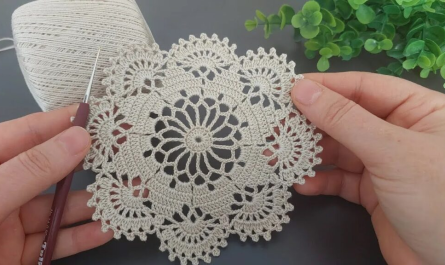
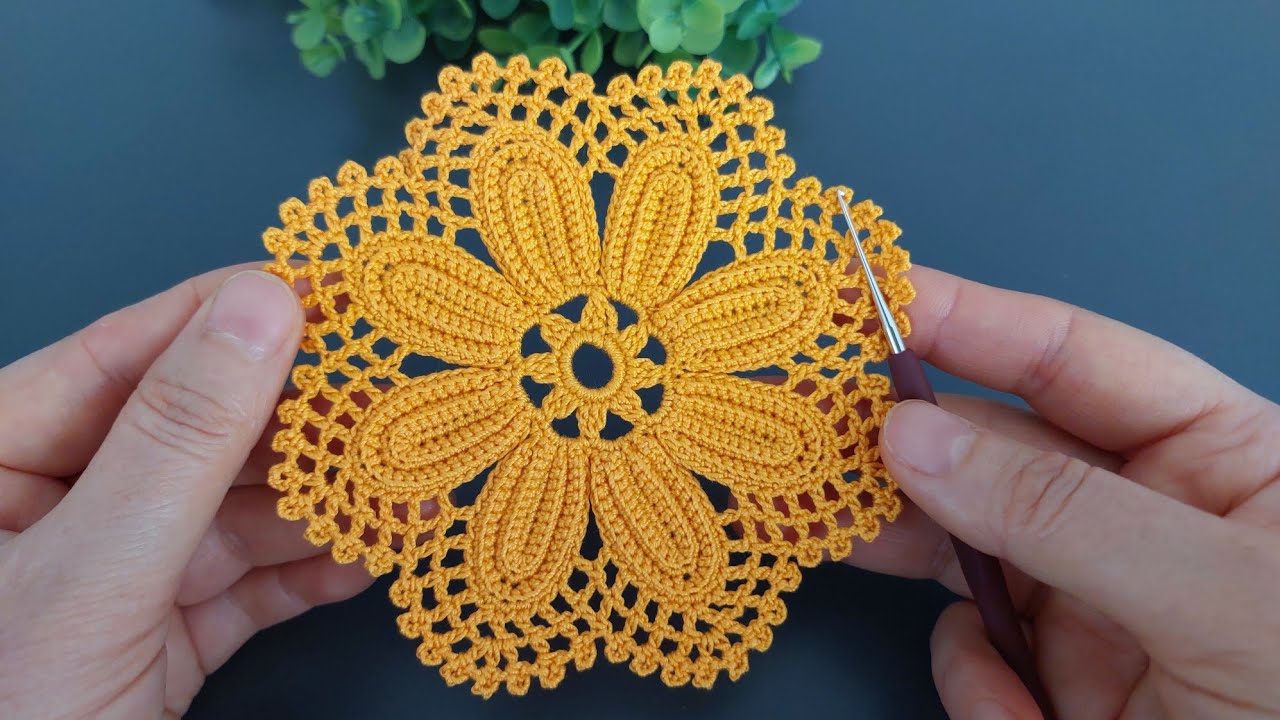
One of the simplest and most beautiful doily patterns is the flower doily, which starts like a flower and expands into a delicate lace circle.
In this long, detailed guide, you’ll learn how to crochet a stunning floral doily from start to finish—even if you’re a beginner.
🌼 Why You’ll Love This Doily Project
✔ Perfect for beginners
✔ Only uses basic stitches
✔ Works up quickly
✔ Looks delicate and elegant
✔ Requires little yarn
✔ Can be used as a coaster, motif, or decoration
✔ Easy to customize in size and color
🧵 Materials You Will Need
Yarn
- Size 10 crochet cotton thread (traditional lace doily material)
OR - Fine cotton yarn (if you want a thicker beginner-friendly doily)
Hook
- 1.75 mm – 2.00 mm for thread
- 2.5–3.5 mm for fine yarn
Tools
- Scissors
- Yarn needle
- Stitch markers (optional)
Optional
- Fabric stiffener
- Blocking board & pins
🧶 Stitches You’ll Need
This easy lace motif uses simple stitches:
- Magic Ring (MR)
- Chain (ch)
- Slip Stitch (sl st)
- Single Crochet (sc)
- Half Double Crochet (hdc)
- Double Crochet (dc)
- Treble Crochet (tr) – optional for lacy petals
If you know these stitches, you’re ready to begin.
✨ SECTION 1 — Center of the Flower
Most lace doilies begin with a circular center.
🌸 Step 1: Magic Ring + First Round
Make a Magic Ring (MR).
Inside the ring:
- Ch 2 (does not count as stitch)
- Work 12 double crochets (12 dc)
- Pull the ring tight
- Join with sl st to the first dc
You’ve now formed a small round center.
🌸 Step 2: Round 2 — Forming the Flower’s First Layer of Petals
This round creates small petal “bumps.”
- Ch 3 (counts as dc)
- 1 dc in the same stitch, 2 dc in next stitch
- Repeat around
You should now have 24 dc.
Join with sl st.
This forms a tidy, slightly raised flower center.
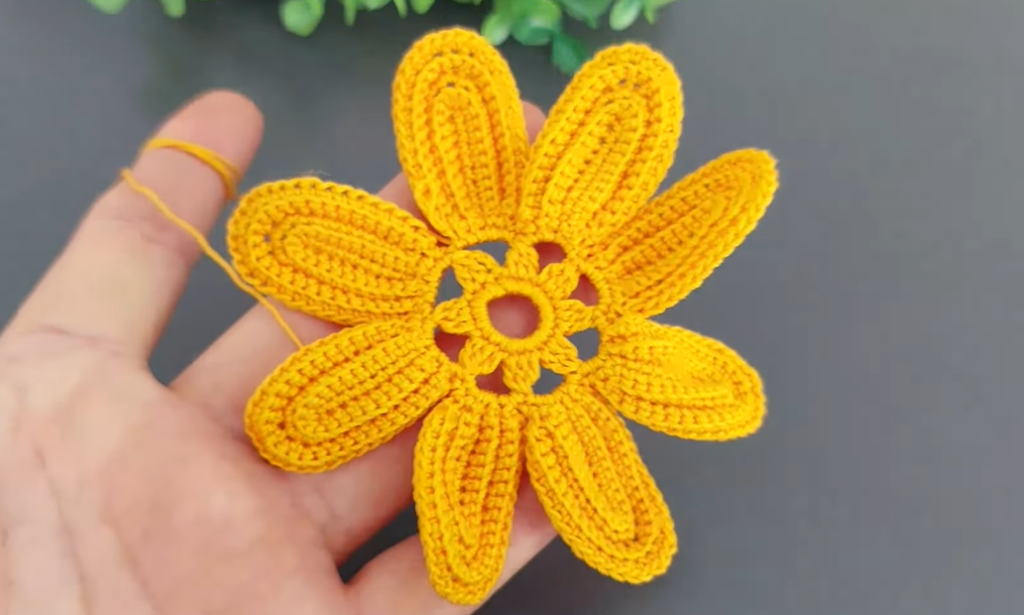
✨ SECTION 2 — Creating the Petals
Now we begin shaping visible flower petals.
🌸 Step 3: Round 3 — Petal Loops (foundation)
This round makes chain spaces behind the petals.
- Ch 1
- Sc in first stitch, ch 5
- Skip 1 stitch
- Continue: sc, ch 5, skip 1 around
You should have 12 chain loops.
Join with sl st.
These loops are where we will build the petals.
🌸 Step 4: Round 4 — Build Petals Inside Loops
In each ch-5 loop:
- Work: 1 sc, 1 hdc, 3 dc, 1 hdc, 1 sc
This creates rounded petals.
Repeat in each of the 12 loops.
Join with sl st.
Your flower now has 12 full petals!
✨ SECTION 3 — Expanding Into Lace
The flower center is complete; now we extend it into a beautiful doily.
🌸 Step 5: Round 5 — Chain Round Before Lace
We create a foundation round for the lace.
- Sl st into top of first petal
- Ch 6
- Sc between next two petals
- Ch 6
- Repeat around the doily
Join with sl st.
You now have 12 large loops around the petals.
🌸 Step 6: Round 6 — Lace Arches
In each ch-6 loop:
- Work: 1 sc, ch 3, 3 dc, ch 3, 1 sc
This creates delicate lace arches.
Repeat for all loops.
Join.
Your doily now looks very floral and lacy.
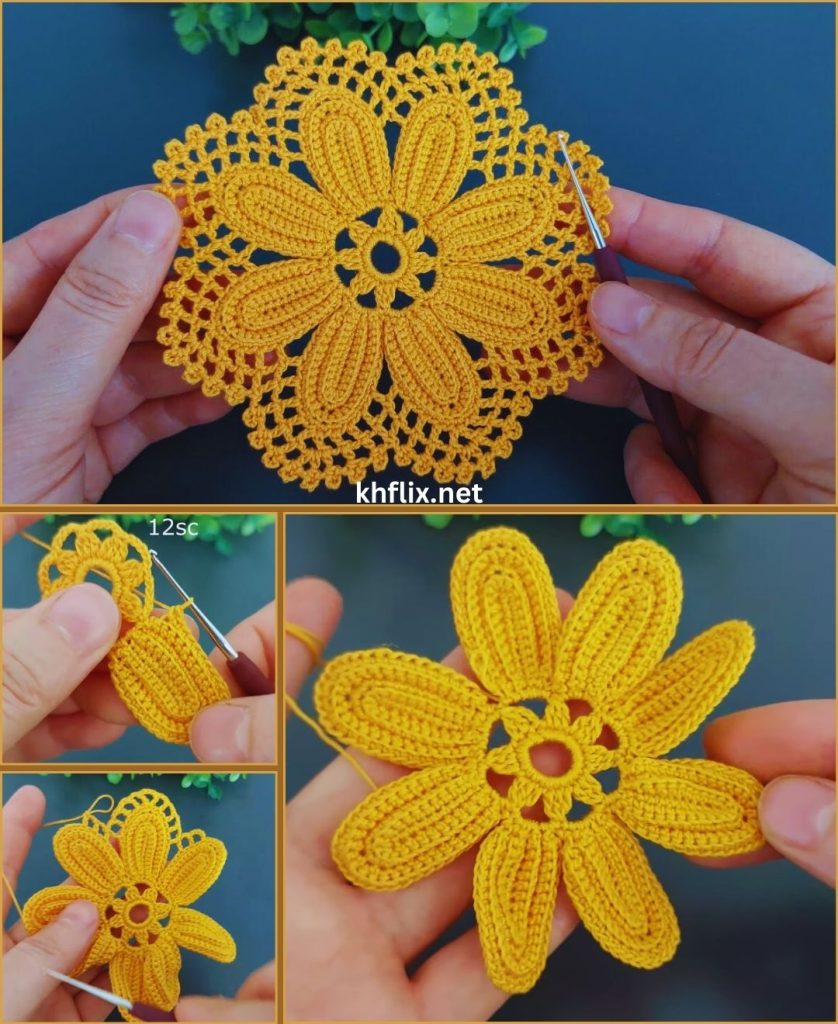
✨ SECTION 4 — Outer Lace Expansion
To make your doily larger and more decorative:
🌸 Step 7: Round 7 — Bigger Lace Loops
- Ch 7
- Sc in top of next lace arch
- Ch 7
- Repeat
This gives you large outer loops.
🌸 Step 8: Round 8 — Outer Lace Petals
In each large ch-7 loop work:
- *1 sc
- 1 hdc
- 5 dc
- 1 hdc
- 1 sc*
This creates beautiful elongated petals around the doily.
🌸 Step 9: Optional Extra Lace Rounds
To make the doily larger or more lacy, you may add:
- picots
- chain loops
- scallops
- picot edging
Simple Picot Edge:
- In each stitch: (sc, ch 3, sl st into sc)
This gives a delicate, professional finish.
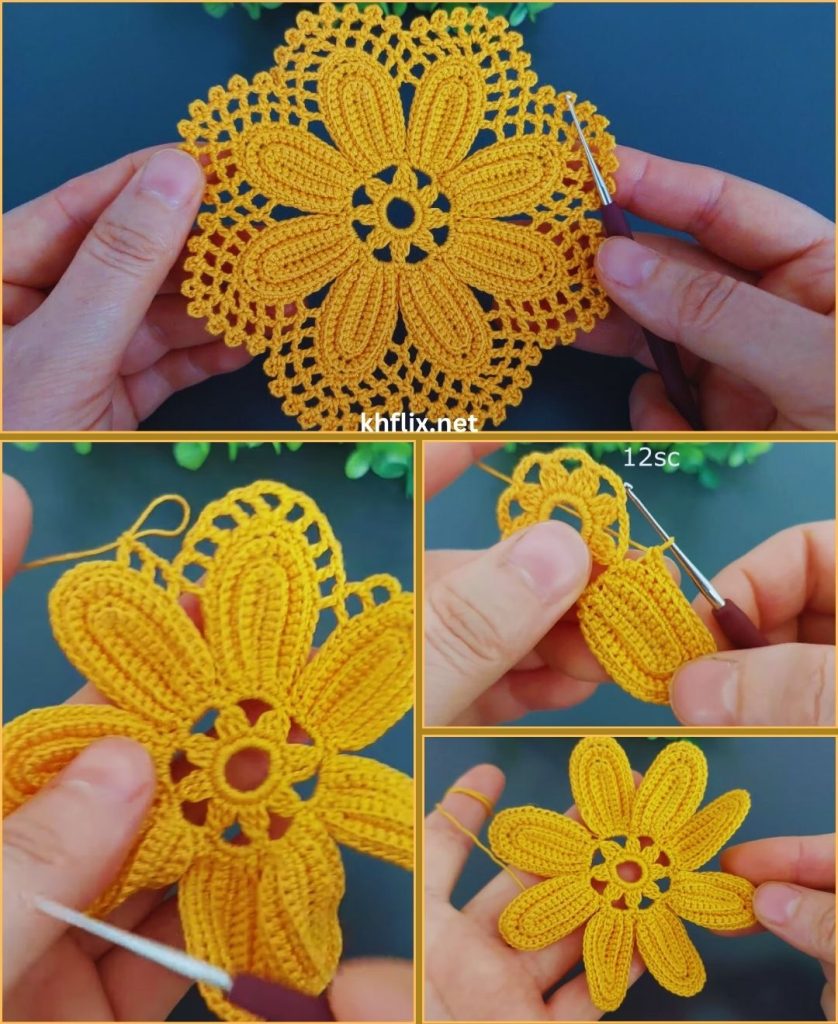
✨ SECTION 5 — Finishing & Blocking
Blocking makes your doily look smooth and perfect.
🌸 Step 10: Weave in Ends
Use a yarn needle and hide the yarn tails neatly.
🌸 Step 11: Block the Doily
To block:
- Wet the doily lightly
- Pin flat on a foam board
- Shape each petal
- Allow to dry completely
Optional: Use fabric stiffener if you want your doily to hold its shape permanently.
🌟 Tips to Make Your Doily Even More Beautiful
- Use multicolor cotton yarn for gradient flowers
- Use white thread for classic lace
- Add beads to outer lace loops
- Use thicker yarn for a small placemat
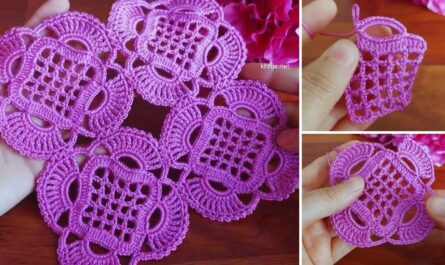
- Make several motifs and join them for a table runner
🎉 Your Beautiful Crochet Flower Doily Is Ready!
You have completed a delicate lace doily featuring:
✔ A floral center
✔ Two layers of petals
✔ Expanding lace arches
✔ Decorative outer edging
✔ A professional blocked finish
This project is perfect for:
- Home décor
- Gift-giving
- Coasters
- Wall art
- Motifs for bigger lace projects
And it’s beginner-friendly!