 by
by Complete Step-by-Step Guide for Beginners (Long & Detailed)
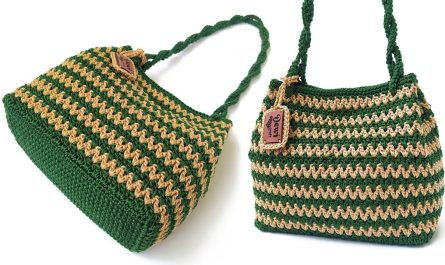
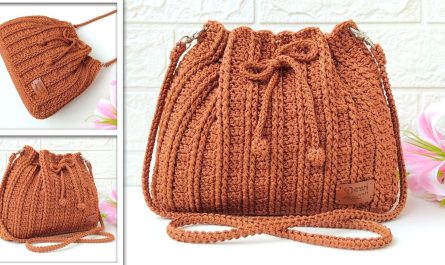
Crocheted mini bag keychains are small, adorable, and highly customizable accessories. Even though they look intricate, they’re actually one of the easiest projects for beginners. A mini bag keychain takes only a small amount of yarn, and it teaches you many essential crochet skills like crocheting in rounds, making simple shapes, and attaching hardware.
This long article will walk you through every step—from materials to finishing—so you can confidently create your own mini crochet bag keychain.
🌼 Why Mini Bag Keychains Are Perfect for Beginners
- ✔ Quick project (20–40 minutes)
- ✔ Uses very little yarn
- ✔ You practice basic stitches
- ✔ Great for gifts or selling at craft markets
- ✔ Many shapes possible: round, square, tote, purse, backpack
- ✔ Beginner-friendly and customizable
🧵 Materials You Will Need
Yarn
- Small amount of cotton yarn, milk cotton, or macramé cord (2–3 mm)
- You may choose one color or a two-tone combination
Crochet Hook
- 3.0 mm – 4.0 mm (depending on yarn thickness)
Tools
- Yarn needle
- Scissors
- Stitch marker
- Metal jump ring
- Keychain ring or lobster clasp
Optional Items
- Small button
- Snap closure
- Tiny leather label
- Decorative charm
- Glue gun (if adding felt lining)
🧶 Basic Stitches Used
You only need these 5 beginner stitches:
- Magic Ring (MR)
- Chain (ch)
- Slip Stitch (sl st)
- Single Crochet (sc)
- Increase (inc = 2 sc in one stitch)
If you know these, you can easily follow this tutorial.
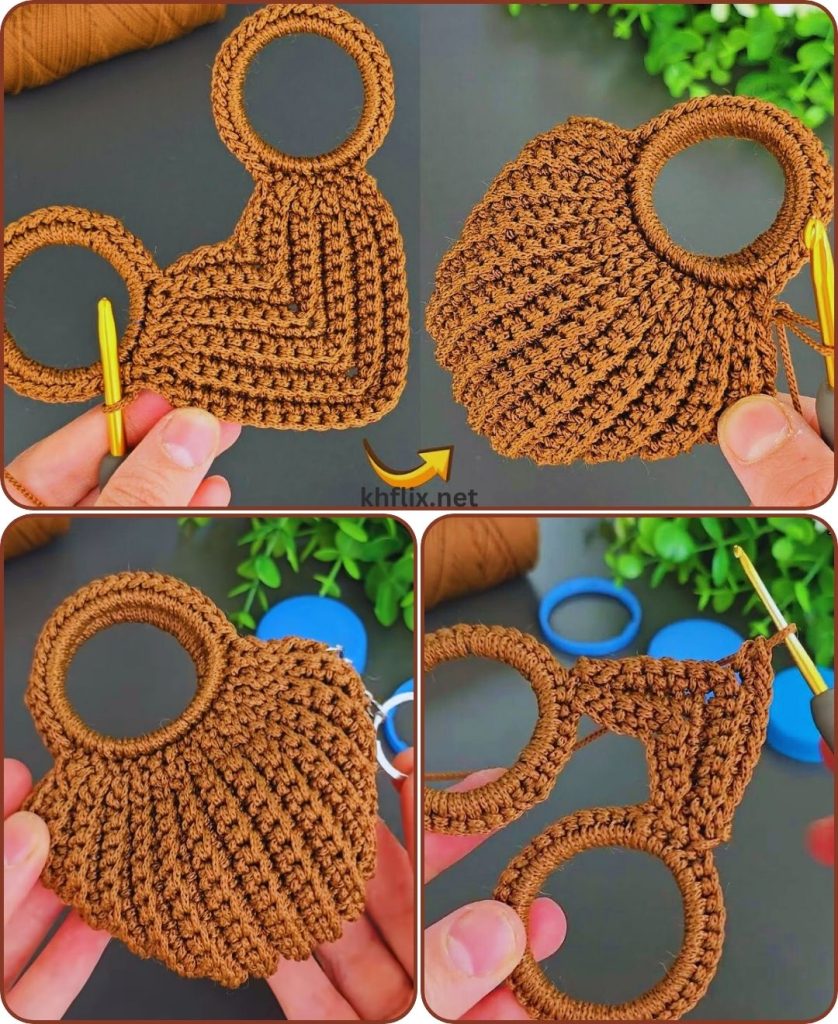
✨ SECTION 1 — Start the Mini Bag Base
Mini bag keychains usually start with either an oval or a circle.
For this tutorial, we will make a round mini handbag, which is the easiest for beginners.
🪢 Step 1: Make a Magic Ring
- Create a magic ring.
- Crochet 6 single crochets (6 sc) into the ring.
- Pull the ring tight to close the hole.
This forms the center of your mini bag.
🪢 Step 2: Increase the Circle
You will now crochet in continuous rounds.
Use a stitch marker to mark the first stitch.
Round 2:
- 2 sc in each stitch → 12 stitches
Round 3:
- 1 sc, inc repeat around → 18 stitches
Round 4:
- 2 sc, inc repeat around → 24 stitches
This is enough for a palm-sized mini bag.
If you want a larger keychain, add:
Round 5 (optional):
- 3 sc, inc repeat → 30 stitches
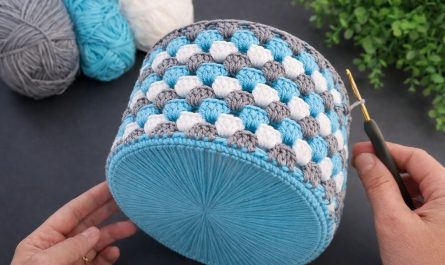
✨ SECTION 2 — Build the Sides of the Bag
Once your base is complete, you will begin forming the height.
🪢 Step 3: Form the Wall
To help the sides stand up neatly:
- Crochet 1 round of BLO (Back Loop Only) sc
This creates a small ridge and helps cleanly separate the base from the body.
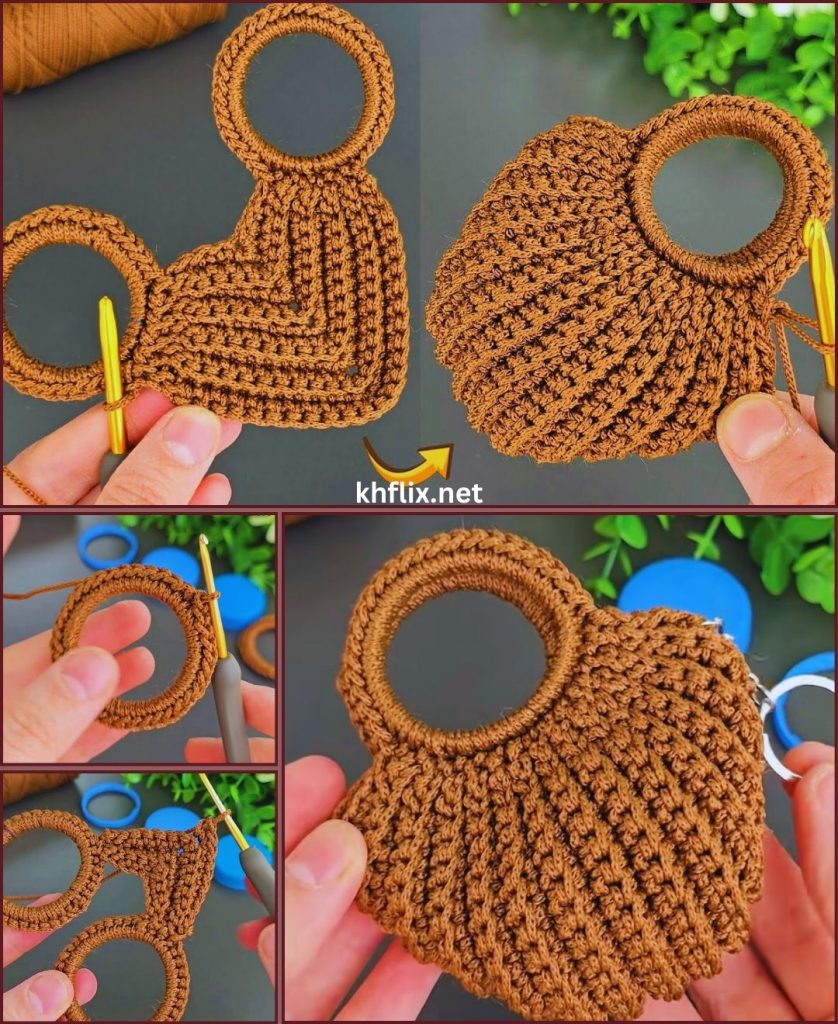
🪢 Step 4: Crochet the Bag Height
Now work:
- 5–8 rounds of sc
No increases.
This builds the vertical walls of the mini bag.
You can adjust:
- Fewer rounds → short mini purse
- More rounds → taller mini pouch
✨ SECTION 3 — Create the Top Edge & Opening
Once the height is ready:
🪢 Step 5: Finish with a Neat Top Border
A clean border gives your mini bag a professional finish.
Options:
Option A: Simple edge
- 1 round of slip stitches
Option B: Stronger edge
- 1 round of sc in a contrasting color
Option C: Decorative edge
- Crab stitch (reverse single crochet)
Choose whichever style you prefer.
✨ SECTION 4 — Crochet the Mini Flap
A flap makes the mini bag cute and functional-looking.
🪢 Step 6: Start the Flap
Reattach yarn at the back top edge, center of the bag opening.
- Chain 8–10 (depending on bag width)
- Sc in 2nd chain from hook and across
- Ch 1, turn
🪢 Step 7: Build the Flap Rows
Work 3–6 rows of sc.
To shape into a semicircle:
- In the middle stitch of each row, add 1 increase (2 sc in same stitch)
This creates a gently curved flap.
🪢 Step 8: Add Border to the Flap
Switch to a contrasting color.
- Sc around the edge of the flap
- Slip stitch to finish
This adds structure and visual detail.
Optional: sew a tiny button or charm to the flap.
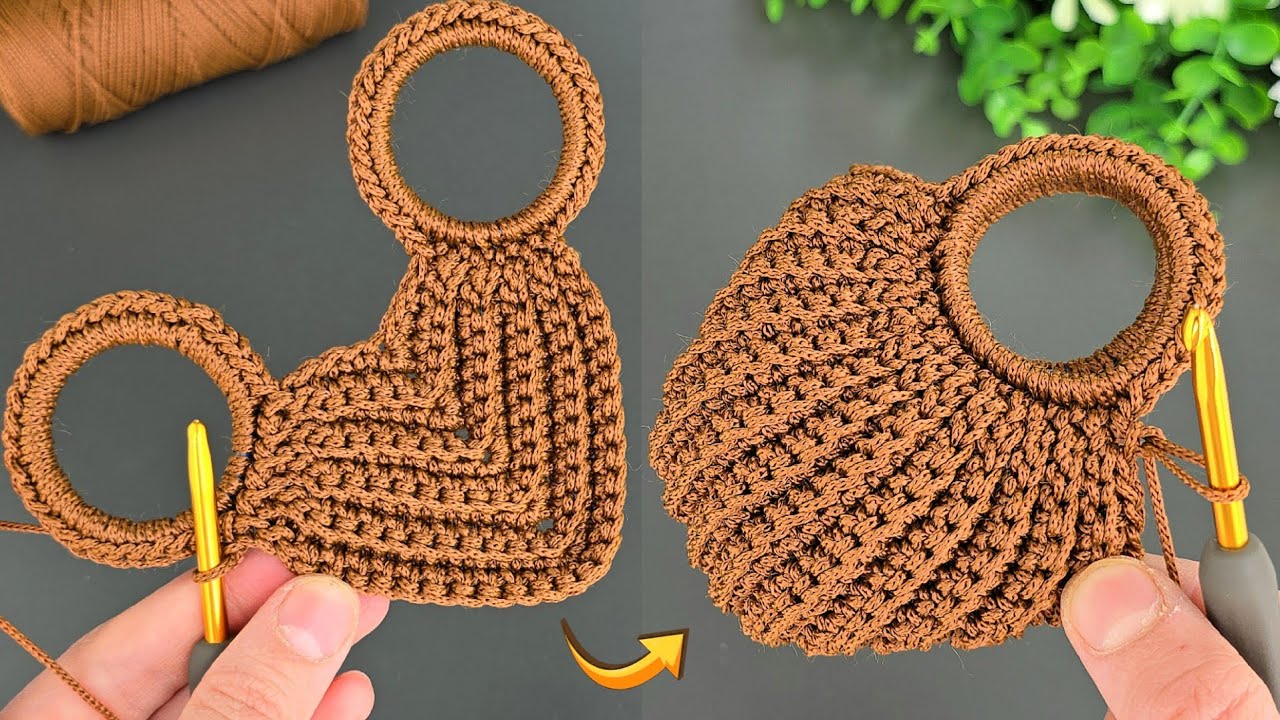
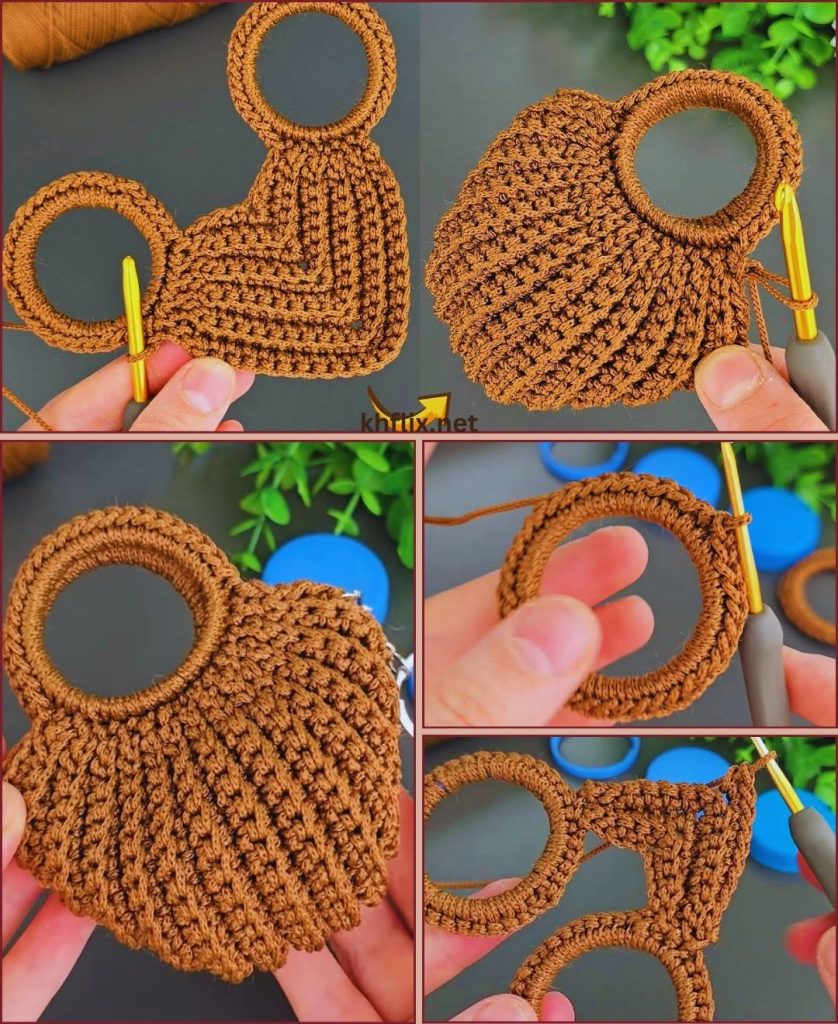
✨ SECTION 5 — Make the Keychain Attachment Loop
Your mini bag needs a loop for the key ring.
🪢 Step 9: Crochet the Loop
At the back top edge:
- Chain 6–8
- Slip stitch back into the same stitch to form a loop
This loop will hold the jump ring.
🪢 Step 10: Add Metal Hardware
Use pliers if needed.
- Open jump ring
- Insert through yarn loop
- Attach key ring or lobster clasp
- Close jump ring tightly
Now your mini bag can clip onto keys, zippers, backpacks, handbags, etc.
✨ SECTION 6 — Optional Cute Add-Ons
Customize your mini bag:
Mini Handle
- Chain 12
- Sc across
- Sew onto top front
Mini Front Pocket
- Chain 5
- Sc for 2–3 rows
- Sew on front of bag
Two-tone Design
Switch colors halfway through the body or the flap.
Decorative Charm
Attach a bead or mini pom-pom to the keychain ring.
Mini Lining
Cut a small piece of felt and glue inside for stiffness.
✨ SECTION 7 — Finishing Touches
🪢 Step 11: Weave in Yarn Ends
Use a yarn needle to hide all tails neatly inside the bag.
🪢 Step 12: Shape Your Mini Bag
Use your fingers to smooth and shape:
- Flatten bottom
- Round the sides
- Fold flap naturally
Your mini bag should now look adorable and polished.
🎉 Your Mini Bag Keychain Is Done!
You now have a cute handcrafted accessory that you can:
- Hang on your keys
- Attach to a purse
- Gift to friends
- Sell at craft fairs
- Use as decoration
This project taught you essential skills:
✔ Magic ring
✔ Increasing in rounds
✔ Building walls
✔ Shaping a flap
✔ Attaching a keychain ring
✔ Finishing edges