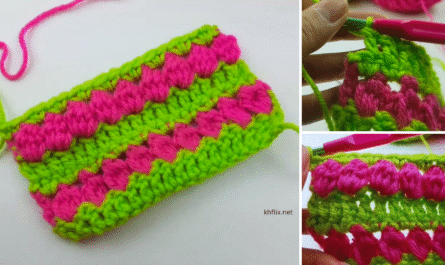
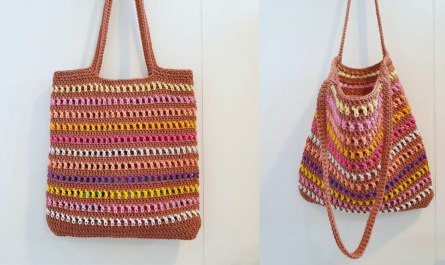
Let’s create an incredibly practical and sturdy crochet tote bag that can truly hold everything! This tutorial is designed to be beginner-friendly while still resulting in a robust, spacious bag perfect for groceries, market trips, beach days, or simply hauling all your essentials. We’ll focus on a larger base and a denser stitch pattern to ensure it can handle a heavy load.
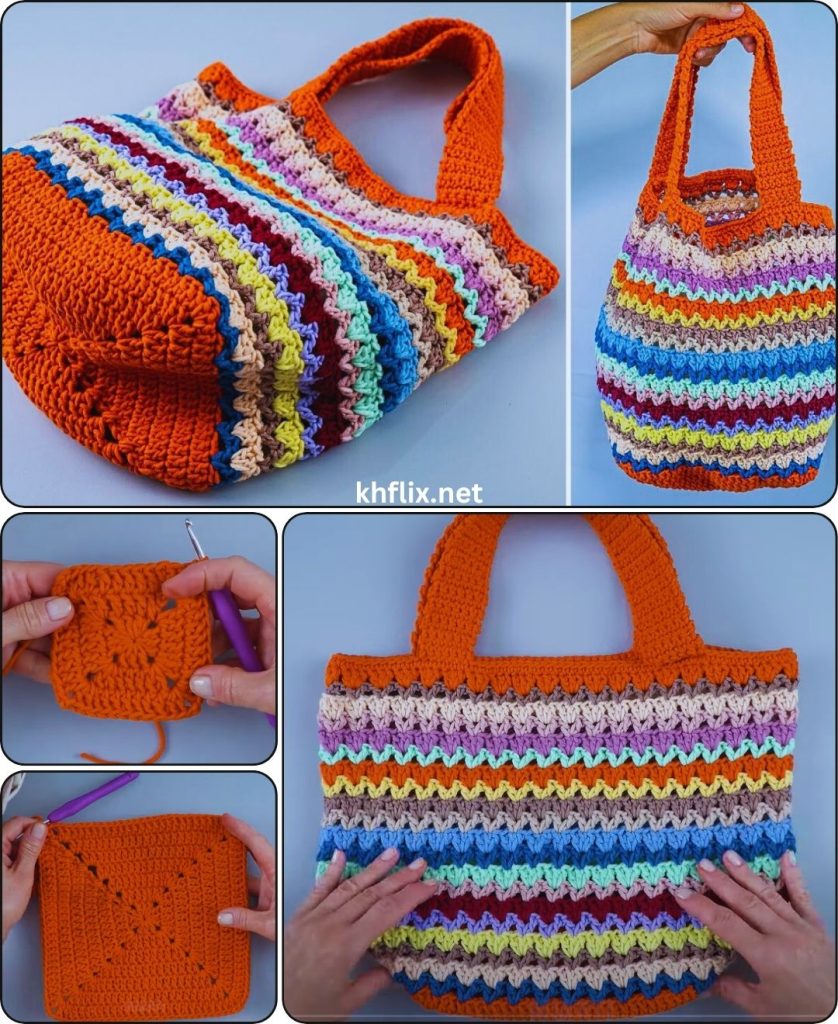
How to Crochet a Large, Sturdy Tote Bag (Beginner-Friendly!)
This detailed guide will walk you step-by-step through crocheting a super-sized tote bag. You’ll learn to create an extra-strong base, build tall, durable sides, and finish with comfortable, integrated handles.
Skill Level: Beginner
This project is perfect if you’re comfortable with (or ready to learn!):
- Chain (ch): The most fundamental stitch, forming your starting point.
- Slip Stitch (sl st): Used for joining rounds and neat finishing.
- Single Crochet (sc): A compact, dense stitch that forms a very sturdy fabric, ideal for a heavy-duty bag.
- Working in rounds: Crocheting in a continuous spiral or joined circles, building your bag from the bottom up.
- Fastening off: Securing your yarn so your hard work doesn’t unravel.
- Weaving in ends: The essential finishing touch for a clean, professional look.
Finished Tote Bag Dimensions (Approximate):
Using worsted weight yarn (doubled up!) or a bulky weight yarn and the suggested hook, your finished tote bag will typically measure around:
- Base: 14 inches (35 cm) wide by 5 inches (12.5 cm) deep oval
- Height: 14-16 inches (35-40 cm) (excluding handles)
- Handles: 10-12 inches (25-30 cm) tall loop (designed to fit over a shoulder)
You can adjust the size by changing the starting chain length for the base or the number of rounds for the body.
Materials You’ll Need:
To make a bag that can “hold everything,” material choice is key. We’ll aim for maximum durability.
- Yarn: Approximately 800-1000 yards (730-915 meters) of Worsted Weight (Medium #4) Cotton or Cotton Blend Yarn.
- Crucial Tip for Strength: To achieve a super sturdy bag that holds its shape and won’t stretch too much, we’ll use two strands of worsted weight yarn held together throughout the entire project. This effectively makes your yarn a bulky weight and creates a wonderfully dense fabric.
- Alternative: If you prefer, you can use Bulky Weight (Chunky #5) cotton or a sturdy blend. You’ll need about 500-600 yards of bulky weight yarn.
- Why Cotton? Cotton yarn is exceptionally durable, has minimal stretch, and creates a firm fabric perfect for heavy loads. Avoid acrylic if you want maximum sturdiness and minimal sag.
- Choose a single color for simplicity, or grab two coordinating colors to hold together for a marled effect!
- Crochet Hook: Size K/6.5mm or L/8.0mm. When holding two strands of worsted weight yarn together, or using a single strand of bulky yarn, this larger hook size will create a dense fabric while still being manageable. If your stitches are too tight with the K hook, go up to an L.
- Yarn Needle (Tapestry Needle): Essential for seamlessly weaving in your loose yarn tails. It has a blunt tip and a large eye, perfect for thicker yarn.
- Scissors: Any sharp pair.
- Stitch Marker (Highly Recommended): This tool is indispensable for marking the first stitch in each round, especially when working the base in a continuous spiral.
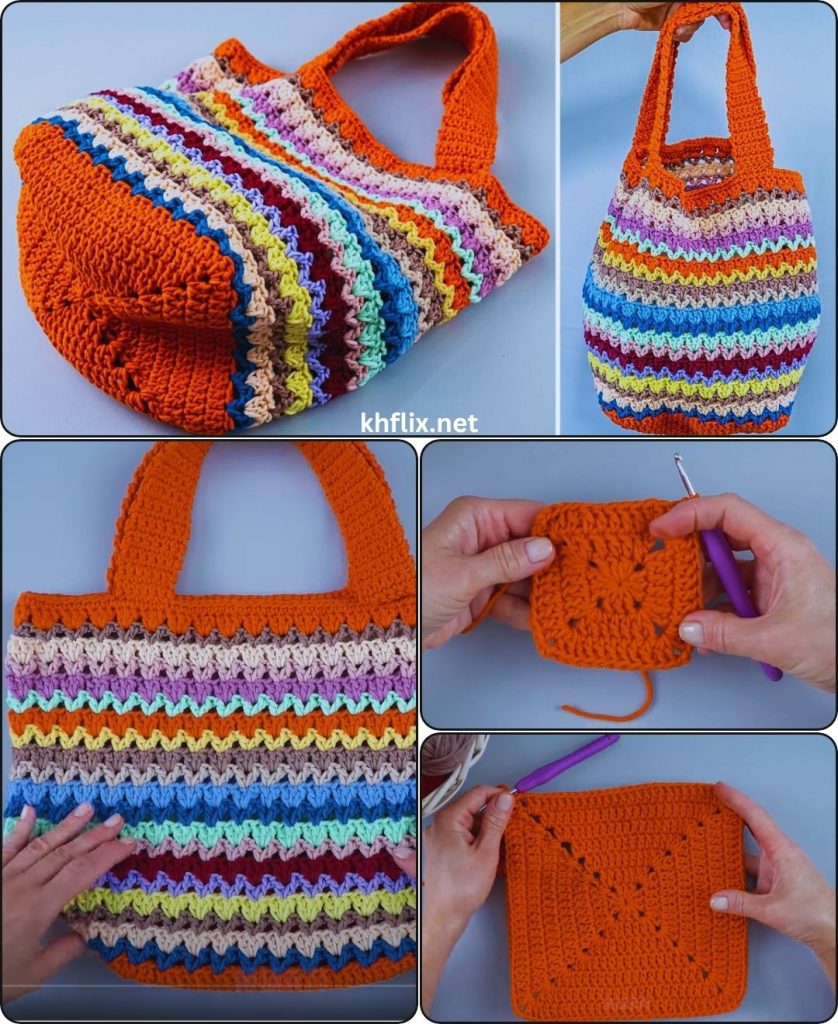
Let’s Crochet Your Heavy-Duty Tote Bag!
We’ll build this extra-sturdy bag from the ground up: starting with a large, strong oval base, then working the body upwards with single crochet for maximum density, and finally adding robust handles.
Part 1: The Extra-Strong Oval Base
This larger base provides ample room for all your belongings and ensures the bag sits flat and holds its shape. Remember to hold two strands of worsted weight yarn together as if they were one, or use your single strand of bulky yarn.
- Starting Chain:
- Make a slip knot with your yarn (or both strands held together) and place it onto your K/6.5mm (or L/8.0mm) crochet hook.
- Chain (ch) 29. (This longer chain will create a wider base for your bag. If you want a slightly smaller bag, reduce this chain by an even number. Keep it an odd number for this pattern).
- Round 1 (Working Around the Chain):
- Work 2 single crochet (sc) stitches into the 2nd chain from your hook.
- (Place your stitch marker in the first sc you just made. This will be the first stitch of your round for tracking.)
- Work 1 sc into each of the next 26 chains.
- In the last chain (the 29th chain from your hook): Work 4 sc into this single chain. This creates a neat turn around the end.
- Now, work back down the other side of your starting chain, crocheting into the bottom loops (the unworked loops) of each chain.
- Work 1 sc into each of the next 26 stitches.
- In the last stitch (the same chain where you placed your very first 2 sc): Work 2 sc into this chain. This finishes turning the other corner.
- You should now have a total of 60 sc stitches (2 + 26 + 4 + 26 + 2 = 60). Do NOT join with a slip stitch yet. For the base, you’ll work in continuous rounds (spirals) to avoid a visible seam.
- Round 2 (Continuing the Oval Shape):
- Work 2 sc into the first stitch of the round (the one marked by your stitch marker).
- (Move your stitch marker to this new first sc of the round.)
- Work 1 sc into the next stitch.
- Work 1 sc into each of the next 26 stitches.
- Work 2 sc into each of the next 3 stitches.
- Work 1 sc into each of the next 26 stitches.
- Work 2 sc into each of the next 2 stitches.
- You should now have 66 sc stitches. Continue working in continuous rounds.
- Round 3 (Final Base Round):
- Work 2 sc into the first stitch of the round (where your stitch marker is).
- (Move your stitch marker to this new first sc of the round.)
- Work 1 sc into the next 2 stitches.
- Work 1 sc into each of the next 26 stitches.
- Work 2 sc into each of the next 3 stitches.
- Work 1 sc into each of the next 2 stitches.
- Work 1 sc into each of the next 26 stitches.
- Work 2 sc into each of the next 2 stitches.
- You should now have 72 sc stitches.
- Stop here! When you finish the last sc of this round, remove your stitch marker.
- Slip stitch (sl st) into the first sc of this round to join. This completes your sturdy oval base and prepares you for working straight up the sides of the bag.
Part 2: Building the Tall, Durable Body
For a bag that can hold “everything,” a dense stitch like single crochet is ideal for the body, as it minimizes stretch and creates a robust structure.
- Round 4 (First Side Round – Defining the Edge):
- Chain 1 (ch 1 – this does NOT count as a stitch).
- Work 1 single crochet (sc) into the back loop only (BLO) of each stitch around the entire round. (72 sc)
- Why BLO? Working into the back loop creates a distinct, visible ridge that helps the bag’s sides stand up straight from the base, giving it a crisp, defined corner, which is great for a heavy-duty tote.
- Slip stitch (sl st) into the first sc to join the round.
- Rounds 5 and Onwards (Body Height – using Single Crochet):
- Chain 1 (ch 1 – this does NOT count as a stitch).
- Work 1 sc into both loops of each stitch around the round. (72 sc)
- Slip stitch (sl st) into the first sc to join the round.
- Repeat this round (working 1 sc in each stitch around) until your bag reaches your desired height. For the approximate dimensions given, this will be about 25-30 more rounds (for a total of 29-34 rounds for the body, including Round 4).
- Don’t be afraid to make it taller! A deeper bag is what we’re aiming for. Hold it up and see how it looks as you go.
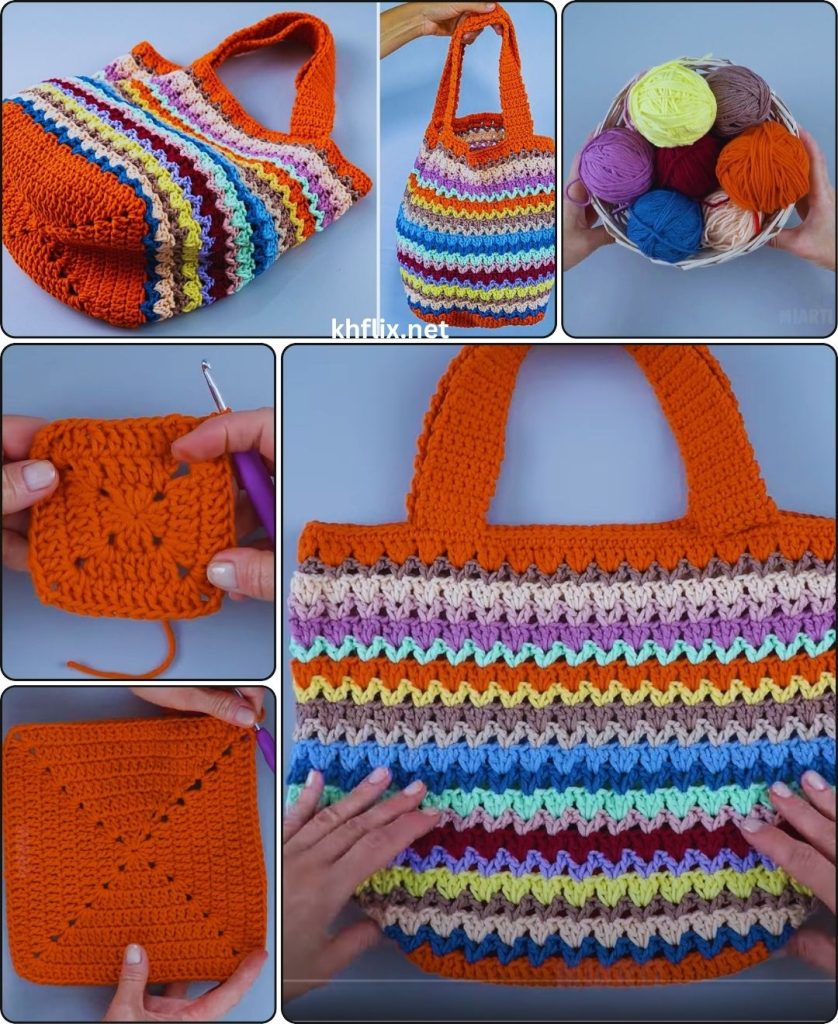
Part 3: Creating the Strong, Comfortable Handles
These handles are designed to be thick and sturdy, making them comfortable even when the bag is fully loaded.
- Round for Handle Placement:
- After your last body round, chain 1 (ch 1 – this does not count as a stitch).
- Work 12 single crochet (sc) stitches. (This positions the stitches for the front part of your bag opening).
- Chain 40 (ch 40 – this creates the length of your first handle. For a shoulder bag, this is a good length. If you want shorter handles, reduce this number. If you want a crossbody bag, you might need to chain 60-80).
- Skip the next 12 stitches. (This creates the open space for the bag’s main opening).
- Work 24 sc stitches. (This section bridges the gap across the back/front between your two handles).
- Chain 40 (ch 40 – this creates the length of your second handle, matching the first).
- Skip the next 12 stitches.
- Work 12 sc stitches. (This should bring you back to the start of the round, creating the other part of the bag opening).
- Slip stitch (sl st) into the first sc of this round to join.
- Round for Handle Strengthening (Single Crochet):
- Chain 1.
- Work 1 sc into each of the 12 sc stitches from the previous round.
- Now, you’ll work single crochets around your chain-40 handle loop. Work 40 sc stitches by inserting your hook into the chain itself, forming a very solid, thick handle.
- Work 1 sc into each of the 24 sc stitches between the handles.
- Work 40 sc stitches around the second chain-40 handle loop.
- Work 1 sc into each of the remaining 12 sc stitches.
- Slip stitch (sl st) into the first sc of the round to join.
- Optional: Second Handle Strengthening Round (Highly Recommended for heavy loads):
- Chain 1.
- Work 1 sc into every single stitch around the entire round, including the stitches you just made around the handles. This means 1 sc into each of the 12 sc, then 1 sc into each of the 40 sc you worked around the handle, then 1 sc into each of the 24 sc, then 1 sc into each of the next 40 sc, then 1 sc into each of the last 12 sc. This creates a very robust, firm handle edge.
- Slip stitch (sl st) into the first sc to join.
- Fasten Off:
- Cut your yarn, leaving a 6-inch (15 cm) tail.
- Yarn over with your hook, pull the cut tail completely through the loop left on your hook, and gently tug to secure the knot.
Part 4: Final Finishing Touches
- Weave in All Ends:
- This is a crucial step for a neat and professional-looking bag. You’ll have at least two tails: one from your starting chain and one from the final fasten-off at the handle.
- Use your yarn needle to meticulously weave in every loose yarn tail.
- How to Weave Neatly: Thread the yarn tail onto your yarn needle. Weave the tail into the stitches of your bag, going in one direction for at least 2-3 inches (5-7.5 cm). To truly secure it, subtly change direction (e.g., weave along a stitch, then turn and weave back through some of the same stitches diagonally or perpendicularly) to “lock” the tail in place and prevent it from unraveling. Since this is a heavy-duty bag, take extra care here. Trim any excess yarn close to the fabric, being careful not to cut any of your actual stitches.
- Blocking (Highly Recommended):
- Blocking will significantly improve the shape and drape of your bag, even out any tension inconsistencies, and help it stand up nicely. For a heavy-duty bag, it also helps “set” the stitches for durability.
- Method: Gently mist the bag evenly with cool water using a spray bottle until it’s damp but not soaking wet. Alternatively, you can gently wash it according to your yarn’s care instructions and then gently squeeze out excess water.
- Stuff the bag firmly (but not overstuffed) with towels, blankets, or even plastic bags to help it hold its intended square/rectangular shape. Pay attention to forming the corners and ensuring the handles are lying flat.
- Allow the bag to air dry completely and thoroughly in a well-ventilated area. This might take 1-2 days due to the dense fabric. Do not remove the stuffing until it’s bone dry.
- Optional: Add a Fabric Lining:
- While this bag is very sturdy on its own, adding a fabric lining can offer an extra layer of protection, prevent small items from slipping through, and add a decorative interior. This involves basic sewing. Measure the finished dimensions of your crocheted bag. Cut fabric pieces slightly larger, sew them into a matching pouch, and then hand-stitch or machine-stitch it inside your crocheted bag.
Congratulations! You’ve successfully crocheted a truly capacious and robust Tote Bag that can Hold Everything! This project is a fantastic accomplishment and will serve you well for years to come.
What will be the first big haul for your super-sturdy tote?


