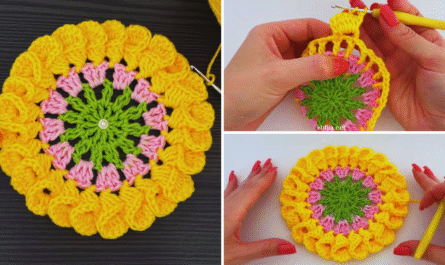
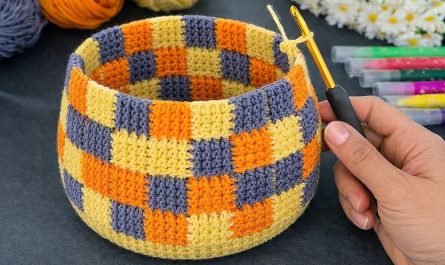
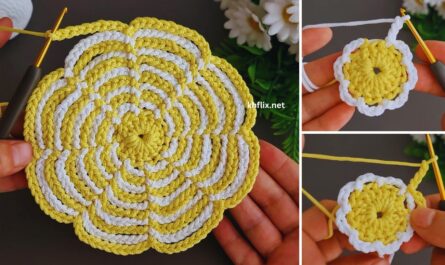
I can certainly provide you with a detailed pattern and tutorial on how to make a very easy, beautiful, and cute crocheted board game for beginners! This will focus on a simple, modular design that allows for customization.
Pattern: Very Easy & Cute Crochet Board Game for Beginners
This tutorial will guide you through creating a simple, square-based board game that can be easily customized with different colors and appliqués. It’s designed to be approachable for absolute beginners.
Goal: A small, portable, and aesthetically pleasing crocheted board game, suitable for simple games like tic-tac-toe, or as a foundation for more complex games as you gain experience.
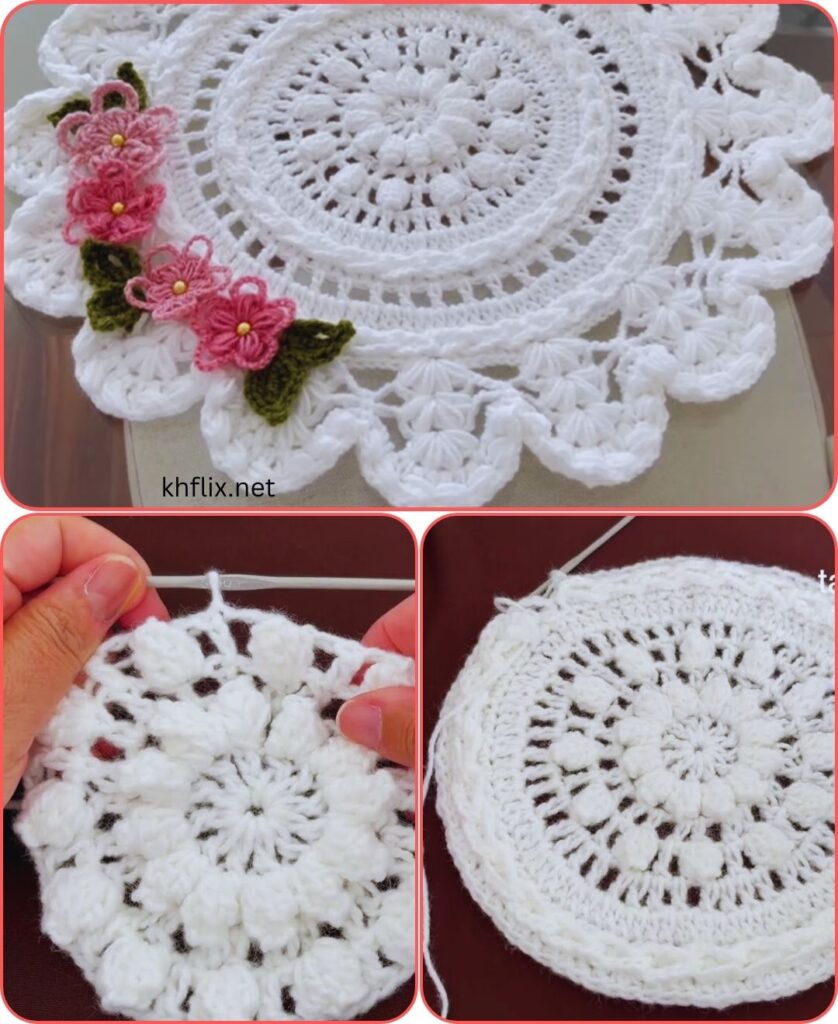
Materials You’ll Need:
- Yarn:
- Worsted weight (medium #4) cotton or acrylic yarn in 2-3 contrasting colors for the board squares.
- Small amounts of various colors for appliqués (optional, but highly recommended for cuteness!).
- Crochet Hook: Size H/5.0mm (or a size that works well with your chosen yarn).
- Yarn Needle: For weaving in ends and sewing on appliqués.
- Scissors
- Stuffing (optional): For making small, soft game pieces.
- Stitch Markers (optional, but helpful for beginners): To mark the first stitch of a round or row.
Abbreviations Used:
- ch: chain
- sc: single crochet
- sl st: slip stitch
- st(s): stitch(es)
- FO: fasten off
- MR: magic ring (or magic circle)
Part 1: The Board Game Squares (Make 9 for a 3×3 board)
We’ll be making individual squares and then joining them. This modular approach is great for beginners and allows for color variations.
Square Dimensions: Approximately 3 inches x 3 inches (adjust hook/yarn for desired size)
Instructions for one square:
- Start: With your chosen board color yarn, ch 17.
- (Note: The chain count will determine the width. For a perfect square, your rows will be as tall as your chain is wide. You can adjust this to your preference. 17 chains will give you 16 single crochet stitches across.)
- Row 1: Sc in the 2nd ch from the hook and in each ch across. (16 sc)
- Row 2: Ch 1 (does NOT count as a stitch), turn. Sc in each sc across. (16 sc)
- Repeat Row 2 for a total of 16 rows.
- (As you crochet, your fabric will grow into a square shape. Keep checking to ensure it’s roughly square by folding a corner to the opposite side.)
- FO, leaving a long tail for sewing (about 12-18 inches).
Make 9 squares: You can make all 9 squares in one color, or alternate colors for a checkerboard effect. For a classic look, make 5 squares in one color and 4 in another.
Part 2: Joining the Squares
There are a few ways to join squares. For beginners, the whip stitch or slip stitch joining are easiest.
Method 1: Whip Stitch Joining (Recommended for beginners)
- Arrange your squares: Lay out your 9 squares in a 3×3 grid, in the pattern you desire.
- Thread your yarn needle with one of the long tails from a square, or a new piece of yarn in a complementary color.
- Line up two squares side-by-side, edges matching.
- Whip Stitch: Insert your needle from back to front through both loops of the first stitch on one square, and then through both loops of the corresponding stitch on the adjacent square. Pull the yarn through. Continue in this manner, working your way down the edge, making a “whip” motion over the top of the joined edges. Keep your stitches consistent and not too tight, but snug enough to close the gap.
- Join rows: Join all the squares in each row first (e.g., join square 1 to square 2, then square 2 to square 3).
- Join columns: Once your three rows are joined, now join the rows together in the same manner. Line up the edges of the first row to the second row and whip stitch across. Then do the same for the second and third rows.
Method 2: Slip Stitch Joining (Creates a visible seam)
- Arrange your squares: Lay out your 9 squares in a 3×3 grid.
- Hold two squares together with the wrong sides facing each other.
- Insert your hook through both loops of the last stitch of one square and the first stitch of the corresponding square.
- Yarn over and pull through all loops on your hook (this is a slip stitch).
- Continue making slip stitches across the seam, joining the squares together.
- Repeat for all horizontal and then vertical seams.
Part 3: Adding a Border (Optional, but Recommended for a Finished Look)
Adding a simple single crochet border will give your board game a polished edge.
- Join yarn: With a new piece of yarn (can be a contrasting color or one of your board colors), join it with a sl st to any corner of your joined board.
- Round 1: Ch 1. Sc evenly around the entire edge of the board.
- Along the sides: Work 1 sc into the side of each sc row. Try to make it look even.
- In each corner: Work (sc, ch 1, sc) into the corner stitch to create a nice turn.
- Along the top/bottom: Work 1 sc into each sc stitch.
- Sl st to the first sc to join the round.
- FO and weave in ends.
Part 4: Making Cute Game Pieces (Example: Simple Discs)
You can make simple crocheted discs, X’s and O’s, or small stuffed shapes. Here’s a basic disc pattern:
Instructions for one Disc (make several for your game, e.g., 5 of one color, 5 of another):
- Start: Make a MR.
- Round 1: Ch 1. 6 sc in the MR. Sl st to the first sc to join. (6 sc)
- Round 2: Ch 1. 2 sc in each st around. Sl st to the first sc to join. (12 sc)
- Round 3: Ch 1. 1 sc in the next st, 2 sc in the next st. Repeat from * to * around. Sl st to the first sc to join. (18 sc)
- FO, leaving a long tail for sewing if you want to attach them to the board (e.g., for tic-tac-toe) or for weaving in ends.
- For slightly larger pieces, add more rounds, increasing evenly (e.g., for Round 4: sc in next 2 sts, 2 sc in next st).
Tips for Game Pieces:
- Tic-Tac-Toe: Make 5 “X” shapes and 5 “O” shapes. You can crochet simple X’s by chaining and then crossing them over, or by embroidering them onto small squares. “O”s can be the simple discs above.
- Checkers/Chess: Make flat discs in two contrasting colors. You’ll need more of these (12-15 of each color).
- Small Amigurumi: For a truly cute touch, you could make tiny, simple amigurumi shapes like hearts, stars, or little animals for your game pieces.
Part 5: Adding Cute Appliqués (Optional but Highly Recommended)
This is where you can truly make your board game adorable! You can crochet small shapes and sew them onto the squares or the border.
Ideas for Appliqués:
- Small Hearts:
- Make a MR. Ch 2. (3 dc, 3 hdc, ch 1, 1 dc, ch 1, 3 hdc, 3 dc), ch 2, sl st into MR. Pull MR tight. FO.
- Small Stars:
- Make a MR. Ch 1. (Sc, hdc, dc, hdc, sc, sl st) into MR. Repeat 5 times for 5 points. Pull MR tight. FO.
- Tiny Flowers:
- Make a MR. Ch 1. (Sc, ch 2, sl st) into MR. Repeat 5 times. Pull MR tight. FO.
- Mushrooms, Clouds, Bees, Ladybugs: Search for “free crochet appliqué patterns” online. Many are very simple!
How to Attach Appliqués:
- Place the appliqué on the desired spot on your board game.
- Using your yarn needle and a matching yarn color, sew the appliqué onto the board by making small, neat stitches around the edges of the appliqué. Hide your knots and ends.

Tips for Beginners:
- Don’t be afraid of mistakes! Crochet is very forgiving. You can always unravel (tink) your work if you make a mistake.
- Count your stitches: Especially in the beginning, it’s crucial to count your stitches at the end of each row to ensure your squares are consistent in size.
- Watch video tutorials: If you’re struggling with a specific stitch, YouTube has an abundance of excellent free crochet tutorials. Search for “single crochet tutorial,” “how to join crochet squares,” etc.
- Practice makes perfect: The more you crochet, the more consistent your tension will become, and your stitches will look neater.
- Choose light-colored yarn: It’s easier to see your stitches when you’re learning.
- Don’t pull your yarn too tight: This can make your fabric stiff and hard to work into. Aim for relaxed, even tension.
- Weave in ends as you go: It’s much easier to weave in a few ends at a time than a giant pile at the end!
Customization Ideas:
- Game Types:
- Tic-Tac-Toe: The 3×3 board is perfect.
- Checkers: Make more squares (e.g., 8×8) and more game pieces.
- Story Game: Make themed appliqués on each square (e.g., forest, ocean, castle) and use tiny amigurumi characters as pieces. Roll a dice and move to the next square, telling a story as you go.
- Colors: Experiment with different color combinations. Pastels for a sweet look, brights for a playful feel, or muted tones for a more sophisticated aesthetic.
- Textures: Use different yarn weights or types (e.g., fuzzy yarn for an animal, sparkle yarn for a magical square) for added tactile interest.
- Embellishments: Besides appliqués, consider embroidering details, adding small buttons, or attaching bells to the corners for extra cuteness.
🎥Watch Tutorial
This detailed pattern should provide a solid foundation for you to create a beautiful, easy, and very cute crocheted board game. Have fun with it, and don’t hesitate to experiment with your own creative touches!


