by
by Certainly! Here’s a long, detailed article explaining how to make a beautiful crochet blouse jacket cardigan — suitable for beginners to intermediate crocheters. This tutorial includes everything from materials and measurements to shaping, construction, and finishing touches. The style is both elegant and customizable, perfect for all seasons.
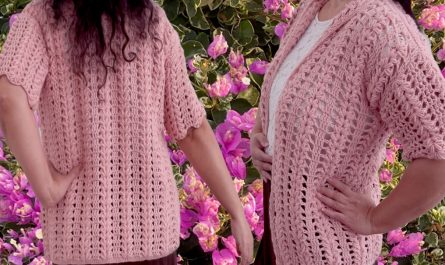
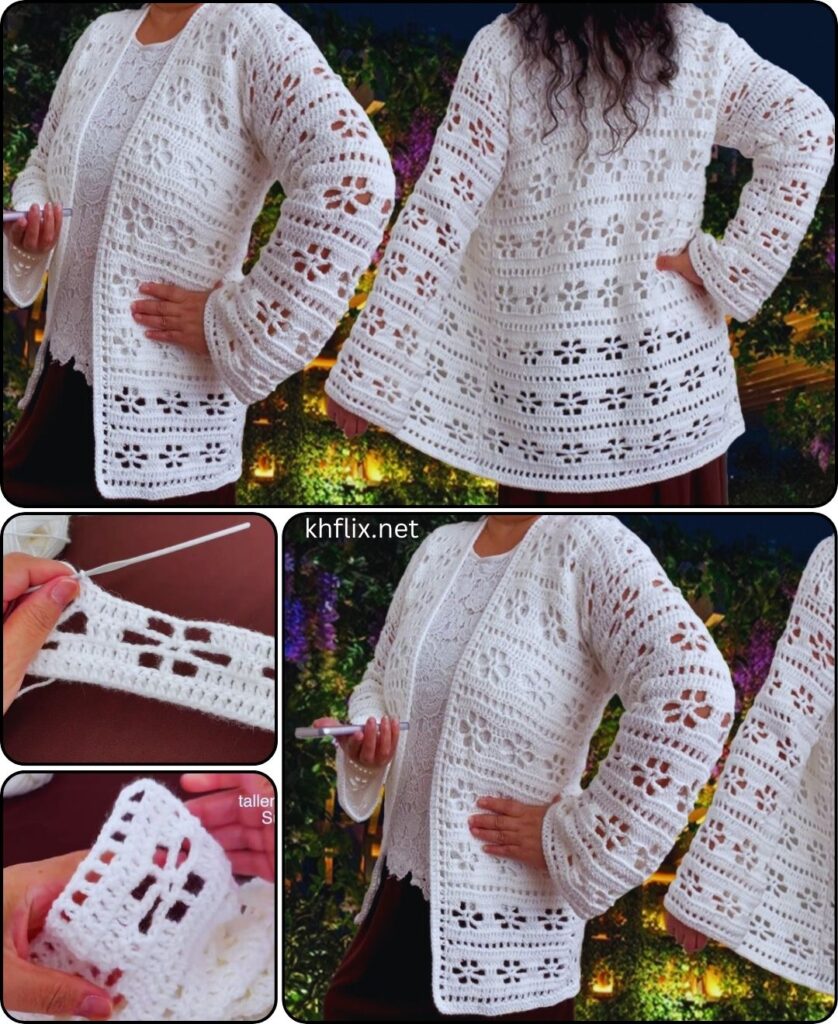
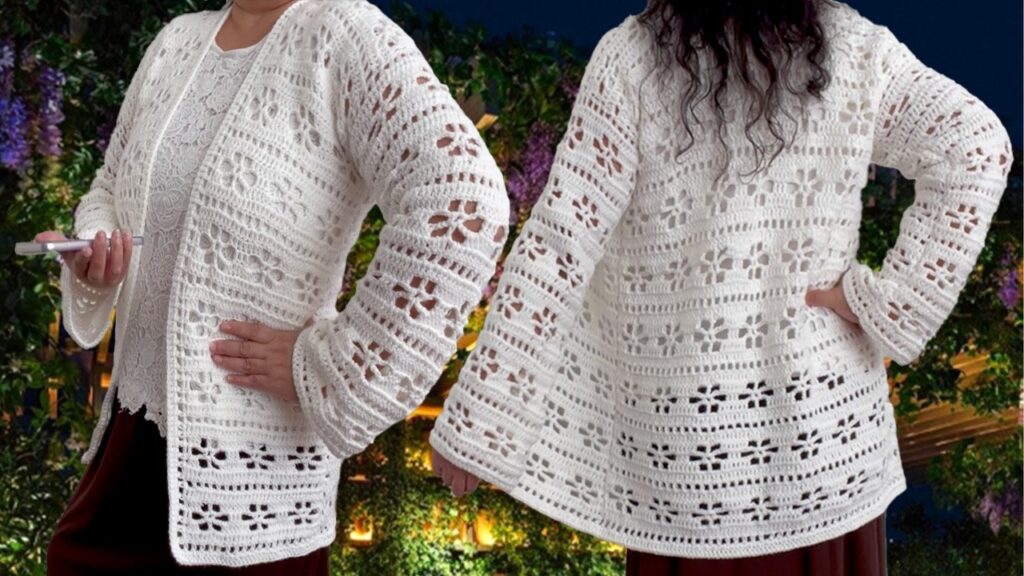
🧶 How to Crochet a Beautiful Blouse Jacket Cardigan – A Full Beginner’s Guide
Crocheting your own clothing is a rewarding and creative experience. In this article, we will walk you through the step-by-step process of making a blouse-style crochet jacket cardigan that is soft, stylish, and versatile. Whether you want a light summer piece or a cozy layer for cooler days, this cardigan pattern can be easily customized for different sizes, colors, and textures.
🌸 Why Make a Crochet Cardigan?
- Handmade, customizable fit
- Great way to learn garment construction
- Stylish layering for all seasons
- Can be formal, casual, or cozy — depending on yarn and design
- Unique and eco-friendly
✨ Design Overview
This cardigan features:
- A longer, blouse-style silhouette that flatters the figure
- Open front with optional button or tie closure
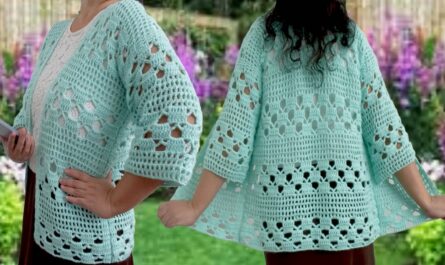
- Straight or slightly flared sleeves
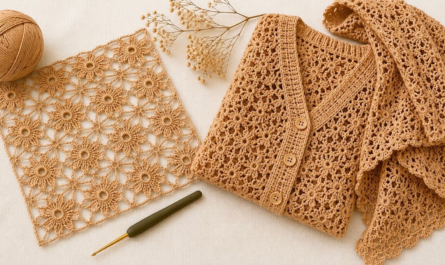
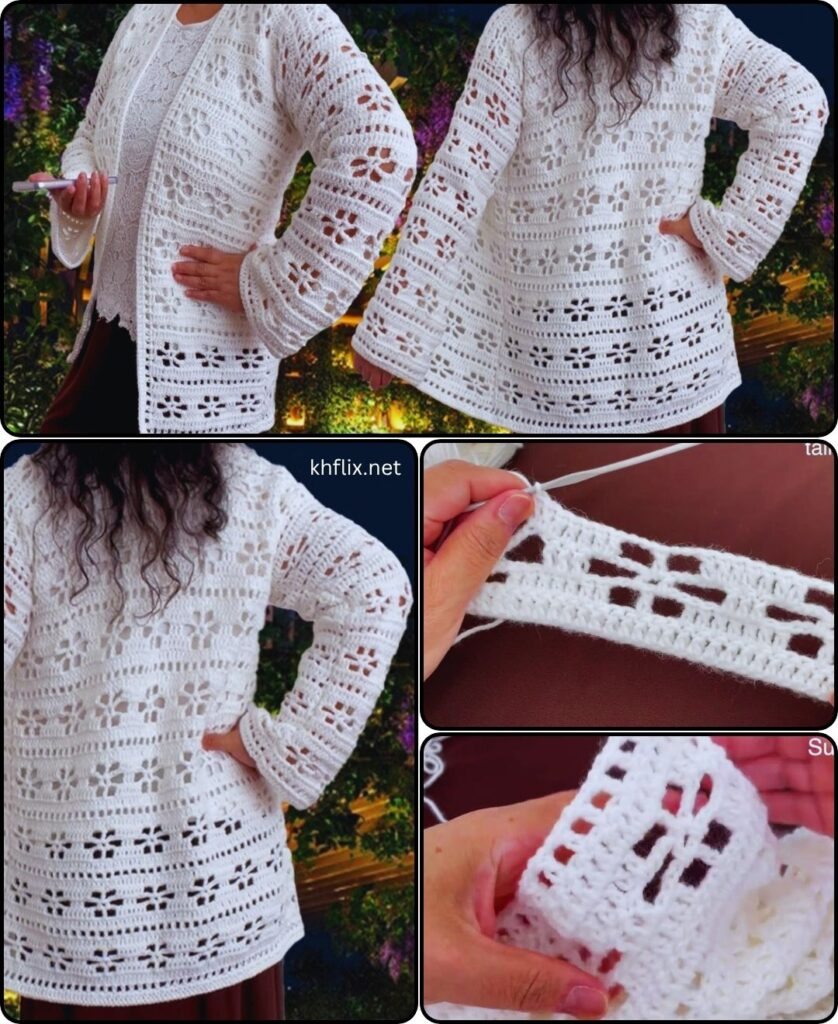
- Textured or lacy stitch pattern for beauty and drape
- Optional belt or collar
The pattern is made with rectangular panels that are sewn together, making it easier for beginners to follow without complicated shaping.
📦 Materials Needed
| Item | Details |
|---|---|
| Yarn | DK weight (#3) or light worsted weight (#4) yarn; cotton or acrylic blends are great |
| Hook | 4.5 mm – 5.5 mm crochet hook |
| Scissors | Yarn scissors or small snips |
| Yarn needle | For weaving in ends |
| Stitch markers | Helpful for shaping and seaming |
| Buttons (optional) | For closure or decoration |
| Measuring tape | For custom sizing |
Yarn Estimation (based on average women’s sizes):
- Small: 800–900 yards
- Medium: 1000–1100 yards
- Large: 1100–1300 yards
- XL/Plus: 1300–1500+ yards
🔤 Stitches Used (US Terms)
- CH – Chain
- SC – Single Crochet
- DC – Double Crochet
- HDC – Half Double Crochet
- SL ST – Slip Stitch
- TCH – Turning Chain
- FPDC/BPDC – Front Post/Back Post Double Crochet (optional for ribbing)
📐 Sizing & Fit Notes
Measure around your bust and hips for the base width of the panels. You can make a loose or snug fit depending on personal style.
- Length: Standard blouse cardigans fall around the hip (20–24 inches). You can make yours longer or cropped.
- Width: Add 2–4 inches of ease for comfort.
- Sleeve Length: Short, 3/4, or full-length — your choice.
🧩 Construction Breakdown
This pattern includes 5 main parts:
- Back Panel
- Left Front Panel
- Right Front Panel
- Sleeves (optional or adjustable)
- Edging, Collar & Finishing
🧶 1. Back Panel
Foundation Row: CH 61 (or adjust for desired width – this is approx. 18–20 inches)
Row 1: HDC in 2nd CH from hook and in each CH across. (60 HDC)
Row 2–50: CH 1, turn. HDC across in each row.
🔁 Adjust row count to desired length of the cardigan (e.g., 22–26 inches for standard hip-length).
🧶 2. Front Panels (Make 2)
Foundation Row: CH 31 (half the back panel width)
Row 1: HDC in 2nd CH from hook and across. (30 HDC)
Row 2–50: CH 1, turn. HDC in each stitch across.
✏️ Optional: For a V-neck, decrease 1 stitch every 3 rows at the neckline edge.
🧶 3. Sleeves (Optional)
Foundation Row: CH 41 (for standard width sleeve – about 12″)
Row 1: HDC in 2nd CH from hook and across. (40 HDC)
Row 2–30: CH 1, turn. HDC across.
🔁 Add more rows for full-length sleeves or decrease to make short sleeves. You can also gradually increase stitch count every few rows to create a flared sleeve.
🧵 Assembly Instructions
- Lay all panels flat.
- Sew shoulder seams (top edge of front panels to back panel).
- Attach sleeves: Fold sleeves in half, match center to shoulder seam, and sew around armhole.
- Sew sides and underarms: From hem up to armpit, and down the sleeves.
- Weave in all loose ends.
🌿 Edging and Finishing
📌 Front Border / Collar:
- Attach yarn at the bottom of the front panel.
- SC evenly up one front side, around the neck, and down the other side.
- Repeat for 3–5 rows to create a thicker border.
Optional: Use FPDC and BPDC for ribbed effect.
📌 Bottom Hem:
- Work 2–3 rows of SC or HDC around bottom edge for a clean finish.
📌 Sleeves:
- Add a ribbed cuff by working FPDC/BPDC around sleeve edge for 4–5 rows.
🎀 Optional Additions
🧷 Buttons:
- Sew small buttons on one panel.
- Make button loops using CH 8–10, SL ST to secure on opposite side.
🧵 Tie Belt:
- CH until the belt reaches about 50–60 inches.
- Work 2–3 rows of SC or HDC.
- Add two small belt loops on the side seams.
🎨 Customization Ideas
- Stitch Texture: Try moss stitch, shell stitch, or granny stitch for texture.
- Yarn Type: Use cotton for summer, wool blends for warmth.
- Colors: Solid for elegance, ombré or stripes for fun.
- Tassels: Add tassels to the corners for a boho look.
- Granny Squares: Replace panels with granny squares for a colorful retro cardigan.
👗 Styling Tips
- Pair with jeans, dresses, or skirts
- Wear open for layering or belt it for shape
- Make a shorter crop version for summer
- Add large wooden buttons for a rustic aesthetic
📖 Conclusion
This beautiful blouse-style crochet cardigan is a perfect project to grow your skills while making something you can wear with pride. It’s simple to construct, endlessly customizable, and incredibly rewarding. Whether you’re new to crochet or already comfortable with the basics, this pattern offers a soft, wearable design you’ll love to recreate in different styles and colors.