by
by I can certainly provide you with a detailed and very easy tutorial for beginners on how to crochet flowers. We’ll focus on a simple, flat, 5-petal flower, which is an excellent starting point for learning.
Pattern: Very Easy Crochet Flower for Beginners
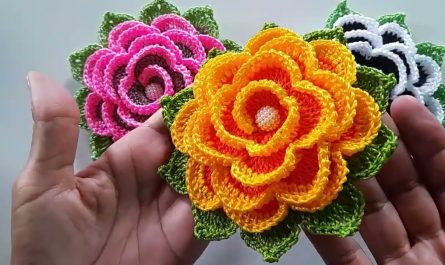
This tutorial will guide you through creating a simple, flat, 5-petal flower, perfect for beginners. This versatile little flower can be used as an appliqué on various projects like headbands, hats, blankets, or even sewn onto your crocheted board game!
Goal: To create a small, flat, 5-petal flower using basic crochet stitches, suitable for someone new to crocheting.
Materials You’ll Need:
- Yarn:
- For beginners, worsted weight (medium #4) cotton or acrylic yarn is highly recommended. It’s easy to handle, the stitches are visible, and it holds its shape well.
- Choose any color you like for your flower.
- Crochet Hook:
- For worsted weight yarn, a Size H/5.0mm hook is a good general choice.
- Tip: Always check your yarn label for the recommended hook size, but don’t hesitate to try a size up or down if your stitches feel too tight or too loose.
- Yarn Needle (Tapestry Needle): Essential for weaving in your yarn ends neatly.
- Scissors: For cutting your yarn.
Abbreviations Used:
- ch: chain
- sl st: slip stitch
- sc: single crochet
- hdc: half double crochet
- dc: double crochet
- tr: treble crochet (sometimes called triple crochet)
- st(s): stitch(es)
- MR: magic ring (or magic circle) – an alternative, beginner-friendly starting method will also be provided.
- FO: fasten off
Understanding the Flower’s Basic Structure
Most crocheted flowers begin from a central point and are worked in rounds. The petals are then formed by working a series of stitches into the center ring. This simple flower will be constructed in two main parts:
- The Center: A foundational ring to start your work.
- The Petals: Formed directly into this central ring.

Part 1: Creating the Flower Center (Starting Methods)
You have two options for beginning the center of your flower. The Magic Ring (MR) creates a very tight and neat center with no hole, but it can be a bit challenging for absolute beginners. The Chain Ring method is simpler to learn initially.
Option A: Chain Ring (Recommended for Absolute Beginners)
- Ch 4. (Chain 4 stitches).
- Sl st (slip stitch) into the first chain you made. This will join the chain into a small circle, forming the ring you’ll work into.
- How to sl st into the first ch: Insert your hook into the very first chain you made. Yarn over, and pull the yarn through the chain and then through the loop already on your hook.
Option B: Magic Ring (MR / Magic Circle – for a tighter center)
- Hold the yarn tail in your palm.
- Wrap the working yarn around your index and middle fingers once.
- Insert your hook under the first strand of yarn on your fingers and over the second strand.
- Yarn over (wrap the yarn around your hook) and pull the second strand through to form a loop on your hook.
- Ch 1 (this chain does NOT count as a stitch; it just secures the ring you’ve created).
- You will now work your first round of stitches (for the petals) directly into this large ring on your fingers. When you’re done with the round, you’ll pull the starting yarn tail to tighten the ring.
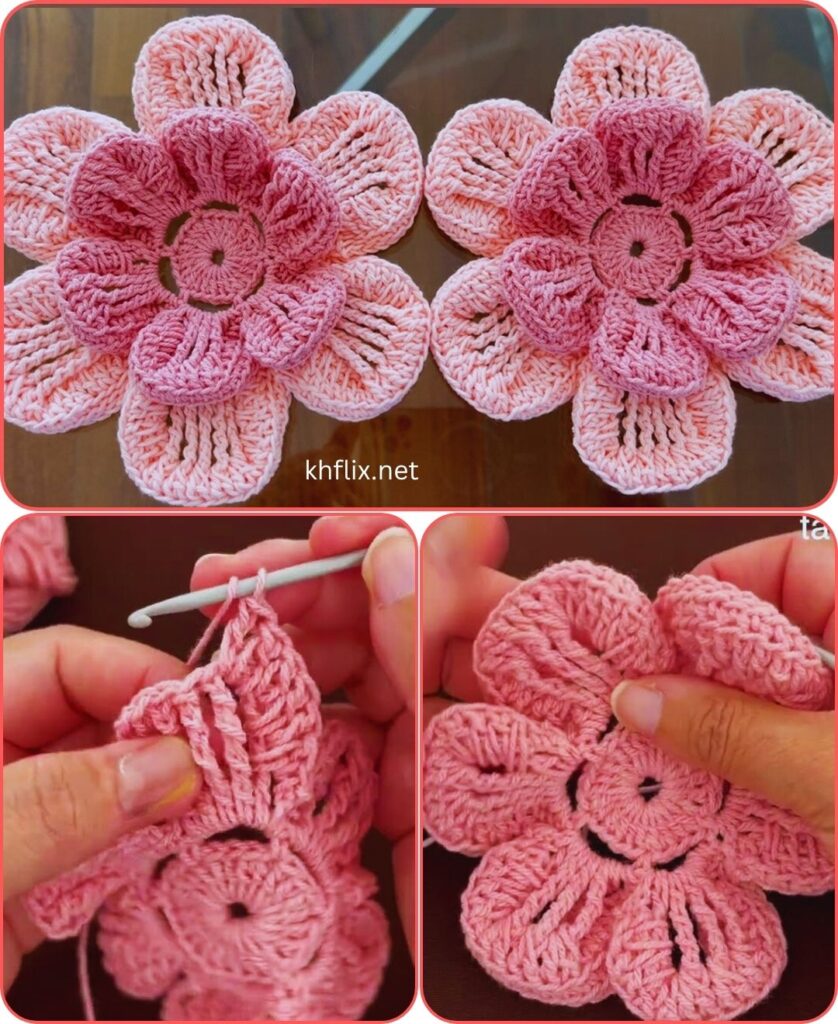
Part 2: Crocheting the Petals (The Main Event!)
Once you have your center ring established, you will create the petals. For this easy flower, each petal is formed by working a sequence of stitches directly into the center ring, and then anchored with a slip stitch back into the center.
Instructions for the 5-Petal Flower:
- Start with your chosen center method (Chain Ring or Magic Ring).
Round 1 (Creating the Petals):
- Ch 2. (This chain acts as the turning chain for your first petal. It also can sometimes count as your first hdc or dc depending on the specific petal stitch you choose, but here it mainly gives height.)
- Work the following sequence into the center ring:
- 2 dc (double crochet)
- Ch 2
- Sl st (slip stitch) into the center ring.
- (This completes your first petal! You’ll see a small “lump” forming, which is your first petal.)
- Repeat steps 1 and 2 four more times for a total of 5 petals. Each time you start a new petal, you’ll chain 2, work the double crochet stitches, then chain 2 and slip stitch back into the center ring.
- Petal 1: Ch 2, 2 dc into center ring, ch 2, sl st into center ring.
- Petal 2: Ch 2, 2 dc into center ring, ch 2, sl st into center ring.
- Petal 3: Ch 2, 2 dc into center ring, ch 2, sl st into center ring.
- Petal 4: Ch 2, 2 dc into center ring, ch 2, sl st into center ring.
- Petal 5: Ch 2, 2 dc into center ring, ch 2, sl st into center ring.
- After your 5th petal is complete, make one final sl st into the center ring to secure everything.
- FO (Fasten Off): Cut your working yarn, leaving a tail of about 6-8 inches. Yarn over with your hook, pull the cut tail completely through the loop that is on your hook, and pull tight to secure the knot.
- Tighten the center (if using Magic Ring): If you used the Magic Ring start, gently but firmly pull the very beginning yarn tail (the one that’s usually shorter) until the center hole of your flower closes completely.
Part 3: Finishing Your Flower
- Weave in Ends:
- Thread one of your yarn tails (either the starting tail or the ending tail) onto your yarn needle.
- Carefully weave the tail through some of the stitches on the back of your flower. Try to go through stitches of the same color so the yarn doesn’t show through on the front.
- Weave the tail in a few different directions (e.g., up, down, then back a short way) to secure it well and prevent it from unraveling.
- Trim any excess yarn close to the fabric, being careful not to cut the flower itself.
- Repeat this process for the other yarn tail.
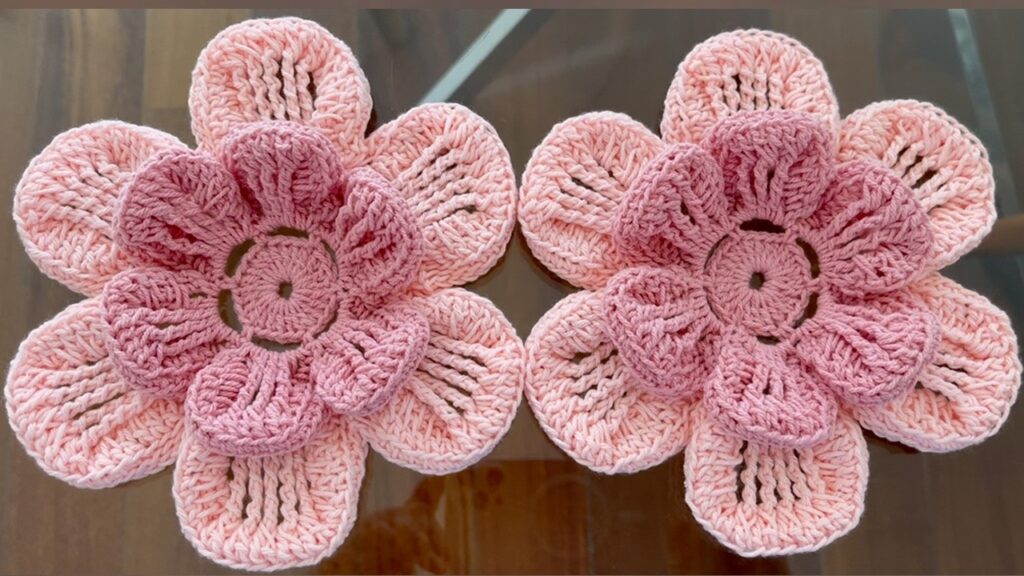
Congratulations! You’ve successfully made your very first crochet flower!
Essential Tips for Beginners:
- Tension is Key: Try to maintain an even, relaxed tension. If you pull your yarn too tight, your stitches will be stiff and hard to work into. If too loose, your flower might look gappy. Practice helps!
- Count Your Stitches: Especially when making the petals, ensure you’re doing the correct number of stitches for each one (e.g., 2 dc in this pattern).
- Don’t Be Afraid to Undo: If you make a mistake, don’t worry! Crochet is very forgiving. You can “tink” (knit backwards) or unravel (“frog”) your work easily.
- Watch Video Tutorials: If a written instruction isn’t clear, search for “how to crochet a double crochet stitch” or “how to make a magic ring” on YouTube. Seeing the motion can make a big difference.
- Practice Makes Perfect: The more you crochet, the more consistent your stitches will become, and the neater your projects will look.
- Experiment with Yarn and Hook Sizes:
- Using a thicker yarn and a larger hook will result in a larger flower.
- Using a thinner yarn (like sport weight) and a smaller hook will create a smaller, more delicate flower.
- Explore Different Petal Stitches: Once you’re comfortable, try different combinations of stitches for your petals:
- Smaller, tighter petals: (Ch 1, 2 hdc, ch 1, sl st) into the center.
- Taller, fuller petals: (Ch 3, 2 tr, ch 3, sl st) into the center. (Treble crochet is taller than double crochet.)
Creative Ideas for Using Your Crocheted Flowers:
- Appliqué: Sew them onto virtually anything: hats, scarves, bags, blankets, headbands, sweaters, or the crocheted board game you learned to make earlier!
- Hair Accessories: Attach them to plain hair clips, barrettes, or elastic hair ties.
- Gift Embellishments: Use them as a unique and personal touch on wrapped gifts or gift tags.
- Home Decor: Scatter them on a table as pretty accents, or string several together to make a charming garland.
- Jewelry: With very small yarn and a tiny hook, you can make miniature flowers for earrings or necklaces.
- Brooches/Pins: Sew a pin back onto the back of a flower to create a cute accessory.
Have a wonderful time crocheting your beautiful flowers! It’s a fun and rewarding skill to learn.