 by
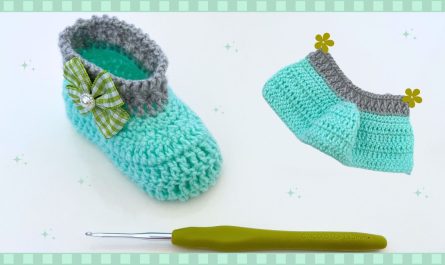
by Crochet baby booties are one of the most popular handmade projects because they are adorable, practical, and surprisingly easy to make. Whether you’re creating a heartfelt baby shower gift, preparing for your own newborn, or adding a new product to your handmade business, these beautiful crochet booties are a wonderful choice. With just a few basic crochet stitches and soft baby yarn, you can create a cozy pair of booties that are comfortable, stylish, and durable.
This complete step-by-step guide is designed for beginners as well as experienced crocheters who want a quick and enjoyable project. Follow along carefully, and you’ll soon have a beautiful pair of baby booties that any parent will love.
Why Crochet Baby Booties?
Handmade baby booties are more than just tiny shoes—they are keepsakes filled with care and creativity. Unlike mass-produced footwear, crochet booties can be customized in size, color, and style to suit every baby.
Benefits of crocheted baby booties include:
- Soft and gentle on delicate baby skin
- Lightweight and comfortable for growing feet
- Quick projects that can often be completed in a single afternoon
- Perfect gifts for baby showers, birthdays, or newborn celebrations
- Great way to use leftover yarn from larger crochet projects
- Easy to personalize with bows, flowers, buttons, or colorful trim
Whether you’re making one pair or several, each project is unique and rewarding.
Materials You’ll Need
Gather your supplies before beginning to make the process smooth and enjoyable.
Yarn
Choose a soft baby yarn made from:
- Cotton
- Baby acrylic
- Cotton-acrylic blend
Avoid rough wool or textured novelty yarns that may irritate sensitive skin.
Crochet Hook
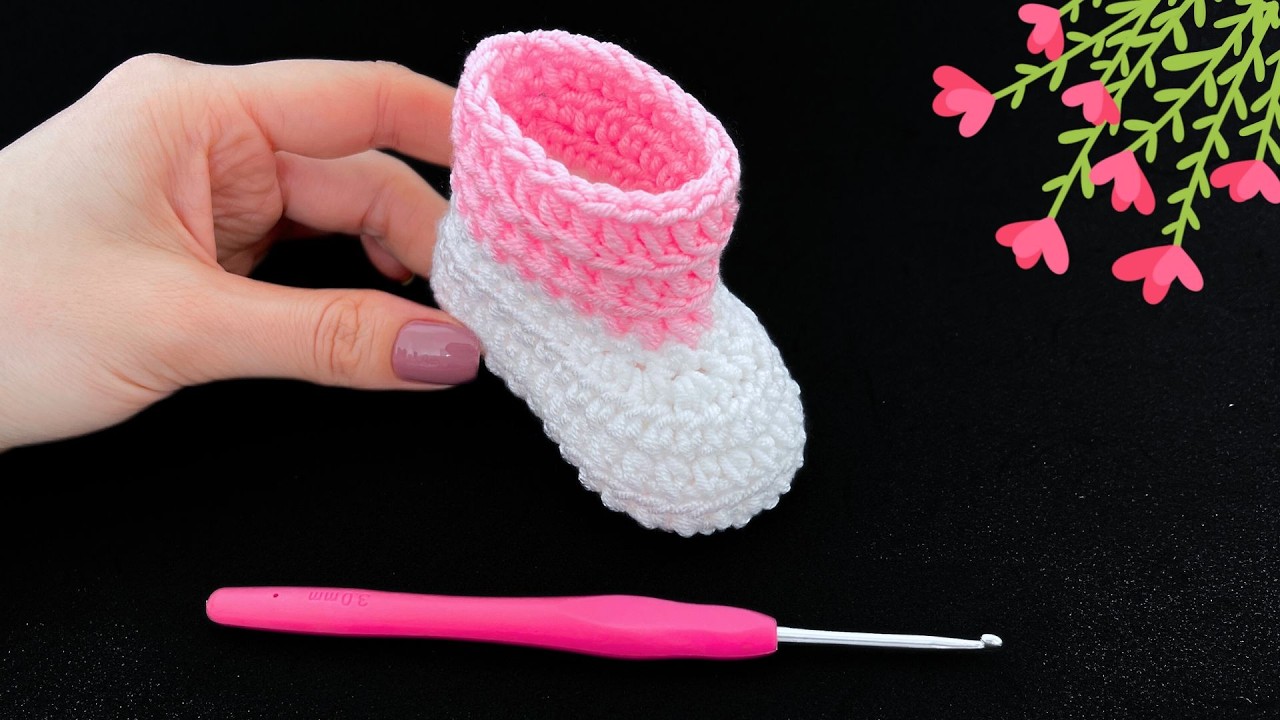
A hook between 3.0 mm and 4.0 mm works well for most baby yarns.
Other Supplies
- Yarn needle
- Sharp scissors
- Stitch marker (optional)
- Measuring tape
- Decorative buttons or bows (optional)
Using high-quality materials helps ensure that your finished booties are soft, durable, and safe for babies.
Basic Crochet Stitches Used
This pattern is beginner-friendly and uses only a few simple stitches.
You’ll need to know:
- Chain (ch)
- Slip Stitch (sl st)
- Single Crochet (sc)
- Half Double Crochet (hdc)
- Double Crochet (dc)
- Single Crochet Two Together (sc2tog)
These stitches form the foundation of countless crochet projects, making this pattern an excellent opportunity to practice your skills.
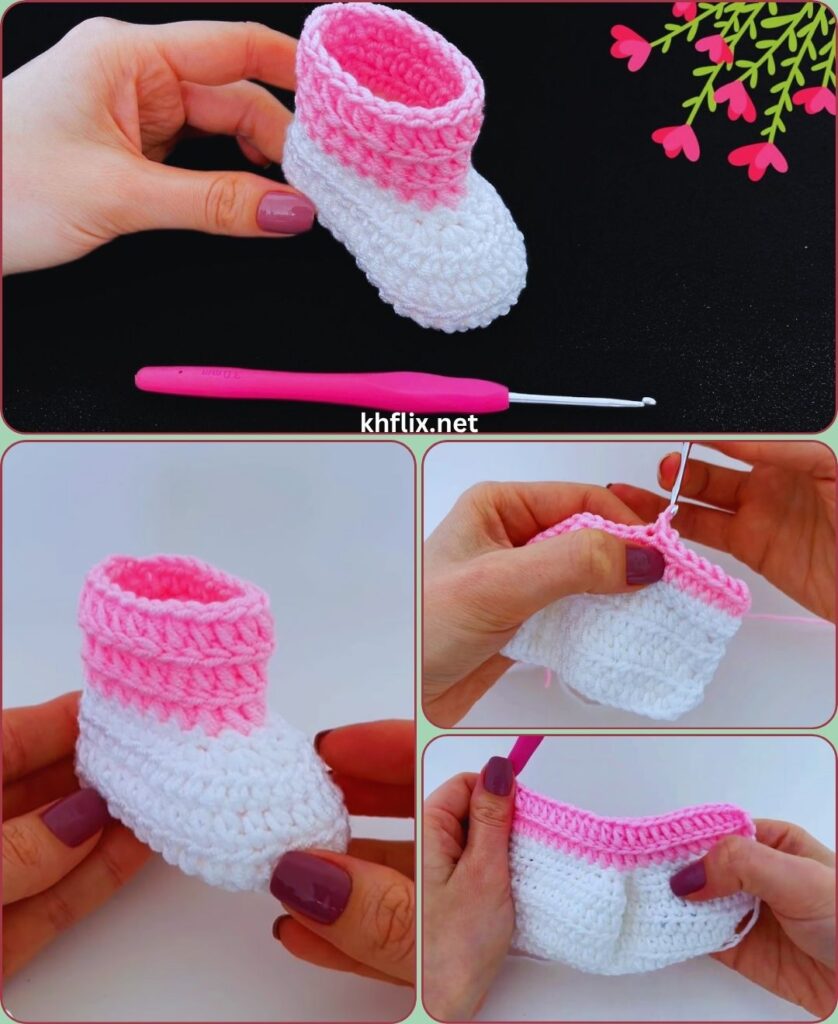
Step 1: Crochet the Sole
The sole forms the base of the bootie and determines its overall size and shape.
Begin by making a foundation chain of about 10 chains for a newborn size. You can adjust the chain length for larger or smaller sizes.
Round One
- Work two single crochet stitches into the second chain from the hook.
- Crochet one single crochet into each chain across.
- At the last chain, place several stitches into the same space to create the rounded toe.
- Continue working along the opposite side of the chain.
- Finish by joining the round with a slip stitch.
After completing this round, your work should resemble a neat oval.
Step 2: Increase the Sole
The next round widens the sole so it comfortably supports the baby’s foot.
- Chain one.
- Work increases at the toe and heel.
- Crochet evenly along both sides.
- Join with a slip stitch.
Take your time and count stitches carefully to keep the sole symmetrical.
Step 3: Create the Side Walls
To transform the flat sole into a shoe, work one complete round using back loop only single crochet stitches.
This creates a decorative ridge around the edge while helping the sides stand upright.
This small detail gives the booties a polished, professional appearance.
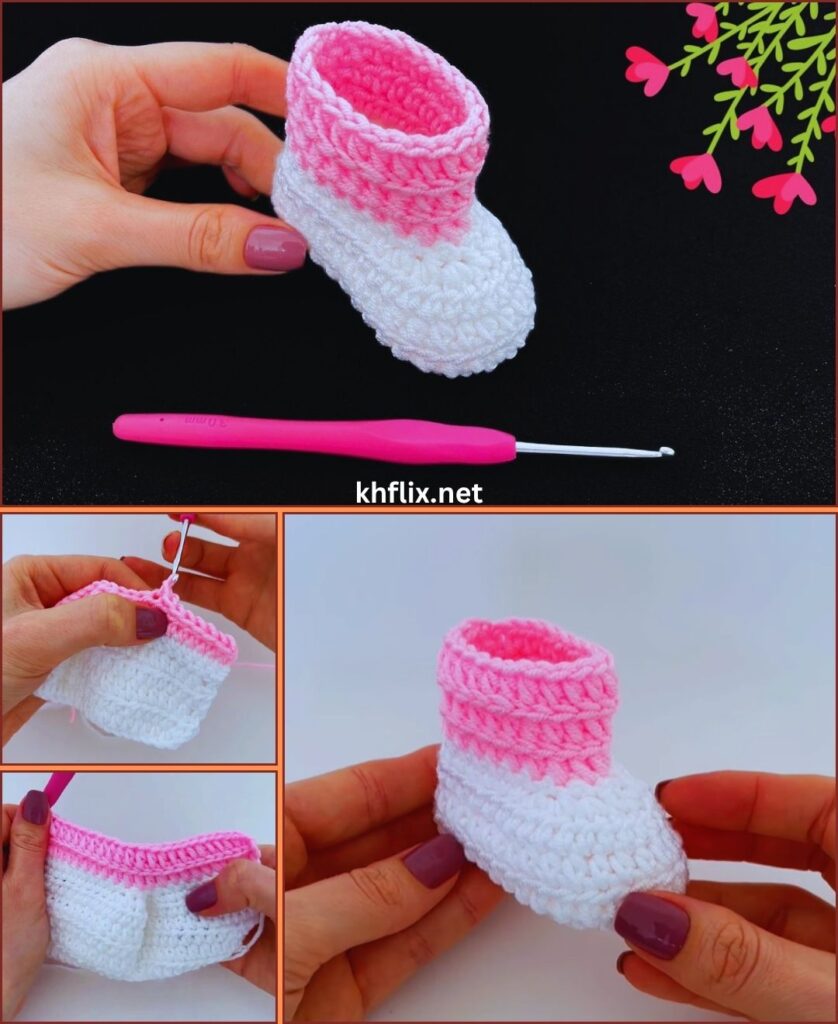
Step 4: Build the Body of the Bootie
Continue working regular single crochet stitches around the entire shoe.
Repeat for two or three rounds until the sides reach your desired height.
Try to maintain even stitch tension so the bootie keeps a smooth and balanced shape.
Step 5: Shape the Toe
The toe shaping gives the bootie its recognizable form.
Locate the center front of the shoe.
When you reach this section:
- Crochet two stitches together repeatedly across the front.
- Continue crocheting normally around the sides and heel.
- Repeat another decrease round if necessary.
Each decrease gradually closes the toe without creating bulky fabric.
A rounded toe looks softer and fits a baby’s foot more naturally.
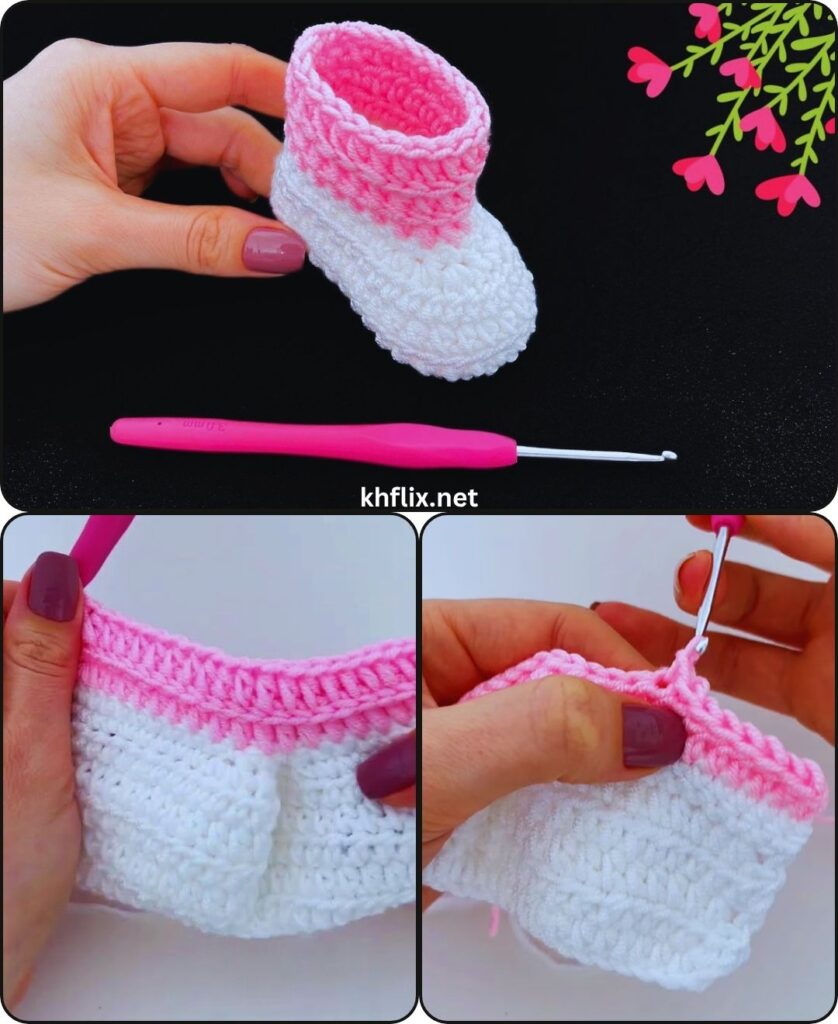
Step 6: Create the Ankle Opening
After shaping the toe, continue crocheting around the opening.
You can customize this section by choosing one of several styles:
Simple Slip-On
Perfect for warm weather and quick projects.
Folded Cuff
Add several extra rounds and fold them downward for a cozy winter look.
Tall Bootie
Continue crocheting upward to create extra ankle support.
Each option gives the booties a different personality while using the same basic construction.
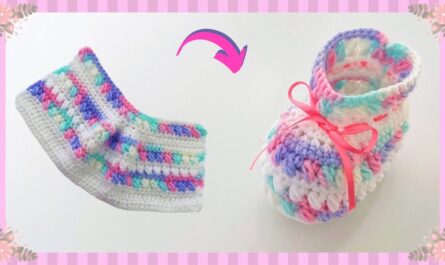
Step 7: Add a Strap (Optional)
For extra security and decoration, crochet a simple strap.
Attach yarn near one side of the ankle opening.
- Chain 12 to 15 stitches.
- Turn.
- Crochet one single crochet into each chain.
- Attach the strap to the opposite side.
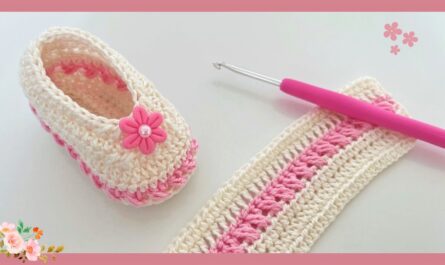
Sew a small decorative button onto the shoe to complete the closure.
The strap helps keep the bootie securely on active little feet.
Step 8: Decorate Your Booties
Now it’s time to make your booties truly unique.
Popular decorations include:
- Crochet flowers
- Satin bows
- Tiny hearts
- Stars
- Animal ears
- Lace edging
- Colorful borders
- Pom-poms
Always make sure any decorations are sewn on securely to ensure safety.
Step 9: Finishing Touches
Once both booties are complete:
- Cut the yarn.
- Pull the tail through the final loop.
- Weave in every loose end with a yarn needle.
- Trim excess yarn.
- Shape each bootie gently with your hands.
Compare both booties to ensure they match in size and appearance.
Helpful Tips for Success
Professional-looking crochet booties come from careful attention to detail.
Keep these tips in mind:
- Use soft baby-friendly yarn.
- Keep your stitches consistent.
- Count stitches after every round.
- Use stitch markers when necessary.
- Crochet both booties at the same time for perfect matching.
- Practice smooth color changes if using multiple colors.
- Lightly shape finished booties before gifting.
Common Beginner Mistakes
Booties Different Sizes
Always count stitches and compare both shoes after each round.
Sole Curls Up
Your tension may be too tight. Relax your grip or use a slightly larger hook.
Toe Looks Pointed
Decrease more gradually over several rounds.
Booties Too Loose
Use a smaller hook or reduce stitch count slightly.
Uneven Shape
Work slowly and maintain even tension throughout the project.
Beautiful Color Ideas
These color combinations are especially popular for baby booties:
- White and baby pink
- Sky blue and white
- Cream and beige
- Mint green and ivory
- Lavender and gray
- Peach and cream
- Mustard and brown
- Sage green and white
- Navy blue and gray
- Soft rainbow pastels
Adding contrasting soles or cuffs creates an elegant handmade look.
Caring for Crochet Baby Booties
To keep your handmade booties looking beautiful:
- Wash gently by hand using mild detergent.
- Rinse thoroughly.
- Press out excess water without twisting.
- Lay flat to dry.
- Avoid direct sunlight for extended periods to preserve color.
Proper care helps your handmade booties stay soft and maintain their shape.
Final Thoughts
Easy crochet baby booties are one of the most enjoyable projects for crafters of every skill level. They combine beauty, comfort, and practicality in a small project that can be completed quickly while teaching valuable crochet techniques.
Whether you choose soft pastel shades, bright modern colors, or classic neutral tones, each pair becomes a meaningful handmade gift filled with love and care. As your confidence grows, you can experiment with new stitch patterns, decorative cuffs, colorful stripes, and creative embellishments to make every pair unique.
With patience, practice, and imagination, you’ll soon be creating beautiful crochet baby booties that are not only quick to make but treasured for years to come.