 by
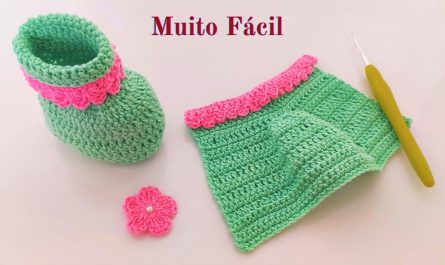
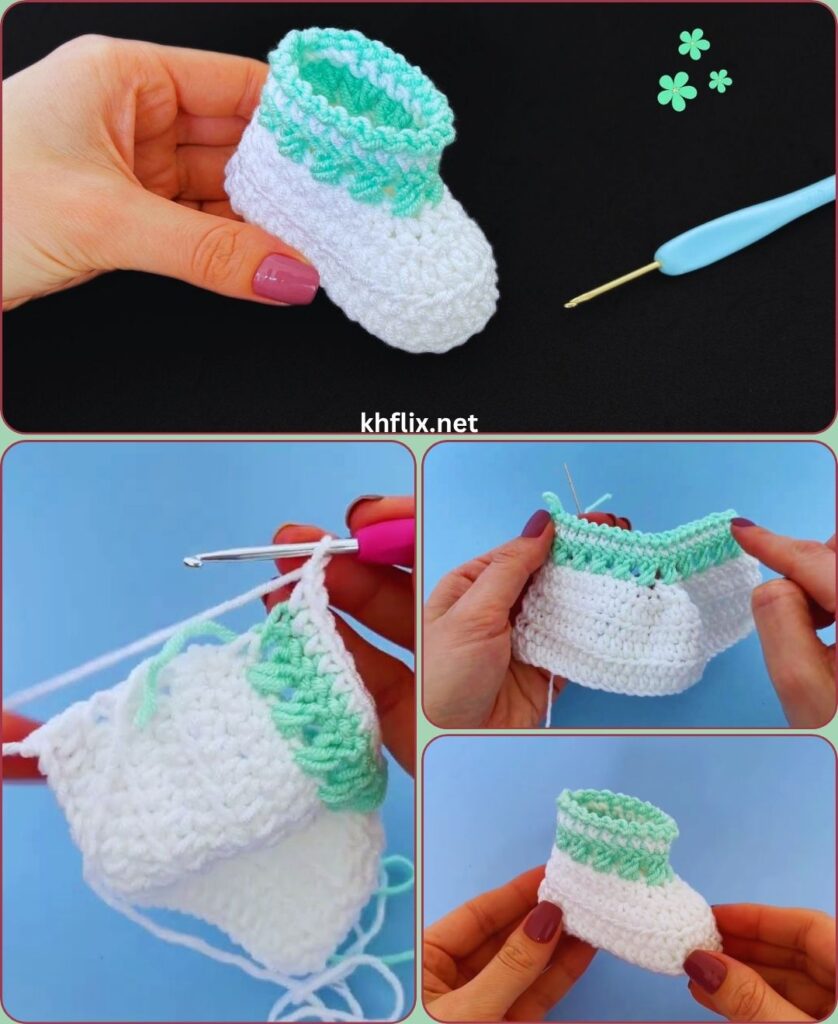
by Crocheting baby booties is one of the most enjoyable and rewarding projects for crochet lovers. These tiny shoes are not only adorable but also practical, making them perfect gifts for newborns, baby showers, birthdays, or your own little one. Best of all, they are quick to make, even if you’re just beginning your crochet journey.
In this detailed step-by-step guide, you’ll learn how to create beautiful crochet baby booties with simple stitches and easy techniques. By following each step carefully, you’ll have a soft, comfortable, and stylish pair of baby booties in no time.
Why Crochet Baby Booties?
Handmade baby booties offer many advantages over store-bought shoes. They are made with love, fully customizable, and can be created in countless colors and styles. Since babies grow quickly, crochet booties are a fast project that allows you to experiment with different patterns without investing too much time.
Some benefits include:
- Soft and gentle for delicate baby feet
- Lightweight and comfortable
- Quick to finish in just a few hours
- Excellent gifts for family and friends
- Great project for beginners to practice crochet skills
Materials You’ll Need
Before you begin, gather the following supplies:
- Soft baby yarn (cotton or baby acrylic)
- Crochet hook (3.0 mm–4.0 mm recommended)
- Yarn needle
- Sharp scissors
- Stitch marker (optional)
- Decorative buttons, bows, or flowers (optional)
Choose high-quality baby yarn that feels soft against sensitive skin. Avoid rough or scratchy fibers that may irritate the baby.
Understanding Basic Crochet Stitches
This project uses only a few beginner-friendly stitches:
- Chain (ch)
- Slip Stitch (sl st)
- Single Crochet (sc)
- Half Double Crochet (hdc)
- Double Crochet (dc)
- Single Crochet Two Together (sc2tog) for decreasing
If you’re familiar with these stitches, you’ll find this pattern easy to follow.
Step 1: Crochet the Sole
The sole forms the foundation of the bootie.
Begin by creating a foundation chain. For a newborn size, chain approximately 10 stitches.
Round One:
- Work two single crochets into the second chain from the hook.
- Continue with one single crochet across each chain.
- At the last chain, work several stitches into the same stitch to form the rounded toe.
- Continue crocheting along the opposite side of the foundation chain.
- Finish by joining the round with a slip stitch.
Your work should now resemble a smooth oval.
Step 2: Increase the Sole
The second round widens the sole to provide enough room for the baby’s foot.
- Chain one.
- Increase evenly at the heel and toe sections.
- Work one single crochet across the sides.
- Join with a slip stitch.
Take time to count your stitches. Keeping both soles identical will make the finished booties symmetrical.
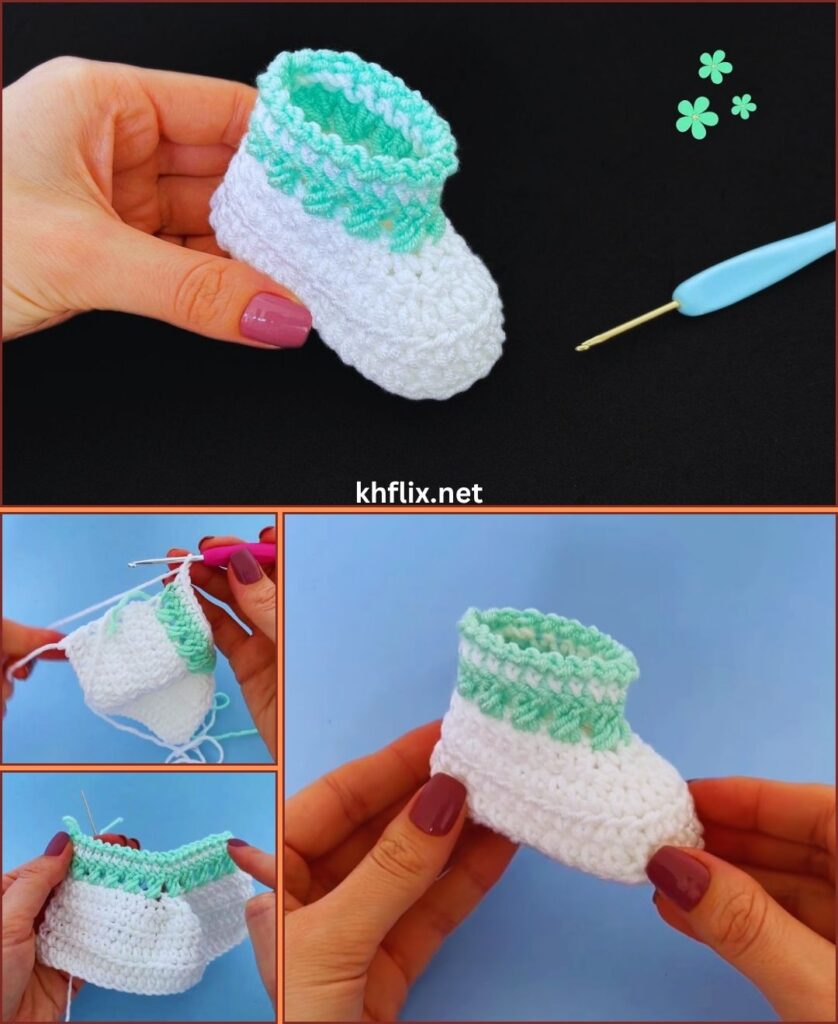
Step 3: Create the Shoe Walls
This step transforms the flat sole into a three-dimensional shoe.
Work one round of single crochet through the back loops only.
This creates a neat ridge around the shoe that resembles the sole of real footwear while helping the sides stand upright.
Step 4: Build the Sides
Continue working regular single crochet around the entire shoe.
Repeat this for two or three rounds, depending on how deep you’d like the booties to be.
Maintain consistent tension throughout each round for smooth, even sides.
Step 5: Shape the Toe
The toe is what gives the bootie its professional appearance.
Locate the center front of the shoe.
As you reach this section:
- Crochet two stitches together repeatedly across the front.
- Continue normal stitches around the remaining sides.
- Repeat another decrease round if necessary.
Each decrease gradually closes the toe while maintaining a rounded shape.
Avoid decreasing too quickly, as this can create a pointed toe.
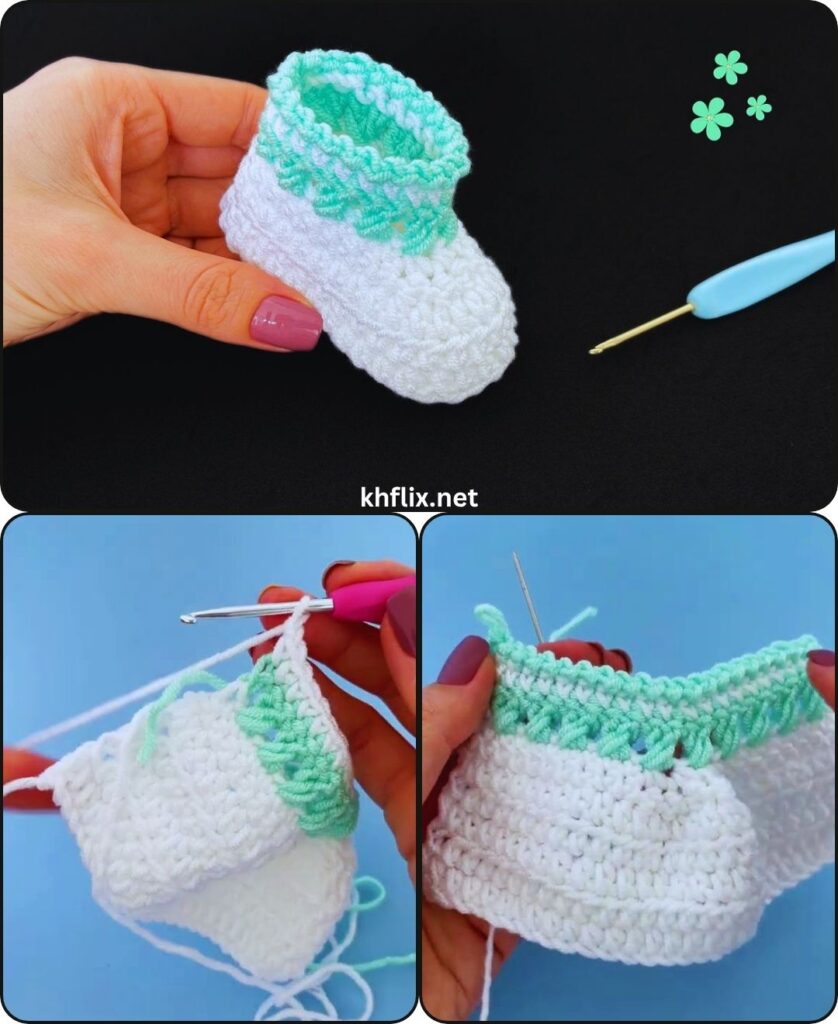
Step 6: Create the Ankle Opening
Once the toe has been shaped, continue crocheting around the opening.
Depending on your preferred design, you can:
- Leave it as a simple slip-on bootie.
- Add several more rounds for ankle coverage.
- Create a folded cuff for extra warmth.
Many crocheters like adding a decorative cuff because it helps the booties stay on baby’s feet.
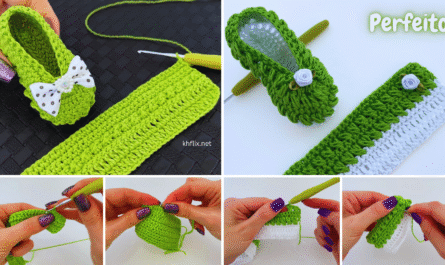
Step 7: Make a Strap (Optional)
A strap keeps the booties secure while adding a charming detail.
Attach yarn to one side of the ankle opening.
- Chain 12–15 stitches.
- Turn.
- Single crochet back across the chain.
- Attach the strap to the opposite side.
You may sew on a small decorative button to complete the closure.
Step 8: Add Decorative Details
Now it’s time to personalize your baby booties.
Popular embellishments include:
- Crochet flowers
- Satin ribbons
- Tiny bows
- Small pom-poms
- Colorful edging
- Heart appliqués
- Star decorations
Always attach decorations securely if the booties will be worn by a baby.
Step 9: Finish the Booties
After completing both booties:
- Cut the yarn.
- Pull the tail through the final loop.
- Weave in all loose ends using a yarn needle.
- Shape each bootie gently with your hands.
Compare both shoes to ensure they match in size and shape.
Helpful Tips for Perfect Crochet Baby Booties
To achieve professional-looking results:
- Use soft baby-friendly yarn.
- Keep your stitch tension consistent.
- Count stitches after every round.
- Make both booties at the same time if possible.
- Use stitch markers to track rounds.
- Practice color changes for decorative designs.
- Block the finished booties lightly if needed.
Common Mistakes to Avoid
Uneven Soles
Count every stitch carefully to ensure both soles match.
Booties Too Loose
Use a slightly smaller crochet hook or tighten your stitch tension.
Toe Looks Pointed
Decrease more gradually over multiple rounds.
Booties Different Sizes
Always compare your work after each round before continuing.
Color Ideas
Experiment with beautiful color combinations such as:
- White and pink
- Blue and white
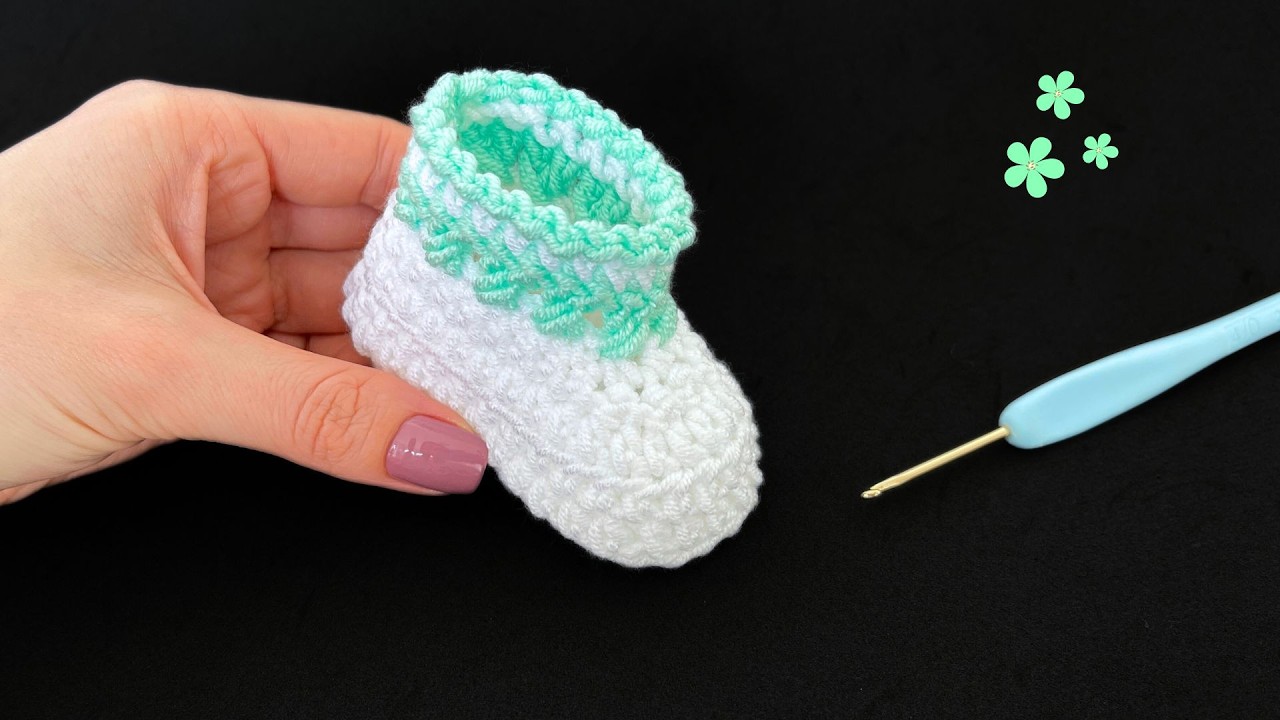
- Cream and beige
- Mint green and white
- Lavender and gray
- Mustard and cream
- Peach and ivory
- Sage green and tan
Using contrasting colors for the sole, cuff, or strap creates a stylish finish.
Why Beginners Love This Pattern
This easy crochet baby bootie pattern is perfect for beginners because:
- It uses basic stitches.
- The project is completed quickly.
- Mistakes are easy to fix.
- It teaches shaping techniques.
- It builds confidence for larger crochet projects.
Even if this is your first pair, you’ll likely be surprised by how quickly they come together.
Final Thoughts
Crocheting baby booties is a wonderful way to combine creativity with practicality. Each stitch adds warmth, comfort, and love to a handmade gift that families will treasure. Whether you’re making them for your own baby, a friend, or to sell at craft fairs, these beautiful and quick-to-make booties are always a favorite.
With a little practice, you’ll soon be experimenting with new colors, decorative details, and unique styles. The more pairs you make, the easier and faster the process becomes, allowing you to create charming handmade baby footwear that is both beautiful and functional.
Happy crocheting!