 by
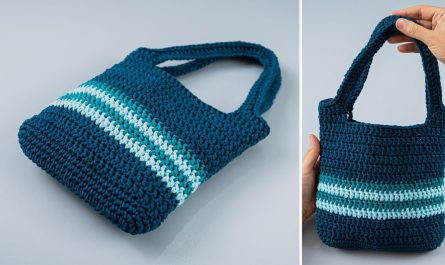
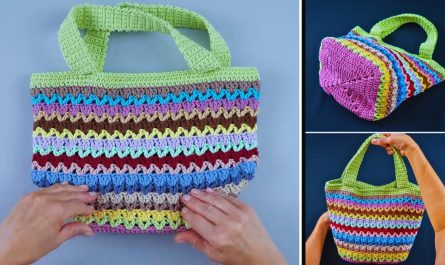
by You’ve chosen a fantastic way to elevate a simple tote – with three beautifully integrated colors! This tutorial builds on the previous one, adding detailed instructions on how to incorporate three distinct colors into your crocheted handbag, creating striking visual interest while maintaining its luxurious feel and sturdy structure.

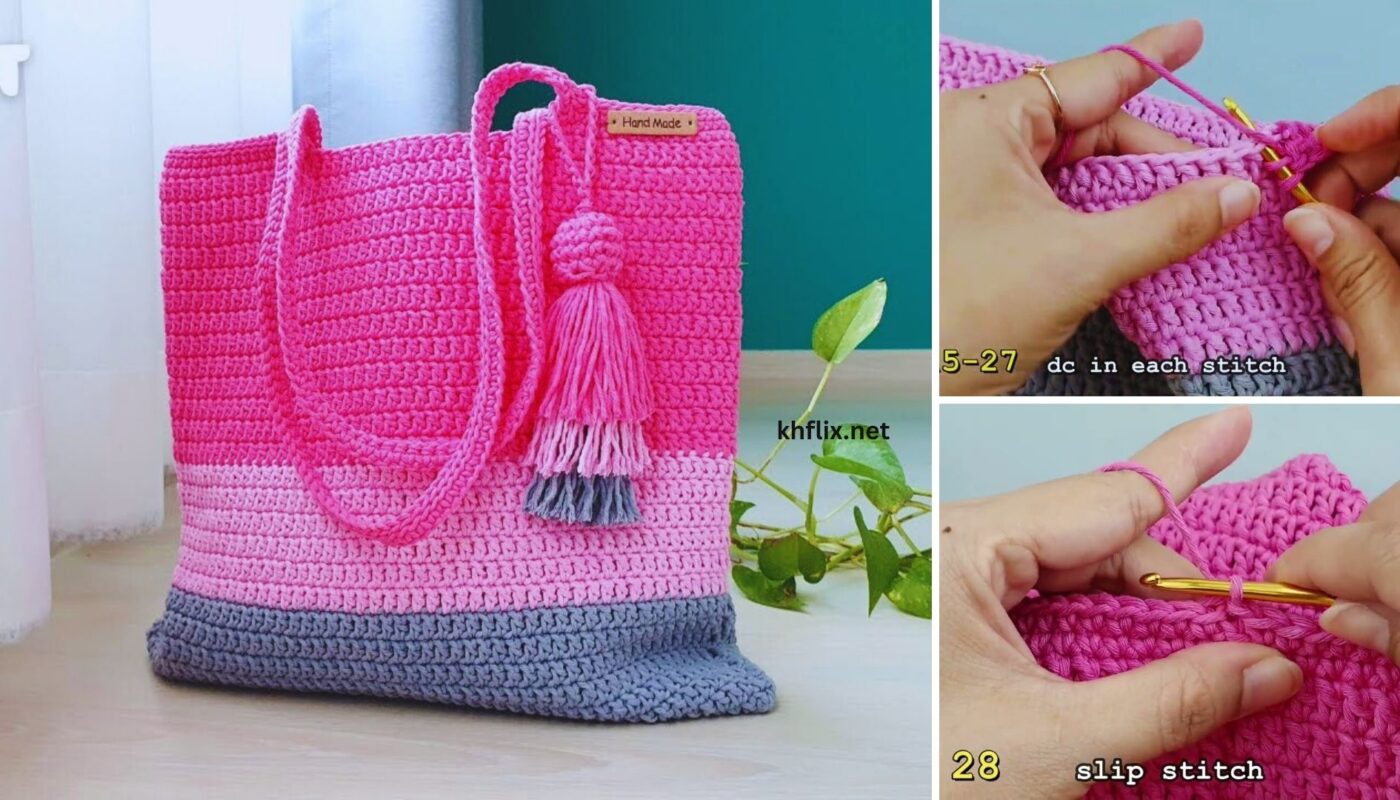
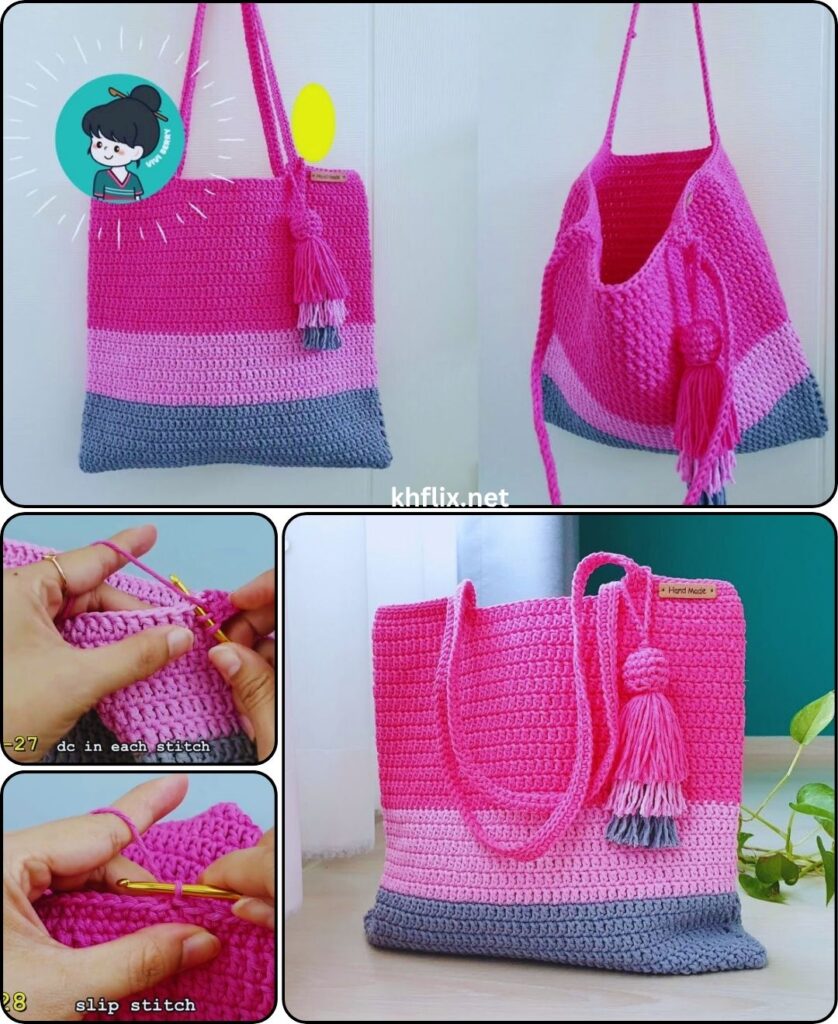
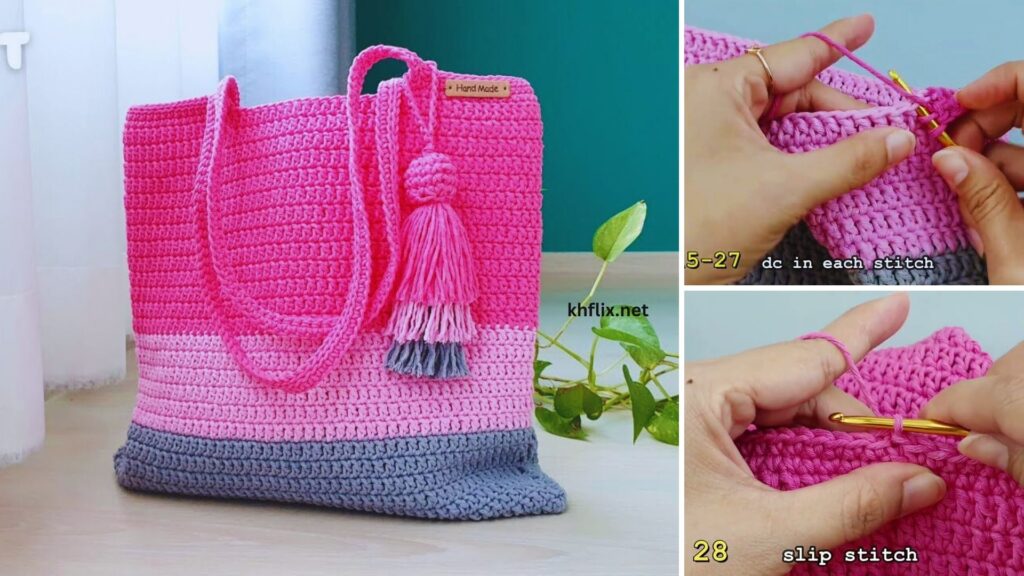
How to Make a Beautiful Three-Color Crochet Tote Handbag
Project Overview: This tutorial guides you through crocheting a stylish and functional tote bag with a gorgeous ribbed texture, designed with three distinct color blocks. You’ll learn how to make clean color changes to achieve defined stripes, creating a bag that’s both attractive and durable. As before, optional professional finishing touches like a fabric lining and magnetic snap are highly recommended for that luxurious feel.
Skill Level: Intermediate (Requires comfortable knowledge of basic stitches, working in the round, neat color changes, understanding stitch placement for texture, and willingness to add a fabric lining and hardware).
Finished Bag Dimensions (Approximate):
- Base: 12 inches (30 cm) long x 5 inches (12.5 cm) wide
- Height: 13 inches (33 cm) (excluding handles)
- Handle Drop: 10 inches (25 cm) (adjustable)
Materials You’ll Need:
- Yarn (Worsted Weight / Medium #4):
- Color A (Base & Lower Body): Approx. 250-300 yards (230-275 meters)
- Color B (Mid Body): Approx. 400-450 yards (365-410 meters)
- Color C (Upper Body & Handles): Approx. 150-200 yards (137-183 meters)
- Total Yarn: Approximately 800-1000 yards (730-915 meters) of Mercerized Cotton or Sturdy Acrylic Yarn.
- Why these yarns? They provide excellent stitch definition, durability, and a clean finish crucial for a multi-color design.
- Crochet Hook:
- Size H/5.0mm (or the hook size that gives you a very dense, firm fabric for structure. Gauge is critical).
- Yarn Needle (Tapestry Needle): For weaving in ends and sewing handles.
- Scissors
- Stitch Markers: Essential for marking the beginning of rounds and increase points on the base.
- For the LUXURIOUS Finish (Highly Recommended!):
- Fabric for Lining: Approximately 1-1.5 yards (1-1.4 meters) of sturdy cotton, canvas, or similar woven fabric. Choose a color or subtle pattern that complements your three yarn colors.
- Sewing Machine (or Hand-Sewing Needle & Matching Thread): For creating the lining.
- Magnetic Snap Closure (1 set): For a secure bag closure.
- Interfacing (Optional): For a very stiff, structured lining (e.g., fusible fleece or Pellon Peltex).
- D-Rings (2 pieces, 1.5-2 inch / 3.8-5 cm, optional): For attaching a detachable shoulder strap.
Gauge (Crucial for Shape and Structure!):
With your H/5.0mm hook and chosen yarn, in single crochet in BLO (sc BLO):
- 15 sc BLO = 4 inches (10 cm)
- 16 rows sc BLO = 4 inches (10 cm)
Your fabric should be very dense and firm. If it feels loose or floppy, go down a hook size. If it’s too stiff and difficult to work, go up a hook size. Consistency is key for a well-shaped bag.
Abbreviations Used:
- ch: chain
- sl st: slip stitch
- sc: single crochet
- inc: increase (work 2 stitches into the same stitch)
- sc BLO: single crochet in back loop only (insert hook into the back loop of the stitch only)
- st(s): stitch(es)
- FO: fasten off
How to Make a Clean Color Change (Crucial for This Project!):
When you need to switch colors at the end of a round (in spiral rounds, this means when you’re working the last stitch before your stitch marker):
- Work the last stitch of the current round with Color A as normal, but stop when you have two loops left on your hook.
- Drop Color A.
- Pick up Color B, yarn over with Color B, and pull through the two loops on your hook to complete the stitch.
- You have now successfully changed colors. Continue with Color B for the next round, starting with the first stitch after your stitch marker.
- Cut Color A, leaving a 4-6 inch tail to weave in securely later.
Understanding Bag Construction:
This tote bag is built in a practical, sturdy manner, with color changes strategically placed for a beautiful effect:
- Rectangular Base (Color A): A flat, firm foundation.
- Lower Body (Color A): Continues in the first color for a grounded feel.
- Mid Body (Color B): The main contrasting or complementary color for the majority of the bag’s height.
- Upper Body (Color C): A final accent color for the top portion of the bag, tying in with the handles.
- Handles (Color C): Matching the top color for a cohesive look.
- Lining & Hardware: Optional, but highly recommended for luxury and functionality.
Let’s Start Crocheting Your Beautiful Three-Color Tote!
Part 1: The Bag Base (Color A)
- With Color A, Ch 46.
- Round 1:
- Sc in the 2nd ch from hook. Sc in each of the next 43 chs.
- Inc (3 sc) in the last ch.
- Rotate your work to crochet along the other side of the starting chain.
- Sc in each of the next 43 chs.
- Inc (2 sc) in the very last ch (same as first sc of round).
- Sl st to the first sc to join. (Total: 92 sc).
- Place a stitch marker in the first sc of this round.
- Round 2:
- Ch 1 (does NOT count as a stitch). Sc in the same st.
- Sc in each of the next 44 sc.
- Inc (2 sc) in each of the next 2 sc.
- Sc in each of the next 45 sc.
- Inc (2 sc) in each of the next 2 sc.
- Sl st to the first sc to join. (Total: 96 sc).
- Move stitch marker to the first sc of this round.
- Round 3:
- Ch 1 (does NOT count as a stitch). Sc in the same st.
- Sc in each of the next 45 sc.
- (Sc in next sc, inc (2 sc) in next sc). Repeat from * to * 2 times.
- Sc in each of the next 46 sc.
- (Sc in next sc, inc (2 sc) in next sc). Repeat from * to * 2 times.
- Sl st to the first sc to join. (Total: 100 sc).
- Move stitch marker.
Your base should now be a flat rectangle, approx. 12 x 5 inches.
Part 2: Building the Bag Body (Color Blocking)
We’ll work upwards in continuous rounds (spirals) using sc BLO.
Lower Body (Color A):
- Round 4 (Starting the Sides): Work 1 sc in the BLO of each sc around. DO NOT SL ST TO JOIN. Simply continue working into the next stitch. Place a stitch marker in the first sc BLO of this round. (Total: 100 sc BLO).
- Rounds 5 – 16: Continue working 1 sc BLO in each sc BLO around. (This creates approximately 4 inches of height for Color A).
- On the very last stitch of Round 16 (the stitch right before your stitch marker), perform a clean color change to Color B as described in the “How to Make a Clean Color Change” section above.
Mid Body (Color B):
- Round 17: With Color B, work 1 sc BLO in each sc BLO around.
- Rounds 18 – 38: Continue working 1 sc BLO in each sc BLO around. (This creates approximately 8 inches of height for Color B).
- On the very last stitch of Round 38 (the stitch right before your stitch marker), perform a clean color change to Color C.
Upper Body (Color C):
- Round 39: With Color C, work 1 sc BLO in each sc BLO around.
- Rounds 40 – 50: Continue working 1 sc BLO in each sc BLO around. (This creates approximately 2-3 inches of height for Color C, completing the bag height to 13 inches).
Part 3: Finishing the Top Edge
After completing Round 50:
- Final Top Edge Round: Work 1 sc in the BLO of each sc BLO around.
- When you reach the stitch marker, work a sl st into the next stitch to make a seamless join.
- FO, leaving a 6-inch tail. Weave in the tail securely.
Part 4: Crocheted Handles (Color C)
We’ll make two identical sturdy straps using Color C.
- Make 2 Straps:
- Strap Base: Ch 66.
- Row 1: Sc in the 2nd ch from hook. Sc in each ch across. (Total: 65 sc). Ch 1, turn.
- Rows 2-5: Sc in each sc across. (Total: 65 sc). Ch 1, turn.
- FO, leaving a very long tail (at least 15-20 inches / 38-50 cm) for sewing the strap to the bag.
- Attach Handles to Bag:
- Positioning: Lay your bag flat. Place the strap ends on the top edge of the bag, about 2-3 inches (5-7.5 cm) in from the side edges. Ensure handles are perfectly symmetrical on both sides. Mark attachment points with stitch markers.
- Sewing: Thread the long yarn tail onto your yarn needle. Carefully sew each end of the strap to the top edge of the bag. Stitch through all layers of the strap and bag fabric multiple times in a rectangular pattern for maximum security. Go back and forth several times to create a strong attachment.
- Weave in any remaining tails securely on the inside of the bag.
Part 5: Optional (but Highly Recommended) Fabric Lining
This step is key to the bag’s structure and luxurious feel.
- Measure Your Bag:
- Width: Lay the bag flat and measure across its widest point (top opening).
- Height: Measure from the base to the top edge.
- Depth/Base: Measure the width and length of your crocheted base.
- Cut Fabric:
- Cut two pieces for the main body: Length = Bag height + 1.5 in (3.8 cm); Width = Bag width + 1 in (2.5 cm).
- Cut one piece for the bottom: Rectangle matching crocheted base dimensions + 0.5 in (1.25 cm) seam allowance all around.
- Optional Interfacing: Cut matching pieces of interfacing. Apply according to product instructions.
- Sew Lining:
- Sew the two body pieces together along their sides (right sides facing). Press seams open.
- Create “box corners” on the bottom of the body tube to match the depth of your bag’s base.
- Alternatively, sew the rectangular base piece to the bottom of the body tube (right sides facing). Press seam.
- Fold down the top edge of the lining by 1/2 inch (1.25 cm), press, then fold down another 1 inch (2.5 cm) and press to create a hem. Stitch this hem in place.
- Insert & Attach:
- Carefully insert the finished fabric lining into your crocheted bag. Smooth it inside.
- Hand-stitch the top hem of the lining to the inside top edge of your crocheted bag using small, neat stitches.
Part 6: Optional Closure (Magnetic Snap)
- Placement: Center the snap components on the lining, about 0.5-1 inch (1.25-2.5 cm) down from the top edge.
- Attach Snap: Sew the magnetic snap components onto the lining (usually before the lining is fully sewn into the bag). Follow the snap’s instructions for secure attachment.
Part 7: Final Finishing
- Weave in All Remaining Ends: Ensure all crochet yarn tails are neatly and securely woven into the back of your work. Pay extra attention to the color change points to prevent unraveling.
- Final Shaping: Gently stuff your bag to help it hold its shape. You can lightly mist it with water and allow it to air dry, or just let it settle with use.
Your beautiful, multi-color, and wonderfully structured crochet tote handbag is now complete! Enjoy your unique handmade accessory.