 by
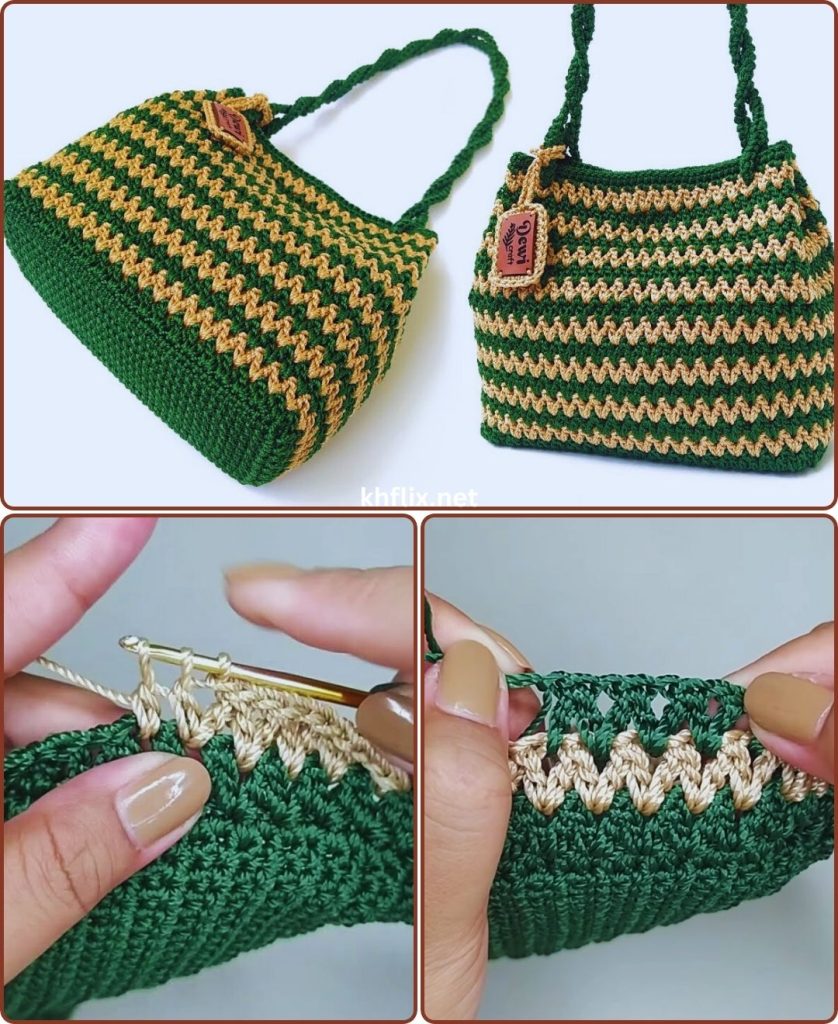
by Crochet bags are one of the most fun and practical projects you can make. They allow you to combine creativity, color, and texture while producing something you can use every day. For beginners, a well-structured bag design tutorial helps build confidence, teaches fundamental crochet techniques, and results in a stylish handmade accessory.
In this guide, we’ll walk you through everything you need to know, from materials and basic stitches to creating handles, patterns, and finishing touches.
🌟 Why Crochet Bags Are Great for Beginners
Crochet bags are beginner-friendly because:
- They are manageable in size
- You can practice basic stitches and shaping
- Patterns can be simple but visually appealing
- Each bag can be personalized with colors and textures
- They make beautiful gifts or practical home items
Even with basic stitches, you can create a bag that looks professional and unique.
🧶 Materials Needed
Yarn
- Medium-weight cotton or acrylic yarn (worsted weight recommended)
- Choose 1–3 colors for patterns or stripes
- Cotton yarn is preferred for durability and shape retention
Crochet Hook
- 5 mm – 6 mm (choose size according to yarn thickness)
Other Supplies
- Scissors
- Yarn needle for weaving in ends
- Stitch markers (optional, helpful for marking rounds or handle placement)
- Fabric lining (optional, for sturdier bags)
- Decorative items like buttons, beads, or appliques (optional)
🪡 Basic Stitches Used
This tutorial uses beginner-friendly stitches:
- Chain (ch)
- Slip stitch (sl st)
- Single crochet (sc)
- Half double crochet (hdc)
- Double crochet (dc)
Optional for decoration: shell stitch, popcorn stitch, or back loop only (BLO) for texture.
📏 Choosing Your Bag Size
Bag size can be adjusted according to your needs:
- Small: 8–10 inches wide, 6–8 inches high
- Medium: 10–12 inches wide, 8–10 inches high
- Large: 12–15 inches wide, 10–12 inches high
Adjust the foundation chain for width and the number of rows for height.
🧵 Step-by-Step Guide to Crochet a Bag Design
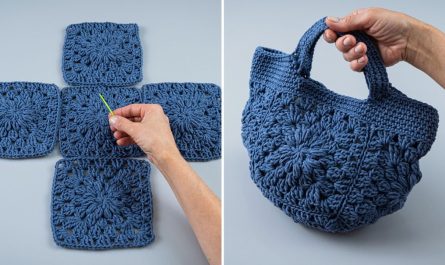
Step 1: Make the Base
- Start with a foundation chain based on your desired width.
- Work a row of single crochet or half double crochet across the chain.
- Continue for several rows (usually 3–5 inches) to create a sturdy base.
✨ Tip: For extra durability, you can hold two strands of yarn together.

Step 2: Start the Body of the Bag
- Begin working in your chosen stitch pattern:
- Single crochet for a simple design
- Alternating single and double crochet for texture
- Shell stitch or BLO stitches for decorative patterns
- Repeat your pattern until the bag reaches the desired height.
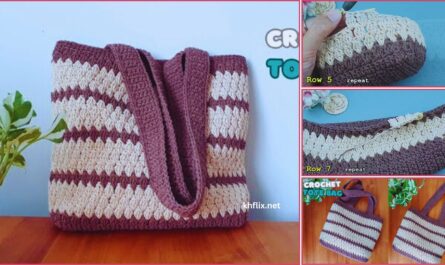
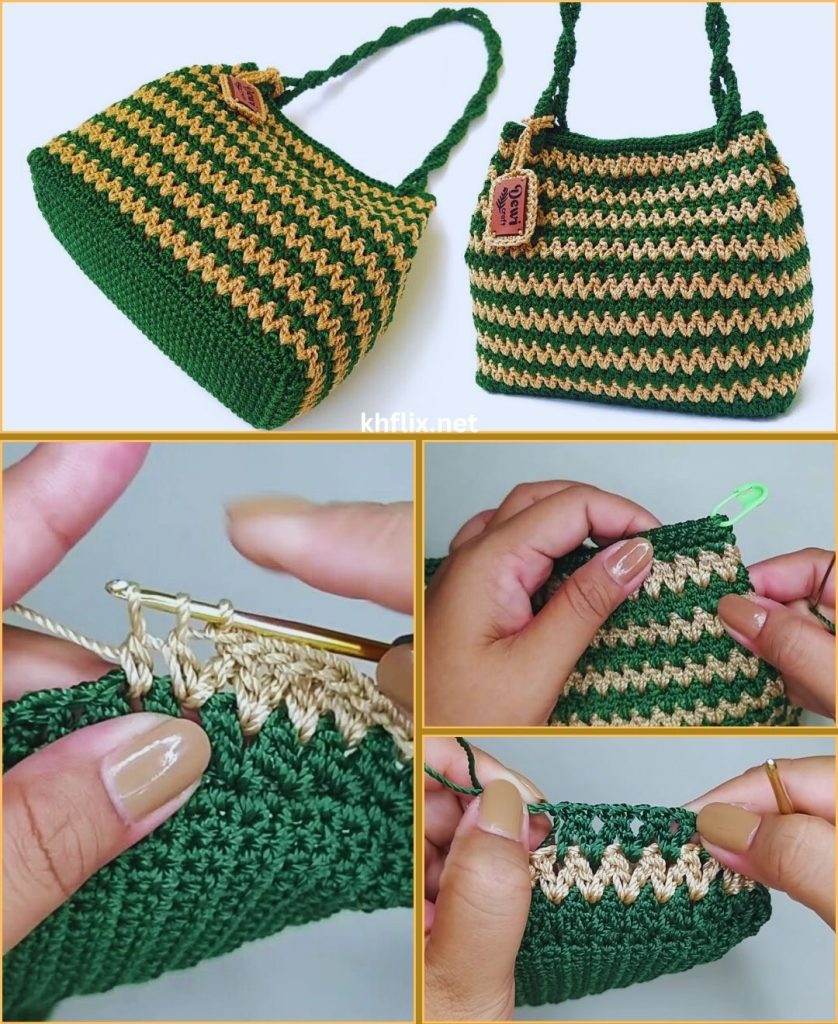
Step 3: Add Patterns or Color
- Change yarn colors every few rows for stripes
- Use simple motifs like shells, bobbles, or textured stitches
- Keep patterns repeatable and consistent to maintain a neat look
✨ Tip: Test your pattern on a small swatch before starting the bag.
Step 4: Shape the Top
- For a straight-top bag: continue same stitch pattern
- For a tapered top: decrease stitches evenly on each row
- Make sure the opening is wide enough for your intended use
Step 5: Create Handles
Handles can be made in two ways:
Option 1: Integrated Handles
- Leave spaces on the top rows for handle openings
- Continue pattern around remaining stitches
- Reinforce edges with extra stitches
Option 2: Separate Handles
- Chain desired length (usually 20–24 inches)
- Work single or half double crochet across chain
- Sew securely onto bag
- Reinforce attachment points with extra stitches
✨ Tip: Integrated handles usually give a cleaner finish for beginners.
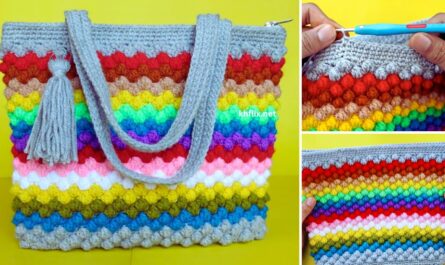
Step 6: Add Decorative Elements (Optional)
- Buttons, beads, or appliques for visual interest
- Tassels or crochet flowers for a fun touch
- Contrasting colors or stripes to highlight your design
These optional elements make your bag unique and stylish.
Step 7: Finish and Weave in Ends
- Cut the yarn and pull through the last loop to secure.
- Weave in all loose ends neatly with a yarn needle.
- Optional: lightly block the bag to ensure flat edges and smooth shape.
Step 8: Optional Lining
- Sewing a fabric lining inside the bag adds strength and durability
- Prevents small items from slipping through crochet holes
- Gives a professional, finished look
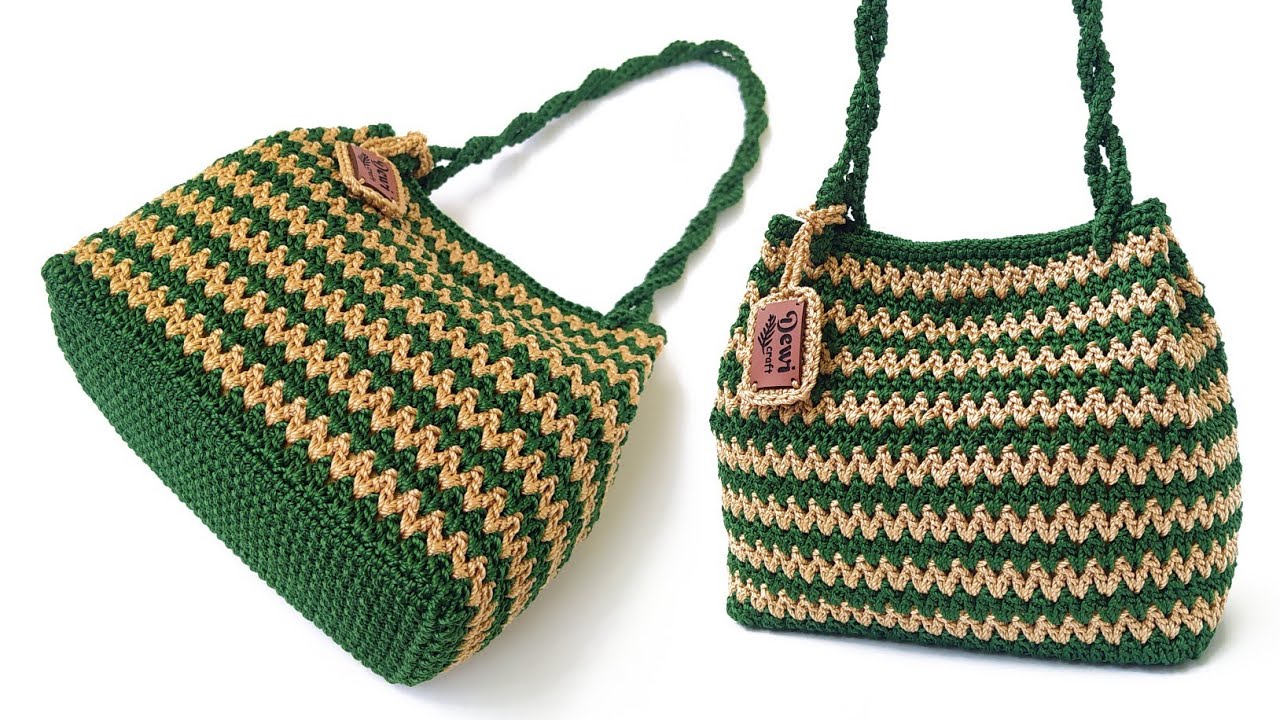
🎨 Color & Pattern Ideas
- Simple solid color for a classic, versatile bag
- Stripes or blocks of different colors for a modern look
- Gradient or ombre effect using different shades
- Use textured stitches for added depth and interest
💡 Tips for Beginners
- Maintain consistent tension for even stitches
- Count stitches carefully when shaping or adding patterns
- Use stitch markers for handle placement or round beginnings
- Work slowly and patiently for best results
- Practice decorative patterns on small swatches first
🧼 Care Instructions
- Cotton yarn bags are generally machine washable on gentle cycle
- Lay flat to dry to maintain shape
- Avoid harsh detergents to preserve color and texture
- If lined, remove or hand wash lining separately
🌈 Skill Level
- Beginner-friendly with optional decorative techniques
- Teaches shaping, handle creation, and pattern repetition
- Suitable for someone learning to combine basic stitches and textures
🎁 Why Crochet Bags Make Perfect Gifts
- Handmade bags are practical and stylish
- Great for birthdays, holidays, or housewarming gifts
- Fully customizable with colors, patterns, and size
- Eco-friendly and unique alternative to store-bought handbags
✨ Final Thoughts
Crocheting a bag as a beginner is fun, creative, and rewarding. Using simple stitches, repeating patterns, and optional decorative touches, you can make a beautiful and practical handbag even on your first attempt.
This step-by-step guide ensures that you’ll end up with a bag that is functional, stylish, and personalized, helping you build confidence in your crochet skills. 👜💖🧶
I can also create a visual diagram and step-by-step pattern template for beginners, showing the bag base, pattern rows, and handle placement. This makes it easier to follow along.
Do you want me to make that visual guide?