 by
by Crocheting your own bag is one of the most exciting and satisfying beginner projects. A crochet bag is practical, stylish, and surprisingly easy to make—even if you are new to crochet. With just a few basic stitches and simple construction techniques, you can create a beautiful handmade bag that you’ll be proud to use or gift.
This super easy crochet bag tutorial for beginners will guide you step by step through the entire process—from choosing materials to finishing your bag neatly—without complicated patterns or advanced skills.
Why Crochet Bags Are Perfect for Beginners
Crochet bags are ideal beginner projects because they:
- Use simple stitches
- Do not require precise sizing like garments
- Are forgiving of small mistakes
- Work up relatively quickly
- Can be customized easily
- Build confidence in crochet skills
Even your first crochet bag can look stylish and professional.
Skill Level & Time Required
- Skill Level: Beginner (no experience needed beyond basics)
- Time Required: 3–6 hours (depending on size and speed)
- Yarn Used: Medium amount
Types of Easy Crochet Bags for Beginners
Before starting, choose a beginner-friendly style:
- Simple Tote Bag – Flat panels sewn together
- Market / Shopping Bag – Lightweight and stretchy
- Pouch or Handbag – Small and quick
- Drawstring Bag – Easy shaping, no sewing
- Shoulder Bag – Basic straps added
This tutorial focuses on a simple rectangular tote bag, one of the easiest styles for beginners.
Materials Needed
Yarn Selection
Choosing the right yarn is important for durability.
Best yarns for beginner crochet bags:
- Cotton yarn (highly recommended)
- Strong and less stretchy
- Holds shape well
- Medium weight (Worsted / Category 4)
Avoid very soft or fuzzy yarns for your first bag.
Crochet Hook
- 4.5 mm – 5.5 mm crochet hook
- Use a slightly smaller hook for tighter stitches
Additional Supplies
- Scissors
- Yarn needle
- Stitch markers (optional)
- Measuring tape
- Button, zipper, or magnetic snap (optional)
Basic Crochet Stitches You Need to Know
This super easy bag uses only beginner stitches:
- Chain (ch)
- Slip stitch (sl st)
- Single crochet (sc)
- Half double crochet (hdc)
Single crochet is especially popular for bags because it creates a dense, sturdy fabric.
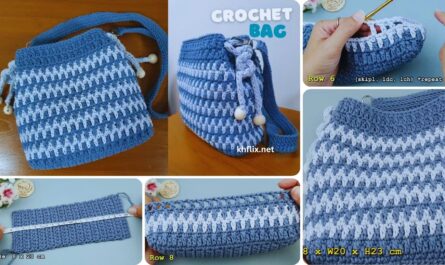
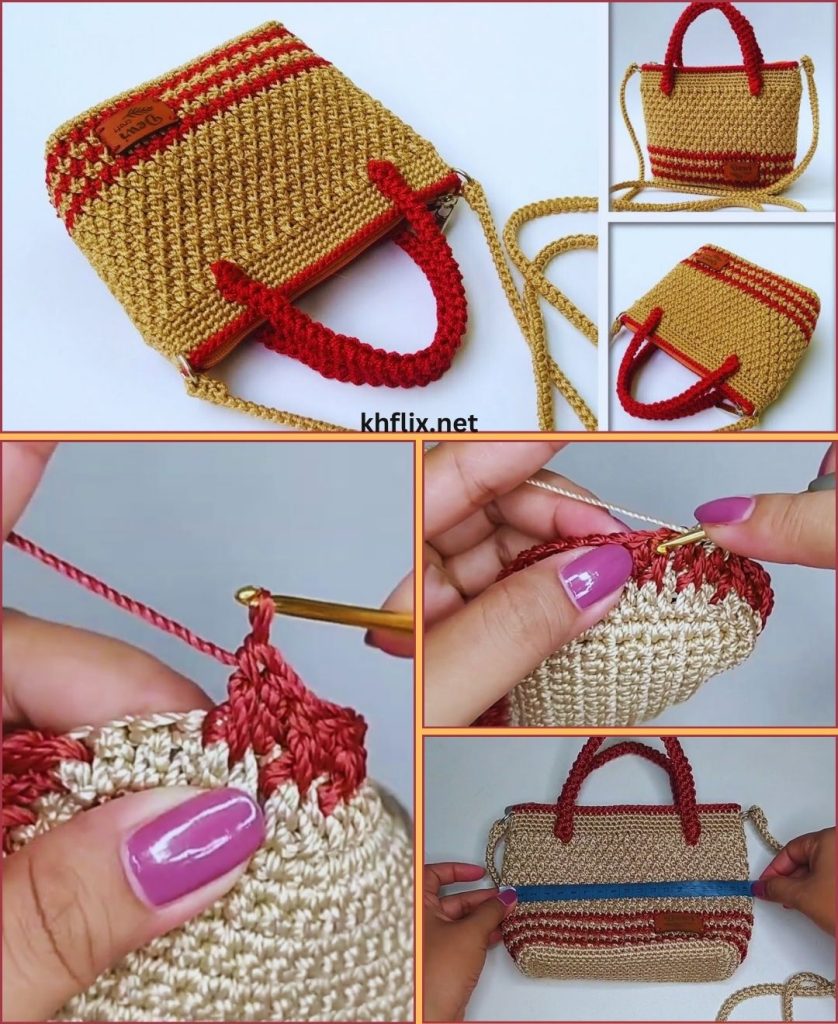
Step-by-Step Guide: Super Easy Crochet Bag for Beginners
Step 1: Decide the Bag Size
A beginner-friendly tote bag size:
- Width: 30–35 cm
- Height: 28–30 cm
You can adjust size easily by adding or reducing stitches.
Step 2: Crochet the Base Panel
- Chain the desired width of your bag (example: chain 35)
- Single crochet in the second chain from the hook
- Continue single crochet across the row
- Turn your work and chain 1
- Repeat rows until the panel reaches the desired height
This creates a simple rectangle.
Step 3: Fold and Shape the Bag
- Fold the rectangle in half
- Use single crochet or slip stitch to join the side edges
- Leave the top open
You now have the basic bag shape.
Step 4: Strengthen the Top Edge
- Attach yarn at the top edge
- Single crochet evenly around the opening
- Work 2–3 rounds for extra strength
This helps prevent stretching.
Step 5: Crochet the Handles (Very Easy!)
Option 1: Attached Crochet Handles
- Decide handle placement
- Chain 30–40 stitches
- Skip stitches on the bag edge
- Attach with single crochet
- Repeat on the other side
Option 2: Separate Handles
- Crochet two long strips
- Sew them securely to the bag
Optional Bag Closures
Beginner-friendly closures include:
- Button and loop
- Magnetic snap
- Drawstring
- Open-top bag (simplest option)

Making the Bag Sturdy (Important Tips)
- Use tight stitches
- Choose cotton yarn
- Reinforce handles
- Avoid very loose tension
- Add fabric lining if desired
Simple Stitch Options for Beginner Bags
- Single crochet (most durable)
- Half double crochet (faster, slightly softer)
- Moss stitch (simple and stylish)
Stick to one stitch for your first bag.
Color & Design Ideas
- Solid color for a clean look
- Neutral tones for everyday use
- Two-color stripes
- Pastel shades for summer bags
- Bold colors for statement pieces
Common Beginner Mistakes & How to Fix Them
- Bag stretching: Use tighter stitches or smaller hook
- Uneven edges: Count stitches carefully
- Weak handles: Add extra rows or reinforcement
- Bag too floppy: Add lining or use thicker yarn
What Can You Use Your Crochet Bag For?
- Shopping and groceries
- Everyday handbag
- Beach bag
- Yarn storage
- Gift bag
- Casual outings
Care Instructions
- Hand wash or gentle machine wash
- Lay flat to dry
- Avoid hanging heavy items
- Reshape while damp
Why This Is the Perfect First Crochet Bag
- No complicated shaping
- Minimal sewing
- Easy to customize
- Builds essential crochet skills
- Practical and wearable result
Final Thoughts
Making a super easy crochet bag is a wonderful way to begin your crochet journey. With simple stitches, basic shaping, and a little patience, you can create a beautiful handmade bag that’s both useful and stylish.
Don’t worry about perfection—each stitch helps you learn and improve. Once you finish your first bag, you’ll be inspired to make many more in different styles, sizes, and colors.
Grab your yarn, pick up your hook, and start crocheting your very first bag—one stitch at a time! 🧶👜✨