by
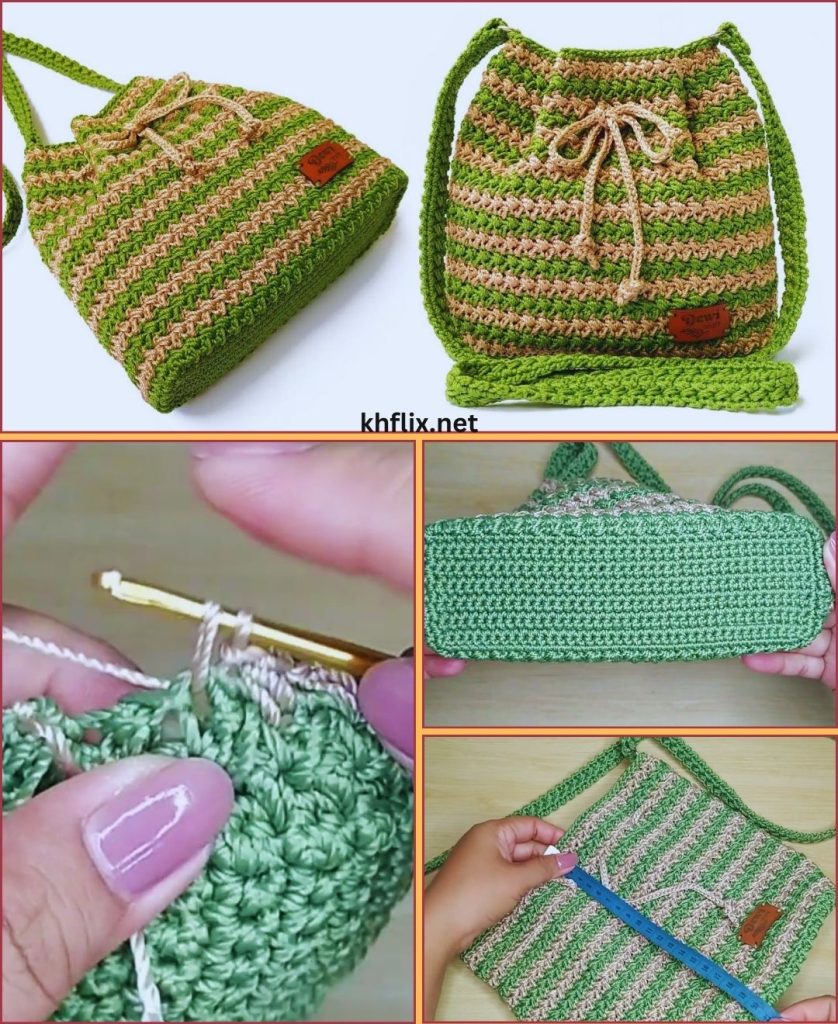
by Crocheting a bag is one of the most satisfying projects for beginners. Not only is it practical, but it’s also stylish, customizable, and can be completed relatively quickly. Even if you are new to crochet, you can make a beautiful handmade bag in just a few steps using basic stitches and simple construction techniques.
This tutorial will walk you through everything you need to know to make a beginner-friendly crochet bag, from choosing yarn and hook to creating sturdy handles and finishing touches.
Why Crochet a Bag?
Crochet bags are popular among beginners for several reasons:
- Quick and easy: Can be made in a few hours.
- Beginner-friendly: Uses only basic crochet stitches.
- Functional: Perfect for shopping, daily use, or gifting.
- Customizable: Change colors, size, or patterns to match your style.
- Satisfying: You get a usable item quickly, which is motivating for beginners.
Even a simple crochet bag can look elegant and professional with a few careful touches.
Skill Level & Time Needed
- Skill Level: Beginner
- Time Required: 3–5 hours depending on bag size and complexity
- Yarn Usage: Medium weight, approximately 200–400 grams for a standard tote
Materials You Will Need
Yarn
- Cotton yarn: Sturdy and durable, maintains shape
- Acrylic yarn: Soft, slightly stretchy, good for casual bags
- Medium-weight (Worsted / Category 4): Ideal for beginner bags
Color Ideas:
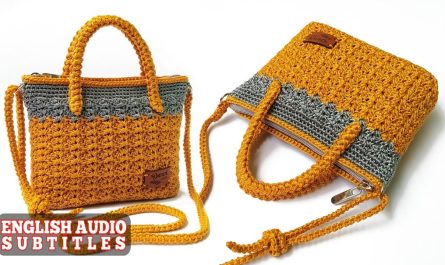
- Neutral tones like white, beige, or gray for a classic bag
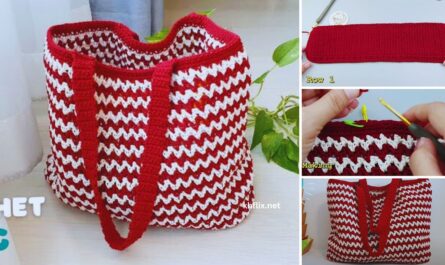
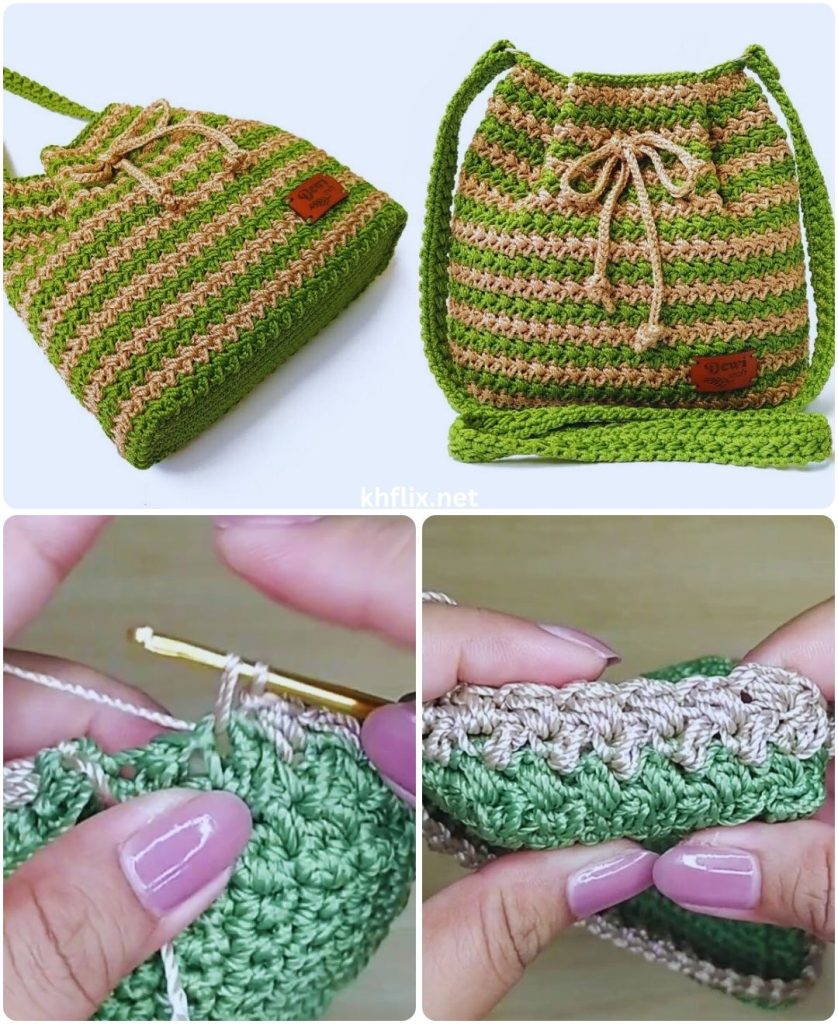
- Bold colors like red, blue, or green for a statement piece
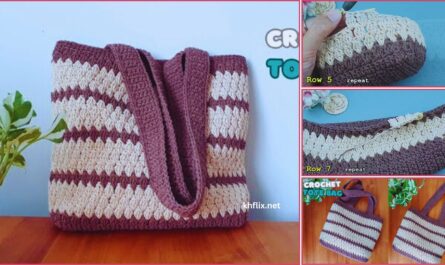
- Two or three-color combinations for stripes
Crochet Hook
- 4.5 mm – 5.5 mm for medium-weight yarn
- Smaller hook for tighter stitches, larger hook for softer fabric
Other Supplies
- Scissors
- Yarn needle
- Stitch markers (optional)
- Measuring tape
- Optional: Button, snap, zipper, or drawstring for closure
Basic Crochet Stitches You Should Know
This bag can be made with only a few basic stitches:
- Chain (ch)
- Slip stitch (sl st)
- Single crochet (sc)
- Half double crochet (hdc)
Optional: Double crochet (dc) for texture or decorative sections
These stitches are enough to create a strong, beautiful bag.
Step-by-Step Guide: Quick & Easy Crochet Bag
We’ll create a simple rectangular tote bag, perfect for beginners.
Step 1: Decide the Size of Your Bag
A standard beginner-friendly tote bag:
- Width: 30–35 cm
- Height: 28–30 cm
Adjust the number of chains in your foundation row to increase or decrease width.
Step 2: Crochet the Base Panel
- Chain the desired width of your bag (e.g., ch 35).
- Single crochet in the second chain from the hook.
- Continue single crochet across the row.
- Turn, chain 1, and repeat until the rectangle reaches the desired height.
Tip: Keep your tension even for a neat and sturdy base.
Step 3: Fold and Join the Sides
- Fold the rectangle in half so the sides align.
- Single crochet or slip stitch the sides together, leaving the top open.
- Make sure seams are tight to avoid gaps.
You now have the basic bag shape.
Step 4: Strengthen the Top Edge
- Attach yarn at the top edge.
- Single crochet evenly around the opening.
- Work 2–3 rounds for a reinforced and polished finish.
This prevents stretching and ensures durability.
Step 5: Crochet the Handles
Option 1: Integrated Crochet Handles
- Decide placement of the handles on the top edge.
- Chain 30–40 stitches for one handle.
- Skip a few stitches on the top edge and attach with single crochet.
- Repeat for the second handle.
Option 2: Separate Crochet Handles
- Crochet two strips in single crochet or half double crochet.
- Attach securely to the top edge of the bag.
- Add extra rows or stitches for reinforcement.
Step 6: Optional Bag Closures
- Button with a chain loop
- Magnetic snap
- Zipper (slightly advanced)
- Open-top design (perfect for casual tote)
Tips for Making a Durable Crochet Bag
- Keep stitches tight and even.
- Use cotton yarn for structure.
- Reinforce handles with extra rows or sewing.
- Avoid very loose tension or soft yarn for beginner bags.
- Optional: Line your bag with fabric for extra strength.
Creative Design Ideas
- Solid colors for a minimalist look
- Stripes with 2–3 colors
- Ombre or gradient yarn for modern style
- Add crochet motifs, granny squares, or flowers
- Decorative borders with scallops or picots
Common Beginner Mistakes & How to Fix Them
- Bag stretches or sags: Use tighter stitches or smaller hook.
- Uneven edges: Count stitches and rows carefully.
- Weak handles: Add extra rows or sew reinforcement.
- Bag curls at edges: Work a round of single crochet around the top.
Uses for Your Crochet Bag
- Grocery shopping or market bag
- Everyday tote bag
- Beach or picnic bag
- Storage for yarn or craft supplies
- Gift bag
- Casual lightweight backpack
Care Instructions
- Hand wash or gentle machine wash.
- Lay flat to dry to maintain shape.
- Avoid hanging heavy items on handles.
- Reshape gently while damp.
Why This Quick & Easy Bag Is Perfect for Beginners
- Uses only simple stitches and minimal shaping.
- Quick to make, providing instant satisfaction.
- Practical and stylish final product.
- Builds confidence for more advanced crochet projects.
Final Thoughts
Crocheting a beautiful bag in just a few steps is not only practical but also incredibly rewarding. Even as a beginner, you can create a sturdy, stylish tote bag with just a few basic stitches.
Once you master this simple bag, you can experiment with:
- Different sizes (mini bag, large tote)
- Various stitch patterns (moss stitch, shell stitch, granny squares)
- Decorative elements like flowers, fringes, or lace edges
Grab your yarn and hook, follow these steps, and in just a few hours, you’ll have a handmade crochet bag that’s ready to use or gift. Every stitch counts toward your first functional and beautiful handmade bag! 🧶👜✨
If you want, I can also create a super beginner-friendly step-by-step crochet bag pattern with exact stitch counts, row numbers, and optional variations that even absolute beginners can follow to make their first bag successfully.
Do you want me to make that next?