 by
by Crocheting your own hat is one of the most fun and rewarding beginner projects. A handmade hat is practical, stylish, and a perfect way to use your yarn stash. Even if you’re completely new to crochet, you can create a simple, cozy hat in just a few hours using basic stitches.
In this guide, we will walk you through how to crochet a hat for beginners, including materials, step-by-step instructions, stitch patterns, tips for sizing, and finishing touches.
Why Crochet a Hat?
Crochet hats are perfect beginner projects because:
- Simple and quick: Can be completed in a few hours.
- Beginner-friendly: Uses only basic stitches like single crochet or half double crochet.
- Customizable: Choose your yarn, colors, and patterns.
- Functional: Cozy and wearable, perfect for winter or gifts.
- Versatile: Works for babies, kids, and adults.
Even a simple crochet hat can look polished and professional with minimal effort.
Skill Level & Time Required
- Skill Level: Beginner
- Time Required: 2–5 hours depending on size
- Yarn Used: Medium-weight yarn (worsted / category 4)
Materials Needed
Yarn
- Medium-weight cotton or acrylic yarn – strong, soft, and easy to work with
- Color choice: Neutral shades for everyday wear or bright colors for a fun look
Crochet Hook
- 4.0 mm – 5.5 mm depending on yarn thickness and tension
Additional Supplies
- Scissors
- Yarn needle
- Stitch markers (optional)
- Measuring tape
Basic Stitches You Will Need
This beginner-friendly hat uses only a few stitches:
- Chain (ch) – foundation stitch
- Slip stitch (sl st) – joining rounds
- Single crochet (sc) – tight and cozy fabric
- Half double crochet (hdc) – slightly taller stitch, faster coverage
- Double crochet (dc) – optional for textured hats
These stitches are enough to make a simple and sturdy crochet hat.
Step 1: Measure and Plan the Hat
Before starting, decide the size of your hat:
| Size | Head Circumference | Approximate Height |
|---|---|---|
| Baby | 35–38 cm | 12–14 cm |
| Toddler | 44–46 cm | 15–17 cm |
| Child | 48–50 cm | 18–20 cm |
| Adult | 55–60 cm | 22–25 cm |
Tip: Measure the head and subtract 2–5% for a snug fit.
Step 2: Create the Magic Ring
- Start with a magic ring (adjustable loop) for a neat center.
- Chain 2 (counts as first stitch for double crochet) or chain 1 (for single crochet).
- Work 8–12 stitches into the ring.
- Pull the loop tight to close the center.
- Join the first and last stitch with a slip stitch.
Alternative: If you’re not familiar with a magic ring, chain 4 and join with a slip stitch to form a loop.
Step 3: Increase the Hat Crown
The crown is worked in rounds.
- Round 1: Chain 2 (counts as first double crochet), work 1 dc into same stitch, then 2 dc in each stitch around. Join with slip stitch.
- Round 2: Chain 2, 1 dc in next stitch, 2 dc in next stitch – repeat around.
- Round 3: Chain 2, 1 dc in each of next 2 stitches, 2 dc in next stitch – repeat.
Tip: Continue increasing rounds evenly until the crown reaches the desired diameter for your head size.
Step 4: Work Even Rounds
Once the crown is wide enough:
- Stop increasing and continue in even rounds.
- Work one stitch per stitch around.
- Continue until the hat reaches the desired height.
Tip: For a snug beanie, measure against the head as you go.
Step 5: Finish the Edge
For a clean edge:
- Single crochet 1–2 rounds for a tight finish.
- Optionally, use ribbing:
- Half double crochet in the back loops only (BLO) around for a stretchy cuff.
- This creates a professional-looking, elastic edge.
Step 6: Optional Decorative Additions
- Pom-pom: Make a small yarn pom-pom and sew on top.
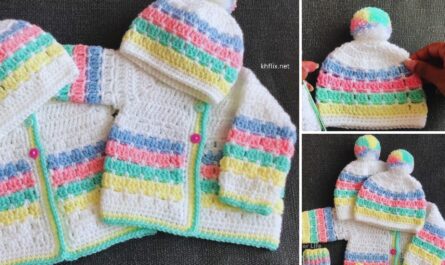
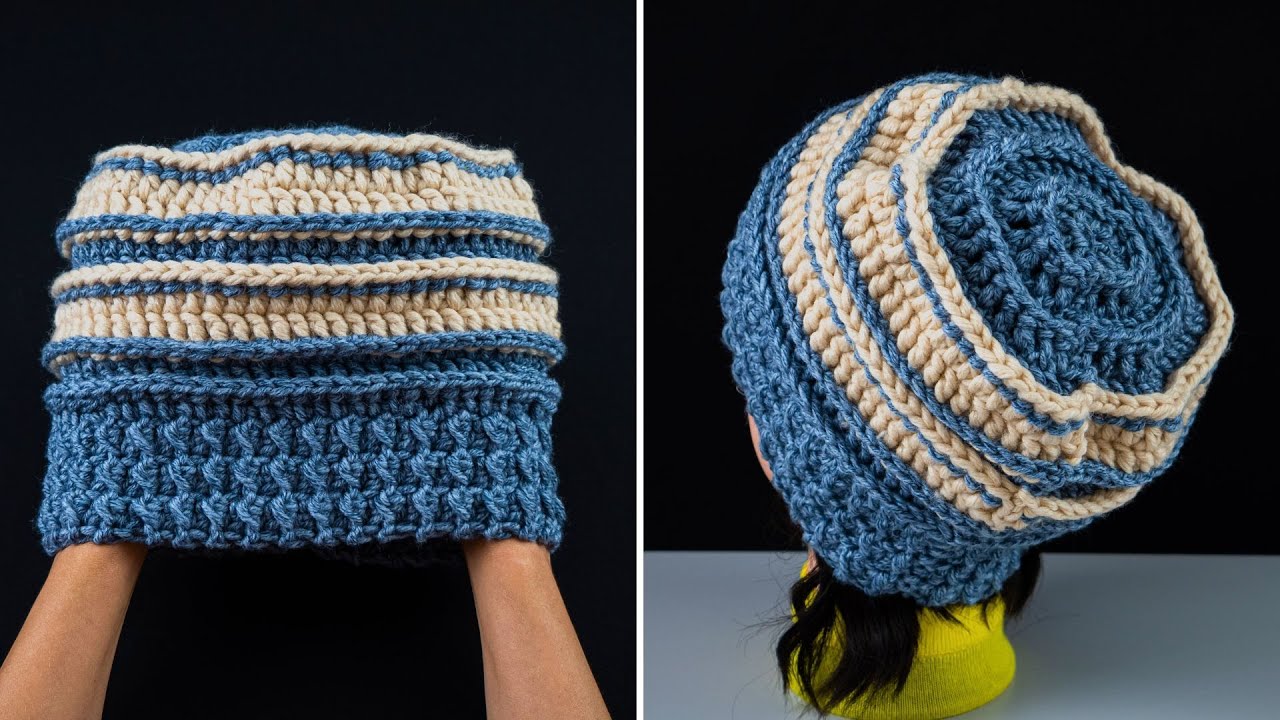
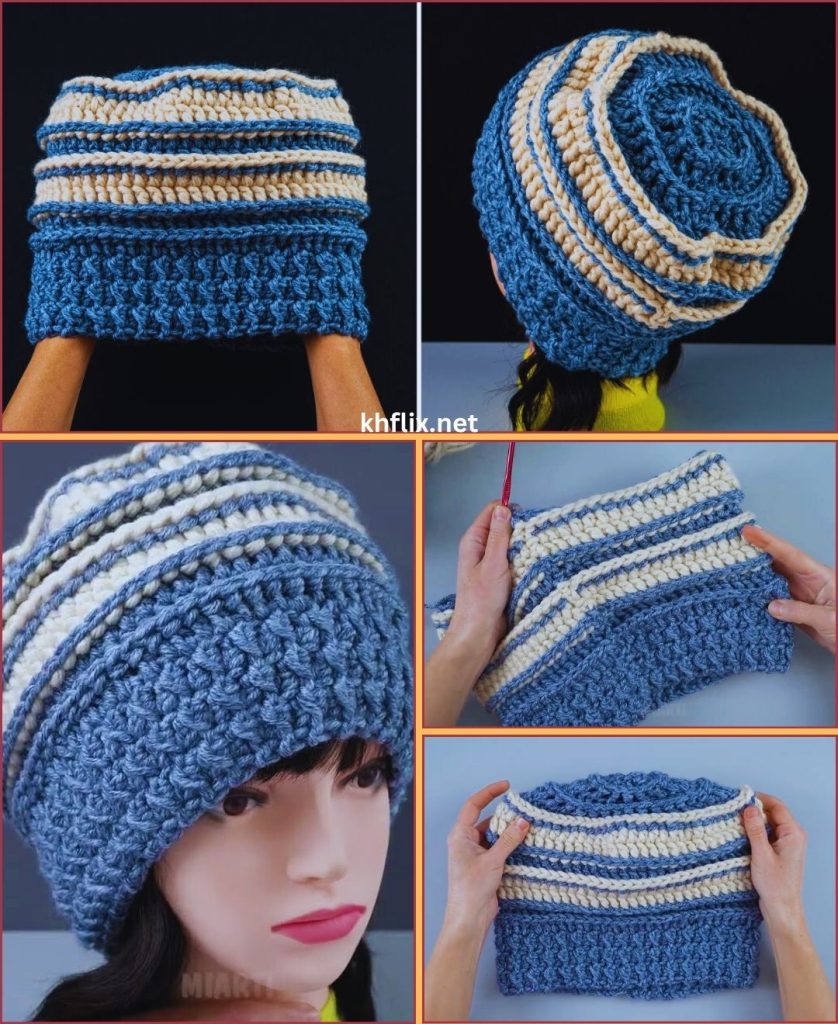
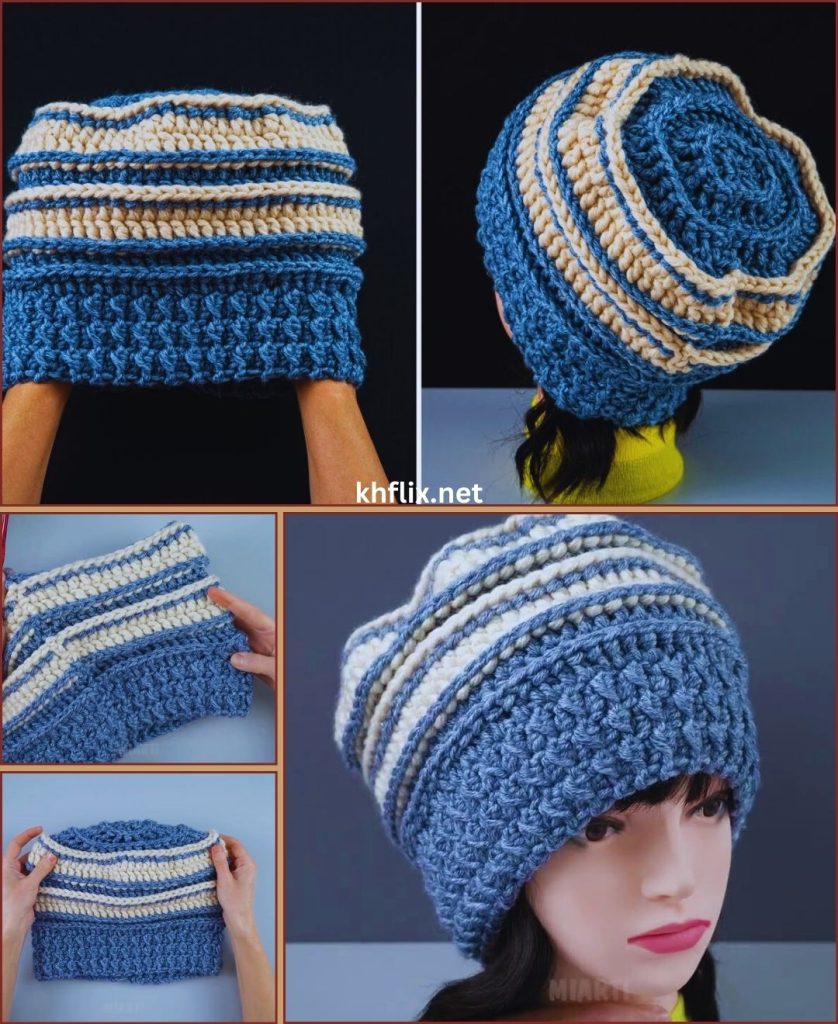
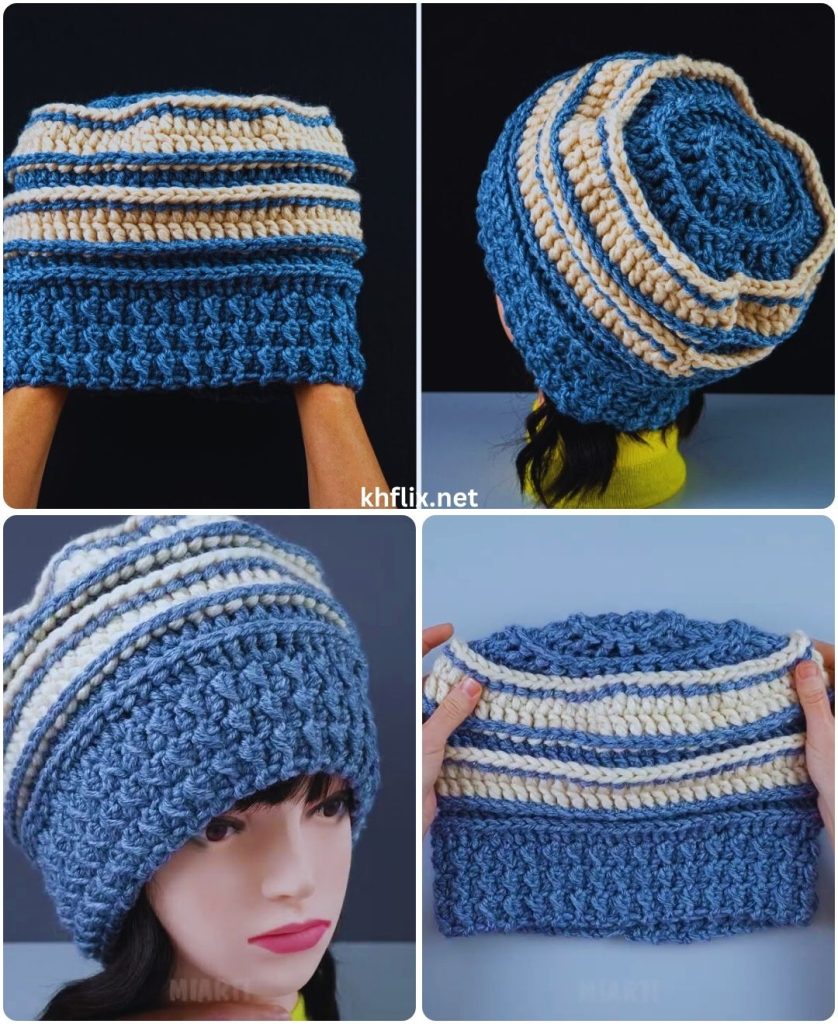
- Stripes: Alternate yarn colors every few rounds.
- Textured stitches: Try shell stitch or bobble stitch for pattern variation.
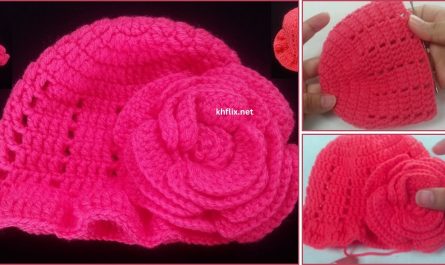
- Appliques: Add crochet flowers, stars, or other motifs.
Tips for a Perfect Beginner Crochet Hat
- Keep tension even for smooth fabric.
- Count stitches at the end of each round to avoid mistakes.
- Use stitch markers to mark the start of each round.
- Measure frequently to ensure proper size.
- Block the finished hat lightly if needed to smooth stitches.
Common Mistakes & How to Fix Them
- Hat too small: Add more increase rounds at the crown.
- Hat too loose: Use a smaller hook or tighter tension.
- Uneven crown: Count increases carefully each round.
- Edges curl: Add a few rounds of single crochet or ribbing.
Yarn & Color Ideas
- Single-color hat for a classic look
- Stripes for playful style
- Ombre gradient for modern flair
- Neutral tones for adults, bright colors for children
Care Instructions
- Hand wash or gentle machine wash
- Lay flat to dry to maintain shape
- Avoid high heat or stretching
- Store flat or folded carefully
Why This Project is Perfect for Beginners
- Uses basic stitches that are easy to learn
- Quick to make – instant satisfaction
- Functional and wearable
- Can be customized endlessly with colors, size, and patterns
Final Thoughts
Crocheting a simple hat for beginners is a fun, practical, and rewarding project. Even with just basic stitches and a little patience, you can create a cozy, stylish hat in just a few hours.
Once you’ve made your first hat, you can experiment with:
- Different textures (ribbing, shell stitches)
- Color patterns and stripes
- Decorative appliques
- Larger or smaller sizes for kids, adults, or babies
Grab your yarn and hook, follow these simple steps, and you’ll have a beautiful handmade crochet hat ready to wear, gift, or keep cozy all winter! 🧶🧢✨
If you want, I can also create a super simple beginner-friendly crochet hat pattern with exact stitch counts, round numbers, and measurements that even a complete beginner can follow step by step.
Do you want me to do that next?