by
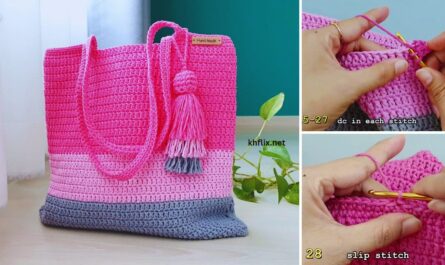
by Let’s crochet a fantastic tote bag that’s perfect for beginners! This project is a wonderful way to learn fundamental crochet techniques while creating a useful and stylish accessory. We’ll keep the stitches simple, focus on clear steps, and ensure you end up with a sturdy, beautiful bag you’ll be proud to carry.
How to Crochet a Beginner-Friendly Tote Bag: Detailed Tutorial
This guide is designed with beginners in mind, using straightforward stitches and a simple construction method. You’ll learn how to create a flat base and build up the sides, resulting in a practical and attractive tote.
Skill Level: Beginner Friendly
You’ll need to know just a few basic stitches:
- Chain (ch): The very first stitch, forming your foundation.
- Slip Stitch (sl st): Used for joining stitches and neatening edges.
- Single Crochet (sc): A compact, dense stitch that makes for a sturdy bag.
- Half Double Crochet (hdc): A slightly taller stitch, which will help your bag grow faster.
- Working in the round: Crocheting in a spiral or joined circles.
- Working into specific loops (BLO/FLO): This is a simple trick to create a clean base.
Finished Bag Dimensions (Approximate):
This pattern creates a medium-sized tote bag, typically around 12-14 inches (30-35 cm) wide and 10-12 inches (25-30 cm) tall (excluding handles). You can easily adjust the size by changing your starting chain and the number of rounds.
Materials You’ll Need:
- Yarn: Approximately 400-500 yards (365-457 meters) of Worsted Weight (Medium #4) Cotton or Cotton Blend Yarn.
- Why Cotton? Cotton yarn is highly recommended for bags because it’s durable, has excellent stitch definition, and less stretch compared to acrylic. This helps your bag hold its shape better and stand up to daily use.
- Color Choice: Pick a color you love! A single solid color is great for beginners as it avoids color changes, allowing you to focus on the stitches and shape.
- Crochet Hook: Size H/5.0mm or I/5.5mm. A 5.0mm hook is often a good choice for worsted weight cotton when making a bag, as it creates a dense fabric. If your stitches feel too stiff, go up to a 5.5mm.
- Yarn Needle (Tapestry Needle): Essential for weaving in any loose yarn ends for a tidy finish.
- Scissors: For cutting your yarn.
- Stitch Marker (Optional but Helpful): A small clip or a scrap piece of yarn to mark the beginning of your rounds, especially when working in a spiral.
Understanding the Bag Construction:
We’ll make this tote bag in one continuous piece. You’ll start by creating an oval base, then work upwards in continuous rounds to form the body of the bag, and finally add simple handles.
Let’s Crochet Your Tote Bag!
Part 1: Crocheting the Oval Base
A sturdy, flat base is key for a functional tote bag. We’ll make it using single crochet (sc) stitches.
- Starting Chain:
- Make a slip knot and put it on your hook.
- Ch 31. (This will be the approximate length of your bag’s base. If you want a wider bag, chain more stitches; if you want a narrower one, chain fewer. Keep the number odd, so you have an even number of stitches in your first row.)
- Round 1:
- Work 2 sc into the 2nd chain from your hook.
- Sc in each of the next 28 chains across.
- Work 3 sc into the very last chain. (This creates a neat curve to turn you around the end of the chain.)
- Now, working down the opposite side of the foundation chain: Sc in each of the next 28 chains across.
- Work 1 sc into the very first chain (the same chain where you put the initial 2 sc).
- Sl st into the first sc to join the round.
- [Total: 62 sc] (This is your first completed oval base round.)
- Round 2:
- Ch 1 (this chain does NOT count as a stitch).
- Work 2 sc into the first stitch (this is an increase).
- Sc in the next 29 stitches.
- Work 2 sc into each of the next 3 stitches (these are increases around the curve).
- Sc in the next 29 stitches.
- Work 2 sc into each of the last 2 stitches (increases around the final curve).
- Sl st into the first sc to join.
- [Total: 68 sc]
- Round 3:
- Ch 1.
- Work 2 sc into the first stitch.
- Sc in the next 30 stitches.
- Work 2 sc into each of the next 3 stitches.
- Sc in the next 30 stitches.
- Work 2 sc into each of the last 2 stitches.
- Sl st into the first sc to join.
- [Total: 74 sc]
- Round 4 (Optional for a larger base):
- Ch 1.
- Work 2 sc into the first stitch.
- Sc in the next 31 stitches.
- Work 2 sc into each of the next 3 stitches.
- Sc in the next 31 stitches.
- Work 2 sc into each of the last 2 stitches.
- Sl st into the first sc to join.
- [Total: 80 sc]

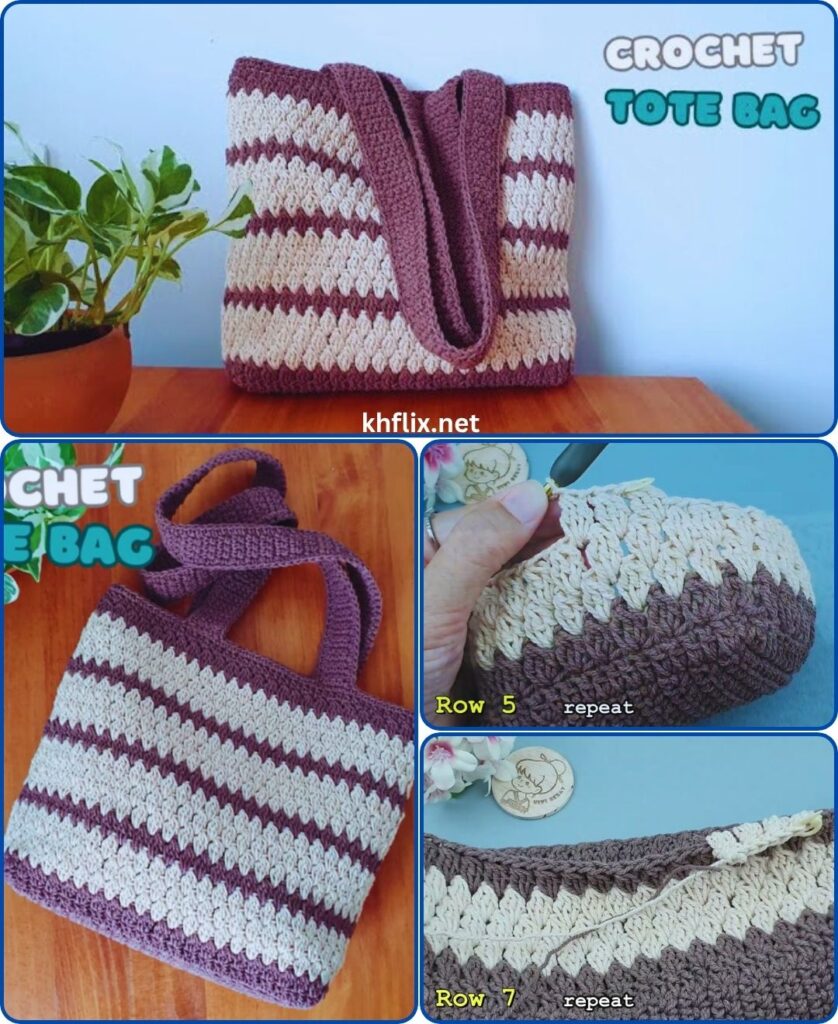
Part 2: Crocheting the Bag Body
Now we’ll work straight up to form the sides of the bag. We’ll use half double crochet (hdc) for this section, as it’s sturdy like single crochet but grows faster.
- Round 5 (Transition to Body):
- Ch 1 (does NOT count as a stitch).
- Work 1 hdc in the back loop only (BLO) of each stitch around. (This is a key step! Working into the BLO creates a neat, defined ridge where the bag’s sides begin, cleanly separating the base from the body. You’ll only insert your hook into the loop furthest from you.)
- Sl st into the first hdc to join.
- [Total: 80 hdc] (Your stitch count will remain the same as your last base round.)
- Round 6 onwards (Body of Bag):
- Ch 1 (does NOT count as a stitch).
- Work 1 hdc in each stitch around (now working through both loops as normal).
- Sl st into the first hdc to join.
- [Total: 80 hdc]
- Repeat Round 6 until your bag reaches the desired height. For a medium tote, aim for approximately 15-20 rounds of hdc, or about 8-10 inches (20-25 cm) tall from the base ridge. The more rounds you make, the taller your bag will be.
Part 3: Finishing the Top Edge
A neat and sturdy top edge is important for the bag’s structure and for attaching handles. We’ll finish with a few rounds of single crochet for extra firmness.
- Final Rounds for Top Edge:
- After completing your final hdc body round, Ch 1.
- Work 1 sc in each stitch around.
- Sl st into the first sc to join.
- [Total: 80 sc]
- Repeat this sc round for 2-3 more times. This creates a tight, dense border, which will prevent the top of your bag from stretching and provide a firm foundation for your handles.
- Fasten off, leaving a 6-inch (15 cm) tail for weaving in.

Part 4: Creating and Attaching Handles
We’ll make simple, sturdy crocheted handles.
- Crocheting the Handles (Make 2):
- With your chosen yarn color, Ch 8. (This will be the width of your handle. For a wider handle, chain more stitches; for a narrower one, chain fewer.)
- Work sc into the 2nd chain from your hook and in each chain across. (You should have 7 sc).
- Ch 1, turn (this is your turning chain for the next row).
- Work 1 sc in each of the 7 sc across.
- Repeat the last step (Ch 1, turn, sc across) until your strap reaches the desired length. For a typical tote, aim for approximately 18-24 inches (45-60 cm) for shoulder straps, or 10-12 inches (25-30 cm) for hand straps.
- Fasten off, leaving a very long tail (at least 12-18 inches / 30-45 cm) for sewing the handle to the bag.
- Attaching the Handles:
- Lay your completed bag flat and flatten it so the side “creases” are even.
- Position your first handle. On one side of the bag, measure about 3-4 inches (7.5-10 cm) in from each flattened side crease. This marks where you’ll attach the handle. Use stitch markers to mark these spots on the top edge.
- Thread the long tail of one handle onto your yarn needle.
- Align one end of the handle with one of your marked spots on the inside of the bag’s top border.
- Using your yarn needle, firmly sew the handle end to the bag’s top border, going through multiple layers of stitches for maximum durability. Make several passes with your needle to ensure it’s very secure.
- Repeat for the other end of the first handle, attaching it to the second marked spot on the same side of the bag.
- Repeat the entire process for the second handle on the opposite side of the bag, making sure it’s positioned symmetrically.
Part 5: Finishing Touches (Highly Recommended for a “Beautiful” Bag!)
These steps make your handmade bag look polished and professional.
- Weave in ALL Ends: This is a crucial step! For a clean, neat, and durable bag, use your yarn needle to meticulously weave in all remaining tails (from your starting chain, any cut yarn ends, and handle sewing tails).
- How to Weave Neatly: Weave tails into the stitches on the inside of the bag. Try to weave them in one direction for about 1-2 inches (2.5-5 cm), then subtly change direction and weave back through some of the same stitches. This “locks” the tail in place and prevents it from unraveling. Take your time; well-woven ends are practically invisible.
- Blocking (Optional but helpful): Blocking helps your bag take on its intended shape, evens out your stitches, and makes the fabric less prone to stretching.
- Gently stuff your bag with towels or crumpled paper to fill it to its desired shape.
- Using a spray bottle, lightly mist the bag with water (if using cotton yarn). For some fibers, you can hover a steamer or an iron (on a low, steam setting) over the fabric without touching it.
- Gently shape the bag with your hands while it’s damp, ensuring the base is flat and the sides are even. Let it air dry completely and thoroughly before removing the stuffing.
You’ve now created a fantastic, beginner-friendly crochet tote bag! This is a wonderful and useful handmade item. What will you carry in your new tote?