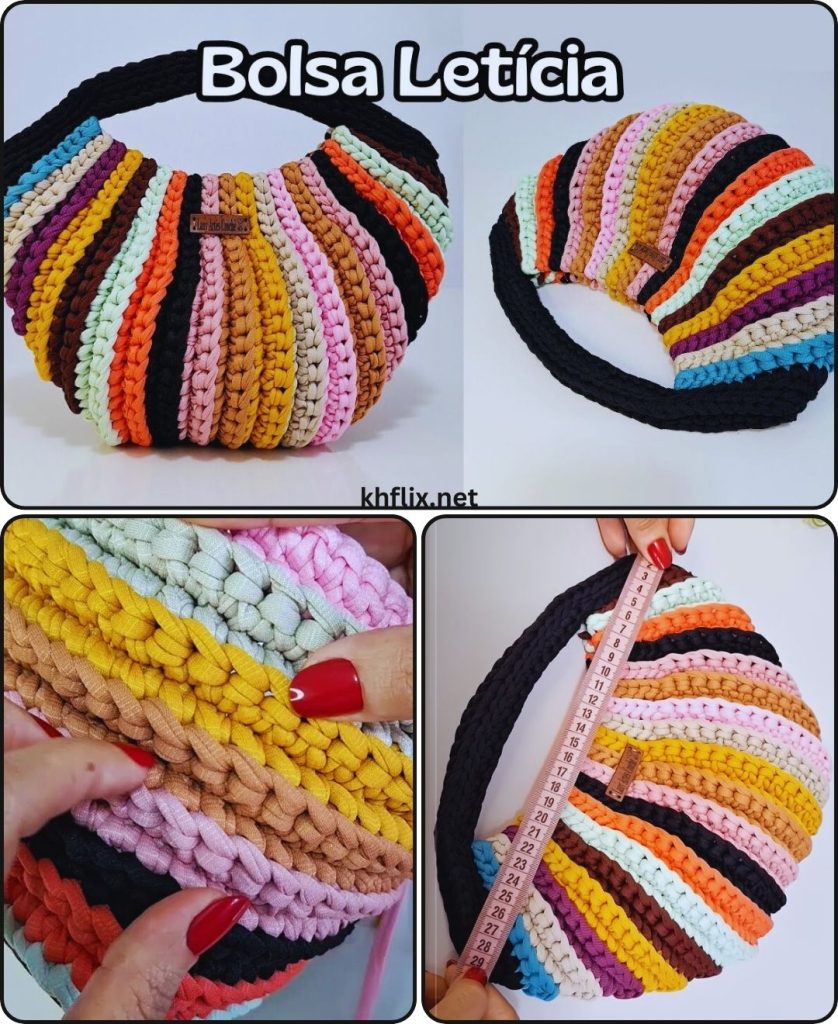
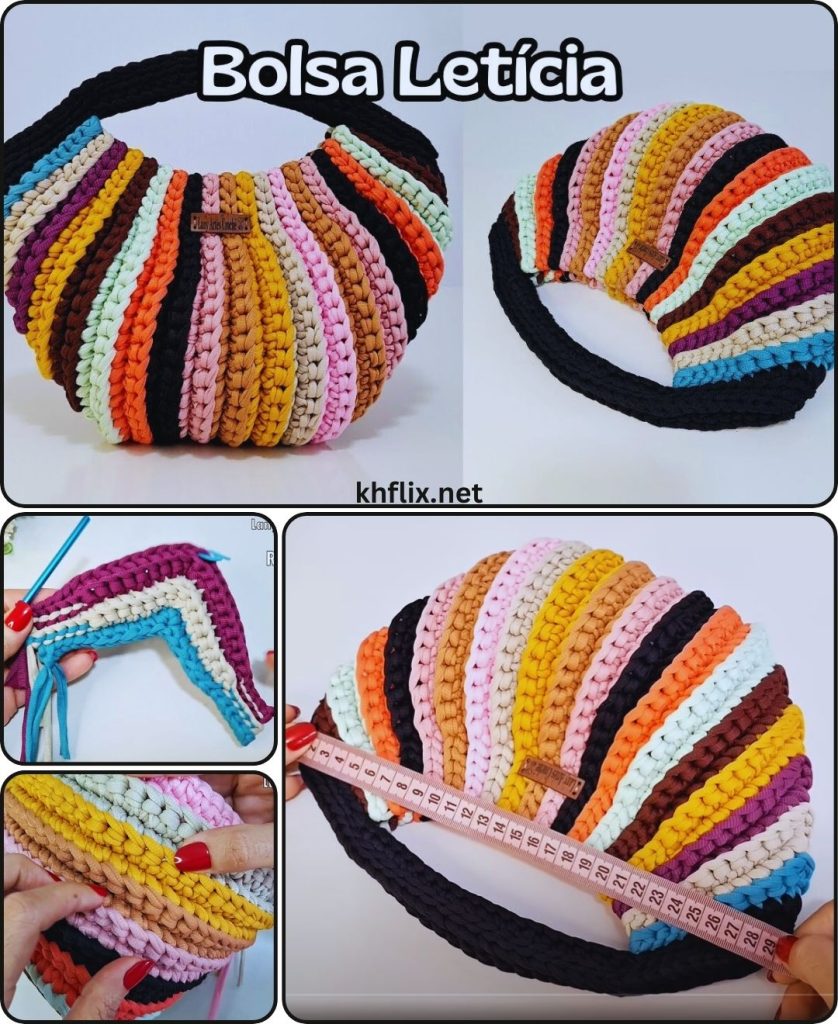
Let’s transform those yarn scraps into a vibrant and functional economic colorful crochet bag! This project is a fantastic way to bust your stash, create a truly unique accessory, and practice your crochet skills without having to buy new materials. The beauty of a “leftover yarn” bag is that no two will ever be exactly alike, resulting in a truly one-of-a-kind piece.

How to Make an Economic Colorful Crochet Bag with Leftover Yarn
This detailed guide will show you how to crochet a charming and practical bag using your collection of leftover yarn. We’ll focus on a simple yet sturdy design, perfect for beginners, that allows you to seamlessly integrate various colors and yarn weights (within reason) into a cohesive and beautiful accessory. Get ready to turn your scraps into a treasure!
Skill Level: Beginner
This project is perfectly suited for you if you’re comfortable with (or ready to learn!):
- Chain (ch): The fundamental stitch for starting.
- Slip Stitch (sl st): For joining rounds and neatening.
- Single Crochet (sc): A short, dense stitch, great for sturdy fabric.
- Working in rounds: Crocheting in a continuous or joined circular/oval manner.
- Changing colors: The fun part of using up those leftovers!
- Weaving in ends: Essential for a clean finish.
Finished Bag Dimensions (Approximate):
This pattern creates a small to medium-sized tote, perfect for everyday essentials, a market trip, or as a project bag. It will likely be around 9-11 inches (23-28 cm) wide and 8-10 inches (20-25 cm) tall (excluding the handles). You can easily adjust the size by changing your starting chain and the number of rounds.
Materials You’ll Need:
The best part about this project is its flexibility with materials!
- Leftover Yarn! This is the star of the show.
- Gather all your yarn scraps! Ideally, aim for worsted weight (Medium #4) yarn, as this pattern is designed for it. However, you can absolutely mix and match slightly different weights (e.g., some DK weight with worsted weight, or some aran weight). Just be aware that very different weights might create slight variations in tension, but that’s part of the charm of a scrap bag!
- Quantity: You’ll need a total of approximately 200-300 yards (180-275 meters) of yarn. Don’t worry if you only have small bits of each color; that’s perfect!
- Fiber Type: Acrylic and cotton blends work wonderfully for bags due to their durability and ease of care. Feel free to mix fiber types too!
- Crochet Hook: Size H/5.0mm. This is a good general-purpose hook for worsted weight yarn. If you’re mixing yarn weights, this hook size offers a good balance: it’ll work well for worsted, be a bit looser for DK (making it more flexible), and a bit tighter for aran (making it denser), which is fine for a varied bag.
- Yarn Needle (Tapestry Needle): Essential for weaving in all your loose ends (and you’ll have a few!).
- Scissors: For cutting your yarn.
- Stitch Marker (Optional but Recommended): Very helpful for marking the beginning of your rounds, especially when working in a spiral.
Understanding the Bag Construction: Build It from the Ground Up!
We’ll build this bag in a seamless manner, starting with a sturdy base and working our way up. This keeps the design simple and avoids too much seaming.
- Creating a Simple Oval Base: This forms the bottom of your bag and gives it shape.
- Building the Body (The Colorful Part!): Working upwards in continuous rounds, changing colors as often as you like, to form the main pouch.
- Adding the Top Border: Finishing the bag’s opening with a neat and firm edge.
- Crafting and Attaching the Handles: Creating a comfortable way to carry your unique creation.
Let’s Crochet Your Economic Colorful Bag!
The joy of this project is the freedom to change colors whenever inspiration strikes! Don’t overthink it; just have fun with your yarn scraps.
Part 1: Crocheting the Oval Base (Use a sturdy, neutral color if you have enough)
A solid, flat base is crucial for your bag to sit nicely. You can use one of your larger leftover pieces for this, or a more neutral color if you have one.

- Starting Chain:
- Make a slip knot with your chosen base color yarn and place it on your hook.
- Chain (ch) 21. (This will create a base approximately 7-8 inches long. For a wider or narrower bag, adjust this number. For a simple oval, starting with an odd number is usually best.)
- Round 1:
- Work 2 single crochet (sc) stitches into the 2nd chain from your hook.
- Work 1 sc into each of the next 18 chains across.
- Work 3 sc into the very last chain. (This forms the smooth, curved end of your oval, allowing you to turn your work around the corner.)
- Now, working down the opposite side of the foundation chain (into the bottom loops of the chains you just worked into): Work 1 sc into each of the next 18 chains across.
- Work 1 sc into the very first chain (the same chain where you placed the initial 2 sc).
- Slip stitch (sl st) into the first sc of the round to join.
- [Total: 42 sc] (This completes your first oval base round.)
- Round 2:
- Chain 1 (this chain does NOT count as a stitch, it just gives height).
- Work 2 sc into the first stitch (your first increase on the curve).
- Work 1 sc into the next 19 stitches.
- Work 2 sc into each of the next 3 stitches (increases evenly spaced around the curved end).
- Work 1 sc into the next 19 stitches.
- Work 2 sc into each of the last 2 stitches (increases around the final curve).
- Sl st into the first sc to join.
- [Total: 48 sc]
- Important Base Check: Your base should lie perfectly flat at this point. If it curls up, you might need one more round of increases. If it ruffles, you might have too many increases. Adjust if necessary.
- Do not fasten off your yarn yet, unless you want to change colors for the next step.
Part 2: Building the Bag Body (The Colorful Part!)
Now we’ll transition from the flat base to build the upright sides of your colorful bag. This is where you can unleash your creativity with color changes!
- Transition to Body (Establishing Verticality):
- Chain 1 (does NOT count as a stitch).
- Work 1 single crochet in the Back Loop Only (BLO) of each stitch around. (This is a key step! By working only into the back loop, you create a defined ridge where the base seamlessly transitions into the bag’s upright sides. It helps the bag stand up nicely.)
- Sl st into the first sc to join.
- [Total: 48 sc] (Your stitch count remains exactly the same as your final base round).
- This is a great spot for your first color change if you’re using a different color for your base!
- Body Rounds (Continuous Single Crochet with Color Changes):
- Chain 1.
- Work 1 single crochet (sc) into each stitch around (now working through both loops as you normally would for sc).
- Sl st into the first sc to join.
- Repeat this Round (Ch 1, sc in each stitch around, sl st to join) for approximately 15-20 more rounds, or until your bag reaches the desired height (e.g., 8-10 inches / 20-25 cm).
- How to Change Colors for Your Colorful Bag:
- The simplest way to change colors is on the last stitch of the round.
- Work the last sc of your current round almost completely: Insert hook, yarn over, pull up a loop (2 loops on hook).
- Drop your current color. Pick up your new color.
- With the new color, yarn over and pull through both loops on your hook to complete the sc stitch.
- Now, you’re ready to crochet the next round with your new color!
- When to Change: This is entirely up to you and your yarn scraps!
- Change every round for thin stripes.
- Change every 2-3 rounds for thicker stripes.
- Change randomly when you run out of a certain color! This creates a truly “scrappy” and unique look.
- Don’t cut your yarn too short when changing colors; leave at least a 4-inch tail for weaving in.
- Maintain consistent tension: Try to keep your stitches even across all colors for a neater look.
- Do not fasten off your yarn yet once you reach your desired height, unless you want to change colors for the top border.
Part 3: Adding the Top Border (Use a sturdy color if you have enough)
A neat and firm border is essential for the bag’s opening. This will provide a strong edge and prevent stretching.
- Border Rounds (Single Crochet):
- You can use the last color you were working with, or switch to a new, sturdy color for your border.
- Chain 1.
- Work 1 sc into each stitch around.
- Sl st into the first sc to join.
- Repeat this round for 2-3 more times. This creates a very tight, dense, and firm top border for your bag. This firmness is crucial to preventing the top of your bag from stretching out over time and provides a solid base for securely attaching your handles.
- Fasten off, leaving a 6-inch (15 cm) tail for weaving in.

Part 4: Crafting and Attaching the Handles (Can be a solid color or striped!)
You can make simple crocheted handles, or for an even more “scrappy” look, create striped handles using more of your leftover yarn!
- Crocheted Handle (Make 2 identical straps, or one long one for a shoulder bag):
- With your chosen handle color (or by alternating colors as you go!), chain (ch) 50 (for a short handheld strap. For a longer shoulder strap, chain 80-100 or more, adjusting to your desired length).
- Row 1: Work 1 single crochet (sc) into the 2nd chain from your hook. Work 1 sc into each remaining chain across. [Total: 49 sc]
- Chain 1, turn.
- Row 2: Work 1 sc into each sc across the row. [Total: 49 sc]
- Repeat Row 2 for 2-3 more rows until your handle reaches the desired width (e.g., 4-5 rows total for a sturdy handle).
- Fasten off, leaving a very long tail (at least 10-15 inches / 25-38 cm) at each end of the strap for sewing.
- Make a second identical strap if you want two handles, or leave it as one long strap for a single shoulder/cross-body bag.
- Attaching the Handle(s) to the Bag:
- Placement: Lay your bag flat. Determine where you want your handles to be. For a two-handle bag, they are attached to the front and back of the bag, roughly centered over the side curves. For a single strap, it attaches to the opposite sides of the bag’s opening.
- Securing: Thread one of the long tails from your handle onto your yarn needle.
- Position one end of your handle onto the inside of the bag’s top border. Pass your needle through the handle end and then through the stitches of the bag’s border repeatedly. Stitch firmly back and forth, creating a strong, secure attachment. Stitch over the same area multiple times (5-7 passes) to ensure durability.
- Repeat with the other end of the handle, and then with the second handle if you’re making two.
- Weave in any remaining handle tails very securely into the inside of the bag’s top border.
Part 5: Finishing Touches
This is where your economic colorful bag truly comes to life, looking neat and professional despite being made of scraps!
- Weave in ALL Remaining Ends (The Most Important Step!):
- This is absolutely crucial for a clean, neat, and durable bag. You’ll likely have many tails from all your color changes.
- Use your yarn needle to meticulously weave in every single loose yarn tail.
- How to Weave Neatly: Thread the yarn tail onto your yarn needle. Weave the tail into the stitches of the same color as the tail. This makes it blend in seamlessly. Weave in one direction for about 1.5-2 inches (4-5 cm). To truly secure it, subtly change direction (e.g., weave along a row, then turn and weave back through some of the same stitches diagonally or perpendicularly) to “lock” the tail in place and prevent it from unraveling. Trim any excess yarn close to the fabric, being careful not to cut any of your actual stitches. Don’t rush this step!
- Blocking (Optional but Recommended):
- Blocking can significantly improve the shape, drape, and overall finish of your crocheted bag. It helps to even out stitches and makes the bag sit more squarely.
- Method (Wet Blocking – Ideal for Cotton/Acrylic):
- Gently stuff your bag with clean towels or crumpled paper to fill it to its desired shape. Avoid overstuffing.
- Using a spray bottle, lightly mist the entire bag evenly with water until it’s damp but not soaking wet.
- Gently shape the bag with your hands while it’s damp, ensuring the base is flat, the sides are even, and the handles are positioned correctly.
- Allow the bag to air dry completely and thoroughly in a well-ventilated area before removing the stuffing. This can take 24-48 hours, or even longer depending on humidity. Ensure it’s bone dry to prevent mildew.
Congratulations! You’ve transformed your collection of leftover yarn into a beautiful, economic, and completely unique colorful crochet bag! You now have a stylish accessory that’s sustainable, practical, and a true testament to your creativity. Enjoy showing off your one-of-a-kind creation!
What will you carry in your new colorful bag?


