 by
by Crocheting a soap holder or sachet is a wonderfully practical and eco-friendly project that’s perfect for beginners. Inspired by the simple, resourceful style of handmade crafts like those from “Valdenete Crochet Arts and Recycling,” this project helps you reduce waste while creating something beautiful and useful.
In this detailed guide, you’ll learn how to make an easy crochet soap holder or sachet step by step, along with tips, variations, and creative ideas to make it your own.

🧼 How to Easy Crochet Soap Holder or Sachet
Step-by-Step Tutorial (Beginner Friendly)
✨ What Is a Crochet Soap Holder or Sachet?
A crochet soap holder (or soap saver pouch) is a small bag designed to:
- Hold a bar of soap
- Help create a rich lather
- Gently exfoliate the skin
- Collect and use leftover soap pieces
It can also be used as a sachet by filling it with dried herbs, flowers, or scented soap pieces.
🌿 Why You’ll Love This Project
- Eco-friendly – reduces soap waste
- Beginner-friendly – simple stitches only
- Quick to make – usually under 1 hour
- Practical – perfect for everyday use or gifts
- Great for recycling yarn scraps
🧶 Materials You’ll Need
Yarn
- Cotton yarn (recommended) – durable, absorbent, and skin-friendly
Avoid acrylic yarn for soap holders, as it doesn’t absorb water well.
Tools
- Crochet hook (3.5 mm – 5 mm depending on yarn)
- Yarn needle
- Scissors
Optional
- Wooden bead or toggle (for closure)
- Essential oils (if making a sachet)
🧵 Basic Stitches Used
This project uses very simple stitches:
- Chain (ch)
- Slip stitch (sl st)
- Single crochet (sc)
- Double crochet (dc)
🧼 Step-by-Step Instructions
🧶 Step 1: Create the Foundation Chain
- Chain 15–20 stitches (depending on soap size)
Tip: The chain should be slightly wider than your soap bar.
🔄 Step 2: Form the Base
- Work single crochet (sc) across the chain
- Chain 1 and turn
- Repeat for 4–6 rows
This creates a flat rectangle (the base of your pouch).
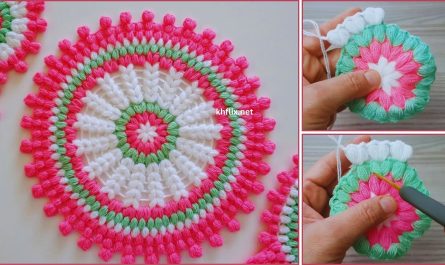
🧺 Step 3: Build the Body (Mesh Pattern)
Now you’ll create the pouch sides without cutting yarn.
Round Setup:
- Work around the rectangle evenly
- Place 2–3 stitches in each corner
- Join with a slip stitch
Mesh Pattern (for breathability)
Repeat this round:
- Chain 1, skip 1 stitch, 1 double crochet in next stitch
Continue around and join with slip stitch.
Repeat for 8–12 rounds depending on desired height.
This mesh design:
- Helps soap dry quickly
- Creates gentle exfoliation
🪢 Step 4: Create the Drawstring Holes
To make the top opening:
- Chain 2, skip 1 stitch, double crochet in next stitch
Repeat around to form evenly spaced holes.
🧵 Step 5: Add the Drawstring
- Chain 60–80 stitches (or desired length)
- Fasten off
- Weave the chain through the top holes
- Tie ends together or add a bead
✂️ Step 6: Finish the Project
- Weave in all loose ends
- Trim excess yarn
- Turn the pouch inside out (optional for smoother look)
Your crochet soap holder is now ready to use!
🌸 Optional: Turn It Into a Sachet
Instead of soap, fill your pouch with:
- Dried lavender
- Rose petals
- Lemon peels
- Cinnamon sticks
Add a few drops of essential oil for fragrance.
Perfect for:
- Closets
- Drawers
- Bathrooms
🎨 Customization Ideas
🌈 Color Choices
- Natural cotton for a spa look
- Bright colors for fun gifts
- Ombre yarn for a stylish effect
🌿 Texture Variations
- Use only single crochet for a tighter pouch
- Use puff stitches for extra exfoliation
🎁 Decorative Touches
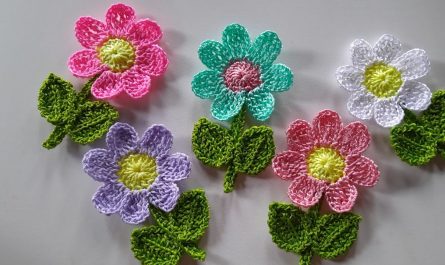
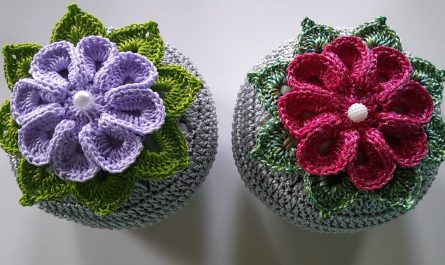
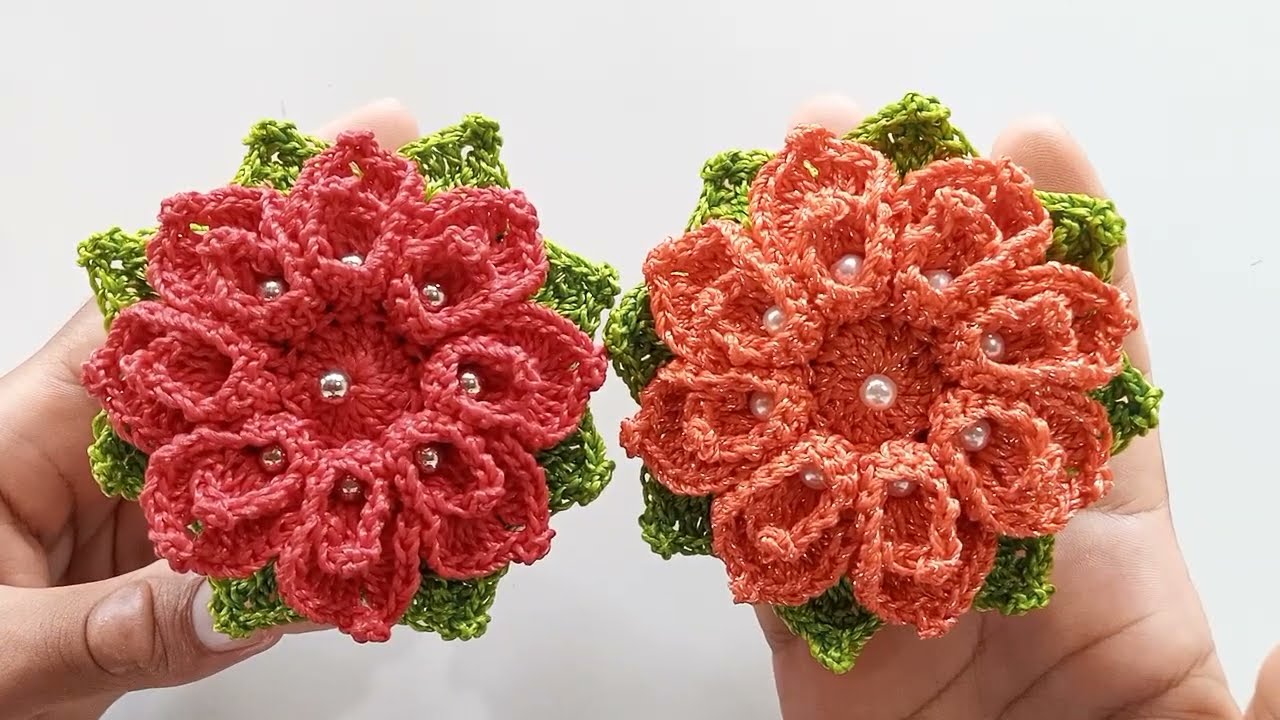
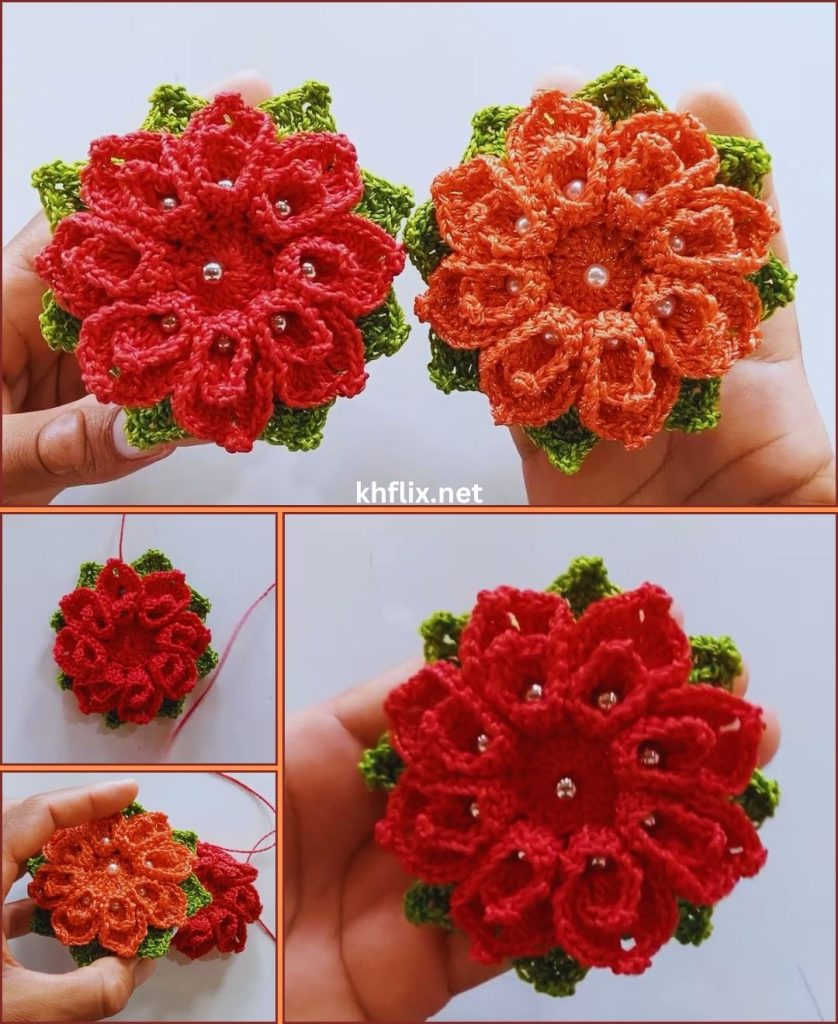
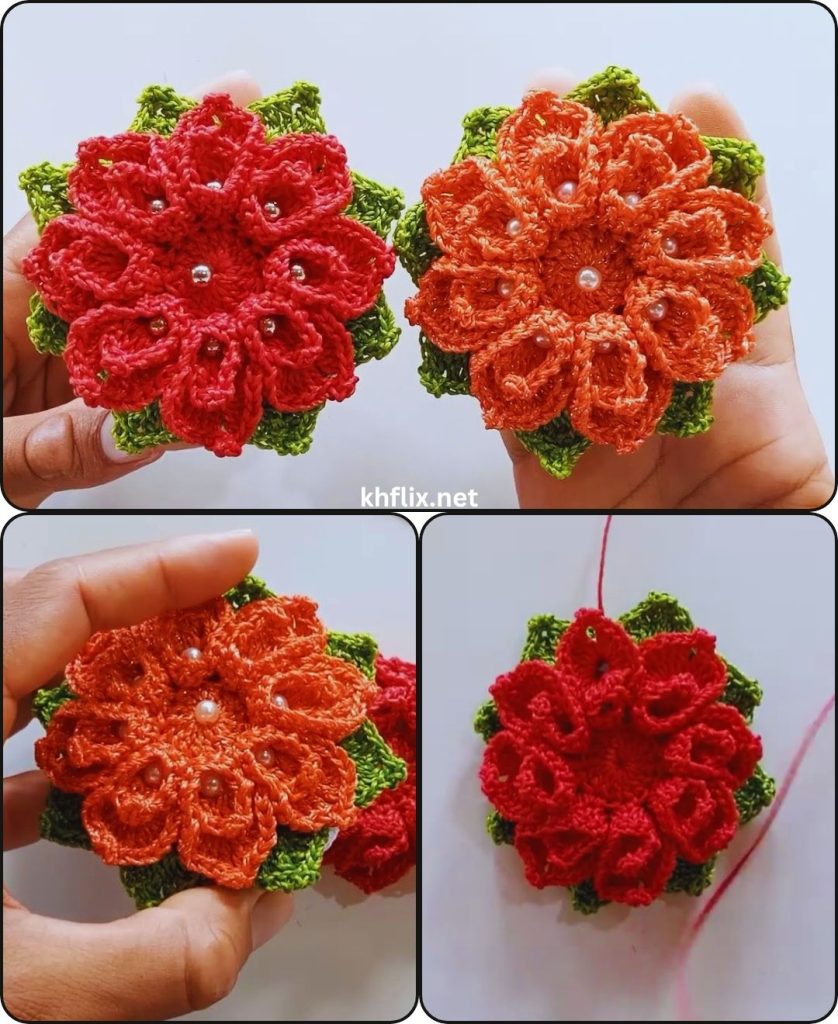
- Add a small crocheted flower
- Attach a wooden button
- Include a hanging loop
💡 Tips for Best Results
- Use 100% cotton yarn for durability
- Keep stitches slightly loose for flexibility
- Make sure the pouch isn’t too tight
- Test size with your soap before finishing
⚠️ Common Mistakes to Avoid
- Using acrylic yarn (won’t absorb water)
- Making the pouch too small
- Forgetting drawstring holes
- Uneven stitch tension
🎁 Great Uses for Crochet Soap Holders
- Personal bath accessory
- Eco-friendly gift
- Spa gift sets
- Travel soap pouch
- Aromatherapy sachet
♻️ Sustainability Benefits
This project reflects the spirit of crochet arts and recycling:
- Use leftover yarn scraps
- Reduce plastic loofahs
- Minimize soap waste
- Create reusable alternatives
🌟 Final Thoughts
The easy crochet soap holder or sachet is a simple yet incredibly useful project that blends creativity with sustainability. It’s perfect for beginners and offers endless possibilities for customization.
With just a bit of yarn and time, you can create something practical, beautiful, and environmentally friendly—just like the thoughtful handmade designs inspired by Valdenete’s crochet style.