 by
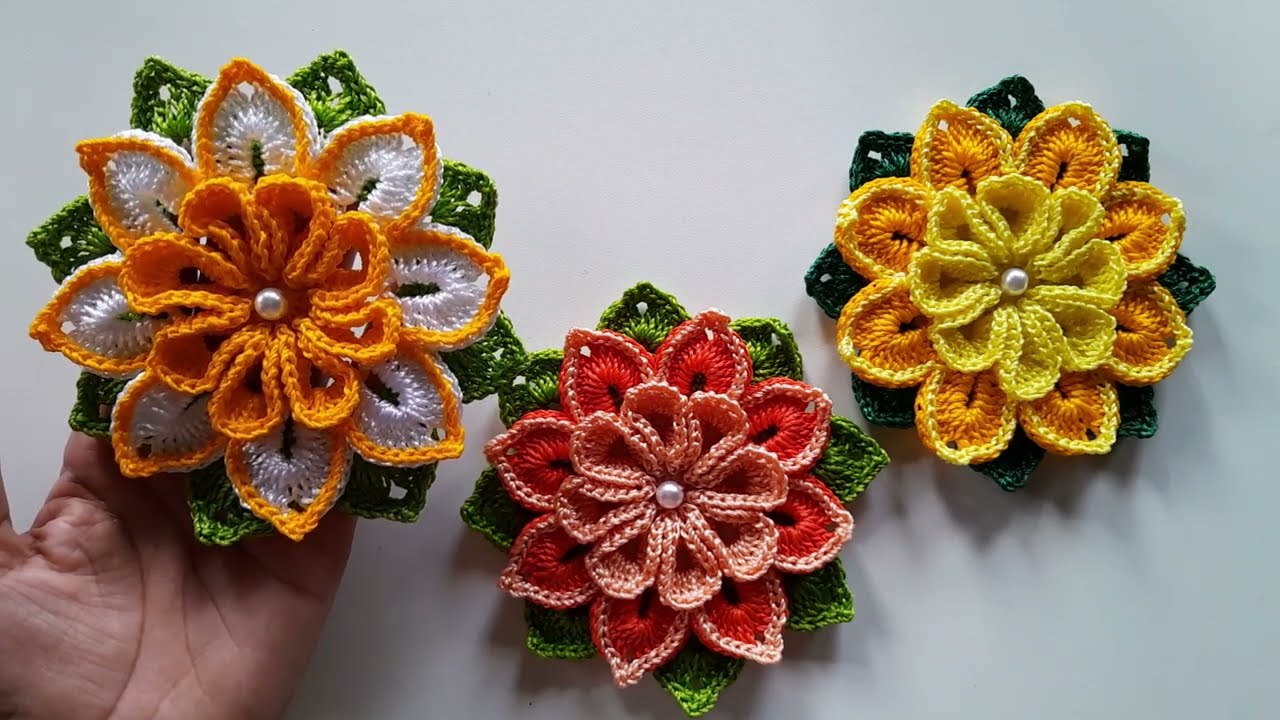
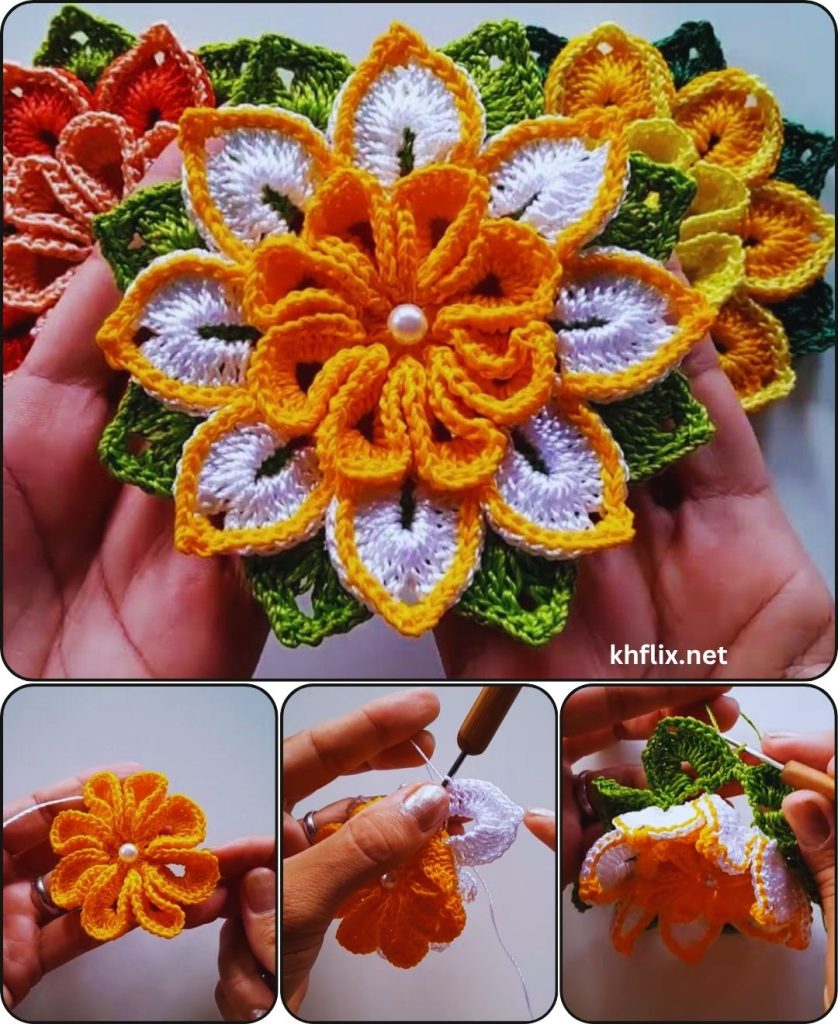
by Crocheting an elegant molded flower appliqué is a beautiful way to elevate your crochet projects. Unlike simple flat flowers, molded flowers have dimension, structure, and a refined look, making them perfect for decorating garments, accessories, and home décor.
In this detailed step-by-step guide, you’ll learn how to create a graceful, slightly 3D crochet flower appliqué that remains lightweight yet visually rich—perfect for beginners ready to level up their skills 🌸
🌸 How to Crochet an Elegant Molded Flower for Appliqué
Step-by-Step Detailed Tutorial
✨ What Is a Molded Crochet Flower?
A molded flower appliqué is:
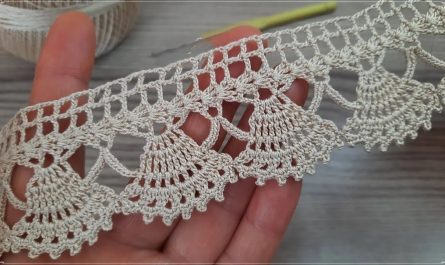
- Slightly raised and shaped (not completely flat)
- Designed with layered or curved petals
- Structured to hold its form when attached
It gives a more realistic and elegant appearance compared to basic appliqués.
🌿 Why You’ll Love This Pattern
- Elegant and decorative
- Beginner-friendly with a twist
- Quick to make
- Perfect for gifts and embellishments
- Works with scrap yarn
🧶 Materials You’ll Need
Yarn
- Two colors:
- Center (yellow, gold, or contrasting tone)
- Petals (pink, red, white, lavender, etc.)
Use cotton yarn for crisp structure or acrylic for softness.
Tools
- Crochet hook (2.5 mm – 4 mm)
- Yarn needle
- Scissors
- Stitch marker (optional)
🧵 Stitches Used
- Magic ring
- Chain (ch)
- Slip stitch (sl st)
- Single crochet (sc)
- Half double crochet (hdc)
- Double crochet (dc)
🌼 Step-by-Step Instructions
🧶 Step 1: Create the Center Circle
Using your center color:
- Make a magic ring
- Work 10 single crochets (sc) into the ring
- Pull tight and join with a slip stitch
Fasten off or switch to petal color.
🌸 Step 2: Create a Base Round for Petals
Attach petal yarn:
- (chain 2, skip 1 stitch, slip stitch into next stitch)
Repeat around.
You will create small loops—these act as the foundation for petals.
🌷 Step 3: Form the First Layer of Petals
Into each loop, work:
- (sc, hdc, 3 dc, hdc, sc)
This creates one full petal.
Repeat around to form a complete layer.
At this stage, the flower already looks pretty—but we’ll enhance it further.
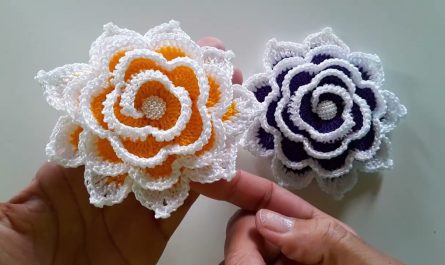
🌺 Step 4: Add a Second Layer (Molded Effect)
This is what gives the flower its elegant, raised shape.
Turn the flower slightly backward and work behind the first layer:
- Insert hook into the base (behind petals)
- Create new loops:
- (chain 3, slip stitch into next base stitch)
Repeat around.
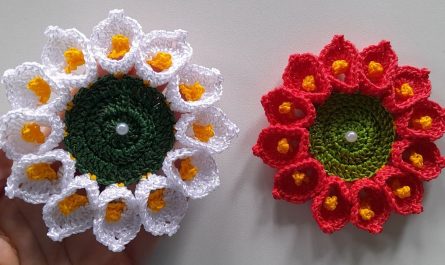
🌸 Step 5: Create Outer Petals
Into each back loop, work:
- (sc, hdc, 4–5 dc, hdc, sc)
These petals should be:
- Slightly larger
- Looser than the first layer
This layering creates a full, dimensional flower.
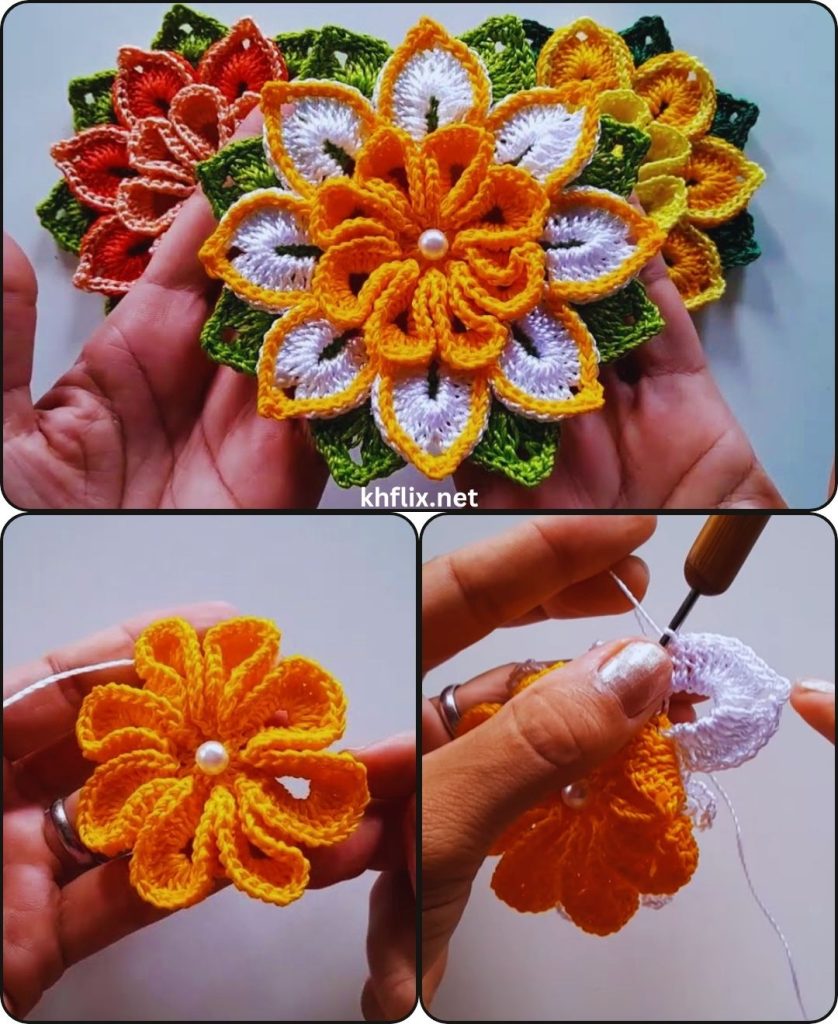
🌿 Step 6: Shape and Mold the Flower
- Gently curl the petals with your fingers
- Adjust layers so they overlap naturally
- Lightly stretch stitches if needed
Optional: Light steam blocking helps set the shape.
✂️ Step 7: Finish the Appliqué
- Fasten off yarn
- Weave in all loose ends securely
- Flatten the base while keeping petals raised
Your elegant molded flower is complete!
🌿 Optional: Add Leaves
Using green yarn:
- Chain 8–10
- Work:
- sc, hdc, dc, hdc, sc
- Attach behind the flower
You can add one or multiple leaves for a fuller look.
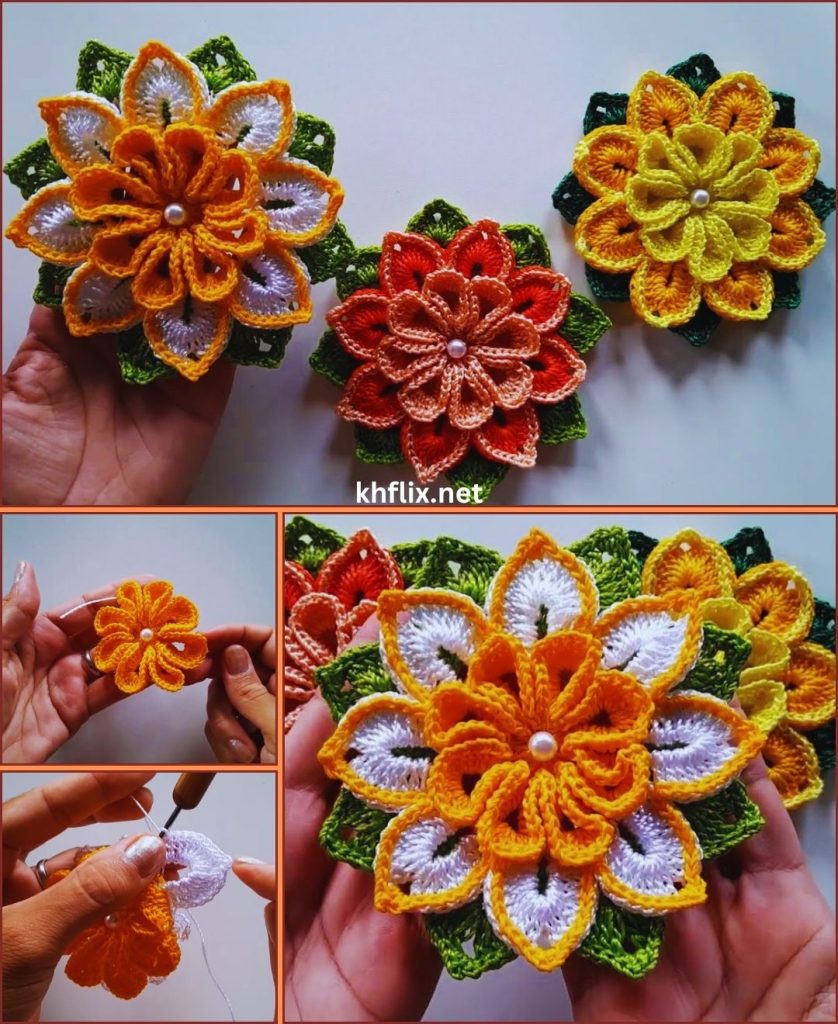
🎨 Customization Ideas
🌈 Color Combinations
- Soft pastels for baby items
- Bold contrasts for statement pieces
- Monochrome for a modern, elegant look
🌟 Style Variations
- Add a third petal layer for extra fullness
- Use picot stitches for decorative edges
- Add beads or pearls in the center
💖 Size Adjustments
- Use thicker yarn for larger flowers
- Use fine thread for delicate appliqués
🪡 How to Use Your Flower Appliqué
Attach your flower to:
- Hats and beanies
- Bags and purses
- Baby blankets
- Sweaters or scarves
- Hair accessories
- Cushion covers
💡 Tips for Best Results
- Keep stitches even for balanced petals
- Don’t make loops too tight—petals need space
- Use a smaller hook for a neater finish
- Practice layering for a natural look
⚠️ Common Mistakes to Avoid
- Skipping base loops (uneven petals)
- Tight stitches (flower won’t open properly)
- Uneven petal sizes
- Not securing yarn ends היט
🌟 Final Thoughts
The elegant molded crochet flower appliqué is a perfect step up from basic patterns. It introduces you to layering and shaping techniques while still being accessible to beginners.
With just a bit of practice, you can create stunning floral embellishments that look intricate, professional, and full of life 🌸
This is more than just a crochet project—it’s a small piece of art you can attach to anything and instantly make it special.