 by
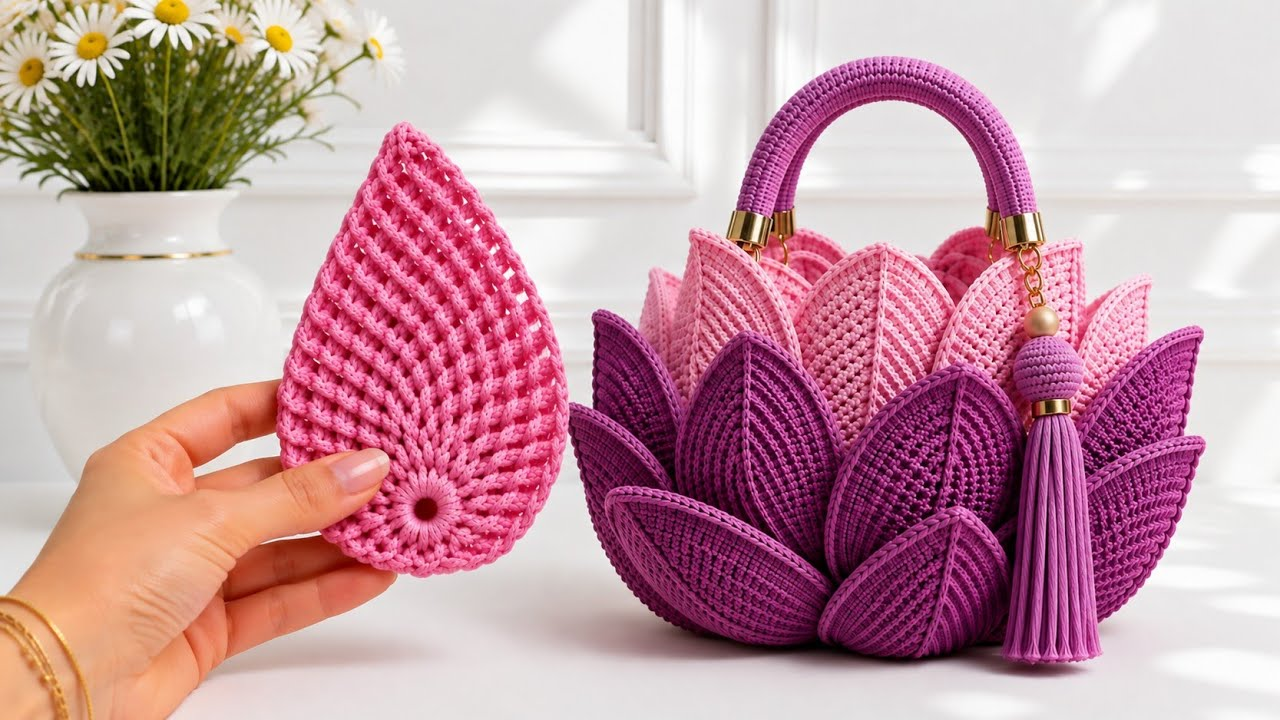
by Creating a Lotus Flower & Leaf Bag is the pinnacle of botanical crochet artistry. By combining the serene, multi-layered symmetry of an unfolding sacred lotus blossom with lush, architectural lilypad leaves, you can craft a breathtaking, high-end boutique handbag that bridges the gap between sculptural textile art and functional fashion.
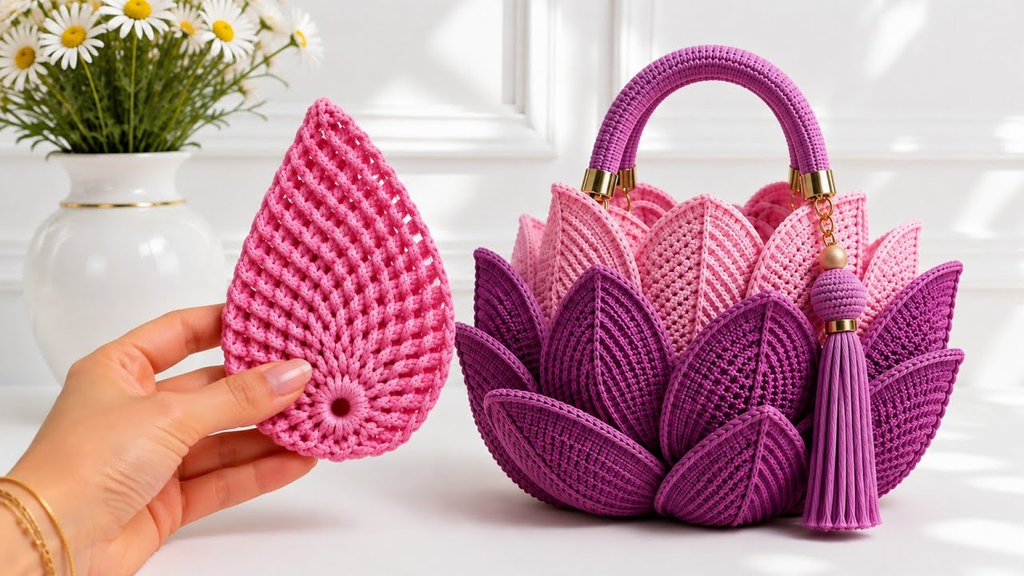
Here is your detailed, step-by-step masterclass on how to crochet a stunning Lotus Flower & Leaf Bag from scratch, complete with professional structural lining.
🧶 The Professional Lotus Bag Toolkit
- Yarn:100% Mercerized Cotton Yarn (Sport weight or DK). Cotton yarn is mandatory for botanical motif bags because it has zero stretch, ensuring your intricate lotus petals and leaves maintain crisp stitch definition and never sag under weight.
- Palette: Soft lotus pinks and crisp ivories for the unfolding blossom, rich botanical sage and deep olive greens for the large leaf base, and a unifying neutral (such as sand, beige, or charcoal) for the bag’s structural background and side gussets.
- Hook: 3.5 mm or 4.0 mm. A snug hook creates a tight, dense gauge, providing the bag with essential structural integrity.
- Structural & Lining Supplies:
- Tapestry needle and stitch markers.
- Sew-in plastic mesh canvas and custom fabric lining (crucial for supporting complex 3D motifs and preventing small items from slipping through).
- Magnetic snap closure and sleek leather handles or a matching strap.
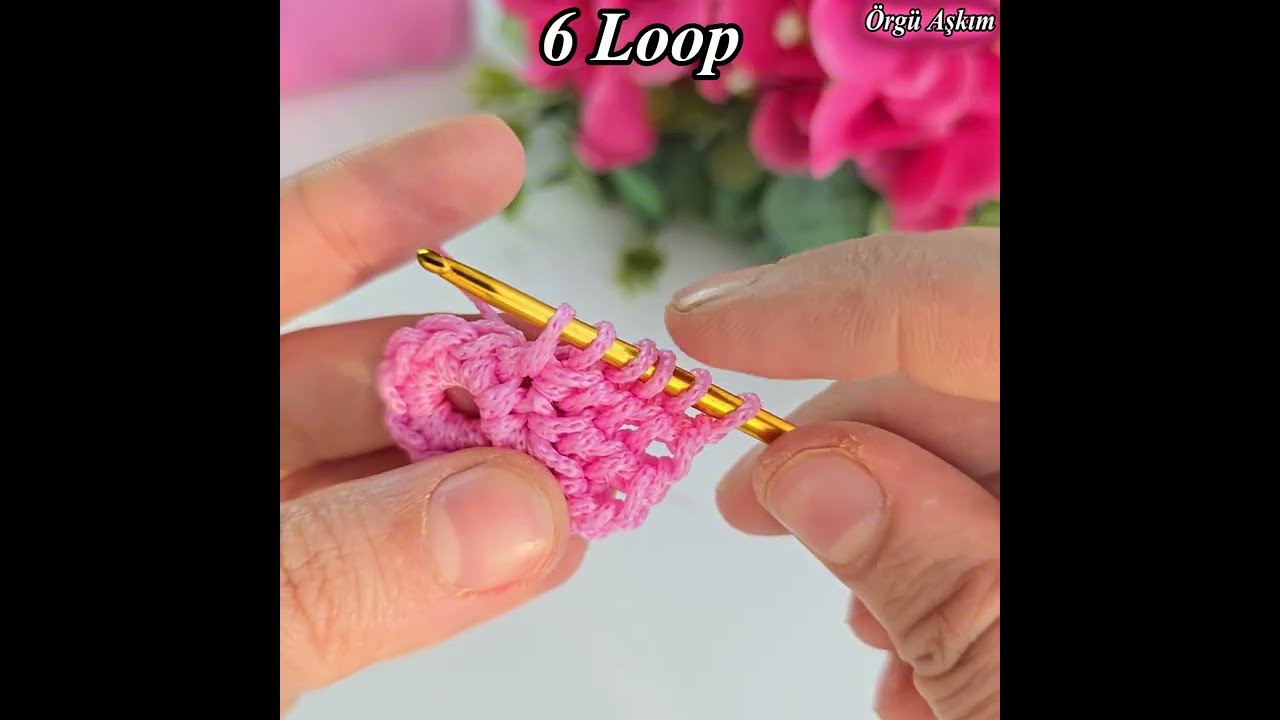
🪷 Step 1: Crafting the Central 3D Lotus Blossom (Front Panel)
The centerpiece of your bag is a dramatic, multi-tiered lotus flower that blooms right out of the front circular or square panel.
- Round 1 (The Center Pistil):
- With a bright accent color (e.g., pale yellow or gold),
ch 4and join with asl stto form a ring. Work 12 sc into the ring. Join and fasten off.
- With a bright accent color (e.g., pale yellow or gold),
- Round 2 (Inner Unfolding Petals):
- Attach your Lotus Pink yarn into the back loop of any stitch.
ch 3(counts as dc), work2 dcin the same stitch,ch 2. Work 3 dc in every stitch around withch 2spaces to create a dense, cupped inner lotus bud. Join and fasten off.
- Round 3 (Dramatic Outer Lotus Petals):
- Working behind the first layer in the remaining unworked front loops, attach your yarn to create large, pointed lotus petals:
ch 4, work(2 tr, ch 2, 2 tr)into the base space. Repeat around to form a bold layer of architectural outer petals that fan outward. Fasten off.
- Working behind the first layer in the remaining unworked front loops, attach your yarn to create large, pointed lotus petals:
- Round 4 & Beyond (Framing the Lotus Into a Square or Circle):
- Attach your background neutral yarn (e.g., sand or cream) behind the outer petals.
- Work transition rounds of half-double crochets (hdc), increasing evenly until your panel measures 10 to 12 inches wide. Fasten off. (Make 2 identical panels for the front and back of your bag).
🌿 Step 2: Crafting the Botanical Leaf Gusset and Side Panels
To anchor your lotus blossom in a realistic setting, use lush green yarn to craft side panels or a continuous bottom gusset that mimics broad, rippling lilypad leaves.
- The Leaf Panels:
- Crochet wide, organic oval or hexagonal panels using textured stitches (such as extended moss stitch or dense hdc loops) in rich Botanical Green.
- Pro-Detail: Work a subtle V-shaped cleft or split at the base of the leaf panels to mimic the iconic cleft of a true water lily/lotus leaf.
- Joining Structure:
- Connect your front lotus panel, back lotus panel, and green leaf gusset using a clean Flat Slip Stitch Join working through the back loops only.

🌟 Step 3: Structural Integrity & Boutique Finishes
Because lotus bags feature complex 3D petal layers and organic shapes, internal reinforcement is non-negotiable for a professional result:
1. The Plastic Canvas Skeleton
- Cut pieces of plastic mesh / plastic canvas to match the exact interior dimensions of your front lotus panel, back panel, and side leaf gusset.
- Slip these plastic inserts inside your bag. They act as an invisible armature, ensuring the bag maintains its rigid, structured shape permanently.
2. The Fabric Lining Pouch
- Sew a custom fabric lining pouch that fits snugly over your plastic canvas skeleton. Hand-stitch it securely around the inner rim of the bag to conceal all raw edges and protect your belongings.
3. The Reinforced Top Rim & Straps
- Work 3 rounds of tight single crochet right along the top opening of your bag.
- Pro-Trick: Lay a piece of nylon cord inside your stitches (“carrying the cord”) as you work your final top border. This creates an unyielding rim that stops the bag from stretching. Attach leather straps securely to the reinforced sides.
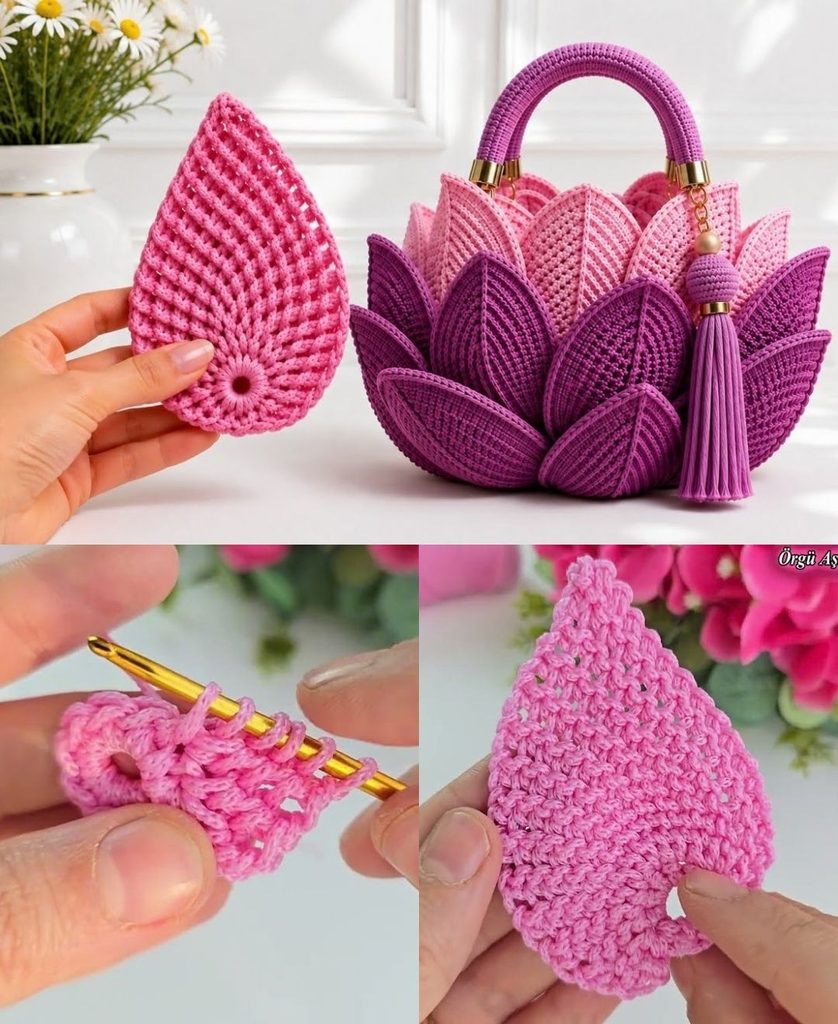
✨ Pro-Tips for Success
- Steam-Set Your Lotus Petals: Before assembling the bag, hold your front lotus panel over the gentle steam of a kettle. Use your fingers to cup, curl, and flare the pink petals outward. As the cotton cools, it will lock into a permanent, architectural bloom.
- Play with Color Gradients: Use a slightly darker shade of pink at the base of your lotus petals and a soft ivory at the tips (or vice versa) to give your 3D handbag striking depth and professional luxury contrast!