 by
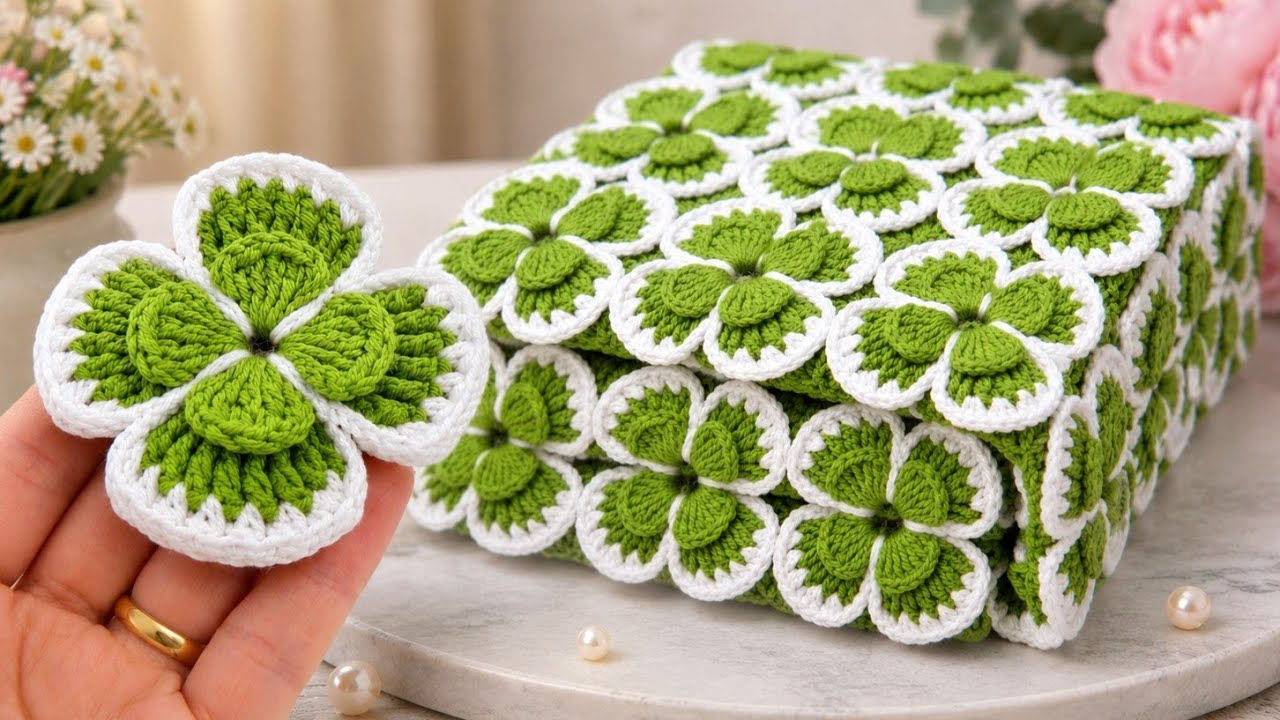
by Creating a Flower Tablecloth or Blanket is a monumental and deeply rewarding fiber art project. By crafting a stunning collection of modular floral motifs—such as 3D sunflower squares or botanical flower squares—and joining them together, you create an heirloom-quality textile that completely transforms a dining room or living space.
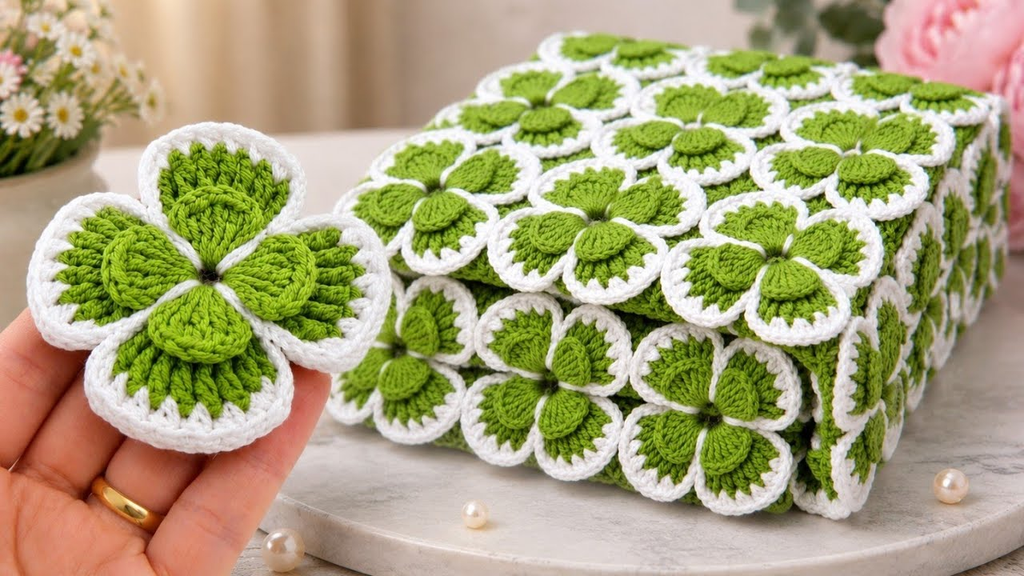
Here is your detailed, expert masterclass on how to plan, crochet, join, and finish a breathtaking Flower Tablecloth or Blanket from scratch.
🧶 The Master Botanical Project Toolkit
- Yarn:100% Mercerized Cotton Yarn (Sport weight, DK, or Worsted weight).
- For a Tablecloth: 100% mercerized cotton is mandatory. It resists stains better, lies completely flat, withstands warm dish temperatures, and has zero stretch so your table setting remains pristine.
- For a Blanket: You can use 100% cotton for a crisp, structured vintage look, or opt for a premium soft acrylic/cotton blend for a drapier, cozier throw.
- Palette: A vibrant focal color for flower centers (sunny yellow), a romantic hue for petals (cream, blush, or ecru), and a unifying background/framing color (sage green, beige, or white).
- Hook: 3.5 mm or 4.0 mm (matched to your yarn weight to maintain a tight, structured gauge).
- Extra Supplies: Tapestry needle, sharp scissors, stitch markers, and a blocking board with rust-proof pins.
📐 Step 1: Calculating Your Dimensions & Motif Count
Before you chain your first stitch, you need to map out your sizing to ensure your finished piece fits your table or bed.
- Measure Your Motif: Crochet one complete test flower square motif, block it, and measure its exact width and height (e.g., a standard square might measure $4.5$ inches by $4.5$ inches).
- Determine Target Dimensions:
- For a Tablecloth: Measure your table top and add your desired drop/overhang on all sides (usually 6 to 10 inches per side).
- For a Blanket: Standard throw blankets range from $50 \times 60$ inches, while queen/king blankets scale upward.
- Calculate Total Squares: Divide your target width and length by your individual motif dimensions to find out how many squares you need (e.g., a $10 \times 12$ grid requires 120 total motifs).

🌸 Step 2: Crocheting the Modular Flower Motifs
Efficiency is key when making a tablecloth or blanket. Instead of finishing one square at a time, work in assembly-line batches to maintain consistent tension:
- Batch 1 (Center Cores): Crochet the yellow flower centers for all your motifs (e.g., make 120 centers), fastening off and weaving ends.
- Batch 2 (Petals): Add your 3D petal layers around every center core.
- Batch 3 (Background Framing / Squaring): Work your final round in your background neutral (e.g., cream or sage green) to transform each round flower into a crisp geometric square.
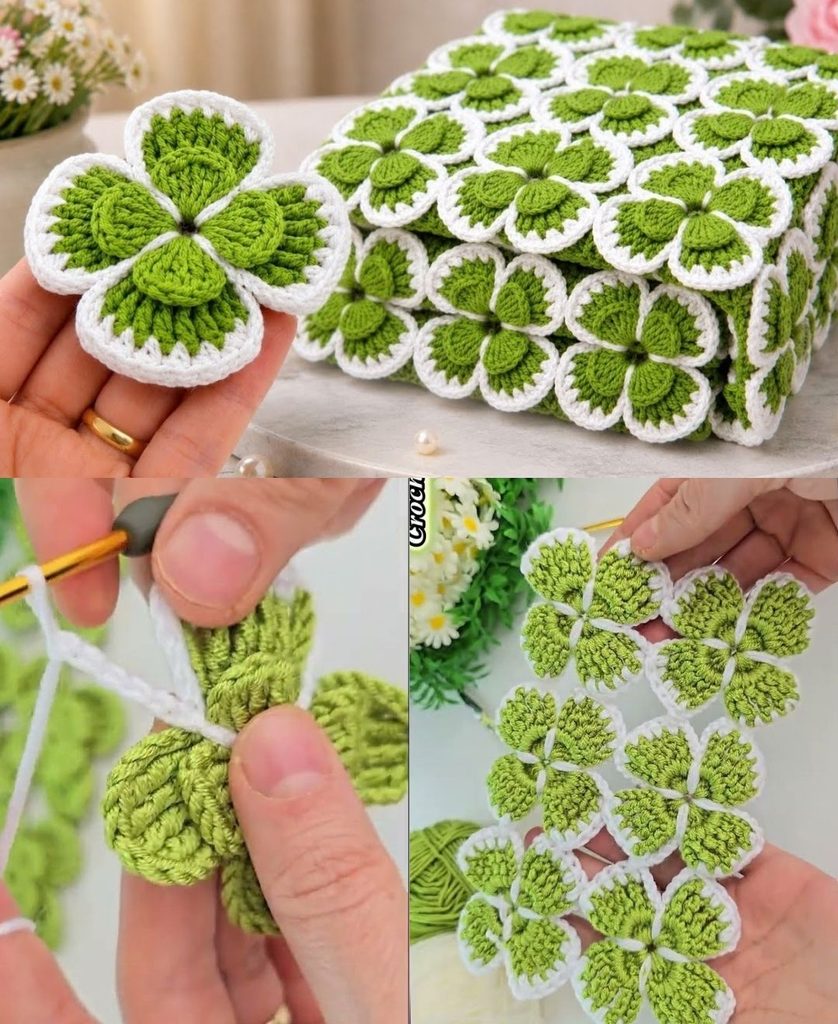
- Vital Step — Block Every Single Square: Pin every finished motif to a blocking board, mist with water or steam, and let dry completely. Never skip this step! Blocked squares make joining infinitely easier and ensure your tablecloth or blanket drapes flat without puckering.

🪡 Step 3: Professional Joining Techniques
How you join your squares dictates the structural integrity and aesthetic of your finished piece. Choose one of these boutique-quality methods:
- Method A: The Flat Slip Stitch Join (Recommended for Texture)
- Place two blocked squares wrong sides together.
- Working exclusively through the back loops only (BLO) of the opposing stitches, join your yarn and work a smooth slip stitch seam across. This creates a gorgeous, low-profile raised ridge on the front that mimics high-end handmade textiles.
- Method B: The Whip-Stitch Join (Seamless & Flat)
- Lay your squares flat with right sides facing up. Using a tapestry needle and background yarn, whip-stitch the edges together loosely so the seam remains flexible and completely flat.
- Assembly Order: Join your squares into long vertical strips first, and then sew the long strips together horizontally to complete your full panel grid.

🔲 Step 4: The Finishing Border (The Crown Jewel)
A raw outer edge can make a handmade tablecloth or blanket look unfinished. Frame your masterpiece with a structured border:
- Round 1 (Foundation): Attach your background yarn into any corner stitch of your blanket/tablecloth. Work a round of half-double crochet (hdc) evenly all the way around the outer perimeter, working
(2 hdc, ch 2, 2 hdc)into each outer corner to keep the corners sharp and square. - Round 2 & 3 (Texture): Add structural weight by working 2 to 3 rounds of textured stitches—such as alternating front-post and back-post double crochets (ribbing) or a classic moss stitch border.
- The Final Edging: Finish with a delicate decorative border, such as a picot edge (
3 sc, ch 3, sl st in 3rd chain from hook) or a classic crab stitch (reverse single crochet) for a clean, professional corded rim. Fasten off and weave in all remaining ends securely.
✨ Pro-Tips for Long-Lasting Success
- Weave Ends As You Go: Do not wait until all 120 squares are joined to weave in your tails! Trim and secure your ends after completing each batch of motifs to prevent an overwhelming finishing pile at the end.
- Care Instructions: If crafted in 100% mercerized cotton, your tablecloth or blanket can typically be machine washed on a gentle, cool cycle in a mesh laundry bag, then laid flat to dry to preserve its crisp architectural structure.