 by
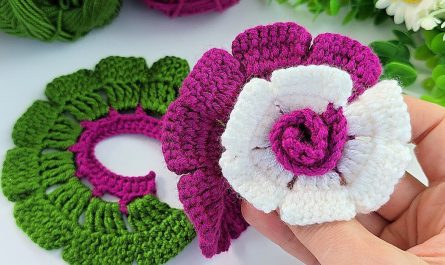
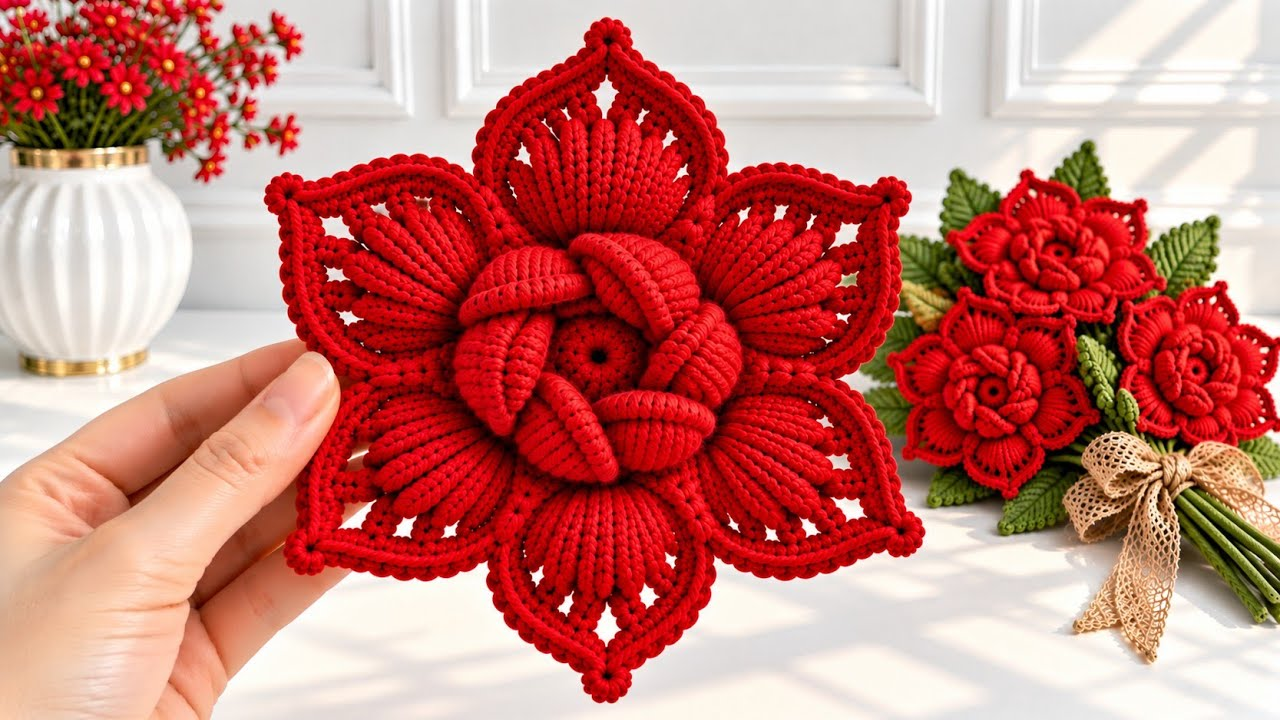
by Creating a Stunning 3D Flower is one of the most rewarding projects in botanical fiber art. By using multi-tiered construction, layered petal loops, and structural stitches like treble crochets, you can achieve a lush, realistic blossom that pops off any project with incredible dimension.

Here is your detailed, step-by-step masterclass on how to crochet a breathtaking, boutique-quality 3D flower from scratch.
🧶 The Master 3D Flower Toolkit
- Yarn:100% Mercerized Cotton Yarn (Sport weight, DK, or Worsted weight). Cotton yarn is mandatory for dimensional flowers because it has zero fuzz, provides razor-sharp stitch definition, and ensures your petals hold their 3D architectural form permanently without drooping or sagging.
- Palette: A vibrant focal color for the center core (sunny yellow or gold), and a luxurious bloom color for the petals (such as magenta, dusty rose, or cream).
- Hook: 3.5 mm or 4.0 mm. A snug hook creates a tight, dense gauge, giving your petals the necessary structure to stand upright.
- Extra Supplies: Tapestry needle for weaving in ends and sharp scissors.

🟡 Step 1: Crafting the Center Core (Round 1)
Every great 3D flower begins with a tight, compact foundation ring that provides anchor points for multiple layers of petals.
- With your Center Color (e.g., yellow), make a Magic Ring (or
ch 4and join with asl stto form a tiny circle). ch 1(does not count as a stitch), and work 10 single crochets (sc) directly into the center of the ring.- Pull the starting tail tightly to close the center hole completely.
- Join with a slip stitch (
sl st) to the very first single crochet. Fasten off your yellow yarn, leaving a short tail.

🌸 Step 2: Building Layer 1 (The Inner Cup Petals)
The secret to 3D crochet is utilizing the anatomy of your stitches by working exclusively into the back loops, leaving the front loops free for your next layer.
- Attach your Petal Color (e.g., pink) into the back loop only of any stitch from the center ring.
ch 3(counts as your first double crochet). Work 2 double crochets (dc) in that same back loop.- Skip the next stitch, and work 3 dc in the back loop of the following stitch.
- Repeat this sequence (skip 1 stitch, 3 dc in next back loop) all the way around the circle to form a dense, cupped inner ring of petals.
- Join with a
sl stto the top of the initialch 3. Fasten off your petal color.

🌺 Step 3: Building Layer 2 (The Dramatic Outer Petals)
Now for the 3D magic! We are going to work directly into those unworked front loops from Round 1 that we left hanging in the back.
- Flip your flower over so the back side is facing you.
- Attach your Petal Color into any of the unworked front loops of the center yellow ring.
ch 4(counts as your first treble crochet). Work 2 treble crochets (tr), ch 2, and 2 tr all into that exact same front loop space. (This creates a bold, wide, dramatic petal).- Move directly to the next unworked front loop, and work (2 tr, ch 2, 2 tr) in that space.
- Repeat this into every unworked front loop all the way around the center ring.
- Join with a
sl stto the top of the initialch 4. Fasten off and weave in all loose ends on the back.
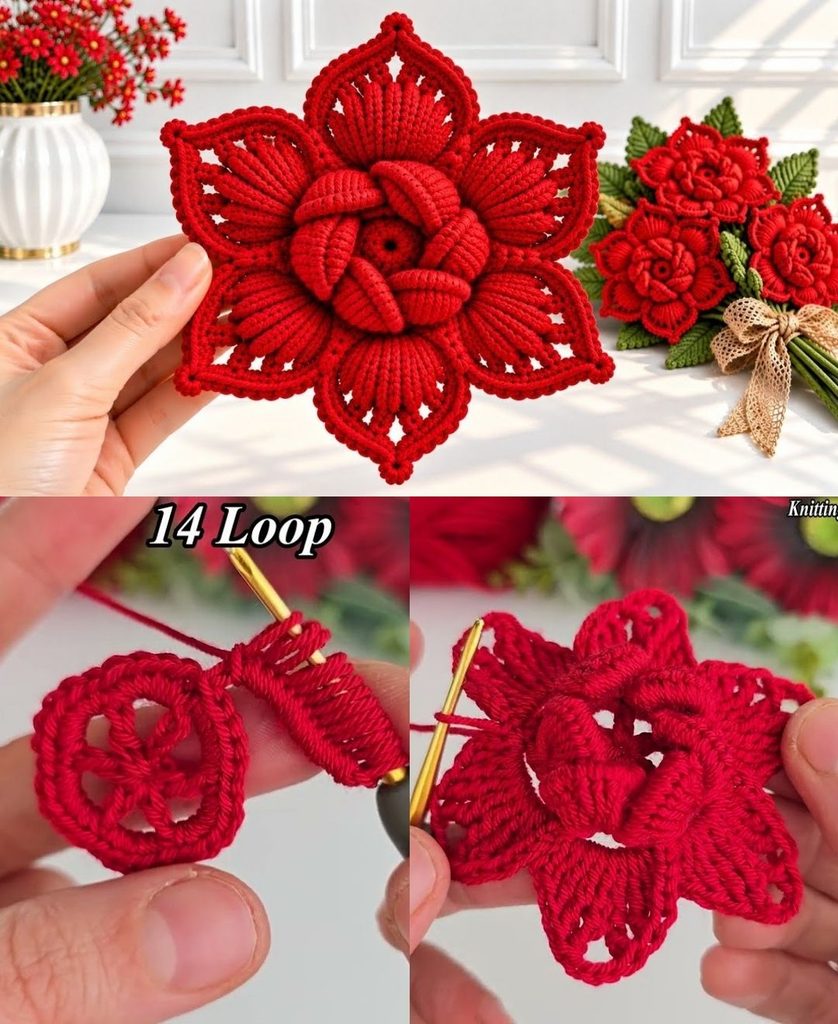
✨ Step 4: Shaping and Popping the 3D Dimension
- Flip your flower back over to the front side.
- Use your fingers to gently push the inner pink petals forward to form a closed bud center, and flare the outer treble-crochet petals backward for maximum realism.
- Pro-Tip: Hold your finished flower over the gentle steam of a kettle for 3 to 5 seconds to relax the cotton fibers, then press the petals open. Once cooled, the mercerized cotton will permanently lock into a gorgeous, dimensional bloom!