 by
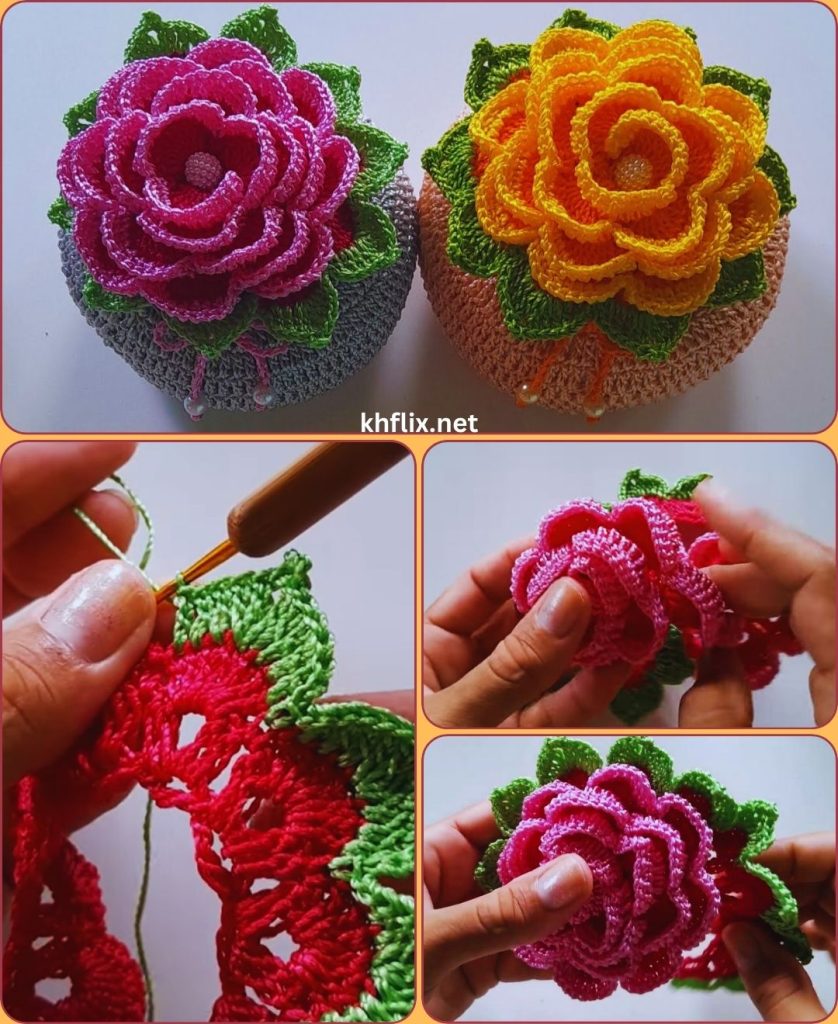
by Crocheting a flower doorstop is a creative and practical craft project that combines decoration with usefulness. A crochet flower doorstop is a weighted object placed at the base of a door to keep it open or prevent it from moving. Instead of using plain doorstops, crocheting one shaped like a flower adds charm and personality to your home décor.
This project is suitable for both beginners and experienced crocheters. It involves basic crochet stitches, simple shaping techniques, and filling the crochet piece with weighted materials to give it stability. By following the steps in this guide, you can create a beautiful and functional flower-shaped doorstop that enhances your living space.
This article explains the process in detail, including materials, crochet techniques, step-by-step instructions, assembly, and finishing touches.
1. Understanding a Crochet Flower Doorstop
A crochet flower doorstop is a decorative object crocheted in the shape of a flower and filled with heavy materials such as sand, rice, beans, or pebbles. The weight allows it to hold a door in place.
A typical crochet flower doorstop consists of three main parts:
- Flower base – the weighted part that touches the floor
- Petals – decorative crochet pieces forming the flower shape
- Center or stem handle – optional feature for easy carrying
The crochet texture makes the doorstop soft enough not to damage floors while still providing enough weight to secure doors.
2. Materials and Tools Needed
Before starting the project, gather all the required materials.
Yarn
Choose strong and durable yarn that can hold weight and maintain shape.
Recommended yarn types:
- Cotton yarn
- Cotton blend yarn
- Acrylic yarn
- T-shirt yarn (for thicker structure)
Medium-weight yarn works well for most doorstop projects.
Crochet Hook
Choose a hook suitable for the yarn.
Common sizes include:
- 4.0 mm
- 4.5 mm
- 5.0 mm
Using a slightly smaller hook than recommended can help create tighter stitches so the filling does not escape.
Filling Materials
The doorstop must be weighted.
Possible fillings include:
- Rice
- Dried beans
- Sand (sealed inside a pouch)
- Small pebbles
- Gravel
- Polyester stuffing combined with weight material
A common method is placing sand or rice inside a small fabric bag and then inserting it into the crochet piece.
Additional Tools
You will also need:
- Yarn needle
- Stitch markers
- Scissors
- Small fabric bag or pouch
- Sewing needle and thread (optional)
3. Basic Crochet Stitches Required
To crochet the flower doorstop, you should know the following basic stitches.
Slip Knot
The slip knot is the starting point for crochet work.
Steps:
- Make a loop with yarn.
- Pull the yarn through the loop.
- Place the loop onto the crochet hook and tighten gently.
Chain Stitch (ch)
The chain stitch creates the foundation for many crochet projects.
Steps:
- Yarn over.
- Pull the yarn through the loop on the hook.
Repeat to create a chain.
Single Crochet (sc)
Single crochet produces dense and firm stitches, ideal for stuffed items.
Steps:
- Insert the hook into a stitch.
- Yarn over and pull through.
- Yarn over again and pull through both loops.

Double Crochet (dc)
Double crochet creates taller stitches and is often used for petals.
Steps:
- Yarn over.
- Insert the hook into the stitch.
- Yarn over and pull through.
- Yarn over and pull through two loops.
- Yarn over and pull through the remaining two loops.
Slip Stitch (sl st)
Slip stitches are used to join rounds or connect parts.
4. Step 1: Create the Magic Ring
Start the flower doorstop by crocheting the base using a magic ring.
Steps:
- Wrap yarn around your fingers to form a loop.
- Insert the crochet hook into the loop.
- Pull yarn through and chain one stitch.
This ring allows you to crochet in the round and tighten the center.
5. Step 2: Crochet the Flower Base
The base forms the weighted portion of the doorstop.
Round 1:
- Crochet 6 single crochet stitches into the magic ring.
- Pull the yarn tail to tighten the ring.
Round 2:
- Crochet 2 single crochet stitches in each stitch around.
- You will have 12 stitches.
Round 3:
- Crochet 1 single crochet, then 2 single crochet in the next stitch.
- Repeat around to increase evenly.
Round 4–8:
- Continue increasing until the circle reaches about 12–15 cm in diameter.
This round base will support the doorstop weight.
6. Step 3: Build the Doorstop Walls
Once the base is wide enough, stop increasing stitches.
Rounds 9–15:
- Crochet one single crochet in each stitch around.
- Do not increase.
This creates the sides of the doorstop, forming a bowl-like shape.
The height should reach approximately 8–10 cm.
7. Step 4: Prepare the Weighted Filling
To make the doorstop heavy enough:
- Fill a small cloth bag with sand, rice, or beans.
- Tie or sew the bag closed.
- Place the bag inside the crochet container.
Using a fabric pouch prevents grains or sand from leaking through crochet stitches.
8. Step 5: Add Soft Filling
To maintain shape:
- Add polyester fiberfill around the weighted pouch.
- Fill any empty spaces inside the crochet piece.
This combination ensures the doorstop is both heavy and well-shaped.
9. Step 6: Close the Top
Now close the top of the doorstop.
Steps:
- Begin decreasing stitches.
- Crochet single crochet two stitches together.
- Continue decreasing evenly around.
When only a small opening remains:
- Add final stuffing if needed.
- Sew the opening closed with a yarn needle.
This creates a firm, round doorstop base.
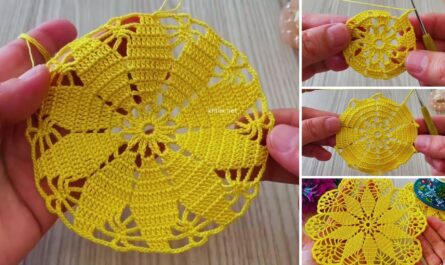
10. Step 7: Crochet the Flower Petals
Next, crochet the decorative flower petals.
Attach yarn to the top center of the doorstop.
Petal pattern:
- Chain 2 stitches.
- Make 3 double crochet stitches in the same stitch.
- Chain 2 stitches.
- Slip stitch into the next stitch.
Repeat around the top to create multiple petals.
Typically 6–10 petals are made depending on stitch count.

11. Step 8: Add a Flower Center
You can enhance the flower design by adding a center.
Options include:
- Crochet a small circle and sew it onto the middle
- Add a large decorative button
- Sew beads into the center
- Use a contrasting yarn color
This detail improves the flower appearance.
12. Step 9: Optional Stem Handle
A small handle makes the doorstop easier to move.
Steps:
- Attach yarn to the flower center.
- Chain 15–20 stitches.
- Slip stitch back to the starting point.
This creates a loop that acts like a small stem.
13. Step 10: Final Shaping and Adjustments
After finishing the crochet work:
- Check the firmness of the doorstop
- Adjust stuffing if necessary
- Ensure the petals lie flat
If the doorstop feels too light, you can insert additional weight through a small opening and resew it.
14. Decorative Ideas
You can personalize your crochet flower doorstop with creative designs.
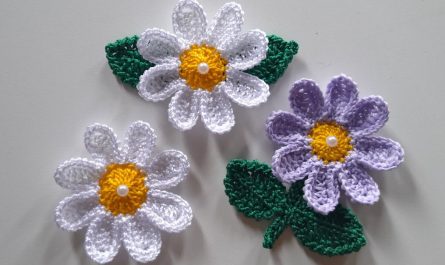
Multi-Color Petals
Use different yarn colors for each petal.
Sunflower Style
Use yellow petals and a brown center.
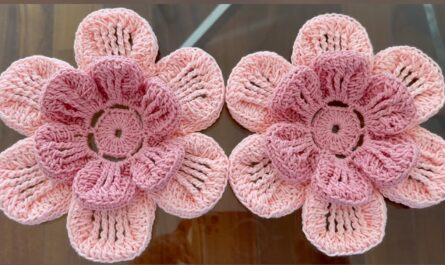
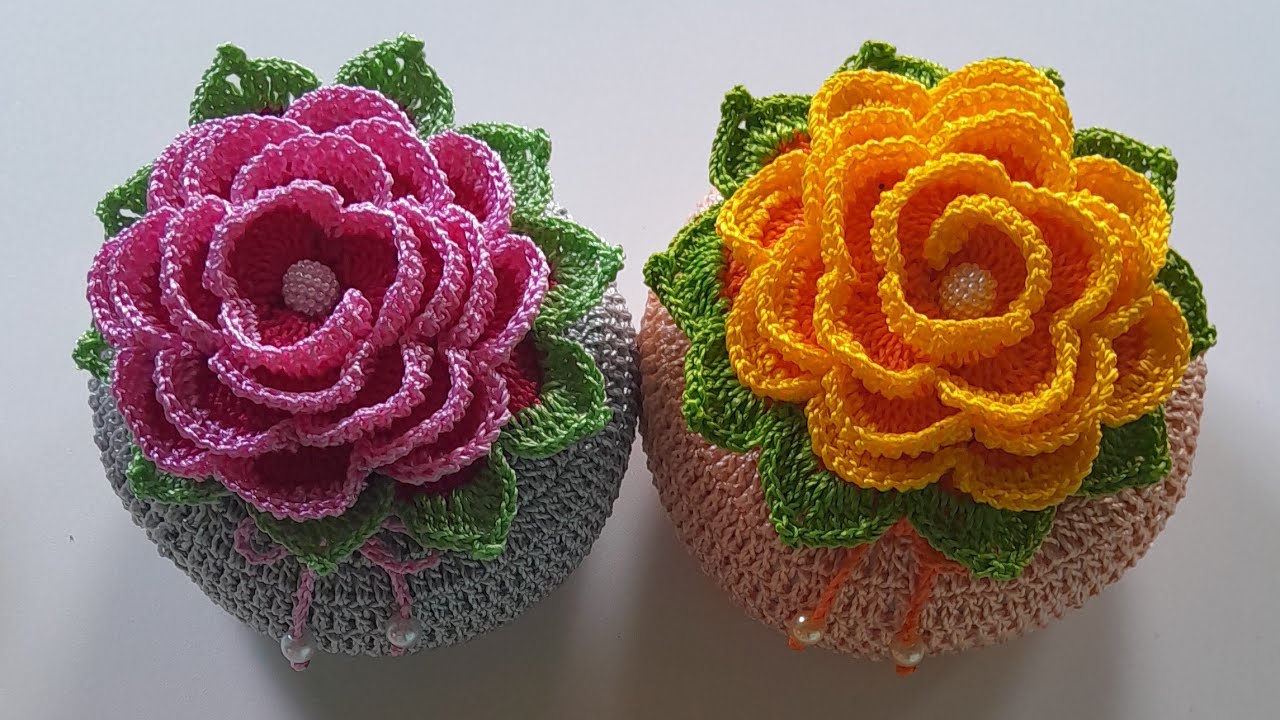
Rose Design
Create layered petals for a rose effect.
Leaf Decorations
Crochet small green leaves and sew them around the base.
These additions make your doorstop more decorative.
15. Care and Maintenance
Crochet doorstops require minimal maintenance.
Tips:
- Spot clean when necessary
- Avoid soaking if filled with grains
- Use washable yarn if possible
If the inner pouch is removable, the outer crochet cover can be washed separately.
16. Benefits of Crochet Flower Doorstops
Making crochet doorstops has several advantages:
- Practical household item
- Decorative home accessory
- Beginner-friendly crochet project
- Eco-friendly handmade craft
- Uses leftover yarn
- Great handmade gift idea
Many people also sell crochet doorstops at craft markets and online shops.
Conclusion
Crocheting a flower doorstop is a fun and rewarding DIY project that combines functionality with artistic creativity. By learning basic crochet stitches and following step-by-step instructions—creating the base, forming the weighted body, crocheting decorative petals, and assembling the parts—you can craft a charming doorstop that enhances your home décor.
With practice, you can experiment with different flower styles, colors, and decorative elements to create unique doorstops that match your interior design. Whether used in your home or given as a thoughtful handmade gift, a crochet flower doorstop is both beautiful and useful.