by
by Creating a Cute Pumpkin Keychain is one of the most delightful and quick seasonal projects you can make. With its plump, ribbed body, whimsical little green stem, and miniature size, this charming amigurumi keychain works up in less than an hour and makes a wonderful autumn bag charm, gift tag, or pocket accessory.

Here is your detailed, step-by-step masterclass on how to crochet a cute, professional-grade pumpkin keychain from scratch.
🧶 The Pumpkin Keychain Toolkit
- Yarn:100% Mercerized Cotton Yarn (Sport weight / DK) or Mini Chenille/Velvet Yarn (Weight 4).
- Palette: A vibrant autumn orange for the pumpkin body, a rich olive or brown for the stem, and a hint of forest green if you want to add a tiny curling tendril.
- Hook: 2.5 mm or 3.0 mm (for standard cotton) or a 3.5 mm (if using plush chenille yarn). A snug hook keeps your stitches tight so the fiber stuffing stays neatly contained.
- Extra Supplies:
- Polyfill fiber stuffing.
- Tapestry needle and sharp scissors.
- A length of matching embroidery floss or yarn for cinching the pumpkin ribs.
- A mini keyring with a jump ring or lobster claw clasp.
🎃 Step 1: Crocheting the Pumpkin Body Panel
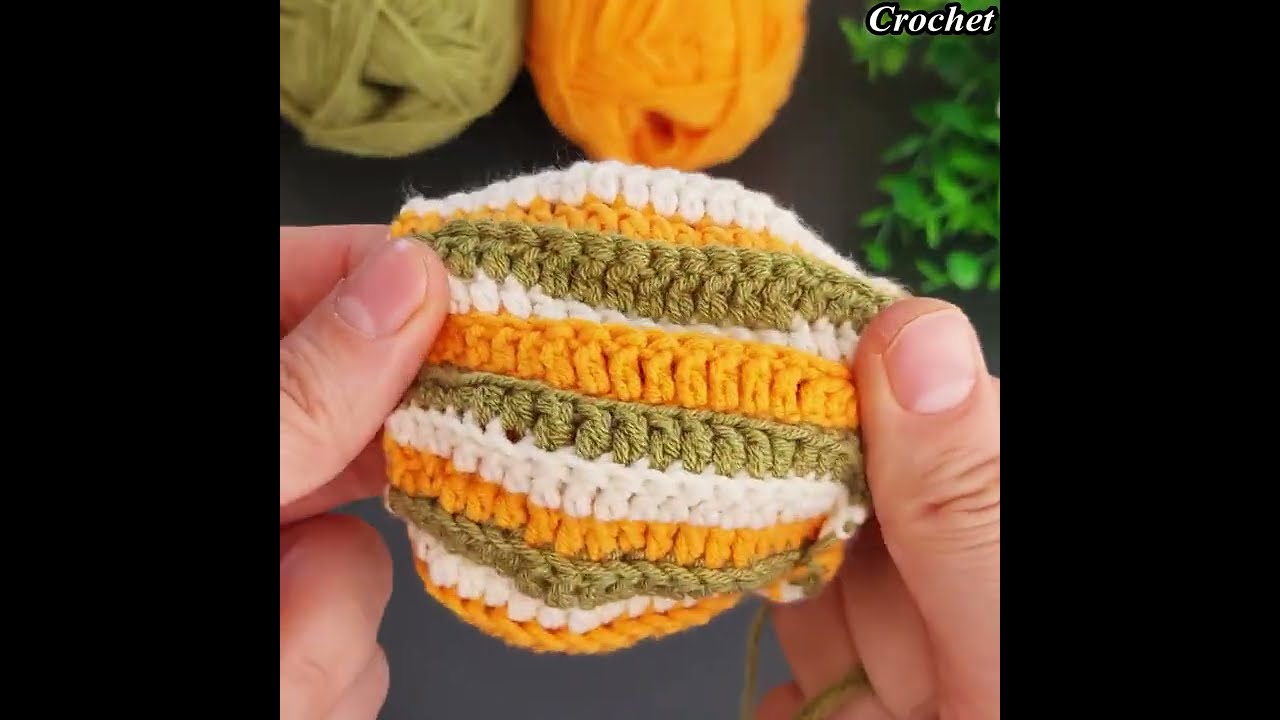
Unlike round amigurumi, this pumpkin is crocheted as a flat rectangular strip that gets seamed and cinched into a 3D sphere. This creates natural, crisp vertical ribs!
- With your Pumpkin Orange Yarn, chain (
ch) 22 stitches. - Row 1: Starting from the 2nd chain from the hook, work 1 half-double crochet (hdc) in each chain across (21 stitches). Turn. (
ch 2does not count as a stitch throughout). - Rows 2 through 14–16: Work rows of half-double crochet, but work in the back loop only (BLO) of every stitch across.
- Why BLO? Working in the back loop only creates a gorgeous, ribbed texture that mimics the natural lines of a real pumpkin!
- Fasten off, leaving a long 12-inch yarn tail for sewing.

🪡 Step 2: Seaming and Stuffing the Sphere
- Forming the Tube: Fold your crocheted rectangular panel in half so the short left and right ends meet. Using your tapestry needle and the long yarn tail, whip-stitch or mattress-stitch the short ends together to form a little open cylinder.
- Cinching the Bottom: Thread your needle along the bottom edge of the cylinder, weaving in and out of the ends of the rows. Pull the yarn tail tight to pucker and close the bottom hole completely. Secure with a knot.
- Stuffing: Turn your pumpkin right-side out (so the neat seam is on the inside). Stuff the cavity moderately with polyfill fiber stuffing—not too firm, or you won’t be able to shape the ribs later!
- Cinching the Top: Thread your needle along the top opening of the cylinder, pull tight to close, and knot securely, leaving a small yarn tail hidden inside.
🧶 Step 3: Sculpting the Signature Pumpkin Ribs
To transform your stuffed ball into a distinct, segmented pumpkin, you will use the “cinching” technique with a long strand of matching yarn or embroidery floss.
- Cut an 18-inch strand of your orange yarn (or strong embroidery floss). Anchor it securely into the bottom center of the pumpkin, bringing the needle out through the top center.
- Pull the yarn tightly down the outside of the pumpkin to press a deep indentation into the side, then insert your needle back through the bottom center and up through the top center again.
- Repeat this process 4 to 6 times around the pumpkin, spacing your pulls evenly to divide the body into distinct, plump sections (ribs).
- Securely knot your cinching thread at the top and weave the ends away inside the pumpkin.

🌱 Step 4: Crafting the Stem and Adding Hardware
- Crocheting the Stem:
- With your Brown or Olive Green Yarn, make a Magic Ring (or
ch 3, join to form a loop). ch 1, and work 4 single crochets (sc) directly into the ring. Join with a slip stitch.- Work 1 round of single crochet (4 stitches total), then fasten off, leaving a short sewing tail.
- With your Brown or Olive Green Yarn, make a Magic Ring (or
- Attaching the Stem: Sew or glue the little green/brown stem directly onto the top center hole of your sculpted pumpkin, hiding the cinching knots underneath.
- Adding the Keychain: Securely attach your mini jump ring or lobster claw keychain clasp through a few sturdy stitches right at the base of the stem. Pinch closed with pliers.

✨ Pro-Tips for Success
- Autumn Color Variations: Make a charming harvest patch by crocheting mini pumpkins in classic orange, antique white (ghost pumpkins), and soft sage green!
- Add a Leaf or Tendril: Chain 6, work slip stitches down the chain to form a tiny curling green vine, and stitch it next to the stem for an extra touch of botanical realism.