 by
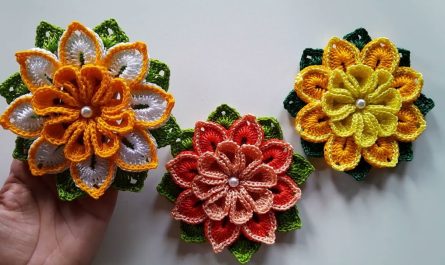
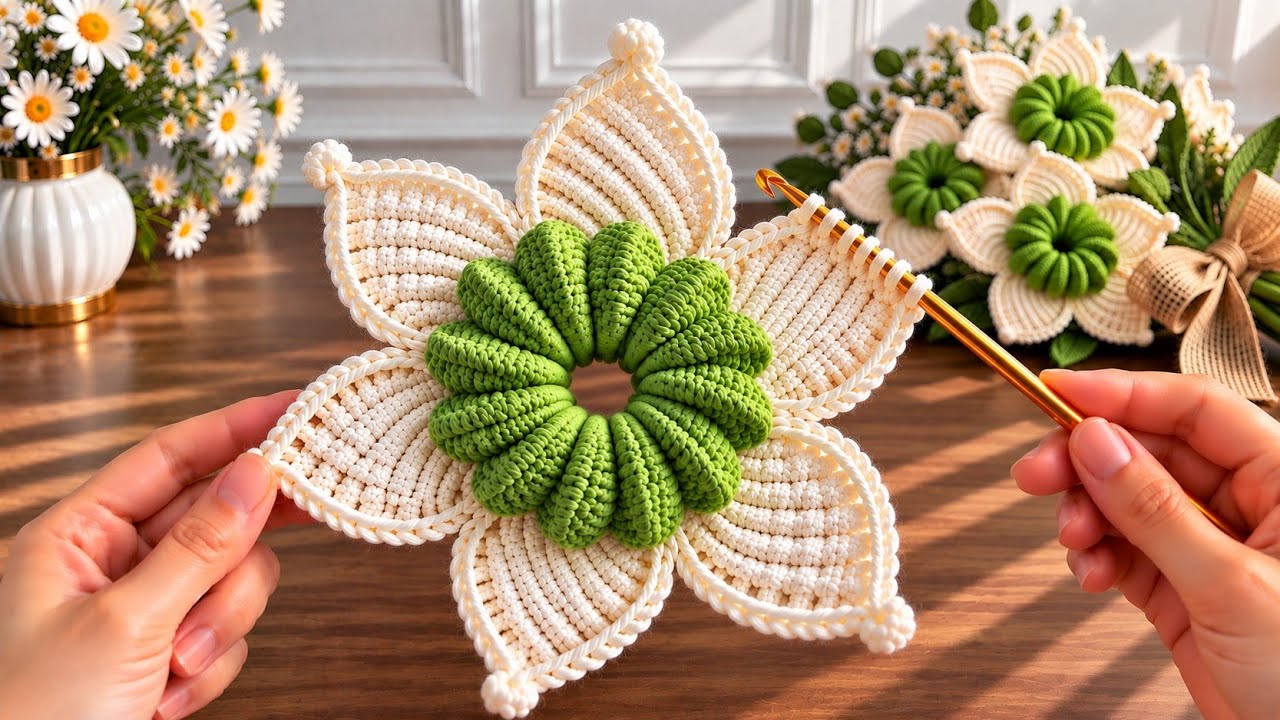
by Creating a Stunning Leaf Flower (also known as a Leafy Floral Motif or Botanical Rose-in-Leaf) is one of the most clever techniques in crochet fiber art. Instead of crocheting a flower and separate leaves to assemble later, this technique constructs vibrant floral petals and framed botanical leaves together in a single continuous motif.
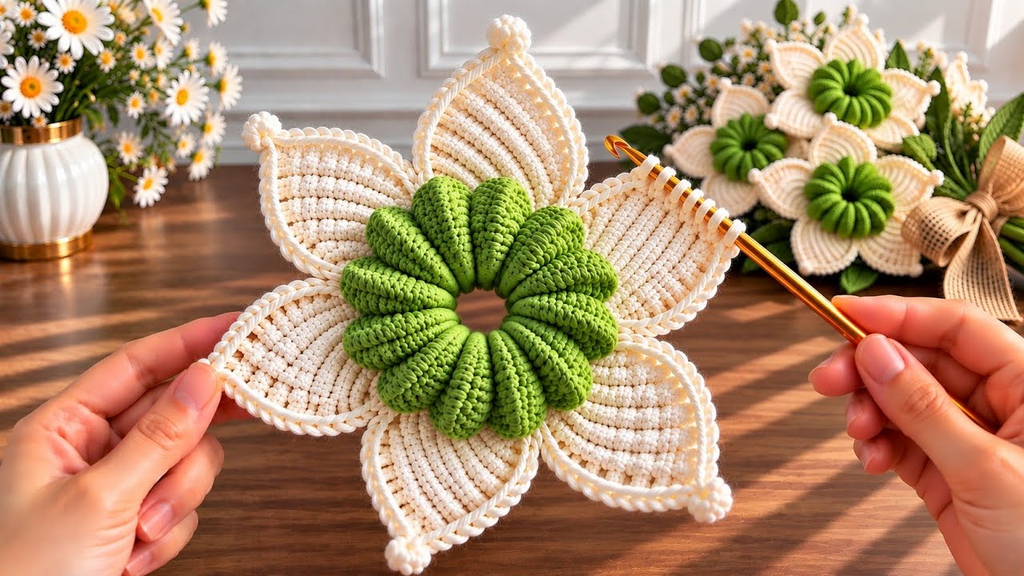
The result is a striking, structural bloom nested seamlessly inside a bed of green leaves—perfect for joining into blankets, transforming into decorative coasters, or sewing as a statement appliqué onto bags and jackets.
Here is your detailed, step-by-step masterclass on how to crochet a stunning Leaf Flower from scratch.
🧶 The Botanical Leaf Flower Toolkit
- Yarn:100% Mercerized Cotton Yarn (Sport weight, DK, or Worsted weight). Mercerized cotton is essential for structural floral motifs because its tight spin and zero stretch keep the leaf tips crisp, the petals raised and dimensional, and the stitch definition razor-sharp.
- Palette: A rich focal color for the flower center (sunny yellow), a striking hue for the inner petals (crimson red, magenta, or cream), and a deep botanical green (emerald, olive, or forest green) for the surrounding leaf frame.
- Hook: 3.0 mm or 3.5 mm. Using a slightly smaller hook creates a dense gauge that allows the leaf points and petal ruffles to hold their structure without curling or flopping.
- Extra Supplies: Tapestry needle for weaving in ends and sharp embroidery scissors.
🟡 Step 1: The Core Floral Center (Round 1)
We begin at the heart of the flower with a tight, circular foundation.
- With your Center Color (e.g., yellow), make a Magic Ring (or
ch 4and join with asl stto form a loop). ch 1(does not count as a stitch), and work 12 single crochets (sc) directly into the magic ring.- Pull the starting tail tightly to seal the center hole completely.
- Join with a slip stitch (
sl st) to the first sc. Fasten off yellow yarn.

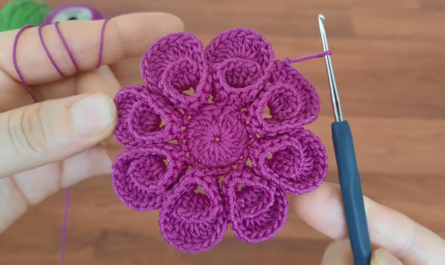
🌸 Step 2: Crafting the 3D Blooming Petals (Rounds 2 & 3)
Next, we build a multi-layered, dimensional flower over the yellow center before introducing the leaves.
- Inner Petals (Round 2):
- Attach your Petal Color (e.g., magenta or red) into the front loop only of any stitch on the center ring.
ch 2, work3 double crochets (dc)into that same loop,ch 2, andsl stback into that same loop. (This creates a plump, rounded petal).- Skip the next stitch, and repeat the petal sequence
(sl st, ch 2, 3 dc, ch 2, sl st)in the following front loop. Repeat around to create 6 inner petals.
- Back Anchoring Loops (Round 3):
- Turn the flower to the back. Attach the petal color into the unworked back loops from Round 1.
ch 3, skip 1 stitch, andsl stinto the next back loop. Repeat around to create 6 chain-3 arches sitting directly behind the inner petals. Fasten off petal yarn.

🍃 Step 3: Crocheting the Framed Botanical Leaves (Round 4)
Now we introduce the green yarn into the chain-3 arches behind the flower, building pointed, architectural leaves that wrap around the petals.
- Attach your Leaf Green Yarn into any
ch-3 archbehind the flower. - Forming a Pointed Leaf Unit:
- In the first
ch-3 arch, work:1 sc, 1 hdc, 2 dc, ch 2 (picot for leaf tip), 2 dc, 1 hdc, 1 scall packed into that single space. - The Picot Tip: To make a sharp leaf tip, when you reach the
ch 2, simply work asl stinto the 2nd chain from the hook before continuing with the remaining2 dc.
- In the first
- Move directly to the next
ch-3 archand repeat the leaf unit:(1 sc, 1 hdc, 2 dc, picot tip, 2 dc, 1 hdc, 1 sc). - Repeat this into all 6 arches around. Join with a
sl stto the base of the first leaf. (You now have 6 dramatic green leaves framing your 3D bloom!)
🔲 Step 4: Squaring the Leaf Frame (Optional for Motifs)
If you wish to use your Leaf Flower as a square motif for a bag, table runner, or blanket, you can add a final framing round in a neutral background color (like cream or ecru).
- Attach Cream/Background Yarn into the back loop of any
ch-2 picot tipof a leaf. - Corner Leaf:
ch 3(counts as dc), work(2 dc, ch 2, 3 dc)directly into the tip of the leaf to establish a sharp 90-degree corner. - Side Transition:
ch 3, work 3 hdc in the dip between the two leaves,ch 3. - Next Corner: Work
(3 dc, ch 2, 3 dc)into the tip of the next leaf. - Repeat around to transform the organic leaf shape into a clean, crisp geometric square. Join with a
sl stand fasten off.
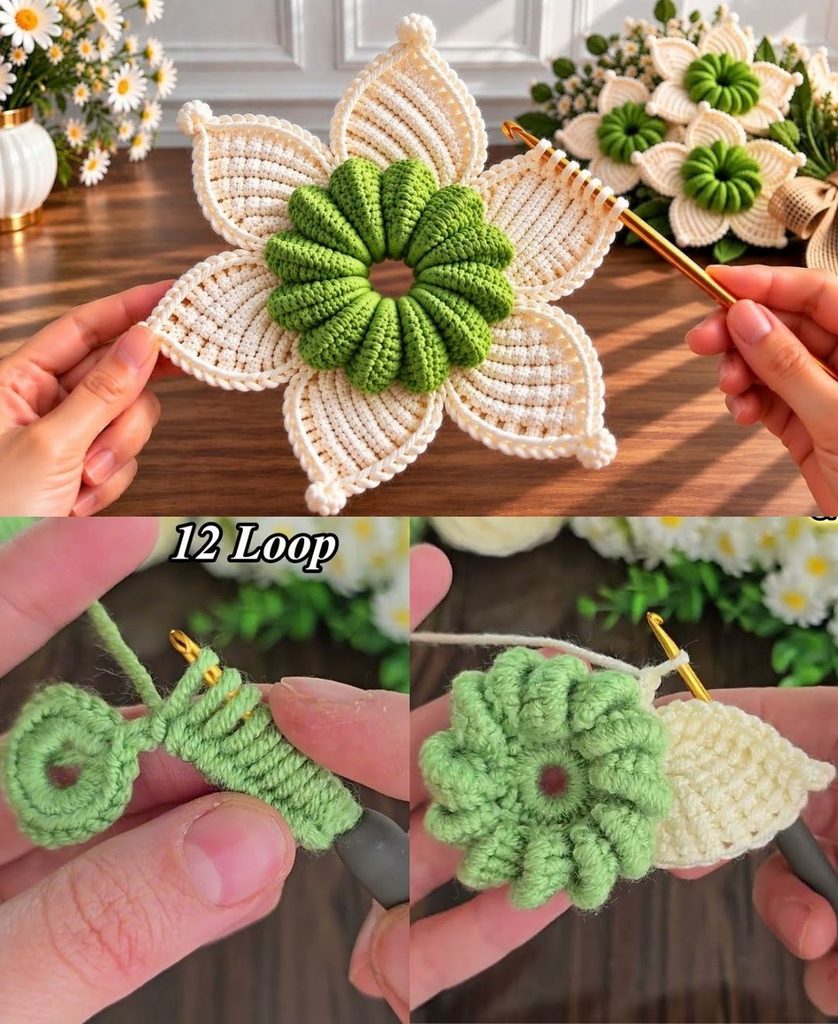
✨ Pro-Tips for a Boutique Finish
- Pinch the Leaf Tips: As soon as you complete each green leaf, use your thumb and index finger to firmly pinch the
ch-2 picot tip. This locks the cotton stitches into a sharp, needle-like botanical point. - Steam Blocking: Pin your finished Leaf Flower motifs to a foam blocking board, lightly steam them with an iron (holding it 2 inches away—never touching the yarn directly), and let them cool. This permanently flattens the background frame while letting the 3D flower pop upward!
Would you like to explore how to join multiple Leaf Flower motifs together into a continuous table runner, or adapt this design into a structural tote bag?