 by
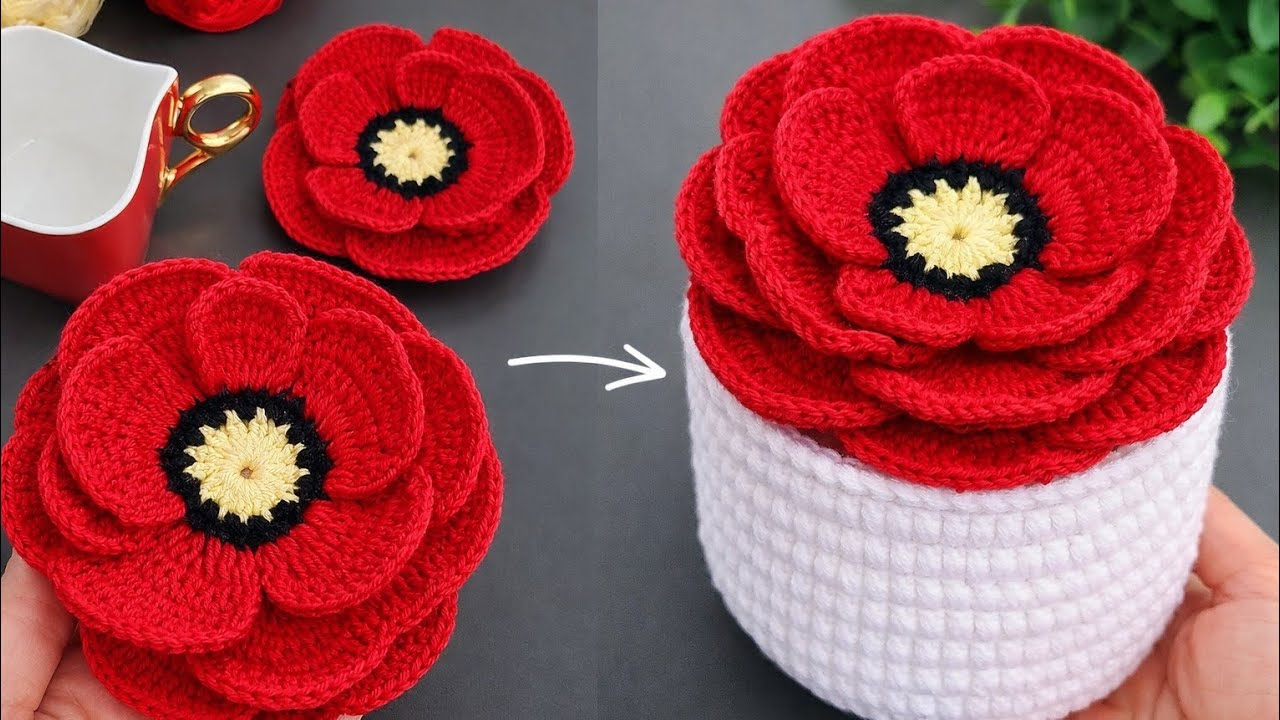
by Creating a Flower Coaster Set with a Matching Storage Box is the ultimate functional home decor project. By combining beautiful floral square motifs into a stackable set and building a sturdy, structured storage basket to hold them, you get an organized, boutique-quality statement piece for your coffee table or dining room.
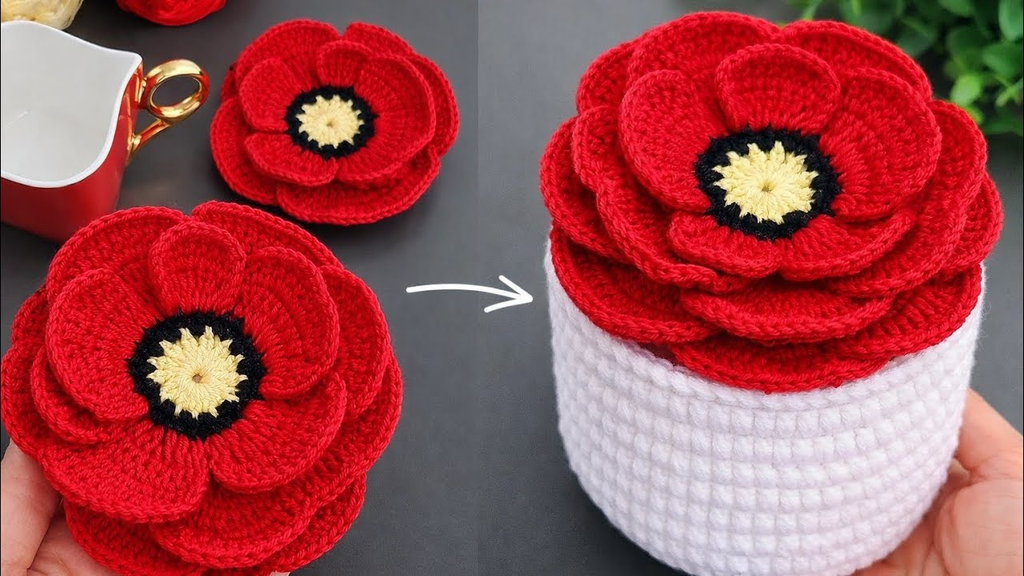
Here is your detailed, step-by-step masterclass on how to crochet a stunning set of flower coasters and a custom-fitted matching storage box from scratch.
🧶 The Master Toolkit
- Yarn:100% Mercerized Cotton Yarn (Worsted Weight / Weight 4 or DK). Cotton yarn is mandatory for both coasters and storage boxes. It absorbs moisture from drinks, resists heat, and—most importantly for the box—provides the heavy-duty structural rigidity required to stand upright without flopping.
- Palette: A vibrant focal color for the flower centers (e.g., sunny yellow), a romantic petal hue (e.g., cream or blush pink), a rich background/framing color (e.g., sage green or beige), and a matching solid color for the storage box body.
- Hook: 3.5 mm or 4.0 mm. A snug hook creates a tight, dense gauge essential for flat coasters and upright box walls.
- Extra Supplies: Tapestry needle, sharp scissors, stitch markers, and optional plastic mesh canvas inserts for extra-rigid box walls.
🌸 Step 1: Crafting the Flower Coasters (Make 4 to 6)
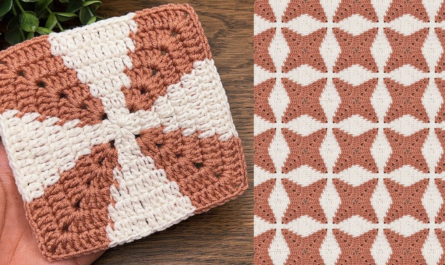
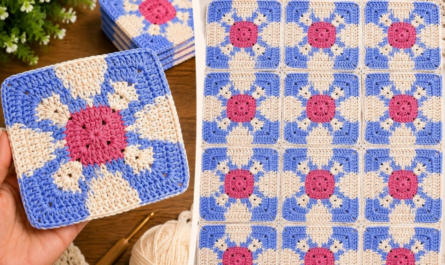
You will begin by crocheting a stack of identical square flower motifs.
- Round 1 (The Center Core): With your Center Color (yellow), make a
Magic Ring(orch 4and join with asl st). Work 12 sc into the ring, join, and fasten off. - Round 2 (The Petals): Attach your Petal Color into any stitch.
ch 3(counts as first dc), work2 dcin that same stitch,ch 2. Skip next stitch, work3 dcin following stitch,ch 2repeat around to form 6 petal clusters. Join with asl stand fasten off. - Round 3 (Squaring the Coaster): Attach your Background Color (e.g., sage green or cream) into any
ch-2space.- First Corner:
ch 3, work(2 dc, ch 2, 3 dc)in that same space. - Sides: Work
3 hdcin each of the next two ch-2 spaces. - Next Corner: Work
(3 dc, ch 2, 3 dc)in the following ch-2 space. Repeat around to form a crisp square. Join with asl stand fasten off.
- First Corner:
- Finishing: Block all your finished coasters flat with steam so they sit perfectly level under cups.

📦 Step 2: Crafting the Matching Storage Box Base
The storage box is built using a continuous panel method: you crochet a flat square base that matches the exact dimensions of your coasters, then work upward.
- Using your Box Main Color (matching your coaster background), chain a length that matches the width of one coaster plus a tiny bit of ease (typically ch 16 to 18).
- The Base Panel: Working in rows of half-double crochet (hdc), crochet back and forth until your piece forms a square base that perfectly matches the side length of your finished coasters (usually around 4.5 to 5 inches square). Fasten off.

🧱 Step 3: Building the Upright Box Walls
To turn your flat square base into a structured basket, you will work vertically directly off the outer edge of the base.
- Attach your yarn into any corner stitch of your flat base panel.
ch 2(does not count as a stitch). Work a round of single crochet (sc) or hdc evenly all the way around the outer perimeter of the square, working 3 stitches into each corner to create a sharp 90-degree turn. Join with asl st.- The Wall Rounds:
ch 1(orch 2), and work rounds of extended single crochet or tight half-double crochet directly in a spiral or joined rounds.- Continue building the walls upward for 3 to 4 inches (tall enough to neatly cradle your stack of 4 to 6 coasters).
- Optional Plastic Mesh Reinforcement: If you want your box walls to be completely rigid like a hard basket, cut a square piece of plastic mesh for the bottom and rectangular strips for the walls, slip them inside your stitches on the final rows, and crochet a closing top border to lock them in place.
- The Rim Finish: Finish the top edge of the box with a clean round of crab stitch (reverse single crochet) or a row of slip stitches for a professional, polished border. Fasten off and weave in all ends.
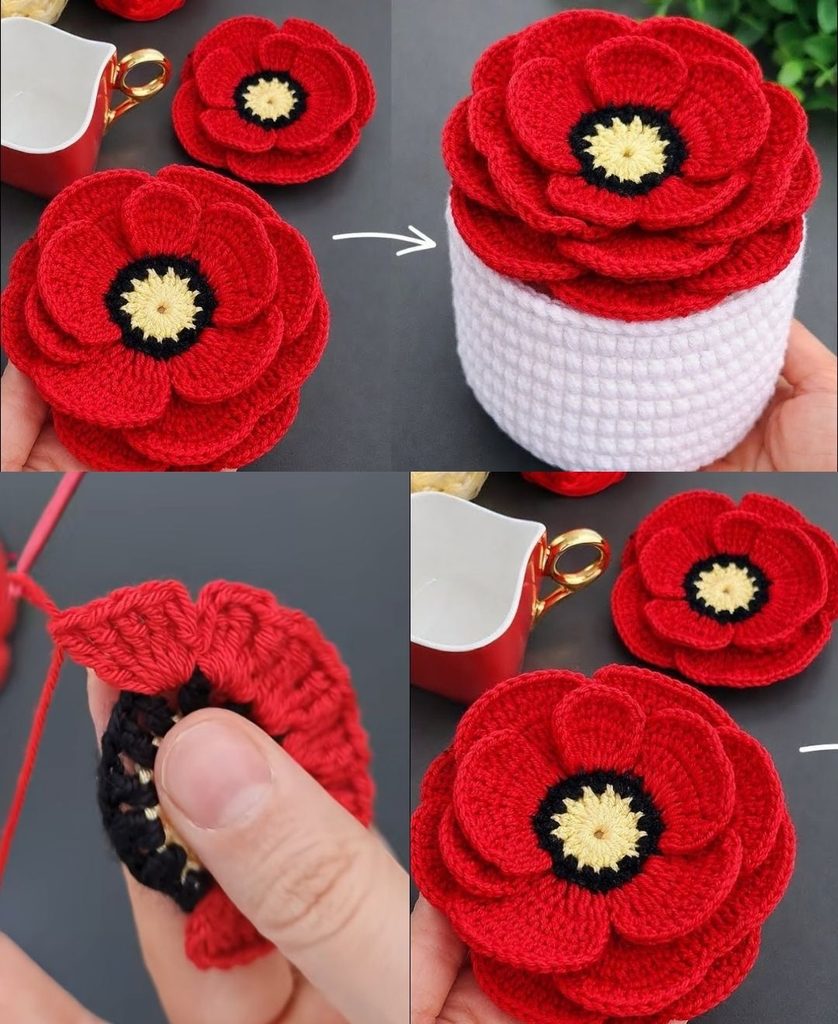
✨ Step 4: Styling Your Set
- Stack and Store: Slide your blocked flower coasters into your new handmade storage box. They should fit snugly and slide in easily.
- Boutique Flourish: Add a tiny matching crochet flower applique or a wooden handmade tag to the front exterior of the storage box for an extra touch of artisanal elegance!